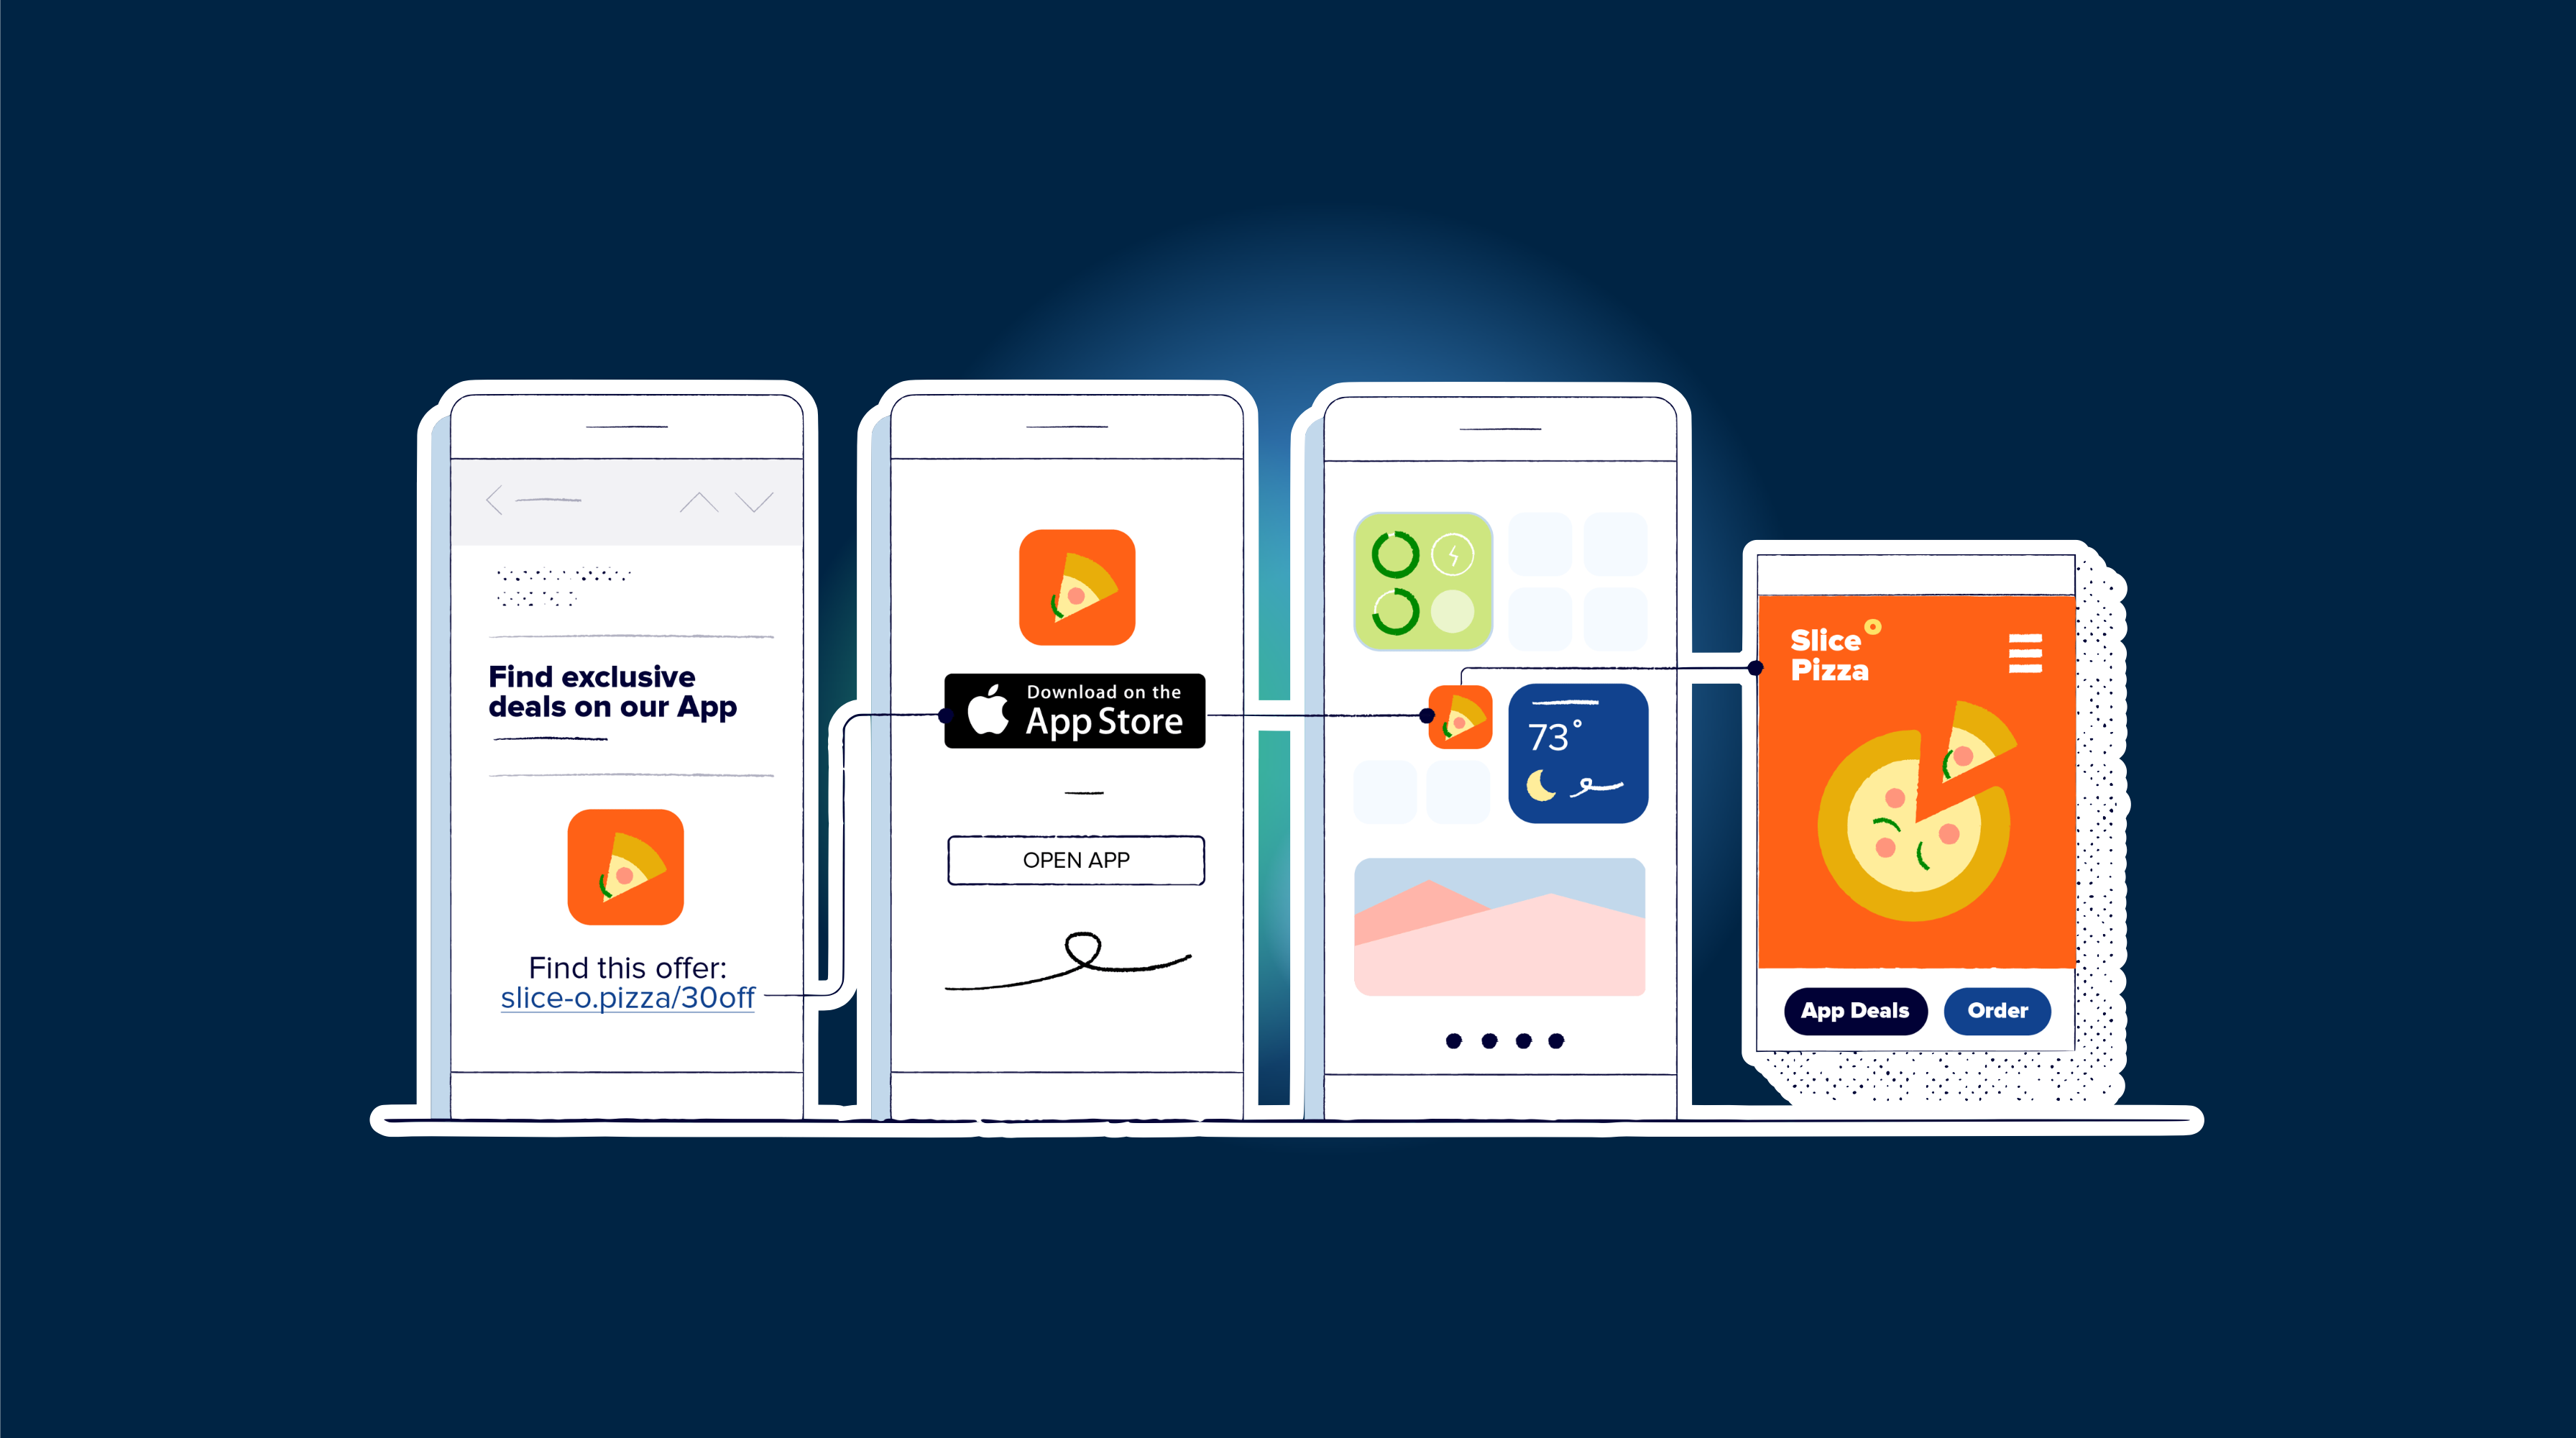
Tautan universal pada iOS dan Tautan Aplikasi pada Android memungkinkan pengguna untuk langsung dibawa ke dalam aplikasi Anda dari sebuah tautan, menghindari browser. Hal ini sangat berguna untuk meningkatkan pengalaman pengguna dan menjaga konteks dari halaman web ke aplikasi. Dalam panduan ini, kita akan menjelajahi proses pengaturan tautan dalam yang mendalam untuk aplikasi Next.js menggunakan Capacitor. Untuk atribusi dan tautan dalam yang tertunda, @capgo/capacitor-appsflyer dapat mengarahkan kampanye instalasi ke layar in-app yang tepat.
Pengaturan tautan dalam tidak memerlukan banyak code, tetapi melibatkan beberapa pengaturan. Setelah membaca panduan ini, Anda akan dapat mengklik tautan seperti https://www.capgo.app/details/22 dan buka aplikasi Anda ke halaman yang benar jika sudah terinstal.
Pengaturan Deep Link Next.js
Pertama, kita akan membuat aplikasi Next.js baru dan halaman detail untuk tes:
npx create-next-app@latest capgoLinks
cd capgoLinks
mkdir pages/details
touch pages/details/[id].js
npm run build
npx cap add ios
npx cap add android
Pastikan ID aplikasi Anda dibuat dengan benar di file capacitor.config.json karena sangat penting untuk pengaturan:
{
  "appId": "com.capgo.deeplinks",
  "appName": "capgoLinks",
  "webDir": "out",
  "bundledWebRuntime": false
}
Untuk routing, Next.js menggunakan routing berbasis file, sehingga dengan membuat file di pages/details/[id].js, kita sudah mengatur route wildcard.
Di pages/details/[id].js, kita dapat mengambil ID dari URL menggunakan router bawaan Next.js:
import { useRouter } from 'next/router'

function DetailsPage() {
  const router = useRouter()
  const { id } = router.query

  return (
    <div>
      <p>My ID: {id}</p>
    </div>
  )
}

export default DetailsPage
Now, mari kita tangani appUrlOpen event dengan Capacitor. Event ini diaktifkan ketika aplikasi dibuka melalui skema URL kustom. Tambahkan listener di pages/_app.js file:
import { useEffect } from 'react'
import { App } from '@capacitor/app'

function MyApp({ Component, pageProps }) {
  useEffect(() => {
    App.addListener('appUrlOpen', (event) => {
      const slug = event.url.split('.app').pop()
      if (slug)
        window.location.href = slug

    })
  }, [])

  return <Component {...pageProps} />
}

export default MyApp
Listener ini code mendengarkan event dan menavigasi ke jalur yang tepat di dalam aplikasi Next.js Anda. appUrlOpen Pengaturan iOS
Untuk iOS, Anda memerlukan ID aplikasi dengan Domains Terkait diaktifkan. Buatlah
apple-app-site-association file dengan konten berikut, menggantikan dan YOURTEAMID dengan ID tim dan ID paket Anda yang sebenarnya: com.your.bundleid Unggah file ini ke
{
  "applinks": {
    "apps": [],
    "details": [
      {
        "appID": "YOURTEAMID.com.your.bundleid",
        "paths": ["*"]
      }
    ]
  }
}
Pengaturan iOS .well-known di direktori domain Anda, sehingga dapat diakses di https://www.capgo.app/.well-known/apple-app-site-association.
Dalam Xcode, tambahkan domain ke entitasmu aplikasi menggunakan format applinks:capgo.app.
Konfigurasi Android
Untuk Android App Links, ikuti langkah-langkah berikut:
- Generate file keystore jika Anda tidak memiliki salah satu.
- Olehkan SHA256 fingerprint dari keystore.
- Buat sebuah file assetlinks.json dengan nama paket Anda dan SHA256 fingerprint. Unggah file ini ke
- di direktori domain Anda.
.well-knownDalam aplikasi Anda
In your AndroidManifest.xml, tambahkan intent-filter ke element yang menghandle deep link: activity Setelah mengunggah file, Anda dapat memverifikasi file tersebut menggunakan alat Digital Asset Links dari Google. Jika semua pengaturan sudah benar, Anda akan melihat tanda centang hijau.
<activity ...>
  <intent-filter android:autoVerify="true">
    <action android:name="android.intent.action.VIEW" />
    <category android:name="android.intent.category.DEFAULT" />
    <category android:name="android.intent.category.BROWSABLE" />
    <data android:scheme="https" android:host="capgo.app" />
  </intent-filter>
</activity>
Untuk membangun dan menandatangani aplikasi, gunakan perintah-perintah berikut: assetlinks.json Ini akan menginstal aplikasi yang ditandatangani pada perangkat Android yang terhubung.
__CAPGO_KEEP_0__ Konfigurasi untuk Pengaturan Proyek Nativ
cd android
./gradlew assembleRelease
cd ..
jarsigner -verbose -sigalg SHA1withRSA -digestalg SHA1 -keystore my-release-key.keystore android/app/build/outputs/apk/release/app-release-unsigned.apk alias_name
zipalign -v 4 android/app/build/outputs/apk/release/app-release-unsigned.apk capgo.apk
adb install capgo.apk
Untuk mengautomasi pengaturan proyek natif, pertimbangkan menggunakan
Capacitor paket konfigurasi
. Pasang di proyek Anda: Capacitor configure packagea
npm install @capacitor/configurep capacitor.config.yaml file di root proyek Anda:
vars:
  BUNDLE_ID: com.capgo.deeplinks
  PACKAGE_NAME: com.capgo.deeplinks
platforms:
  ios:
    targets:
      App:
        bundleId: $BUNDLE_ID
    entitlements:
      - com.apple.developer.associated-domains: ['applinks:capgo.app']
  android:
    packageName: $PACKAGE_NAME
Jalankan alat konfigurasi dengan konfigurasi ini:
npx cap-config run capacitor.config.yamlIni akan menerapkan pengaturan yang ditentukan dalam file YAML ke proyek native Anda.
Kesimpulan
Mengatur tautan dalam yang Capacitor untuk aplikasi Next.js melibatkan mengonfigurasi domain dan pengaturan proyek untuk kedua iOS dan Android. Meskipun proses ini memerlukan perhatian detail, namun prosesnya lebih sederhana dibandingkan dengan metode yang lebih tua dan tidak memerlukan plugin tambahan. Pastikan file verifikasi domain Anda disajikan dengan benar dan periksa mereka dengan alat-alat platform yang relevan. Setelah diatur, aplikasi Anda akan membuka dengan lancar dari tautan web, memberikan transisi yang halus untuk pengguna Anda dari web ke aplikasi.
Teruskan dari Cara Mengintegrasikan Tautan Universal di Next.js dengan Capacitor
Jika Anda menggunakan Cara Mengintegrasikan Tautan Universal di Next.js dengan Capacitor untuk merencanakan kerja plugin native, hubungkannya dengan Capgo Direktori Plugin untuk alur kerja produk di Capgo Direktori Plugin, Capacitor Plugin oleh Capgo untuk detail implementasi di Capacitor Plugins oleh Capgo, Menambahkan atau Mengupdate Plugins untuk detail implementasi di Menambahkan atau Mengupdate Plugins, Alternatif Plugin Enterprise Ionic untuk alur produk di Alternatif Plugin Enterprise Ionic, dan Capgo Build Nativ untuk alur produk di Capgo Build Nativ.


