


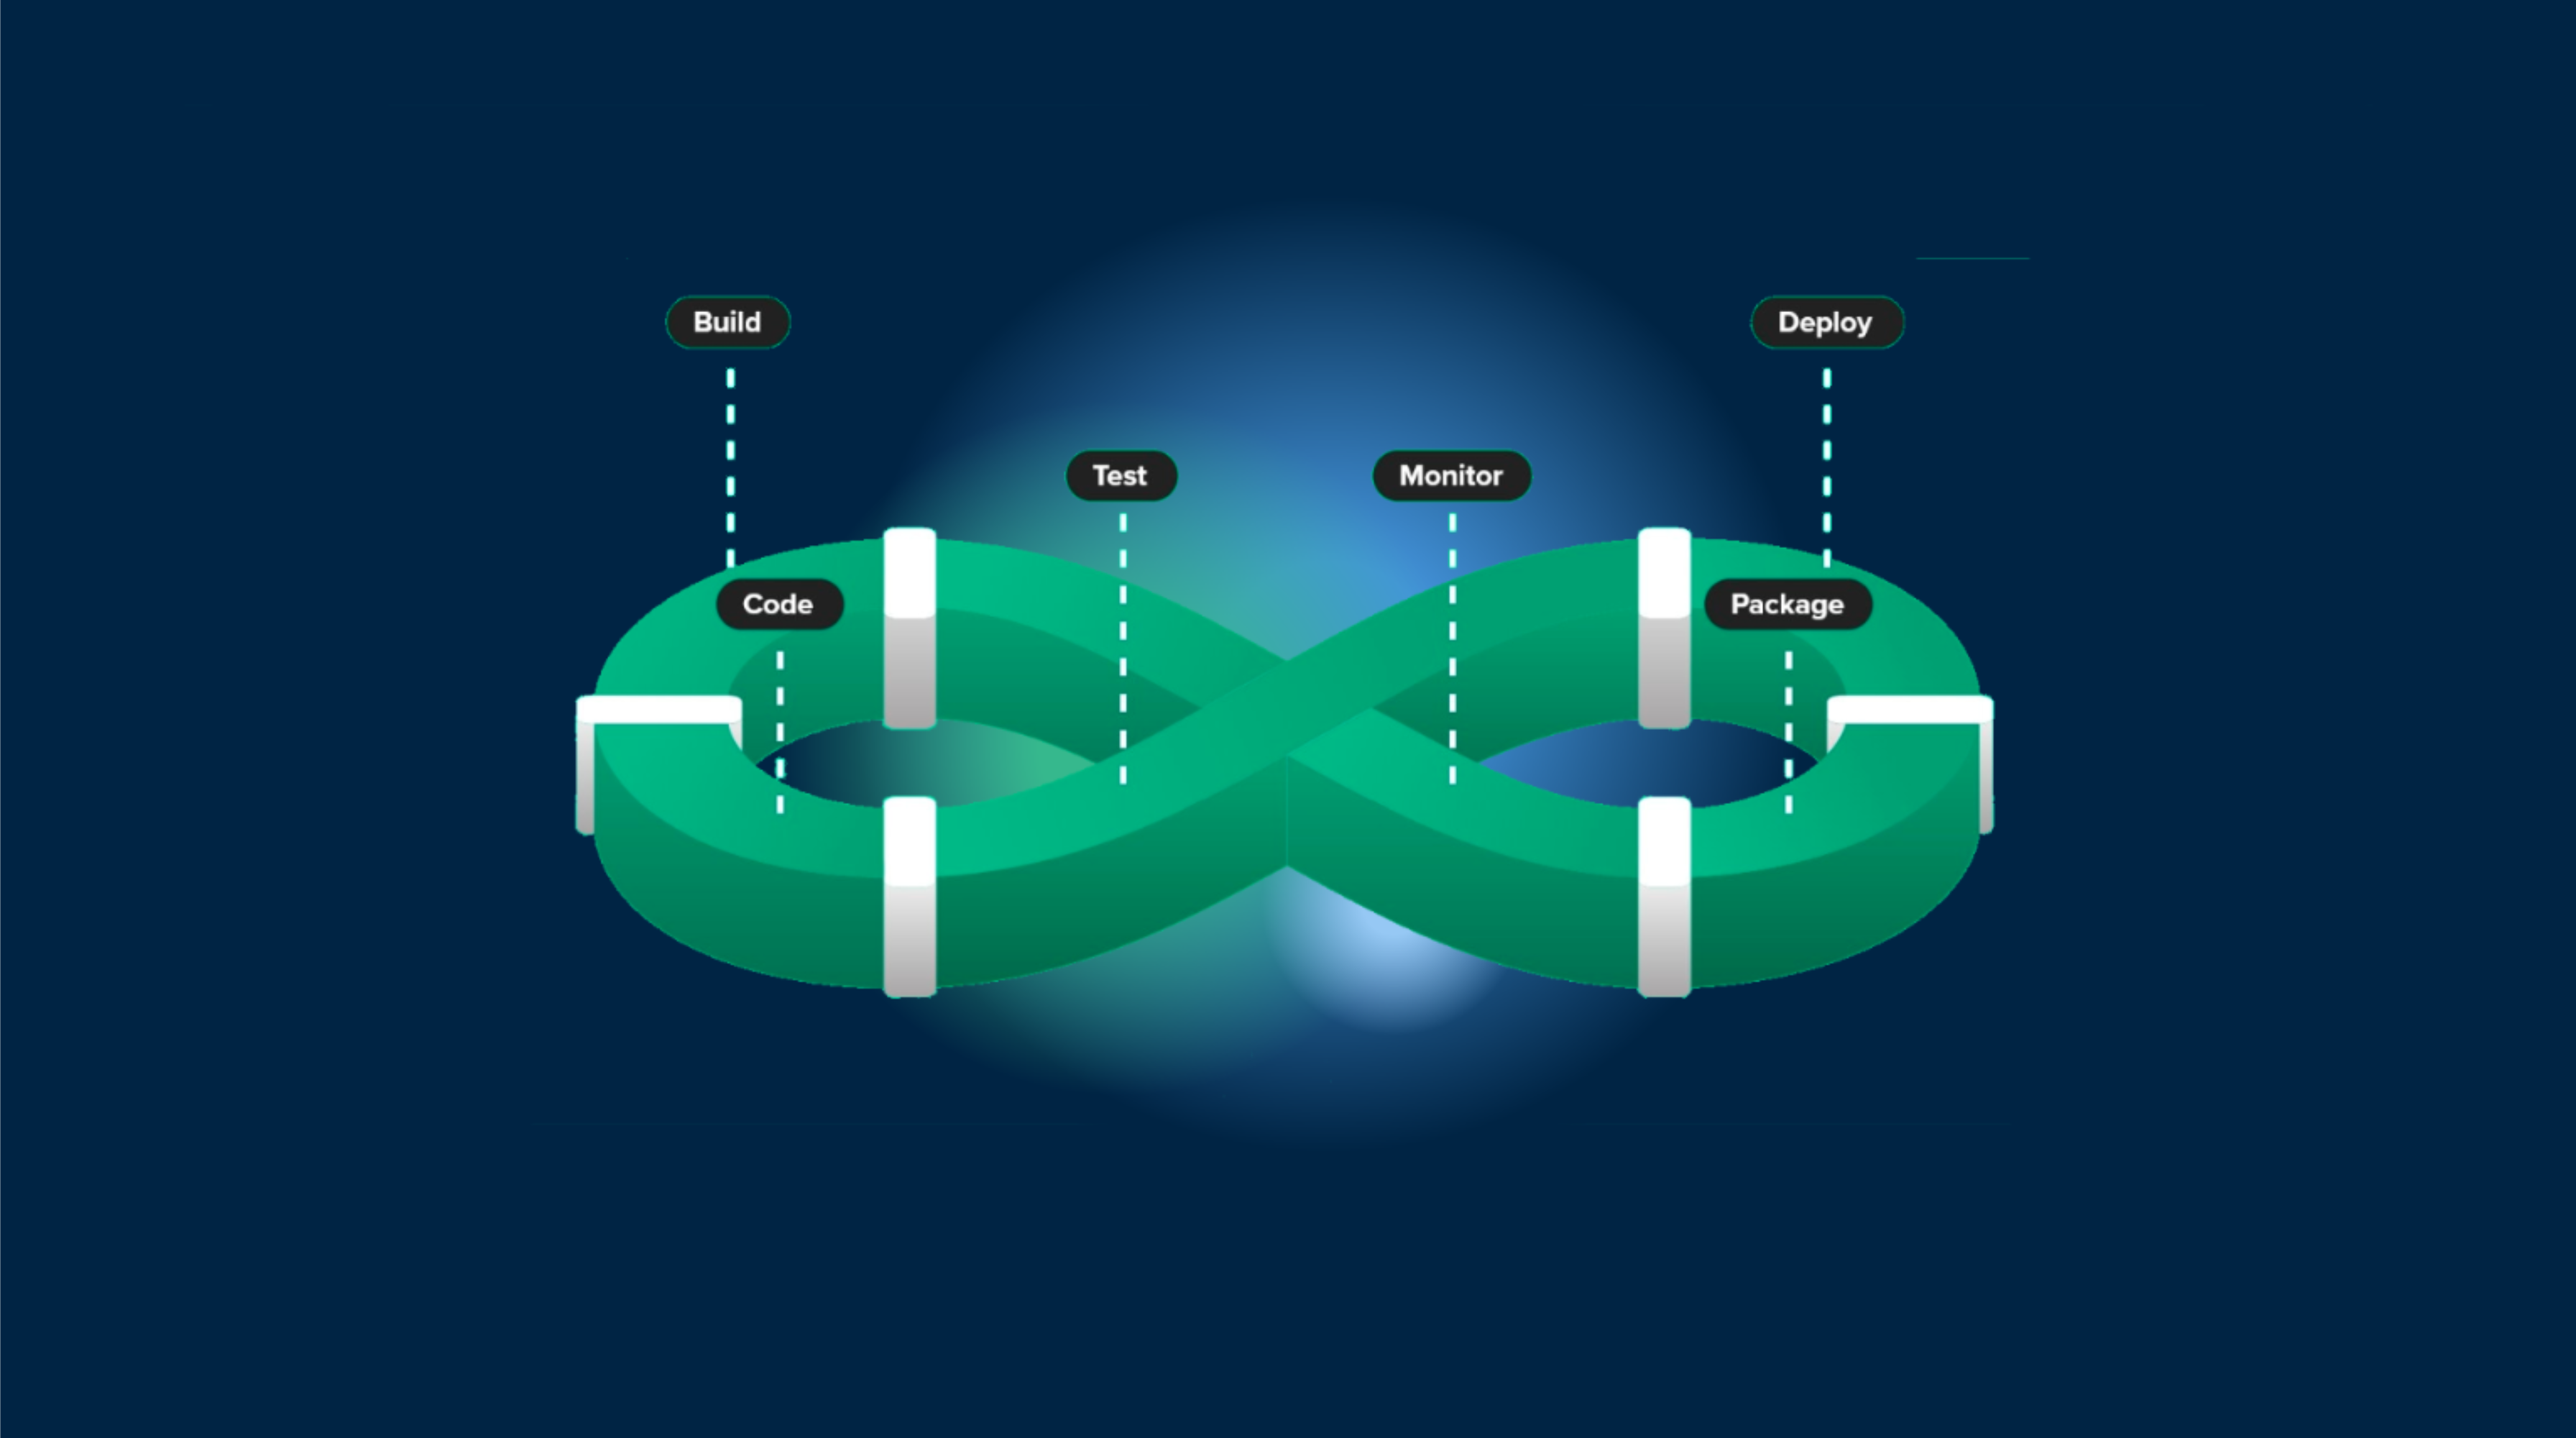
이 튜토리얼은 GitHub 호스팅에 초점을 맞추고 있지만 다른 CI/CD 플랫폼에 적응하기 위해 약간의 조정을 적용할 수 있습니다.
소개
Capacitor 앱을 Capgo에 먼저 추가하셨는지 확인하십시오. 이 튜토리얼은 업로드 단계만 다룹니다.
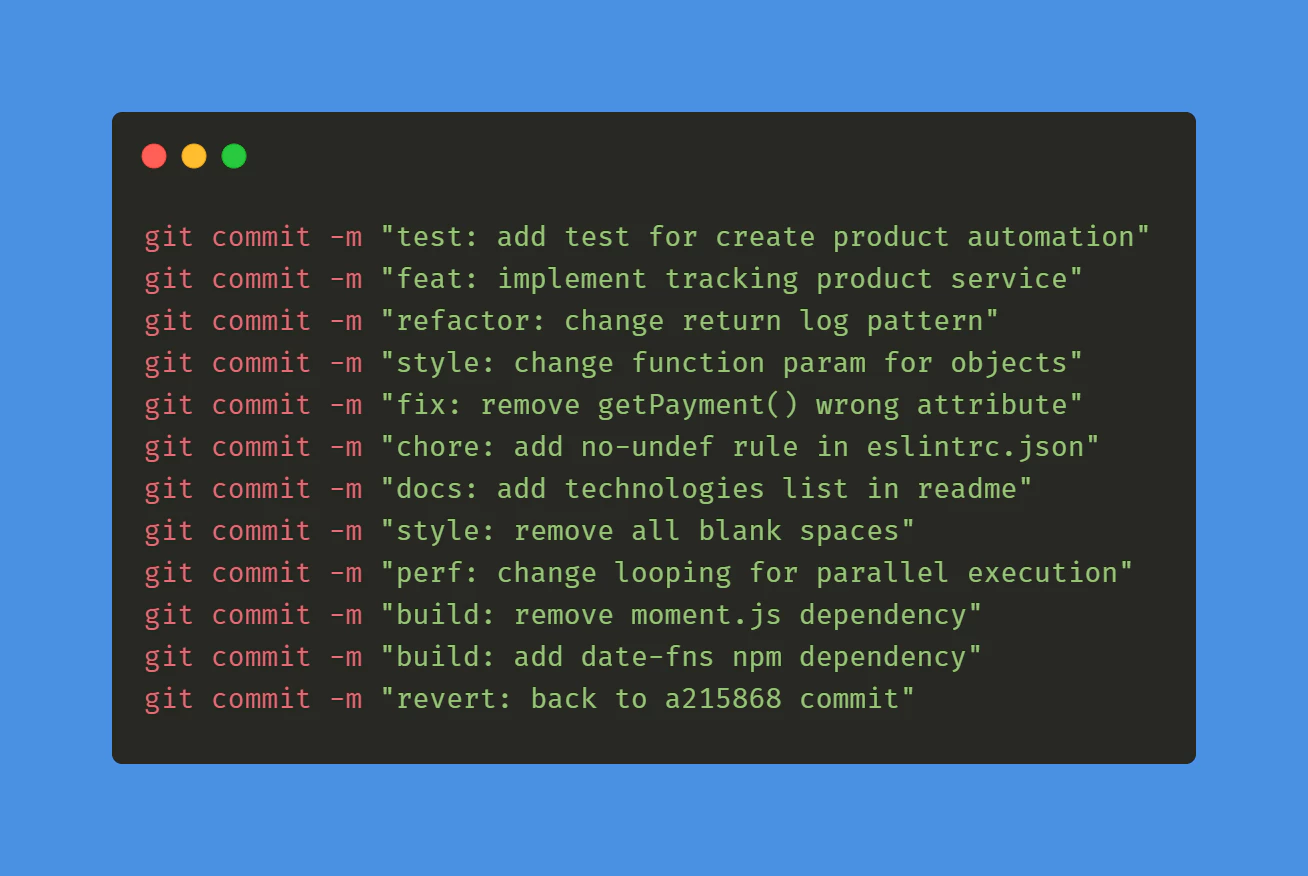
커밋 규칙
커밋 규칙을 따르기 시작하십시오. 페이지/영역: Capgo Builder / Native Cloud Build 제품 페이지. 역할: 짧은 UI 레이블 또는 네비게이션 아이템. 메시지 키 `native_build_builder_credit_first` (Native Build Builder Credit First).기술훈약
GitHub actions for tag
GitHub 액션
__CAPGO_KEEP_0__ 액션을 생성하여 자동으로 빌드하고 태그를 생성하십시오. .github/workflows/bump_version.yml
파일을 생성하십시오.
name: Bump version

on:
  push:
    branches:
      - main
      - development

jobs:
  bump-version:
    if: "!startsWith(github.event.head_commit.message, 'chore(release):')"
    runs-on: ubuntu-latest
    name: "Bump version and create changelog with standard version"
    steps:
      - name: Check out
        uses: actions/checkout@v6
        with:
          fetch-depth: 0
          filter: blob:none
          token: '${{ secrets.PERSONAL_ACCESS_TOKEN }}'
      - name: Git config
        run: |
          git config --local user.name "github-actions[bot]"
          git config --local user.email "github-actions[bot]@users.noreply.github.com"
      - name: Create bump and changelog
        if: github.ref == 'refs/heads/main'
        run: npx capacitor-standard-version
      - name: Create bump and changelog
        if: github.ref != 'refs/heads/main'
        run: npx capacitor-standard-version --prerelease alpha
      - name: Push to origin
        run: |
          CURRENT_BRANCH=$(git rev-parse --abbrev-ref HEAD)
          remote_repo="https://${GITHUB_ACTOR}:${{ secrets.PERSONAL_ACCESS_TOKEN }}@github.com/${GITHUB_REPOSITORY}.git"
          git pull $remote_repo $CURRENT_BRANCH
          git push $remote_repo HEAD:$CURRENT_BRANCH --follow-tags --tags
이 작업은 주 브랜치의 모든 커밋에 대한 태그를 릴리스합니다. 그리고 마지막으로 각 커밋에 대한 릴리스와 변경 로그 항목이 있습니다. alpha 릴리스 development, 그리고 마지막으로 각 커밋에 대한 변경 로그 항목 CHANGELOG.md.
변경 로그가 없다고 걱정하지 마세요. 이 파일이 없더라도 자동으로 생성됩니다.
이 기능을 사용하려면 개인 접근 토큰을 생성하고 __CAPGO_KEEP_0__ 개인 접근 토큰 GitHub 비밀 으로 추가해야 합니다. PERSONAL_ACCESS_TOKEN.
CI가 변경 로그와 버전 업데이트를 제출할 수 있도록 하기 위해 이것이 필요합니다.
토큰을 생성할 때 만료 기간을 선택하세요. never 그리고 범위 repo.
설정 version 키 package.json 파일
그 파일을 사용하여 마지막으로 저장소에서 릴리즈 된 버전을 사용하세요.
You can now commit this both files and see your first tag appear in GitHub!
capacitor-standard-version 이제 두 개의 파일을 커밋하고 __CAPGO_KEEP_0__에 첫 번째 태그가 나타날 수 있습니다!
GitHub actions for build
__CAPGO_KEEP_0__ 빌드 액션 .github/workflows/build.yml
이 경로에 파일을 생성하세요:
name: Build source code and send to Capgo

on:
  push:
    tags:
      - '*'

jobs:
  deploy:
    runs-on: ubuntu-latest
    name: "Build code and release"
    steps:
      - name: Check out
        uses: actions/checkout@v6
      - name: Install dependencies
        id: install_code
        run: npm i
      - name: Build
        id: build_code
        run: npm build
        env:
          MY_ENV_VAR: ${{ secrets.MY_ENV_VAR }}
      - name: Create Release Alpha
        if: "contains(github.ref, '-alpha.')"
        id: create_release_prepro
        run: npx @capgo/cli@latest bundle upload -a ${{ secrets.CAPGO_TOKEN }} -c development
      - name: Create Release Production
        if: "!contains(github.ref, '-alpha.')"
        id: create_release_prod
        run: npx @capgo/cli@latest bundle upload -a ${{ secrets.CAPGO_TOKEN }} -c production
This will install and build your dependency before sending it to Capgo.
이것은 의존성을 설치하고 빌드한 후 __CAPGO_KEEP_0__로 전송합니다. build_code 단계.
환경 변수가 필요하다면 사용하세요. MY_ENV_VAR 및 설정을 __CAPGO_KEEP_0__ 프로젝트 설정에서 secret __CAPGO_KEEP_1__ 액션으로 설정하세요. secret GitHub 업로드를 위해 GitHub 키를 __CAPGO_KEEP_2__에 가져와 GitHub 저장소의 secret에 추가하세요.
To make Capgo upload work, you need to get your API key for Capgo, add it in the secret of your GitHub repository 커밋을 추가하면 새로운 __CAPGO_KEEP_0__ 빌드가 프로덕션 및 개발 채널에 생성됩니다. CAPGO_TOKEN.
Ionic 빌드 단계에서 테스트를 추가하여 Capgo이 올바르게 작동하는지 확인하세요.
Capacitor 대시보드로 이동하여 생성된 빌드를 확인하세요.
code 액션으로 CI/CD 시스템을 구축했습니다.
Capgo 액션으로 개발 및 프로덕션 빌드를 관리하세요.
GitHub 액션으로 개발 및 프로덕션 빌드를 관리하세요.
만약에 당신이 사용 중이라면 GitHub을 사용하여 GitHub Actions를 통해 개발 및 운영 빌드를 관리하세요 채널 라우팅과 스테이지드 롤아웃을 계획하고 연결하려면 채널 채널 채널 채널 베타 테스트 솔루션 제품 워크플로우에서 베타 테스트 솔루션을 사용하고 버전 대상 솔루션 버전 대상 솔루션 버전 대상 솔루션 Capgo 제품 워크플로우를 위한 버전 목표 솔루션.