Distributing custom Capacitor plugins can enhance your app’s functionality while ensuring updates reach users quickly. Here’s a quick guide to get started:
- Build and Test: Develop your plugin using the Capacitor Plugin API, test it thoroughly on iOS and Android devices, and handle edge cases effectively.
- Set Up Distribution: Create an npm package with clear documentation, including installation steps, API references, and usage examples.
- Release: Publish your plugin to npm using semantic versioning and share it on GitHub for community visibility.
- Integrate: Provide setup instructions for developers to easily add your plugin to their projects and verify its functionality.
- Add Live Updates (Optional): Use tools like Capgo for secure and efficient live updates, ensuring 95% of users receive changes within 24 hours.
This step-by-step process ensures your plugin is well-built, easy to integrate, and ready for deployment on both iOS and Android platforms.
How to create a Capacitor plugin for iOS/Android

Step 1: Build and Test Your Plugin
The main objective here is to connect JavaScript with native features while ensuring it works seamlessly on both iOS and Android.
Use the Capacitor Plugin API
Start by creating your plugin with the official Capacitor Plugin API. This ensures consistent functionality across platforms. Focus on a single feature to make development and maintenance easier.
Key points to keep in mind during development:
- Define clear method signatures.
- Implement strong error handling.
- Support platform-specific features when needed.
- Document any platform requirements clearly.
Test on Different Platforms
Thorough testing is critical before launching your plugin. Use local tools to check performance on both real devices and emulators:
- Test on iOS simulators and physical devices across various iOS versions.
- Test on Android devices across different API levels to confirm proper integration and performance.
Before wrapping up, make sure to:
- Validate JavaScript-to-native calls and data conversions.
- Check error handling and overall performance.
- Test edge cases to ensure your plugin can handle unexpected inputs and provide clear error messages.
Once you’ve completed these steps, you’re ready to move on to Step 2, where you’ll prepare your distribution files.
Step 2: Set Up Distribution Files
Organize your npm package and documentation to ensure smooth distribution.
Create Your npm Package
Start by running the command: npm init @capacitor/plugin@latest. Then, update the package.json file with the plugin’s name, version, and any necessary dependencies.
Write Clear Documentation
Include a README.md file that covers the following:
- Installation instructions: Provide steps for both npm and yarn.
- API reference: Detail method descriptions and parameter types.
- Usage examples: Show how to use the plugin in common scenarios.
Verify Platform Requirements
Ensure that all privacy and permission declarations comply with Apple and Google guidelines.
Once these steps are complete, you’re ready to move on to Step 3 and publish your plugin on npm to share it with the community.
Step 3: Release Your Plugin
Get your plugin out into the world by publishing it to npm and sharing it with the Capacitor community.
Publish to npm Registry
Follow semantic versioning guidelines when releasing your plugin: use major versions for breaking changes, minor for new features, and patch for bug fixes. Then, publish your plugin using these commands:
npm publish # For a production releasenpm publish --tag beta # For a prereleaseShare with the Capacitor Community
Upload your plugin repository to GitHub and consider adding it to the Capacitor Community organization. This gives your plugin more visibility and opens the door for others to contribute.
Step 4: Guide Project Integration
After your plugin is published to npm, the next step is integrating it into projects. Here’s how to do it:
Setup Instructions
- Run:
npm install your-plugin-name - Sync with Capacitor:
npx cap sync - Specify any required native configuration, such as manifest updates or plugin registration.
Test the Installation
- Test the plugin in a fresh Capacitor project to ensure everything works as expected.
- Call a basic plugin method and verify that it delivers the expected result.
Once you’ve confirmed everything is functioning, you’re ready to move forward with integrating your plugin into projects.
Step 5: Add Live Updates
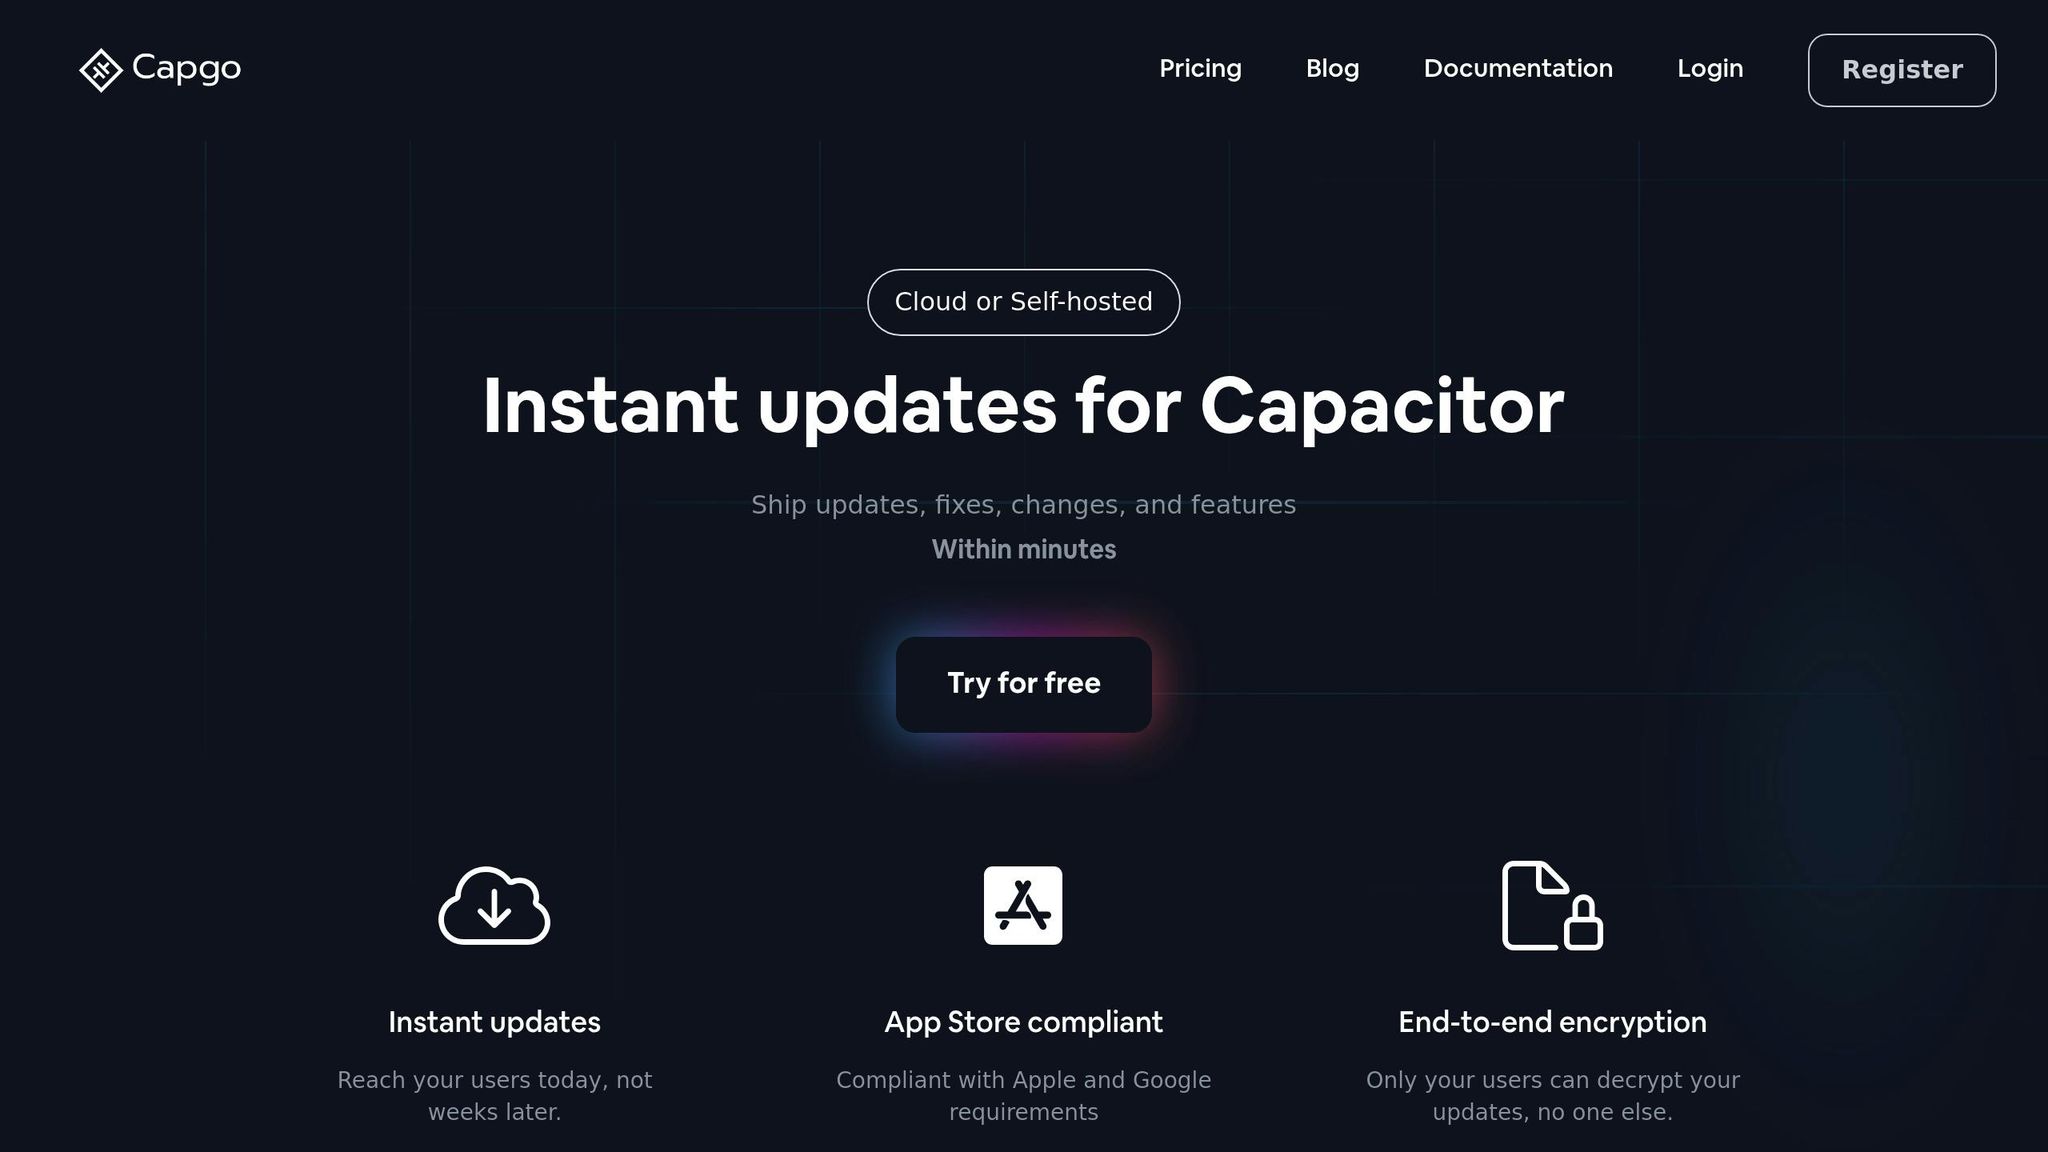
Expand your distribution process by incorporating live updates. Using Capgo, you can ensure your plugin stays current without waiting for app store approvals.
Setting Up Capgo Live Updates

To get started, run the following command:
npx @capgo/cli initWhy use Capgo? It offers a range of features to streamline updates:
- Secure delivery with end-to-end encryption
- Efficient distribution through delta updates
- Monitoring tools via an analytics dashboard
- Rollback options for quick fixes
- Channel management for organized releases
Here’s how to configure your updates:
- Integrate with CI/CD tools like GitHub Actions, GitLab CI, or Jenkins.
- Set up distribution channels for development, beta, and production environments.
- Enable one-click rollback to address any issues quickly.
According to Capgo’s metrics, 95% of active users receive updates within 24 hours [1], making live updates a powerful way to distribute changes efficiently.
Once live updates are configured, you’re ready to wrap up your distribution workflow.
[1] Based on Capgo platform metrics from active production apps.
Conclusion
By following these five steps, you can create a custom Capacitor plugin that’s well-built, simple to integrate, and ready for deployment.
From development and testing to packaging, publishing, integration, and even optional live updates, this structured process ensures your plugins work seamlessly on both iOS and Android platforms.
Keep in mind, successful plugin distribution goes beyond the first release - it’s about maintaining an efficient and reliable process that benefits both developers and users. Use this guide to streamline plugin delivery across platforms.


