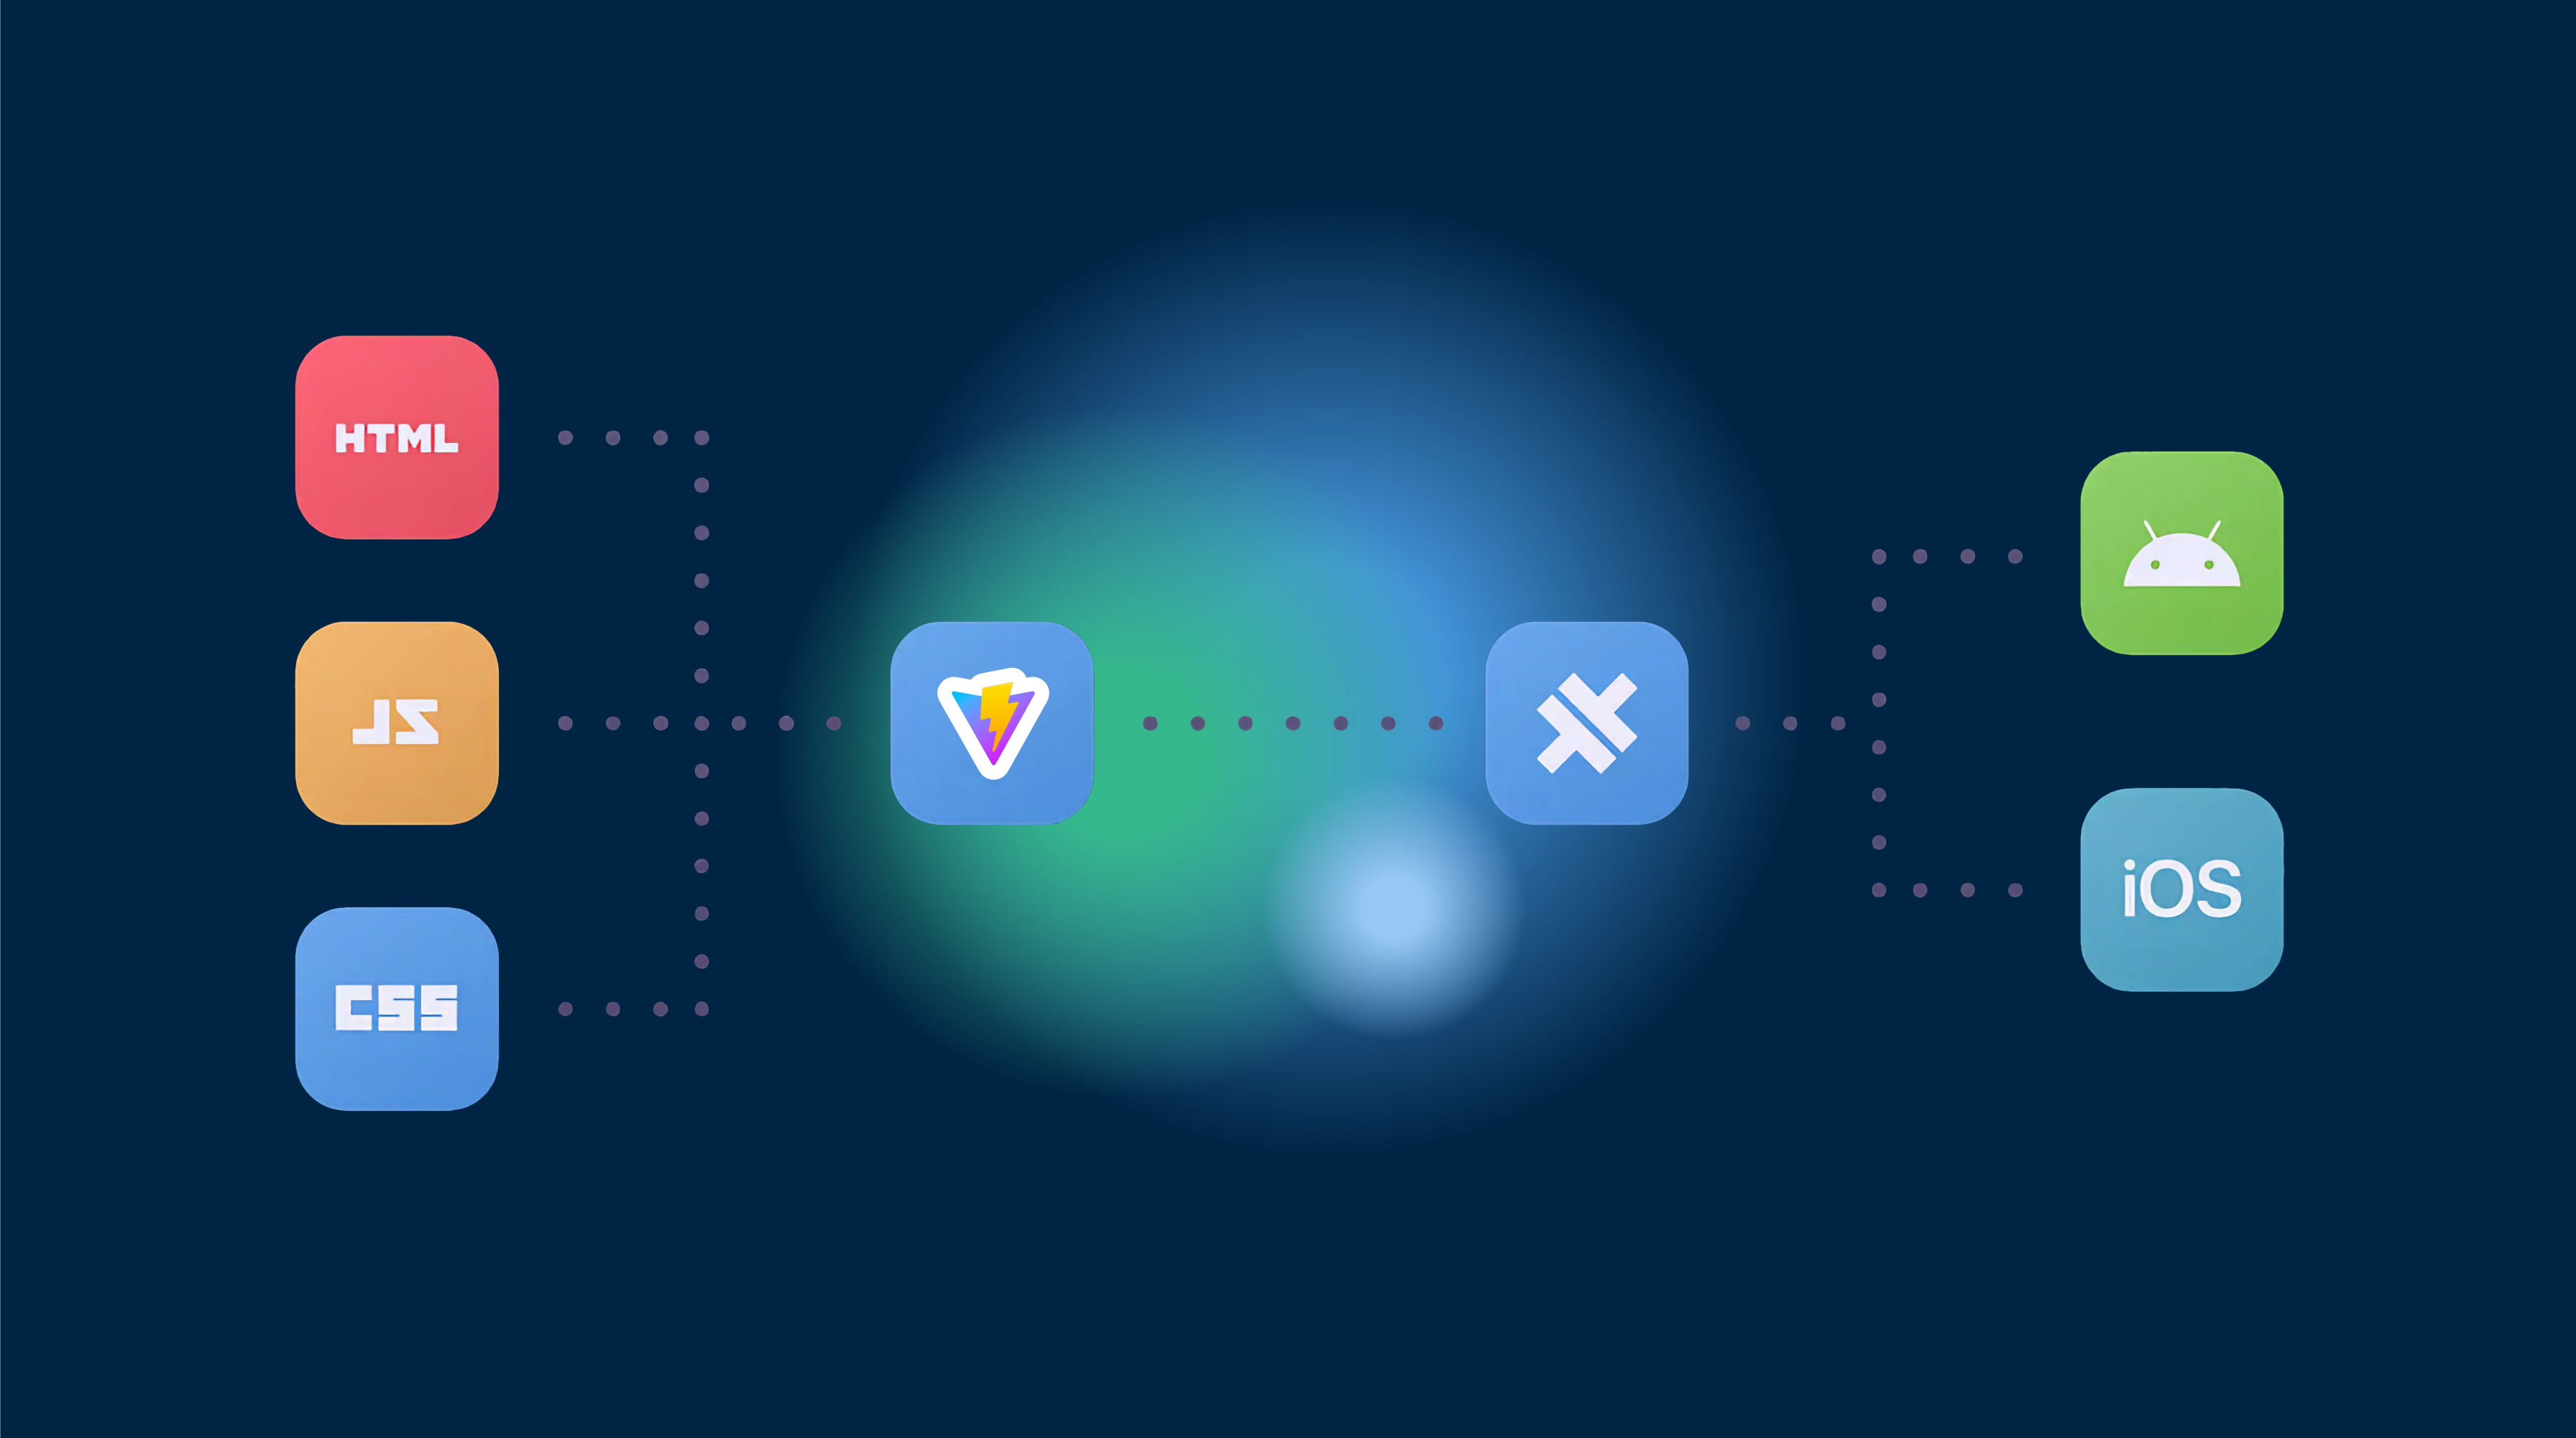
In the evolving world of mobile application development, the rise of Progressive Web Applications (PWAs) has paved the way for new cross-platform runtimes. These runtimes enable web-based applications to be present in app stores without relying solely on native code. One such technology that facilitates this is CapacitorJS, which allows developers to deploy a simple website as an application across Android, iOS, and the web using a single JavaScript codebase. This approach significantly reduces development costs and increases coding efficiency.
This guide will focus on creating an application using pure JavaScript without any additional frameworks. Despite the challenges of finding resources for pure JavaScript app development in 2021, we’re here to provide you with a comprehensive tutorial on building your application and utilizing native plugins with CapacitorJS.
‣ Prerequisites
Before we begin, ensure you have the following tools installed:
- Node.js (v14.16.1) or higher
- NPM (v7.6.2) or higher
- Android Studio for Android app development
- Xcode for iOS app development (macOS only)
Note: iOS app development is only possible on a macOS device.
‣ Setting Up Your Capacitor Project
To create a Capacitor application, navigate to your desired folder and execute the following command in your terminal:
npm init @capacitor/appFollow the prompts to install the package and set up your project. With Capacitor v3, your project directory should look like this:
www/ css/ style.css js/ capacitor-welcome.js index.html manifest.json.gitignorecapacitor.config.jsonpackage.jsonREADME.mdWith the initial setup complete, you’re ready to proceed.
‣ Project Restructuring
We’ll be using Vite to bundle our JavaScript files, so let’s restructure our project accordingly:
- Create a new folder
srcin the main directory. - Create a new script file
index.jsinsrc/. - Create the Vite config file
vite.config.jsin the main directory. - Remove the
capacitor-welcome.jsfile fromwww/js/.
Your new folder structure should resemble:
src/ index.jswww/ css/ style.css js/ index.html manifest.json.gitignorecapacitor.config.jsonpackage.jsonREADME.mdvite.config.js‣ Adapting to Pure JavaScript
Let’s modify some files to work with pure JavaScript:
www/index.html
- Remove the script imports for Ionic PWA Elements if you’re not releasing the app as a PWA:
<script type="module" src="https://unpkg.com/@ionic/pwa-elements@latest/dist/ionicpwaelements/ionicpwaelements.esm.js"></script><script nomodule src="https://unpkg.com/@ionic/pwa-elements@latest/dist/ionicpwaelements/ionicpwaelements.js"></script>-
Delete the
<capacitor-welcome>HTML element from the body. -
Update the script import from
capacitor.jstojs/main.js. This will be our bundled JavaScript file. -
Remove the
js/capacitor-welcome.jsimport. Yourindex.htmlis now ready.
vite.config.js
To bundle our Node.js modules with Vite, we need a config file specifying the output destination for our bundled script. The following configuration will take the file src/index.js and bundle it for production as www/js/main.js:
import { defineConfig } from 'vite';import path from 'path';
export default defineConfig({  build: {    outDir: path.resolve(__dirname, 'www'),    rollupOptions: {      input: './src/index.js',      output: {        format: 'es',        file: path.resolve(__dirname, 'www/js/main.js')      }    }  }});
capacitor.config.json
In the capacitor.config.json file, locate the "bundledWebRuntime": true property and change it to false. This adjustment ensures that Capacitor does not bundle the files, allowing us to use Vite for that purpose instead.
With these changes, your Capacitor application’s basic setup is complete, and you’re ready to start developing your app with pure JavaScript.
‣ Developing Your App
Now that the groundwork is laid, you can begin writing your application logic in the src/index.js file. Here, you can import any necessary Node.js modules, define your app’s functionality, and interact with Capacitor’s native plugins.
Remember to run Vite’s build command to bundle your JavaScript files whenever you make changes:
vite buildThis command will generate the main.js file in your www/js directory, which your index.html file will reference.
‣ Testing and Debugging
Capacitor provides a convenient way to test your application on various platforms. Use the following commands to open your app in the respective platform’s development environment:
For Android:
npx cap add androidnpx cap open androidFor iOS (macOS only):
npx cap add iosnpx cap open iosFor Web/PWA:
npx cap serveThese commands will allow you to run your application in Android Studio, Xcode, or your web browser, where you can test and debug as needed.
‣ Conclusion
Developing cross-platform applications with CapacitorJS using pure JavaScript is a cost-effective and efficient way to create apps for multiple platforms with a single codebase. By following this guide, you’ve set up your project, restructured it for Vite, and prepared your app for development. With this foundation, you’re well on your way to building a robust and versatile application.
Remember to test thoroughly on all platforms and make use of Capacitor’s native plugins to enhance your app’s functionality. Happy coding!


