In this tutorial, we will begin with creating a new web app using Quasar. Later on, we’ll learn how to turn it into a mobile app using Capacitor. If you want to make your app look better on mobile.
With Capacitor, you can change your Quasar web app into a mobile app without needing to do lots of hard things or learn a completely new way of making apps like you would with something called React Native.
This tutorial will guide you through the process, starting with a new Quasar app and then incorporating Capacitor to move into the realm of native mobile apps. Additionally, you will use Capgo to send live update to your app in seconds.
About Capacitor
CapacitorJS is truly a game-changer! You can effortlessly incorporate it into any web project, and it will wrap your application into a native webview, generating the native Xcode and Android Studio project for you. Plus, its plugins provide access to native device features like the camera via a JS bridge.
With Capacitor, you get a fantastic native mobile app without any complicated setup or steep learning curve. Its slim API and streamlined functionality make it a breeze to integrate into your project. Trust me, you’ll be amazed at how effortless it is to achieve a fully functional native app with Capacitor!
Preparing Your Quasar App
To create a new Quasar app, run the following command:
npm init quasar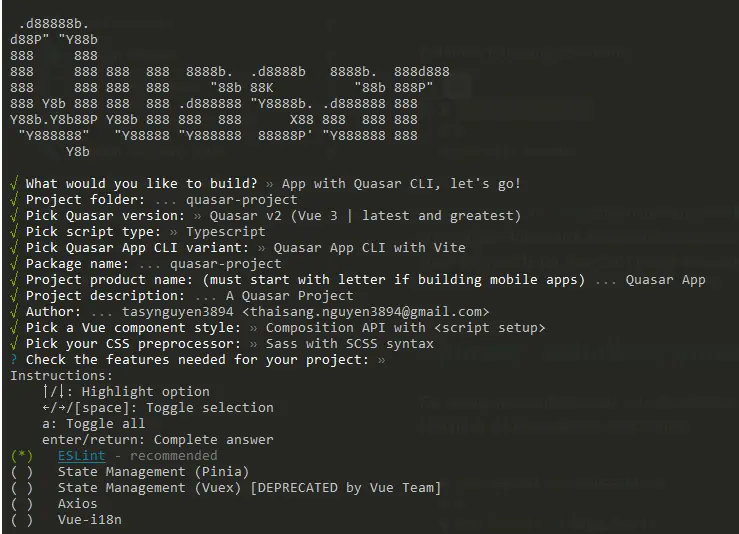
Pick the “App with Quasar CLI” option then “Quasar v2”.
In order to create a native mobile app, we require an export of our project. Thus, let’s include a straightforward script in our package.json that can be utilized to build and copy the Quasar project:
{ "scripts": { // ... "build": "quasar build" }}After executing the command generate, you should be able to spot a fresh dist folder at your project’s root.
This folder will be used by Capacitor later on, but for now, we must set it up correctly.
Adding Capacitor to Your Quasar App
To package any web app into a native mobile container, we must follow a few initial steps, but afterward it’s as simple as executing a single sync command.
Firstly, we can install the Capacitor CLI as a development dependency, and then set it up within our project. During the setup, you can press “enter” to accept the default values for name and bundle ID.
Next, we need to install the core package and the relevant packages for the iOS and Android platforms.
Finally, we can add the platforms, and Capacitor will create folders for each platform at the root of our project:
# Install the Capacitor CLI locallynpm install -D @capacitor/cli
# Initialize Capacitor in your Quasar projectnpx cap init
# Install the required packagesnpm install @capacitor/core @capacitor/ios @capacitor/android
# Add the native platformsnpx cap add iosnpx cap add android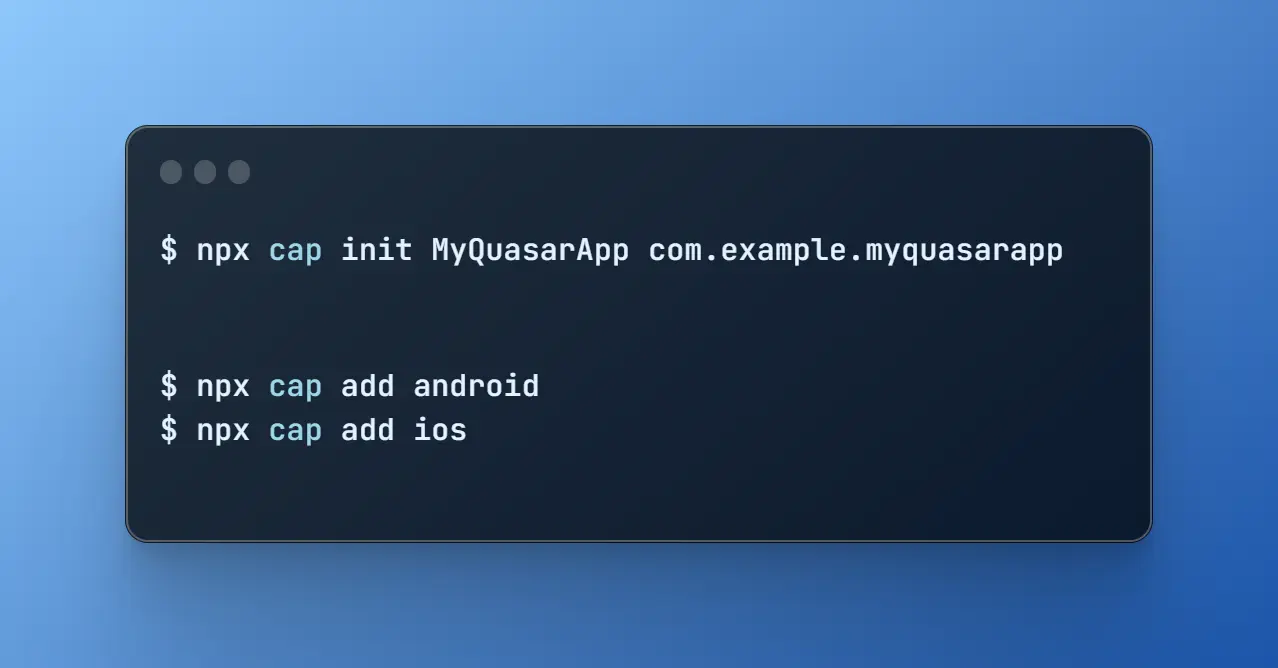
By this point, you should be able to observe new ios and android folders in your Quasar project.
Those are real native projects!
To access the Android project later, you must install Android Studio. For iOS, you need a Mac and should install Xcode.
Additionally, you should find a capacitor.config.ts file in your project, which contains some fundamental Capacitor settings utilized during the sync. The only thing you need to pay attention to is the webDir, which must point to the result of your build command. Currently, it is inaccurate.
To rectify this, open the capacitor.config.json file and update the webDir:
{ "appId": "com.example.app", "appName": "my-app", "webDir": "dist"}You can try it out by executing the following commands:
npm run generatenpx cap syncThe first command npm run generate will simply build your Quasar project and copy the static build, while the second command npx cap sync will sync all the web code into the right places of the native platforms so they can be displayed in an app.
Additionally, the sync command might update the native platforms and install plugins, so when you install a new Capacitor plugins it’s time to run npx cap sync again.
Without noticing, you are now actually done, so let’s see the app on a device!
Build and Deploy native apps
To develop iOS apps, you need to have Xcode installed, and for Android apps, you need to have Android Studio installed. Moreover, if you plan to distribute your app on the app store, you need to enroll in the Apple Developer Program for iOS and the Google Play Console for Android.
If you’re new to native mobile development, you can use the Capacitor CLI to easily open both native projects:
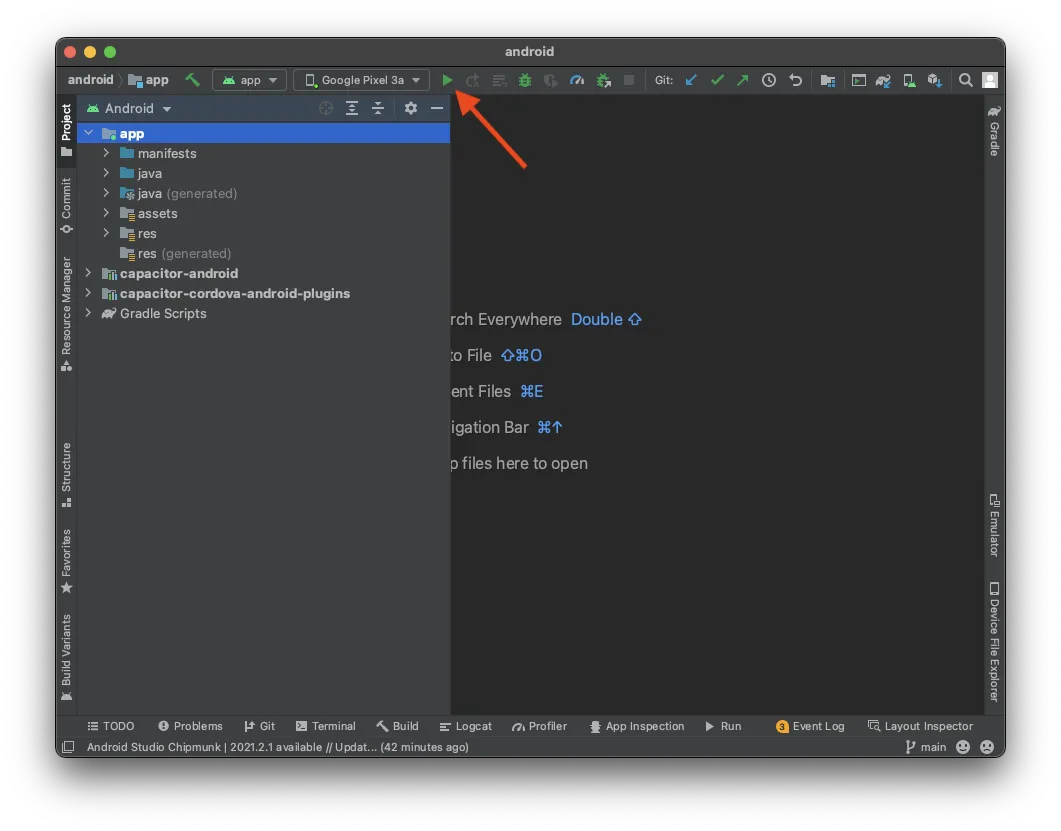
npx cap open iosnpx cap open androidOnce you’ve set up your native projects, deploying your app to a connected device is easy. In Android Studio, you just need to wait for everything to be ready, and you can deploy your app to a connected device without changing any settings. Here’s an example:
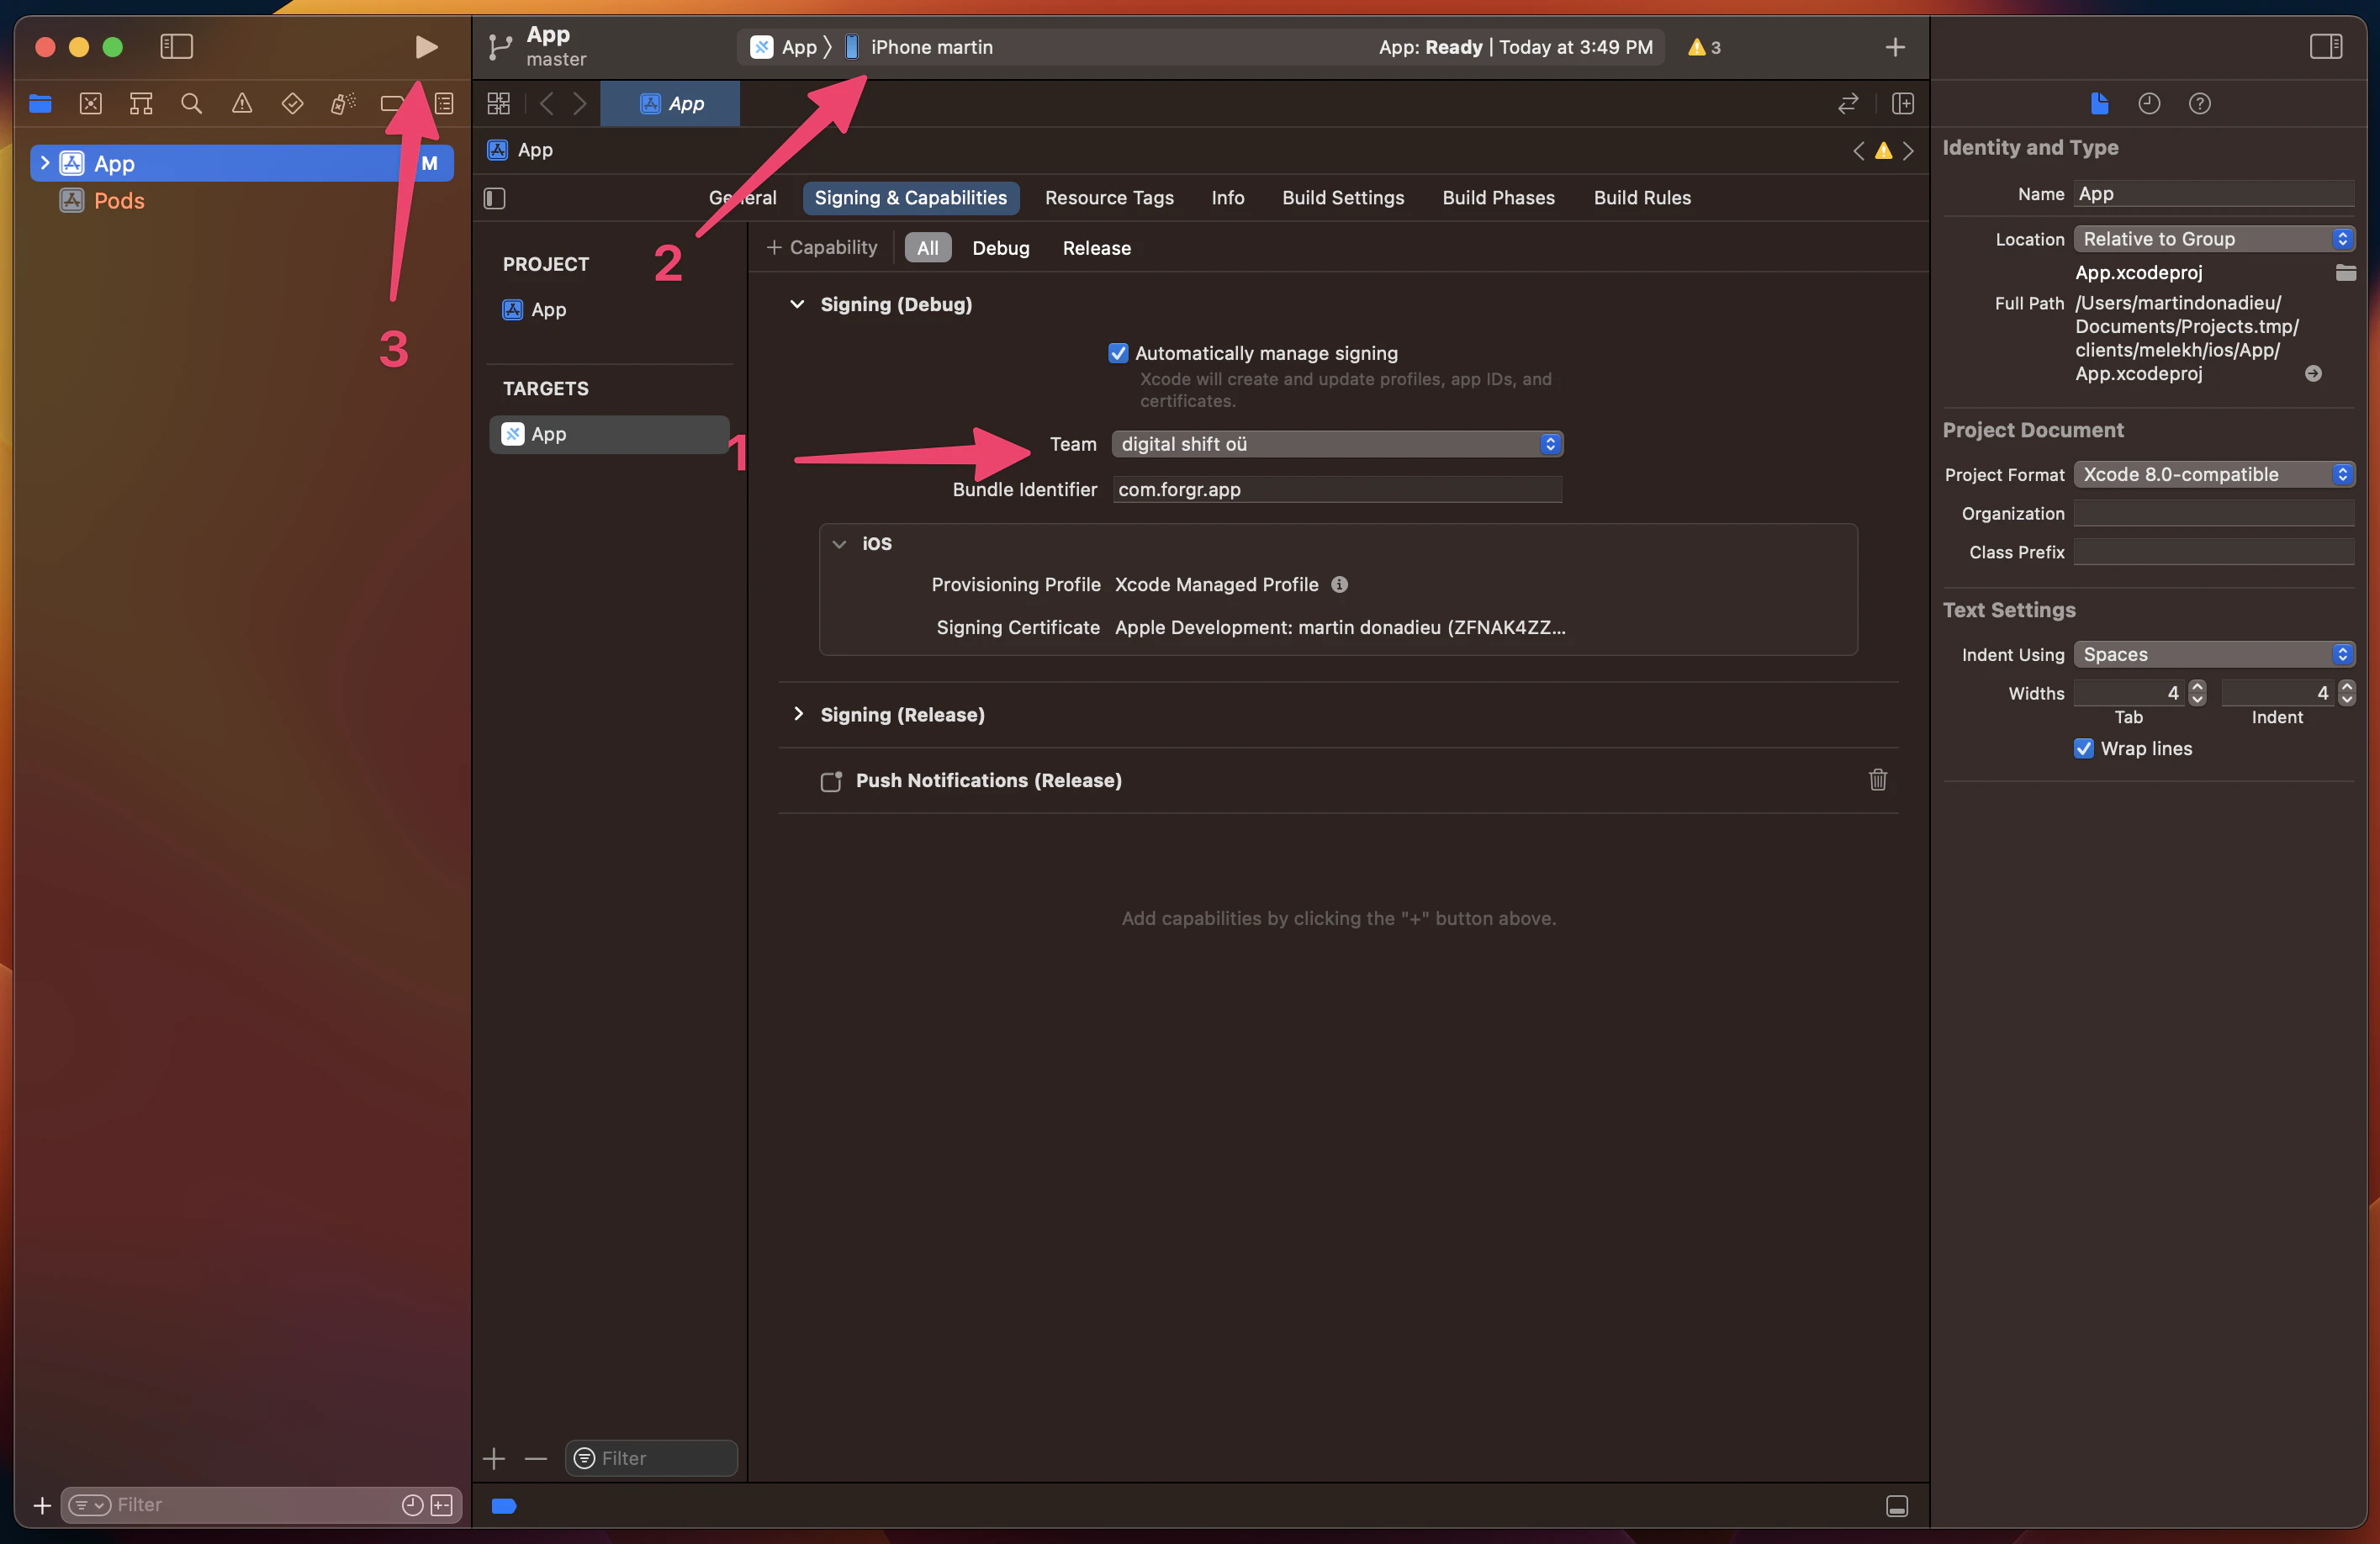
In Xcode, you need to set up your signing account to deploy your app to a real device instead of just the simulator. If you haven’t done this before, Xcode guides you through the process (but again, you need to be enrolled in the Developer Program). After that, you can simply hit play to run the app on your connected device, which you can select at the top. Here’s an example:
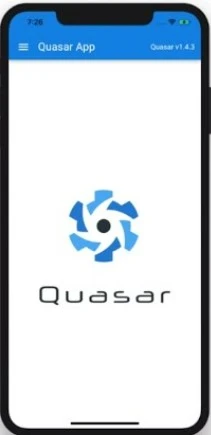
Congratulations! You have successfully deployed your Quasar web app to a mobile device. Here’s an example:
But hold on, there’s also a faster way to do this during development…
Capgo Live Update
Capgo Live Update is a service that allows developers to deploy updates to their mobile apps without going through the traditional App Store submission process. This can be a convenient way to quickly fix bugs or make small updates to an app without waiting for the App Store review process.
Integrating Capgo into your Quasar app is a straightforward process that empowers you to harness the power of real-time live updates. This step-by-step guide will walk you through the integration and implementation of Capgo Live Update, enabling you to deliver seamless updates.
Sign Up and Access the Capgo Dashboard:
It’s time to sign up, and get your API key to upload your first version! Begin by signing up for a Capgo account.
Install the Capgo SDK:
From a command line, directly into the root of your Capacitor app, run:
npm i @capgo/capacitor-updater && npx cap sync To install the plugin into your Capacitor app.
And then add to your app this code as a replacement of CodePush one:
import { CapacitorUpdater } from '@capgo/capacitor-updater'
CapacitorUpdater.notifyAppReady()
This will tell the native plugin the installation as succeeded.
Login to Capgo CLOUD:
First, use the all apikey present in your account to log in with the CLI:
`npx @capgo/cli@latest login YOU_KEY`Add your first App:
Let’s get started by first creating an app in Capgo Cloud with the CLI.
npx @capgo/cli@latest app addThis command will use all variables defined in the Capacitor config file to create the app.
Upload your first version:
Run the command to build your code and send it to Capgo with:
npx @capgo/cli@latest bundle upload`By default, the version name will be the one in your package.json file.
Check in Capgo if the build is present.
You can even test it with my mobile sandbox app.
Make channel default:
After you have sent your app to Capgo, you need to make your channel default to let apps receive updates from Capgo.
npx @capgo/cli@latest channel set production -s default
Configure app to validate updates:
Add this config to your main JavaScript file.
import { CapacitorUpdater } from '@capgo/capacitor-updater'
CapacitorUpdater.notifyAppReady()
Then do a npm run build && npx cap copy to update your app.
Receive a Live Update:
For your application to receive a live update from Deploy, you’ll need to run the app on a device or an emulator. The easiest way to do this is simply to use the following command to launch your local app in an emulator or a device connected to your computer.
npx cap run [ios | android]Open the app, put it in the background and open it again, you should see in the logs the app did the update.
Congrats! 🎉 You have successfully deployed your first Live Update. This is just the start of what you can do with Live Updates. To learn more, view the complete Live Updates docs.
Using Capacitor Plugins
Let’s take a look at how to use a Capacitor plugin in action, which we’ve mentioned a few times before. To do this, we can install a fairly simple plugin by running:
npm i @capacitor/shareThere’s nothing fancy about the Share plugin, but it anyway brings up the native share dialog! For this we now only need to import the package and call the according share() function from our app, so let’s change the pages/index.vue to this:
<template>  <div>    <h1>Welcome to Quasar and Capacitor!</h1>    <button @click="share">Share now!</button>  </div></template>
<script setup lang="ts">import { Share } from '@capacitor/share';
async function share() {  await Share.share({    title: 'Open Youtube',    text: 'Check new video on youtube',    url: 'https://www.youtube.com',    dialogTitle: 'Share with friends'  });}</script>
As mentioned earlier, when installing new plugins, we need to perform a sync operation and then redeploy the app to our device. To do this, run the following command:
npx cap syncAfter hitting the button, you can witness the beautiful native share dialog in action!
Optionally Adding Konsta UI
To use Konsta UI in your Quasar app, you need to have tailwind already install and to install the package:
npm i konstaAdditionally, you need to modify your tailwind.config.js file:
// import konstaConfig configconst konstaConfig = require('konsta/config')
// wrap config with konstaConfig configmodule.exports = konstaConfig({  content: [    './pages/**/*.{vue}',    './components/**/*.{vue}',  ],  darkMode: 'media', // or 'class'  theme: {    extend: {},  },  variants: {    extend: {},  },  plugins: [],})
konstaConfig will extend the default (or your custom one) Tailwind CSS config with some extra variants and helper utilities required for Konsta UI.
Now we need to set up the main App component so we can set some global parameters (like theme).
We need to wrap the whole app with App in the pages/_app.vue:
<template>  <App theme="ios">    <Quasar />  </App></template>
<script setup>import { App } from 'konsta/vue';</script>
Example Page
Now when everything is set up, we can use Konsta UI Vue components in our Quasar pages.
For example, let’s open pages/index.vue and change it to the following:
<template>  <Page>    <Navbar title="My App" />
    <Block strong>      <p>        Here is your Quasar & Konsta UI app. Let's see what we have here.      </p>    </Block>    <BlockTitle>Navigation</BlockTitle>    <List>      <ListItem href="/about/" title="About" />      <ListItem href="/form/" title="Form" />    </List>
    <Block strong class="flex space-x-4">      <Button>Button 1</Button>      <Button>Button 2</Button>    </Block>  </Page></template>
<script setup>import {  Page,  Navbar,  Block,  Button,  List,  ListItem,  Link,  BlockTitle,} from 'konsta/vue';</script>
If the live reload is out of sync after installing all the necessary components, try restarting everything. Once you have done that, you should see a mobile app with a somewhat native look, built with Quasar and Capacitor!
Conclusion
Capacitor is an excellent option for building native applications based on an existing web project, offering a simple way to share code and maintain a consistent UI.
And with the addition of Capgo, it’s even easier to add live updates to your app, ensuring that your users always have access to the latest features and bug fixes.
If you would like to learn how to add Capgo to your Next.js app, take a look at the next article :


