Capgo makes deploying hotfixes fast and easy, skipping app store delays while keeping updates secure and compliant with Apple and Google guidelines. Here’s a quick overview of the process:
- Create and Test Your Hotfix: Write precise code changes, test thoroughly on devices, and ensure compatibility.
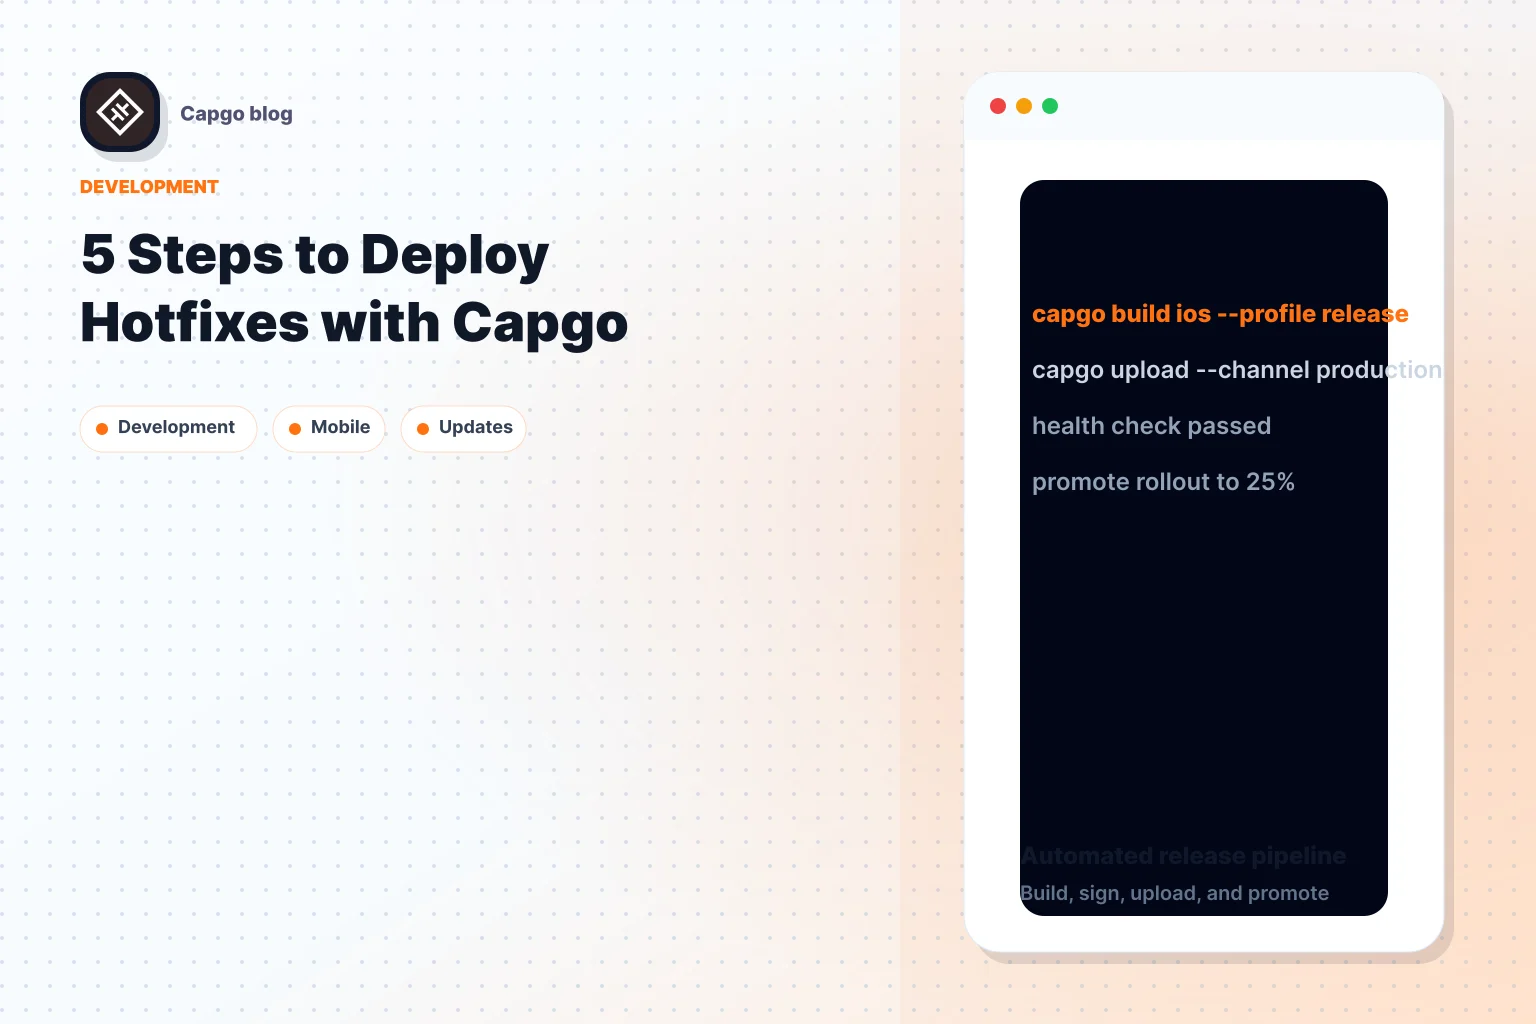
- Set Up Capgo: Install the Capgo CLI with
npx @capgo/cli init, configure encryption, and integrate with CI/CD tools. - Upload Your Hotfix: Use the CLI to securely upload your update, label it clearly, and prepare for deployment.
- Choose Update Settings: Target specific users or groups, schedule rollouts, and define version requirements.
- Track Your Update: Monitor delivery rates, update speed, and user coverage. Roll back instantly if needed.
Capgo has delivered over 947.6 million updates globally and improved release efficiency by 81% for its users. It’s the go-to tool for agile teams needing quick, secure hotfix deployments.
Step 1: Create and Test Your Hotfix
Write the Hotfix Code
Focus on making precise changes that address the bug without compromising the app’s stability.
Here’s a quick guide to structuring your hotfix:
| Best Practice | How to Apply It |
|---|---|
| Isolated Changes | Keep changes limited to the affected components. |
| Version Control | Use a dedicated branch for hotfix development. |
| Documentation | Include clear comments about the fix and its impact. |
| Dependencies | Ensure compatibility with existing app dependencies. |
With Capgo’s instant update capability, you can zero in on fixing the bug without worrying about bundling unrelated changes. This method has proven effective, as highlighted by colenso:
“We rolled out Capgo OTA updates in production for our user base of +5000. We’re seeing very smooth operation almost all our users are up to date within minutes of the OTA being deployed to @Capgo” [1].
Test on Your Device
Thorough testing is critical to ensure the hotfix works seamlessly. Use these steps:
- Development Testing: Run the fix in your local development environment.
- Device Testing: Check the fix on various devices and operating system versions.
- Integration Testing: Confirm the fix doesn’t interfere with other features.
Automate as much of the testing process as possible using CI/CD tools.
“We practice agile development and @Capgo is mission-critical in delivering continuously to our users!” - Rodrigo Mantica [1]
Once your hotfix has passed all tests, you’re ready to set up Capgo for deployment.
Step 2: Set Up Capgo

Install Required Packages
To get started with Capgo in your Capacitor project, use its CLI tool. Simply run the following command:
npx @capgo/cli initThis command does the heavy lifting for you:
- Installs the Capgo plugin
- Configures your project automatically
- Prepares your project for Capgo services
Once the installation is complete, you can move on to configuring your project with Capgo’s encryption and compliance features.
Set Up Your Project
Capgo ensures your project is ready with encryption and compliance standards for both Apple and Google. It works seamlessly with CI/CD tools, encrypts updates for security, and aligns with app store guidelines.
| Integration Step | Purpose | Benefit |
|---|---|---|
| CI/CD Setup | Connects with CI/CD tools | Simplifies deployments |
| E2E Encryption | Secures update delivery | Maintains code integrity |
| Platform Compliance | Meets app store standards | Enables smooth distribution |
This setup has been validated by developers. As Bessie Cooper explains:
“@Capgo is a must have tools for developers, who want to be more productive. Avoiding review for bugfix is golden.” [1]
For larger teams, Capgo offers features like multi-organization setups and detailed permission management. It integrates with platforms like GitHub, GitLab, Azure DevOps, and Jenkins, making automated deployment workflows straightforward. Rodrigo Mantica highlights its importance for agile teams:
“We practice agile development and @Capgo is mission-critical in delivering continuously to our users!” [1]
With your project fully set up, you’re ready to upload your hotfix and deploy it instantly.
Step 3: Upload Your Hotfix
Send Files to Capgo
After setting up your project, it’s time to upload your hotfix using the Capgo CLI tool. This ensures a secure and efficient transfer of your update. Start by building your app as you normally would during development.
Here’s how it works:
- Build your app using your standard process.
- Double-check that all files compile without errors.
- Use the Capgo CLI tool to upload your update.
Label Your Updates
Clear labeling is key for managing and tracking your hotfixes. When uploading your update to Capgo, include specific version details and descriptive labels. This helps organize your updates and keeps everyone on the same page.
| Labeling Element | Purpose | Best Practice |
|---|---|---|
| Version Number | Tracks update sequence | Use semantic versioning |
| Update Description | Highlights key changes | Focus on main fixes and updates |
| Release Notes | Communicates changes | Detail specific improvements |
Martin Donadieu, Capgo’s founder, has designed a versioning system that integrates smoothly with CI/CD workflows. This system makes it easy to track updates and roll back if necessary.
Capgo’s update management also includes features like end-to-end encryption and instant deployment, ensuring your hotfixes are secure while reaching users quickly.
Once your hotfix is uploaded and labeled, move on to Step 4 to configure your update settings.
sbb-itb-f9944d2
Capgo Live Update System for Capacitor Apps

Step 4: Choose Update Settings
Once you’ve uploaded your hotfix, it’s time to configure the settings for targeting users and defining rollout criteria. This ensures a controlled and effective deployment.
Select Users and Devices
Capgo’s user assignment tools let you pinpoint exactly who should receive the hotfix. There are two main strategies available:
| Deployment Type | Ideal For | Advantages |
|---|---|---|
| Private Testing | Beta testers, QA teams | Enables controlled testing with early feedback |
| Public Release | All users, staged rollouts | Allows broad distribution with gradual deployment |
For example, if a bug affects users in a specific region, you can prioritize that group for quicker validation. After selecting your target audience, you can proceed to set detailed release rules.
Set Release Rules
Through Capgo’s web interface, you can fine-tune the release process by setting parameters like schedule, app version compatibility, and how gradually the update is rolled out.
Here are the key settings to configure:
- Deployment Schedule: Choose specific times for the update to go live.
- Version Requirements: Define which app versions should receive the update.
- Rollout Percentage: Control the pace of the release, starting with a smaller group and expanding gradually.
For urgent fixes, you can opt for immediate deployment to address issues right away. For less critical updates, staged rollouts allow you to monitor performance and resolve potential problems as they arise. Additionally, Capgo provides options to create dedicated testing groups, making coordination smoother and more efficient.
Step 5: Track Your Update
Keep an eye on your hotfix progress and tackle any issues as soon as they come up.
Check Update Status
Capgo’s analytics provide insights into key update metrics:
| Metric | What to Monitor | Why It Matters |
|---|---|---|
| Delivery Rate | Percentage of successful updates | Shows how well your deployment is working |
| Update Speed | Time to reach target users | Highlights any slowdowns or bottlenecks |
| User Coverage | Number of devices updated | Indicates how many users received the fix |
Handle Problems
After reviewing these metrics, be ready to address any challenges quickly.
-
Rollback Instantly
If something goes wrong, Capgo’s rollback feature lets you instantly revert to the previous version. -
Analyze User Assignments
Check how updates are distributed to spot if specific groups or devices are experiencing issues. -
Monitor Performance
Use real-time metrics to pinpoint and resolve problems. Capgo’s tools can help identify if the issue lies in delivery, installation, or compatibility.
Rodrigo Mantica, a business developer, highlights Capgo’s importance:
“We practice agile development and @Capgo is mission-critical in delivering continuously to our users!” [1]
Capgo’s web interface makes it easy to monitor your update’s progress with detailed logs and performance metrics. Its tracking features have helped organizations improve release efficiency by up to 81% [1], ensuring stable app performance while quickly addressing any problems.
Summary
Main Points
Capgo simplifies the process of deploying hotfixes quickly and effectively, with a proven track record of delivering 947.6 million updates across 1,400 production apps [1].
| Step | Action | Goal |
|---|---|---|
| Create & Test | Develop and verify hotfix locally | Ensure code quality |
| Set Up Capgo | Install the plugin using npx @capgo/cli init |
Simplify configuration |
| Upload | Transfer files via the CLI | Enable fast distribution |
| Configure | Assign users and set rules | Deploy updates precisely |
| Monitor | Track performance and resolve issues | Improve efficiency |
Follow these steps to integrate Capgo into your workflow and streamline your update process.
Getting Started
Before diving in, take a moment to review the steps above. They break down the deployment process into manageable actions, making it easier to implement.
Kick off your Capgo integration by adding the Capgo CLI to your project. With end-to-end encryption, the platform ensures secure and dependable updates every time.
“Capgo is a smart way to make hot code pushes.”
For even greater efficiency, integrate Capgo with your CI/CD tools like Azure DevOps, GitLab, or GitHub. This setup enables automated deployments while giving you control over update distribution through user assignment features.
Keep going from 5 Steps to Deploy Hotfixes with Capgo
If you are using 5 Steps to Deploy Hotfixes with Capgo to plan security and compliance, connect it with Encryption for the implementation detail in Encryption, Compliance for the implementation detail in Compliance, Capgo Security Scanner for the product workflow in Capgo Security Scanner, Capgo Security for the product workflow in Capgo Security, and Capgo Trust Center for the product workflow in Capgo Trust Center.


