Want to build iOS and Android apps using web technologies? Here’s how to set up a local Capacitor environment quickly and efficiently.
Key Steps:
-
Install Required Software:
-
iOS Setup (macOS only):
-
Android Setup:
- Android Studio Hedgehog (2023.1.1)+, Android SDK API level 23+, JDK 17, and Gradle 8.0+.
- Set environment variables for Android tools.
-
Install Capacitor:
Terminal window npm install @capacitor/core @capacitor/cli @capacitor/ios @capacitor/android -
Initialize a Project:
- Create a new project or integrate Capacitor into an existing app using
npx cap init.
- Create a new project or integrate Capacitor into an existing app using
-
Add Platforms:
Terminal window npx cap add iosnpx cap add android -
Build and Sync:
- Build web assets (
npm run build) and sync them with native platforms (npx cap sync).
- Build web assets (
-
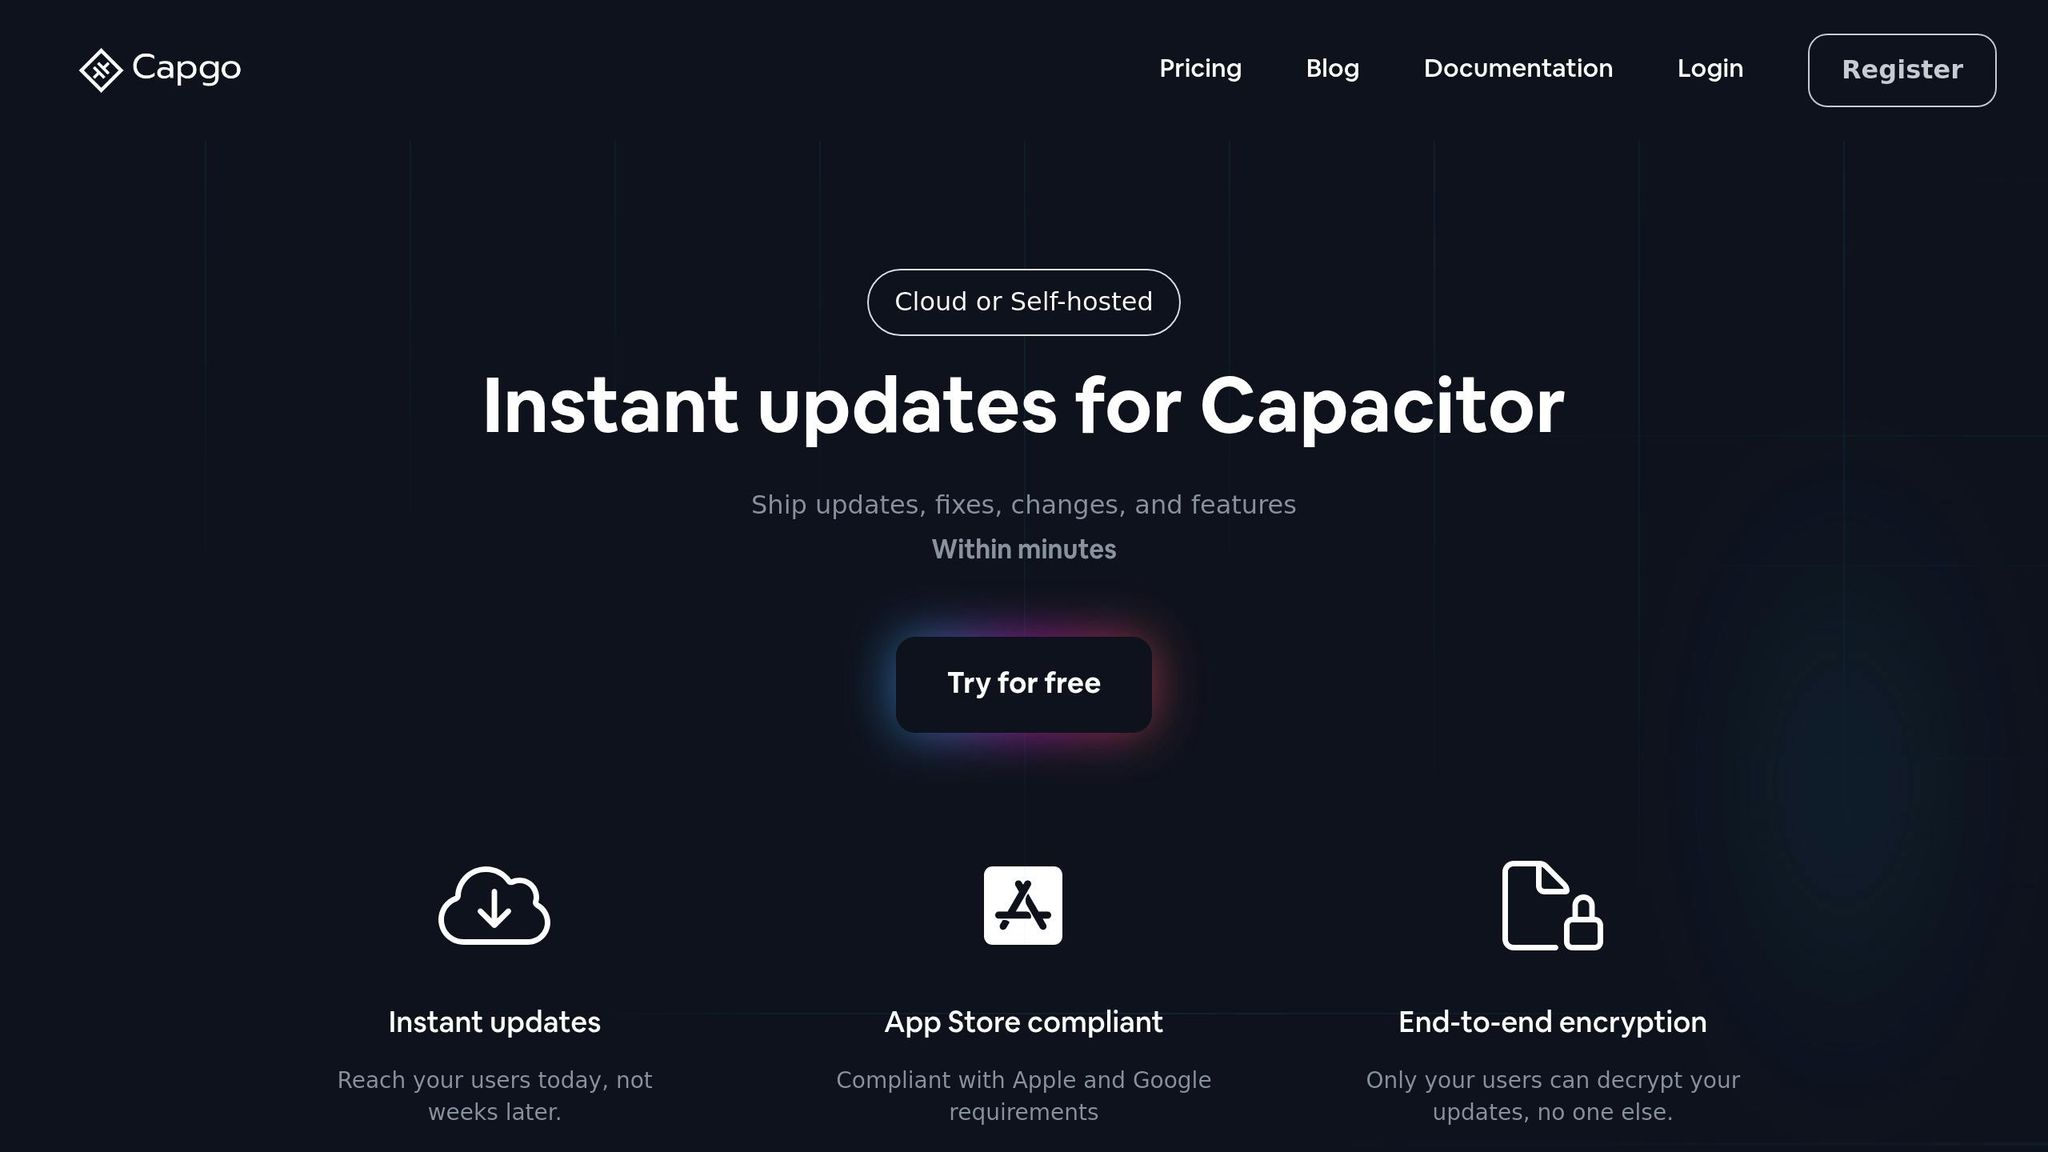
Enable Live Updates:
-
Use Capgo for real-time updates with:
Terminal window npx @capgo/cli init
-
-
- Use iOS Simulator (
npx cap open ios) or Android Emulator (npx cap open android).
- Use iOS Simulator (
Quick Tip:
Update capacitor.config.ts to manage environments and enable live updates. For example:
const config: CapacitorConfig = { server: { url: process.env.NODE_ENV === 'development' ? 'http://localhost:3000' : 'https://production-url.com', cleartext: true }};This setup ensures smooth development, testing, and deployment for your Capacitor apps.
Ionic Capacitor - Create new App - Run in Android & iOS …
Required Setup
Make sure your system meets the necessary specifications before proceeding.
Basic Software Needs
Install the following tools:
| Software | Minimum Version | Notes |
|---|---|---|
| Node.js | v20.0.0+ | LTS version is recommended |
| npm | v9.0.0+ | Comes bundled with Node.js |
| Git | v2.40.0+ | Required for version control |
| VS Code/WebStorm | Latest | Any modern IDE will work |
Your machine should have at least 8GB RAM, 256GB storage, and an Intel i5/AMD Ryzen 5 (or equivalent) processor.
iOS and Android Setup
iOS Requirements (macOS only):
- macOS 13.0 (Ventura) or newer
- Xcode 16.0 or later (download from the Mac App Store)
- CocoaPods 1.12.0 or higher (install using
sudo gem install cocoapods) - An active Apple Developer account
Android Requirements (Windows/macOS/Linux):
- Android Studio Hedgehog (2023.1.1) or later
- Android SDK API level 23 (Android 6.0) or above
- Java Development Kit (JDK) 17
- Gradle 8.0+
Set up Android environment variables by adding these lines to your shell configuration file:
export ANDROID_HOME=$HOME/Library/Android/sdkexport PATH=$PATH:$ANDROID_HOME/toolsexport PATH=$PATH:$ANDROID_HOME/platform-toolsInstalling Capacitor
Install Capacitor using npm:
npm install @capacitor/core @capacitor/clinpm install @capacitor/ios @capacitor/androidIf you’re using a framework like Vue, React, or Angular, install the corresponding Capacitor plugins. For Vue, run:
npm install @capacitor/vueTo confirm the installation, check the Capacitor version by running:
npx cap --versionYou should see the current Capacitor version displayed (e.g., 5.x.x as of April 2025).
Finally, initialize Capacitor in your project directory:
npx cap initOnce completed, you can configure these components for your specific project.
Setup Instructions
Project Setup
To start, either create a new Capacitor project or integrate Capacitor into an existing web app:
npm init @capacitor/appcd my-cap-appnpm installIf you’re adding Capacitor to an existing web app, initialize it in your project directory:
cd your-web-appnpm install @capacitor/core @capacitor/clinpx cap init [appName] [appId]Once initialized, you’ll need to add the necessary platforms for native development.
Platform Setup
Add iOS and Android platforms to your project:
npm install @capacitor/ios @capacitor/androidnpx cap add iosnpx cap add androidUpdate your capacitor.config.ts file to include the required configurations:
import { CapacitorConfig } from '@capacitor/cli';
const config: CapacitorConfig = {    appId: 'com.example.app',    appName: 'My Capacitor App',    webDir: 'dist',    bundledWebRuntime: false,    plugins: {      // Add plugin settings here    }};
export default config;
Build Process
- Build your web assets by running:
npm run build- Sync your project with native platforms:
npx cap syncAfter syncing, make sure to configure your environment and live update settings.
Environment Setup
To manage environments, update your capacitor.config.ts file:
const config: CapacitorConfig = { server: { url: process.env.NODE_ENV === 'development' ? 'http://localhost:3000' : 'https://production-url.com', cleartext: true }};Enable live updates with Capgo for smoother update delivery:
npx @capgo/cli initTesting Setup
Set up your testing environment using these commands:
| Environment | Command | Requirements |
|---|---|---|
| iOS Simulator | npx cap open ios | Xcode installed |
| Android Emulator | npx cap open android | Android Studio configured |
| Live Reload | npx cap run [platform] | Dev server running |
For testing on physical devices:
- Ensure iOS devices are registered with your Apple Developer account.
- Enable USB debugging on Android devices.
- Verify that development certificates are correctly set up.
“We practice agile development and @Capgo is mission-critical in delivering continuously to our users!” – Rodrigo Mantica [1]
Capgo’s channel system is a great tool for beta testing and staged rollouts. It lets you target specific user groups with different versions, helping you identify and fix issues before a broader release [1].
Additional Features
Expand your Capacitor setup with tools that improve update delivery, streamline automation, and allow for tailored configurations.
Capgo Setup
Simplify your workflow using Capgo’s live update system. To get started, run:
npx @capgo/cli initThen, adjust your capacitor.config.ts file to enable live updates:
{ plugins: { CapacitorUpdater: { autoUpdate: true, statsUrl: 'https://your-stats-endpoint.com' } }}Capgo’s global CDN delivers impressive speeds, with 5MB bundles downloading in just 114ms [1]. Once live updates are set up, you can automate your builds for smoother deployments.
Build Automation
Integrate Capgo with your CI/CD pipeline to automate builds and deployments. It supports popular platforms like:
| CI/CD Platform | Integration Method | Key Benefits |
|---|---|---|
| GitHub Actions | Direct workflow | Auto-deployment triggers |
| GitLab CI | Pipeline integration | Version control sync |
| Jenkins | Plugin support | Custom build steps |
Here’s an example of a CI/CD pipeline configuration:
build_and_deploy: steps: - run: npm run build - run: npx cap sync - run: npx @capgo/cli deploy“We configure your CI/CD pipeline directly in your preferred platform, whether it’s GitHub Actions, GitLab CI, or others. We don’t host CI/CD or charge you to maintain it.” - Capgo [1]
Custom Settings
Tailor your app’s configuration with specific settings beyond live updates and automation:
const config: CapacitorConfig = { ios: { contentInset: 'automatic', preferredContentMode: 'mobile' }, android: { backgroundColor: '#ffffff', allowMixedContent: true }, plugins: { SplashScreen: { launchAutoHide: true, backgroundColor: '#ffffffff', androidScaleType: 'CENTER_CROP' } }};For better performance, consider these options:
- Enable end-to-end encryption
- Configure user assignment
- Set up analytics tracking
- Use rollback features
These tools contribute to an 82% success rate across 750 production apps worldwide [1].
Problem Solving
Here’s how to tackle common issues and improve your setup for a smoother workflow.
Common Problems
Dependency Conflicts
If you encounter conflicts with dependencies, try these commands:
npm ls @capacitor/corerm -rf node_modulesnpm installPlatform-Specific Issues
| Platform | Problem | Fix |
|---|---|---|
| iOS | Xcode build fails | Update CocoaPods and run pod install |
| Android | Gradle sync error | Clear the Gradle cache and update Android Studio |
| Both | Live reload not working | Enable dev mode in capacitor.config.ts |
Version Compatibility
Ensure your configuration aligns with the following example:
const config: CapacitorConfig = { appId: 'com.example.app', appName: 'My App', webDir: 'dist', bundledWebRuntime: false, plugins: { CapacitorUpdater: { autoUpdate: true } }};By addressing these issues early on, you can avoid unnecessary roadblocks.
Setup Tips
Here are some ways to improve stability and avoid recurring problems.
Best Practices
- Use built-in error tracking to quickly identify and fix problems [1].
- Set up update channels for controlled rollouts:
{ channels: { beta: { percentage: 25, deviceId: ['test-device-1'] }, production: { percentage: 100 } }}Automated Maintenance
- Regularly update your dependencies.
- Configure rollback settings to handle failed updates:
{ rollback: { enabled: true, maxVersions: 3, timeout: 300000 }}- Use end-to-end encryption to secure updates [1].
Summary
Here’s a quick recap of how an optimized Capacitor environment can improve your development process. Setting up your local Capacitor environment the right way speeds up development, streamlines builds, and simplifies updates.
Key Advantages of Proper Setup
- Instant updates make development cycles faster.
- Automated and dependable build processes save time and effort.
These improvements come from following the setup and integration practices discussed earlier.
Performance Highlights
Capgo-enhanced Capacitor environments show impressive results, including fast response times, quick downloads, and high success rates for updates [1].
Benefits for Developers
A properly configured environment lets developers focus on creating features instead of dealing with infrastructure. The setup outlined in this guide ensures you can take full advantage of these benefits while meeting platform requirements.


