Want to build powerful mobile apps using web technologies? Capacitor plugins let you bridge web apps with native device features like GPS, camera, and more - no deep mobile expertise needed.
Here’s what you’ll learn:
- What Capacitor plugins are: They connect web apps to iOS and Android features using JavaScript.
- Why create custom plugins: For advanced features like integrating third-party SDKs or improving performance.
- How to get started: Install Capacitor CLI, set up iOS/Android environments, and write cross-platform plugins.
- Advanced techniques: Handle hardware sensors, optimize performance, and ensure security.
- Testing and deployment: Debug issues, test on devices, and distribute plugins effectively.
- Use Capgo for live updates: Push updates instantly without app store delays.
Capacitor makes it easy for web developers to build native-like apps with one codebase. Dive in to create custom plugins that expand your app’s capabilities.
How to create a Capacitor plugin for iOS/Android
Setting Up Your Development Environment
To start developing Capacitor plugins, you’ll need to configure your environment based on the platforms you plan to target. This involves setting up tools and configurations specific to iOS, Android, and JavaScript.
Installing Capacitor CLI and Creating a Plugin
The Capacitor CLI is the main tool for building and managing plugin projects. Before you begin, make sure you have Node.js v16+ and npm v8+ installed.
Install the Capacitor CLI globally on your system:
npm install -g @capacitor/cliOnce installed, you can create a new plugin project using the following command:
npx @capacitor/create-plugin my-pluginThis command sets up a complete plugin structure, which includes:
- TypeScript definition files for defining your JavaScript interface
- An iOS directory with Swift plugin code and a
Package.swiftconfiguration file - An Android directory containing Java plugin classes and Gradle build files
- A pre-configured package.json file with essential dependencies
After generating the plugin, you’ll need to configure the environment for iOS and Android development.
Setting Up iOS and Android Development
Each platform requires a unique setup with specific tools and configurations.
iOS Development
For iOS, you’ll write Swift code and work with Xcode (version 14.0 or higher) on a Mac. Open the Package.swift file in Xcode to edit your Swift files. Dependency management can be handled using CocoaPods or Swift Package Manager (SPM).
To add a dependency like FirebaseFirestore using CocoaPods, include the following in your .podspec file:
s.dependency 'FirebaseFirestore', '~> 11.8'If you prefer SPM, add this to your Package.swift file:
.package(url: "https://github.com/firebase/firebase-ios-sdk.git", from: "11.8.0")Android Development
For Android, use Android Studio (Electric Eel or newer) along with JDK 11+. Open the android/ directory of your plugin project in Android Studio to access tools like the layout editor and APK analyzer. Plugins can be written in Java or Kotlin. If you prefer Kotlin, Android Studio provides a built-in tool to convert Java files automatically.
Once your platform-specific environments are ready, you’ll need to manage dependencies to ensure smooth builds and reliable functionality.
Managing Dependencies and Build Tools
Managing dependencies is crucial for maintaining compatibility and reliability across environments. Here’s a quick overview of tools for each platform:
| Platform | Tool | Example |
|---|---|---|
| JavaScript | npm | npm install lodash --save |
| iOS | CocoaPods/SPM | pod 'Alamofire', '~> 5.6.4' |
| Android | Gradle | implementation 'com.google.code.gson:gson:2.10.1' |
For JavaScript, use npm to manage dependencies. The plugin template already includes a package.json file with pre-configured dependencies. When adding libraries, ensure they are compatible with both browser and mobile environments. Regularly run npm audit to identify and address security vulnerabilities.
On iOS, CocoaPods (version 1.11.0 or higher) is commonly used for dependencies. You can define version requirements and frameworks in the .podspec file or use SPM for a more streamlined approach.
For Android, Gradle handles dependencies through build.gradle files. Specify version ranges for libraries to avoid conflicts with the host application. Gradle also manages tasks like ProGuard configurations, resource merging, and manifest processing, ensuring smooth integration with Capacitor applications.
With these tools and configurations in place, you’re ready to dive into the core techniques of plugin development.
Core Plugin Development Techniques
Creating Capacitor plugins revolves around three main aspects: understanding how the bridge connects web and native code, implementing platform-specific features, and designing clear TypeScript interfaces. Let’s break these down.
How the Capacitor Bridge Works
The Capacitor bridge is what makes communication between your JavaScript code and native platform features possible. It handles all the heavy lifting - message passing, method routing, and ensuring seamless cross-platform functionality.
On Android, the bridge serves as the backbone of the Capacitor Android library [7]. iOS uses a similar setup. The bridge operates through a runtime system that loads both built-in and custom plugins, initializes the Web View, and injects JavaScript symbols for all available plugins into the Web View [8][5].
When you call a plugin method like Camera.getPhoto() in JavaScript, the bridge automatically routes the call to the corresponding native implementation on iOS or Android. Here’s a quick look at how JavaScript maps to native functionality:
| Native Feature | JavaScript Implementation |
|---|---|
| Camera Access | Camera.getPhoto() |
| Geolocation | Geolocation.getCurrentPosition() |
| File System | Filesystem.readFile() |
| Device Info | Device.getInfo() |
The bridge also supports event communication from native code back to the web layer. For example, you can trigger JavaScript events from native code using methods like bridge.triggerJSEvent("myCustomEvent", "window", "{ 'dataKey': 'dataValue' }") [7]. This bidirectional flow is what enables real-time updates and notifications.
This robust bridge system is the foundation for building platform-specific native implementations.
Writing Native Code for iOS and Android
Capacitor plugins expose native features through JavaScript, with the native functionality implemented in Swift/Obj-C for iOS and Java/Kotlin for Android. Capacitor simplifies this by automatically generating JavaScript hooks, so you only need to focus on the native code for each platform [1].
iOS Implementation with Swift
For iOS, plugin development involves creating Swift classes that extend CAPPlugin. Each method you want to expose to JavaScript must include the @objc decorator and accept a CAPPluginCall parameter. Here’s an example:
@objc func getDeviceInfo(_ call: CAPPluginCall) { let info = [ "model": UIDevice.current.model, "platform": "ios", "version": UIDevice.current.systemVersion ] call.resolve(info)}The CAPPluginCall object handles parameters passed from JavaScript and provides resolve() and reject() methods to send responses back to the web.
Android Implementation with Java/Kotlin
On Android, plugins extend the Plugin class, and methods are exposed using annotations. Here’s a typical example in Java:
@PluginMethodpublic void getDeviceInfo(PluginCall call) { JSObject info = new JSObject(); info.put("model", Build.MODEL); info.put("platform", "android"); info.put("version", Build.VERSION.RELEASE); call.resolve(info);}Capacitor treats native projects as editable source artifacts, meaning you can modify native code without worrying about losing changes during updates [4]. This flexibility makes it easier to tweak and expand functionality.
“Capacitor’s support for the latest in security, performance, and native platform capabilities, makes it easy to build compelling, modern app experiences that our users want, without having to worry about all the underlying complexity of the native SDKs and iOS and Android specific code.” - Rakesh Gadapa, Application Developer III at Blue Cross Blue Shield of Michigan [4]
With the native functionality in place, the next step is to integrate it with TypeScript interfaces for better type safety and usability.
Building TypeScript Interfaces
TypeScript interfaces act as a bridge between your JavaScript and native layers. They define method signatures, ensure consistent implementation, and provide IDE autocompletion [9][10]. This makes your plugin easier to use and reduces errors.
Defining Plugin Interfaces
Start by creating a TypeScript interface that specifies all the methods your plugin will offer:
export interface DeviceInfoPlugin {  getInfo(): Promise<DeviceInfo>;  getBatteryInfo(): Promise<BatteryInfo>;}
export interface DeviceInfo {  model: string;  platform: 'ios' | 'android' | 'web';  version: string;  manufacturer?: string;}
Registering Your Plugin
When registering your plugin, use the generic parameter of registerPlugin() to define the plugin’s structure. This ensures type safety when calling methods:
import { registerPlugin } from '@capacitor/core';
const DeviceInfo = registerPlugin<DeviceInfoPlugin>('DeviceInfo', {  web: () => import('./web').then(m => new m.DeviceInfoWeb()),});
export * from './definitions';export { DeviceInfo };
This pattern ensures consistency across all platforms. For example, the EchoPlugin interface defines method signatures, and the EchoWeb class implements them to maintain type correctness [9].
Ensuring Cross-Platform Consistency
To avoid confusion, ensure your plugin’s API behaves the same way on all platforms [10]. If a method returns different data structures on iOS and Android, normalize the responses in your native code before sending them to the web layer.
For event handling, define interfaces that specify the exact structure of the emitted data:
export interface LocationUpdateEvent { latitude: number; longitude: number; accuracy: number; timestamp: number;}Advanced Plugin Development
Taking plugin development to the next level means adding capabilities that cater to more complex and specialized scenarios. This involves integrating hardware sensors, creating custom native UI components, and handling real-time data processing - all while ensuring top-notch security.
Working with Advanced Native Features
The Capacitor framework gives developers access to essential features like the file system, camera, and location services [15]. Advanced plugins, however, can tap into even more functionality, such as action sheets, haptics, in-app browsers, and native notifications [16].
When working with hardware sensors, efficient handling of high-frequency data and minimizing battery drain are critical. Devices often include sensors like accelerometers, gyroscopes, magnetometers, and proximity sensors, which are essential for applications like fitness tracking, augmented reality, or navigation.
Although Capacitor’s web-based approach handles most interface needs, there are times when native UI components are essential for a better user experience. For example, custom camera overlays, unique input controls, or platform-specific navigation patterns may require native design elements.
A real-world example of this is a delivery carrier app where drivers needed to collect customer signatures as proof of delivery. In portrait mode, the signatures often came out poorly, raising legal concerns. To solve this, a Capacitor plugin was created to manage screen orientation. It detected the device’s current state, locked it in landscape mode during signing, and reverted to the original rotation afterward. This ScreenOrientation plugin worked seamlessly across web, iOS, and Android platforms [14].
Real-time data processing is another challenge for advanced plugins. Whether dealing with continuous sensor input, live video streams, or real-time communication, developers must carefully balance processing between native threads and the JavaScript bridge to ensure a responsive interface.
Performance and Memory Optimization
Advanced plugins go beyond basic functionality - they need to be efficient. Optimizing memory and processing is essential for handling complex tasks. This involves writing efficient native code, managing data intelligently, and applying platform-specific optimizations.
Memory management becomes especially important when working with large datasets or continuous data streams. Choosing the right data structure for your needs can make a big difference:
| Data Structure | Best Use Case | Memory Usage |
|---|---|---|
| Arrays | Sequential data access | Moderate |
| Sets | Storing unique values | Low |
| Maps | Key-value pairs | Moderate |
| WeakMaps | Object references | Low |
Reducing communication overhead between the web and native layers is another way to improve performance. For instance, instead of making multiple requests for related operations, batch them into a single call to synchronize data or perform bulk tasks more efficiently.
Heavy tasks should be offloaded to background threads, while caching key data can further enhance performance. On iOS, using WKWebView, and on Android, leveraging RecyclerView, can improve hardware-accelerated animations. Tools like Chrome DevTools, Xcode Instruments, and Android Profiler are invaluable for monitoring performance and identifying bottlenecks [11].
Different types of operations benefit from specific optimizations:
| Operation Type | Implementation | Advantages |
|---|---|---|
| File Operations | Use async file handlers | Avoids I/O delays |
| API Calls | Use Promise.all() | Reduces overall wait time |
| Data Processing | Break into async chunks | Keeps the UI responsive |
Security Best Practices
Security is a cornerstone of advanced plugin development, especially for sensitive operations. Protecting data starts with encryption - store sensitive information securely and use keychain or keystore techniques to safeguard encryption keys or session tokens. Avoid embedding secrets in your code; instead, handle them on the server side [12][13].
For secure network communication, always use HTTPS (TLS/SSL) and ensure requests are sent only to SSL-enabled endpoints. Incorporate PKCE (Proof Key for Code Exchange) in OAuth2 flows and sanitize user inputs to prevent injection attacks [12][13].
When requesting permissions, follow the principle of least privilege - ask only for what’s absolutely necessary and clearly explain why each permission is needed [6]. Implement a strong Content Security Policy (CSP) within the Web View to limit resource loading and protect against cross-site scripting attacks [12].
As plugins grow in complexity, regular security audits and code reviews are essential. Stay updated on platform-specific guidelines from Apple and Google, and consider adding automated security tests to your continuous integration pipeline to catch vulnerabilities early.
Testing, Debugging, and Deployment
Creating a reliable Capacitor plugin means ensuring it works seamlessly across platforms. Achieving this requires thorough testing, effective debugging, and a streamlined deployment process to guarantee a great user experience.
Testing Plugins on Multiple Platforms
Testing for Capacitor plugins spans both web and native layers. At the core is unit testing, which focuses on verifying individual components. Frameworks like Jasmine or Jest can handle this, with manual mocks simulating plugin functionality without triggering native calls. For example, you can create stubbed JavaScript objects that mimic plugin behavior, allowing you to monitor method calls [17].
The choice of framework influences how you approach mocking. Jest simplifies this with built-in manual mock capabilities, while Jasmine may require TypeScript path mapping to simulate plugins effectively [17]. Beyond unit tests, integration testing ensures smooth communication between web and native layers. Tools like Protractor are excellent for this purpose. For a more user-focused approach, end-to-end testing tools such as Cypress or Appium simulate real-world interactions [18].
Testing on actual devices is essential. Platform-specific quirks often surface only under real conditions, making this step non-negotiable. Additionally, performance testing is critical. Statistics show that 72% of mobile users abandon apps due to performance issues [19], but well-optimized plugins can improve user engagement by as much as 30% [19].
| Test Type | Framework | Purpose |
|---|---|---|
| Unit Testing | Jest/Jasmine | Validating individual components |
| Integration Testing | Protractor | Ensuring web-native communication |
| End-to-End Testing | Cypress/Appium | Simulating real user interactions |
Debugging Plugin Issues
Debugging starts with proper logging and monitoring. Capacitor 3 and later versions include a loggingBehavior configuration option, allowing you to control logging output during development [21]. For production, services like Sentry or Bugsnag can track and monitor errors in real time [18].
Since Capacitor apps are fully native, you can use native debugging tools like Xcode for iOS and Android Studio for Android [2]. For web-based debugging, Chrome DevTools remains a go-to option, while tools like Weinre or Safari Web Inspector enable remote debugging on actual devices [18].
Configuring different environments - like development, QA, and production - helps isolate issues. This can be achieved through iOS schemes or Android product flavors, reducing the likelihood of configuration-related bugs [20]. When upgrading plugins, especially to Capacitor 3, remember to call the migrate() method before any other functions to update the internal storage without disrupting user data [21]. Also, ensure that the version numbers in your capacitor.config.json align with your deployment settings to avoid mismatches.
Once debugging is under control, the next step is preparing your plugin for distribution.
Publishing and Distributing Your Plugin
Getting your plugin ready for distribution starts with adhering to Capacitor’s design principles. Keep plugins lightweight to prevent app bloat and maintain a consistent cross-platform experience. As highlighted in the Capacitor Documentation: “We believe cooperation is going to yield higher quality plugins than competition” [3].
After updating your web or native code, synchronize changes using commands like ionic cap copy and ionic cap sync [22]. For npm distribution, package your plugin with detailed documentation, proper versioning, and clear examples. Including TypeScript definitions can improve the developer experience and catch integration issues early.
If your plugin accesses sensitive device features, app store compliance becomes crucial. Review Apple and Google guidelines to ensure your plugin requests only the permissions it truly needs, with clear explanations for each.
For updates that don’t involve native code changes, live update tools like Capgo are a game-changer. Capgo enables efficient updates by delivering only the modified code segments, resulting in smaller downloads and faster deployment. It also offers features like channel-based distribution, real-time analytics, and end-to-end encryption.
Finally, test your deployment process thoroughly. Ensure updates apply correctly, rollback mechanisms function as intended, and monitoring systems capture accurate metrics. A staged rollout - where updates are released to a subset of users first - can help identify potential issues before they impact the entire user base. Integrating automated testing into your deployment pipeline ensures only well-tested code reaches production.
Using Capgo for Live Updates
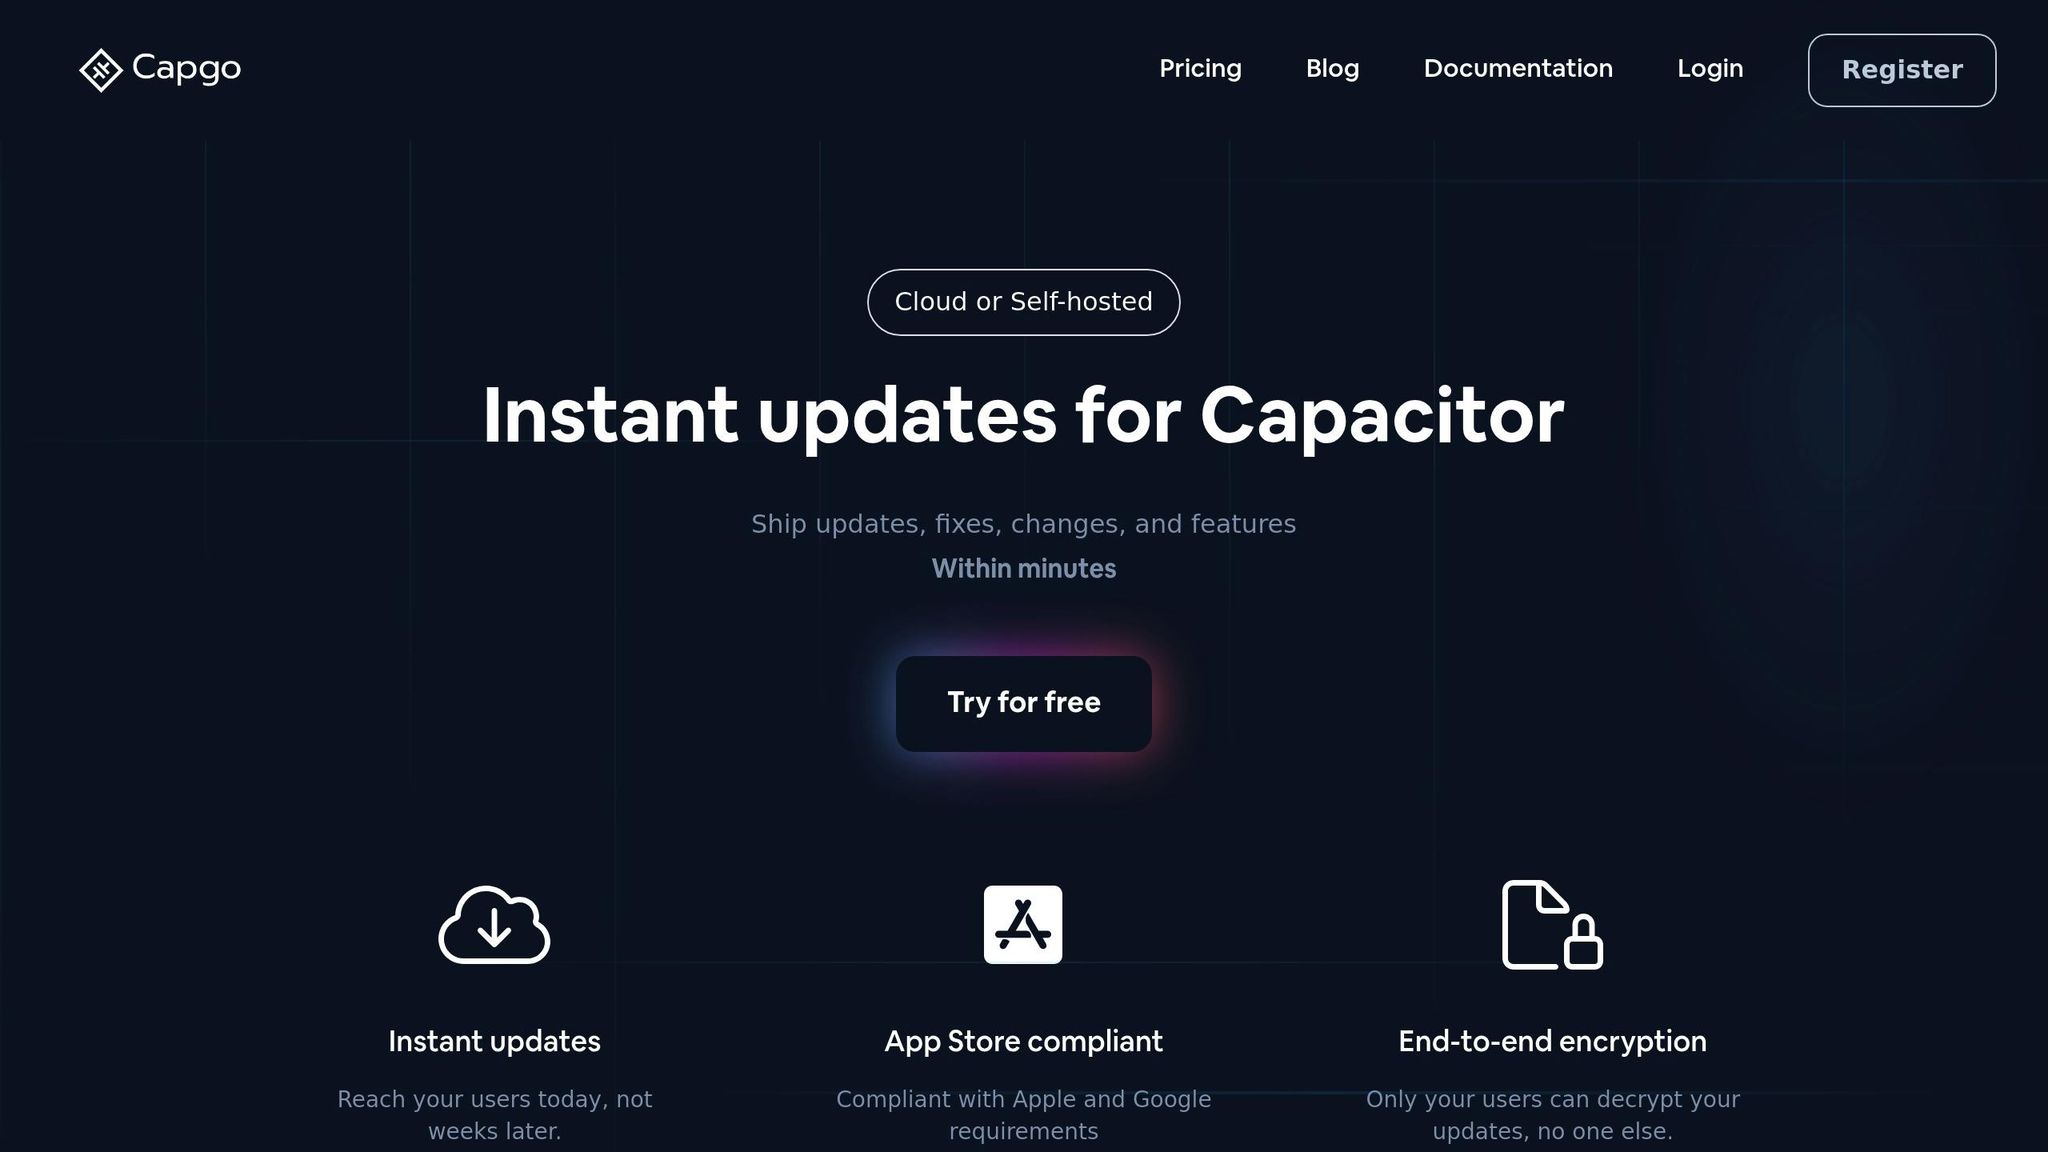
Live updates allow developers to skip the lengthy app store review process, making it possible to roll out bug fixes and new features almost instantly. For developers working with Capacitor plugins, a reliable live update solution is a game-changer.
What Is Capgo and Its Benefits
Capgo is a live update platform designed for Capacitor apps. It lets developers push updates directly to users without waiting for app store approvals. To date, Capgo has delivered a staggering 1747.6 billion updates across more than 2,000 apps, showcasing its ability to handle large-scale deployments [23].
The standout benefit of Capgo is its instant deployment. Traditional app store reviews can take anywhere from 24 to 72 hours, but with Capgo, updates are live within minutes. This speed is particularly useful when dealing with critical bugs. As developer Bessie Cooper put it:
“@Capgo is a must have tools for developers, who want to be more productive. Avoiding review for bugfix is golden” [23].
Capgo uses a global CDN to deliver updates in milliseconds, achieving an 82% global success rate and ensuring that 95% of active users receive updates within 24 hours [23].
Security is another key feature. Capgo employs true end-to-end encryption, ensuring only authorized users can access updates. It also complies fully with Apple and Google app store requirements. Additionally, Capgo supports partial updates, meaning only the modified parts of the code are downloaded. This approach saves bandwidth and shortens update times, which is especially helpful for users on slower networks or limited data plans.
These features make Capgo a powerful tool for developers looking to streamline their workflows and enhance user experience.
Adding Capgo to Your Plugin Workflow
Integrating Capgo into your Capacitor project is straightforward. The platform supports Capacitor 8, as well as standard CI/CD tools. Once the SDK is added, updates can be deployed with a single CLI command. Capgo also allows channel-based distribution, enabling you to target specific user groups - like beta testers, premium subscribers, or users in specific regions. This feature is perfect for testing updates on a smaller scale before rolling them out to everyone.
Capgo also includes automated rollback capabilities. If an update causes issues, you can revert to the previous version instantly, bypassing app store delays. NASA’s OSIRIS-REx team highlighted this feature when they said:
“@Capgo is a smart way to make hot code pushes (and not for all the money in the world like with @AppFlow) 🙂” [23].
For added convenience, Capgo integrates with semantic-release, automating version management and simplifying the deployment process from code commit to user delivery [24].
Capgo vs Other Update Solutions
Capgo stands out in the live update space, especially as other solutions phase out. Microsoft CodePush was discontinued in 2024, and Ionic’s Appflow is set to shut down in 2026, leaving Capgo as a strong alternative.
Pricing is another area where Capgo shines. Developer Jermaine shared their experience:
“Jumped over to @Capgo after @AppFlow hit us with a $5000 bill for the year to continue. Loving CapoGo so far” [23].
Here’s a quick comparison:
| Feature | Capgo | Appflow | CodePush |
|---|---|---|---|
| Status | Active | Shutting down 2026 | Discontinued 2024 |
| Pricing | $12–$249/month | $5,000+/year | Free (discontinued) |
| Encryption | End-to-end | Code signing only | Basic |
| Platform Support | Capacitor 8 | Ionic/Capacitor | React Native |
Capgo’s open source model is another major advantage. Being fully open source eliminates vendor lock-in and provides transparency into how updates are handled [23]. For teams using agile development, speed and reliability are critical. As Rodrigo Mantica noted:
“We practice agile development and @Capgo is mission-critical in delivering continuously to our users!” [23].
With features like semantic versioning and automated deployment pipelines, Capgo minimizes the need for manual intervention, allowing developers to focus on building great apps instead of managing update logistics.
Conclusion and Next Steps
Plugin Development Summary
Building effective Capacitor plugins involves more than just coding; it’s about making thoughtful choices that enhance usability and functionality. From designing clear interfaces with automatic JavaScript hook generation [1] to small but impactful decisions like using undefined over null, maintaining consistent units, and adhering to ISO 8601 datetime formats, these details come together to create plugins developers appreciate [3].
Capacitor plugins can be tailored for local use or distributed globally, offering flexibility to meet various project needs [14]. As Max Lynch, CEO of Ionic, aptly puts it:
“Capacitor makes it possible for any web developer to build native iOS, Android, Desktop, and Progressive Web Apps, all with a single standard web codebase” [2].
By following the architectural principles outlined in this guide, you can bring this vision to life and create plugins that truly empower developers.
Continuing Your Development Journey
Now that you’ve got the essentials down, it’s time to deepen your involvement in the Capacitor ecosystem. A great starting point is the Capacitor Community GitHub organization. Here, you can contribute to existing plugins, learn from well-structured examples, and collaborate with other developers [3][25]. The Capacitor Plugin Registry is another valuable resource, helping you discover plugins to draw inspiration from and avoid duplicating efforts [26].
For hands-on experience, the Capacitor plugin generator is an excellent tool to kickstart your projects. It provides a well-organized scaffolding that aligns with current best practices, giving you a strong foundation to build on [3].
Staying connected with the community will amplify your learning. Join the official Capacitor Discord server for real-time discussions, participate in GitHub Discussions for in-depth technical exchanges, and use Stack Overflow with the “capacitor” tag to share and gain knowledge. When asking for help, make sure your questions are clear and include relevant details like context, version numbers, and reproducible steps.
As you develop plugins, consider integrating tools like Capgo into your workflow. Capgo enables you to push updates instantly without waiting for app store approvals, making it easier to deliver bug fixes and new features quickly.
FAQs
::: faq
What are the main advantages of using Capacitor plugins in mobile app development?
Capacitor plugins bring major benefits to mobile app development by letting developers use familiar web technologies like JavaScript, HTML, and CSS to build native apps. This approach allows for a single codebase that runs smoothly across iOS, Android, and the web, cutting down both development time and expenses.
Beyond that, Capacitor provides simple access to native device features like the camera, geolocation, and push notifications. These tools help developers create apps with richer, more integrated user experiences. It also supports real-time updates and offline capabilities, making it a modern choice for building versatile mobile apps.
For teams aiming to simplify updates and deployments, tools like Capgo can take the process to the next level. They allow instant updates without needing app store approvals while staying compliant with Apple and Android guidelines. :::
::: faq
What are the best practices for optimizing my Capacitor plugin for performance and security on multiple platforms?
To get the best performance out of your Capacitor plugin, start with strategies like lazy loading. This means deferring the loading of non-essential components, which can make your app feel faster right from the start. Also, cut down on WebView overhead by fine-tuning your CSS and JavaScript. Focus on loading the most important features first, and handle data efficiently to keep memory usage low and maintain smooth interactions.
When it comes to security, steer clear of hardcoding sensitive details and always rely on HTTPS for network communications to protect against potential threats. Regularly check your app for vulnerabilities, especially in areas like data storage and user authentication. Secure session management is crucial - use encrypted storage and consider adding biometric authentication for an extra layer of protection. By following these steps, your plugin can deliver both reliable performance and robust security on any platform. :::
::: faq
How do I test and deploy a Capacitor plugin to ensure it works smoothly on both iOS and Android devices?
To get a Capacitor plugin ready for both iOS and Android, you’ll need to set up your development environment with tools like Node.js, Xcode, and Android Studio. After creating your plugin, use npm link in the plugin’s directory to connect it to a Capacitor project. This step ensures the plugin is properly linked and ready for integration.
Testing is a crucial part of the process. Run unit tests for both JavaScript and native code (Swift for iOS, Kotlin for Android) to confirm the plugin works seamlessly across platforms. This will help catch any issues early and ensure consistent performance.
Once testing is done, use the Capacitor CLI to build the plugin for both platforms. Double-check that all necessary settings, like app permissions and manifest configurations, are in place. After building, integrate the plugin into your app and proceed with submitting the app to the respective app stores.
For quick updates without needing app store approvals, tools like Capgo can simplify the process. This allows you to roll out new features and fixes to your users in real-time, keeping your app up to date effortlessly. :::

