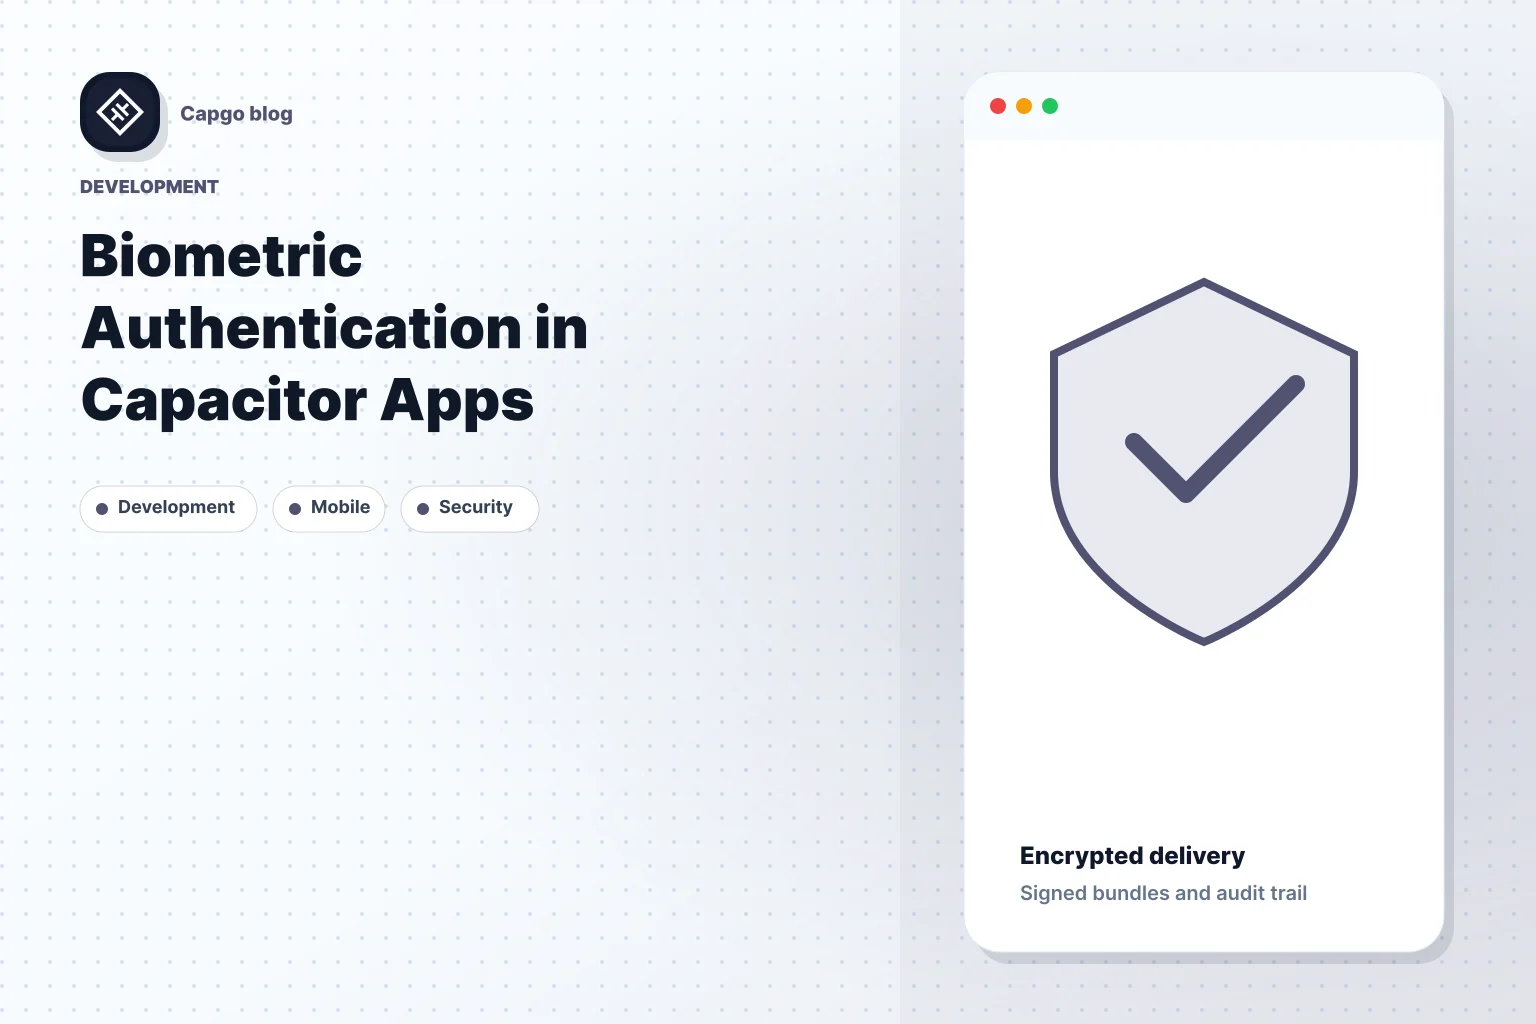
バイオメトリック認証 バイオメトリック認証は、ユーザーが指紋、顔、または他の生物学的特性を使用してアプリケーションに安全にアクセスできるようにします。開発者はパスワードの代わりに CapacitoriOSおよびAndroid両方で動作するため、実装は簡単です。
-
バイオメトリック認証を使用する理由
- パスワードよりも安全です。
- ログインを高速化することでユーザー体験を向上させます。
- 機密データのセキュリティ基準を満たします。
-
サポートされる方法
- 指紋認証: 速いと便利なもの
- 顔認証: 手の自由なオプション
- アイリススキャン: 高セキュリティの用途 (限られたデバイス)
- 声認証: アクセシビリティに焦点を当てた (限られたサポート)
-
必要なツール
- Capacitor 3.0+.
-
セットアップのハイライト:
- AndroidManifestとInfo.plistに権限を追加します。
- iOSのKeychainまたはAndroidのKeystoreを使用して安全なストレージを実現します。
- 完全な互換性とフォールバックオプションのテストを徹底的に行ってください。
プラグインの比較
| プラグイン名 | Capacitor バージョン | 機能 | 適切なもの |
|---|---|---|---|
@aparajita/capacitor-biometric-auth |
Capacitor 8 | ネイティブバイオメトリ、デバイスクレデンシャル | 新しいプロジェクトでCapacitor 8を使用 |
capacitor-native-biometric |
Capacitor 3, 4 | 機密情報を保護するための安全なクレデンシャルストレージ、Keychain/Keystore | クレデンシャル管理 |
| すべてのバージョン | デバイスクレデンシャルとバイオメトリックサポート | 柔軟な認証オプション |
Capacitor アプリケーションでバイオメトリック認証 機密情報を保護するための安全でユーザーフレンドリーな方法です。詳細は全文記事で、セットアップ手順、code の例、テスト戦略、セキュリティ基準が記載されています。
イオニクスバイオメトリック(FaceID / FingerPrint)認証
セットアップ要件
認証を有効にするには Capacitor アプリ, 以下のツール、依存関係、およびプラットフォーム固有の設定を構成する必要があります。AndroidおよびiOSプラットフォームのステップバイステップのセットアップ要件を下に示します。
必要なツールと依存関係
実装に進む前に、以下のツールと依存関係が用意されていることを確認してください。
| コンポーネント | 最小バージョン | 目的 |
|---|---|---|
| Capacitor | 3.0 以上 | コアフレームワーク |
| Node.js | 最新のLTS | パッケージ管理 |
| Xcode | 最新バージョン | iOS開発 |
| Android Studio | 最新バージョン | Android開発 |
| 物理デバイス | iOS 13+ / Android API 23+ | バイометリック機能のテスト |
選択してください バイOMETRIC プラグイン Capacitor バージョンに基づいて:
- @aparajita/capacitor-biometric-auth Capacitor 8 の場合
- capacitor-native-biometric Capacitor 3 と 4 の場合
Android のセットアップ手順
Android でバイオメトリック認証を設定するには、プロジェクトファイルにいくつかの変更が必要です:
-
マニフェストの設定
以下のパーミッションをアプリの
AndroidManifest.xmlファイルに追加してください:<uses-permission android:name="android.permission.USE_BIOMETRIC" /> <!-- For Android 9 (API 28) or lower --> <uses-permission android:name="android.permission.USE_FINGERPRINT" /> -
Gradle の設定
アプリの更新
build.gradle__CAPGO_KEEP_0__を含む必要なバイオメトリック依存関係を含むファイルを追加してください。dependencies { implementation "androidx.biometric:biometric:1.1.0" }
iOS設定手順
iOSの場合、バイオメトリック認証を設定するには、次の手順に従う必要があります。
-
Info.plist設定
必要な使用目的の説明を追加してください。
Info.plist__CAPGO_KEEP_0__ファイル:<key>NSFaceIDUsageDescription</key> <string>Authentication required for secure access</string> -
キーチェーン設定
Xcodeでキーチェーン機能を有効にします。
- プロジェクト設定を開いてください。
- 「Signing & Capabilities」タブに移動してください。 iOSの場合、Capacitorを使用してバイオメトリック認証を設定するには、次の手順に従う必要があります。 Info.plistファイルに必要な使用目的の説明を追加してください。
- Add the Keychain Sharing capability.
- 必要に応じて、Access Groupの設定を行ってください。
-
Authentication Policies
ローカル認証ポリシーを設定して、以下のシナリオを処理するようにしてください。
- 認証失敗の試行
- デバイスのパスコードにフォールバック
- バイオメトリックの可用性チェック
セキュリティの向上のために、iOS Keychainを使用して敏感なデータを保存してください。この設定により、両方のTouch IDとFace IDの互換性を確保しながら、ユーザーのクレデンシャルを保護します。
Code Implementation
設定が完了したら、セキュアなcodeの実装に進みます。このステップでは、適切なプラグインを選択し、信頼性の高い認証フローを作成する必要があります。
プラグインの選択ガイド
Capacitor アプリのためのバイオメトリック認証プラグインを選択する際、プロジェクトの特定のニーズに合った選択肢を選択する必要があります。ここでは、人気のあるオプションを紹介します。
| プラグイン名 | Capacitor バージョン | 主な機能 | 適切なもの |
|---|---|---|---|
| @aparajita/capacitor-biometric-auth | Capacitor 8 | ネイティブバイオメトリック、デバイスクレデンシャル、包括的なAPI | 新しいCapacitor 8 で始まるプロジェクト |
| capacitor-native-biometric | Capacitor 3, 4 | 機密情報の安全なストレージ、Keychain/Keystore統合 | 資格情報管理が必要な既存のプロジェクト |
| すべてのバージョン | 生体認証と機器資格情報の認証、 API のクリーン | 柔軟な認証オプションが必要なプロジェクト |
認証 Code の例
このプラグインを使用する方法については、以下のとおりです。 @capgo/capacitor-native-biometric 生体認証用のプラグインを使用するには、以下のとおりです。
import { Biometrics } from '@capgo/capacitor-native-biometric';

async function setupBiometricAuth() {
  try {
    const { isAvailable } = await Biometrics.isBiometricsAvailable();

    if (!isAvailable) {
      return {
        success: false,
        message: "Biometric authentication not available"
      };
    }

    const result = await Biometrics.authenticate({
      reason: "Access your secure data",
      title: "Verify Identity",
      subtitle: "Use biometrics to authenticate",
      cancelTitle: "Use Password Instead"
    });

    return {
      success: true,
      data: result
    };
  } catch (error) {
    return {
      success: false,
      error: error.message
    };
  }
}
資格情報を安全に管理するには、 __CAPGO_KEEP_0__-native-biometric プラグインを使用することができます。 資格情報を安全に管理するには、 capacitor-native-biometric プラグインを使用することができます。 生体認証用のプラグインを使用するには、以下のとおりです。
import { NativeBiometric } from '@capgo/capacitor-native-biometric';

async function secureCredentialStorage(credentials) {
  try {
    await NativeBiometric.setCredentials({
      username: credentials.username,
      password: credentials.password,
      server: "api.yourserver.com"
    });

    // Verify storage by retrieving the credentials
    const stored = await NativeBiometric.getCredentials({
      server: "api.yourserver.com"
    });

    return stored.username === credentials.username;
  } catch (error) {
    console.error("Credential storage failed:", error);
    return false;
  }
}
codeが確立されたら、その機能を適切なテストで検証することは非常に重要です。
テスト方法
信頼性とセキュリティの高いバイオメトリック認証を確実にするには、以下のテスト戦略を検討してください。
-
デバイス互換性テスト
認証がさまざまなデバイスと状況で正常に動作することを確認してください。
async function runCompatibilityTests() { const tests = { biometricAvailable: await Biometrics.isBiometricsAvailable(), credentialStorage: await testCredentialStorage(), authenticationFlow: await testAuthFlow(), fallbackMechanism: await testFallbackAuth() }; return tests; } -
エラーハンドリングと一般的なシナリオ
エラーをシミュレートし、フォールバックメカニズムをテストしてください。
async function validateErrorHandling() { try { await Promise.race([ Biometrics.authenticate(), new Promise((_, reject) => setTimeout(() => reject(new Error("Timeout")), 30000) ) ]); } catch (error) { return implementFallbackAuth(); } } -
セキュリティ検証
実装がセキュリティ基準を満たしていることを確認してください。
async function validateSecurityMeasures() {
  const validations = {
    keychain: await validateKeychainAccess(),
    biometricStrength: await checkBiometricStrength(),
    encryptionStatus: await verifyEncryption()
  };

  return validations.keychain &&
         validations.biometricStrength &&
         validations.encryptionStatus;
}
さらに、以下のようなシナリオをテストしてください。
- 複数回の認証失敗
- デバイスの再起動後、挙動を確認してください
- 前景と背景アプリの状態の間の移行
- ネットワーク接続の変更
- システムのバイオメトリック設定の更新
__CAPGO_KEEP_0__
セキュリティ基準
バイオメトリック認証で強いセキュリティを確保するには、データ保護を優先し、規制遵守を徹底し、層化されたセキュリティ技術を適用する必要があります。
データセキュリティ方法
iOSでは、バイオメトリックデータは Keychainで暗号化され、保存されます。 一方、Androidでは Keystoreを使用します。 capacitor-native-biometric プラグインを使用すると、ユーザーキャレッジを安全に保存できます。
import { NativeBiometric } from '@capgo/capacitor-native-biometric';

async function securelyStoreCredentials(username, password) {
  const server = "api.yourapp.com";

  // Use the highest available encryption
  await NativeBiometric.setCredentials({
    username,
    password,
    server,
    authenticationType: "biometricAndDevice",
    accessControl: "biometryAny"
  });
}
データの送信では、常にエンドツーエンドの暗号化を実装してください。 敏感情報を保護するために。 __CAPGO_KEEP_0__
アプリストアでは厳格なルールで、
生体認証 を実装する必要があります。主なプラットフォームの要件の詳細
| プラットフォーム | 主な要件 | 実装に関する注記 |
|---|---|---|
| iOS | LocalAuthenticationフレームワークを使用し、フォールバックオプションを提供し、ユーザーの明確な同意を確保する | 両方のFace IDとTouch IDをサポートする必要があります |
| Android | BiometricPrompt APIを使用し、明示的なユーザーの許可を取得し、セキュリティレベルを宣言する | 指紋認証と顔認証をサポートし、異なるセキュリティレベルの区別 |
Multi-Factor Setup
セキュリティを強化するには、 biometric verification biometric verification の後、ユーザーのアイデンティティを確認するための追加のステップを追加できます。A multi-factor approach
async function setupMultiFactorAuth() {
  // First factor: Biometric verification
  const biometricResult = await Biometrics.authenticate({
    reason: "Verify your identity",
    title: "Authentication Required"
  });

  if (biometricResult.verified) {
    // Second factor: Time-based OTP or similar mechanism
    const totpResult = await verifyTOTP();
    return totpResult.success;
  }

  return false;
}
通常、次の要素を含みます:
- 主な生体認証
- 二次的な確認 (例: code へのSMSまたは認証アプリ)
- トランザクション固有の確認 追加のセキュリティのために
Capgo を使用してライブ更新を行っている場合、セキュリティ基準への準拠を確保するために、エンドツーヘンド暗号化の利点を利用することを確認してください。 更新中も生体認証方法がセキュアであることを保証し、プラットフォームの要件と一致するようにします。 メンテナンスガイド [1].
生体認証システムを正常に動作させるには、速度、バッテリー効率、タイムリーな更新をバランスさせる必要があります。
スピードとバッテリーのヒント
生体認証の効率的な実装方法については、以下の __CAPGO_KEEP_0__ Snippet を参照してください。
code
// Efficient authentication implementation
async function optimizedBiometricCheck() {
  const authResult = await NativeBiometric.isAvailable();

  if (!authResult.isAvailable) {
    return handleFallback();
  }

  // Cache authentication state to avoid unnecessary re-checks
  if (this.cachedAuthState && !this.isAuthExpired()) {
    return this.cachedAuthState;
  }

  return NativeBiometric.verifyIdentity({
    reason: "Verify your identity",
    title: "Authentication Required",
    maxAttempts: 3
  });
}
ビометリック システムのパフォーマンスを最大限に活かすために:
- Batch Authentication: 一度に複数の認証要求をグループ化して、割り込まれることなく認証プロセスを実行する。
- Smart Caching: 認証状態を安全に保存し、有効期限を設定して、不要な認証を回避する。
- Background Optimization: 認証中は非必須のタスクを一時停止して、速度を向上させてバッテリーを節約する。
- Event-Driven Approach: 常にポーリングを実行するのではなく、イベントリスナーを使用して認証状態を効率的に監視する。
Updates with Capgo
Capgoはアプリの更新を簡素化します。
Capgoの強みは何ですか?
- 即時デプロイ: セキュリティの緊急修正や新機能を遅滞なく配信できます。
- 段階的なロールアウト: 一部のユーザーグループにアップデートをテストし、全員に配信する前にテストを実施します。
- バージョン管理: 異なる認証バージョンの管理を容易にします。
- 緊急ロールバック: 問題が発生した場合に、前のバージョンに戻すことができます。
APIのアップデート
バイオメトリックのAPIを最新の状態に保つことは、セキュリティと機能性の両方にとって重要です。アップデートのガイドラインに従って、積極的にアップデートを実施してください。
| アップデートタイプ | 監視方法 | 実装スケジュール |
|---|---|---|
| セキュリティパッチ | プラグインリポジトリの警告 | 24 時間 |
| 機能アップデート | プラットフォームドキュメント | 1 週間 |
| 重大な変更 | リリースノート | 2-4 週間 |
| 店舗ポリシー更新 | 開発者ポータル | 提出前に |
これらの領域に焦点を当ててください:
- プラットフォームの変更: iOS の LocalAuthentication と Android の BiometricPrompt API の更新を追跡します。
- セキュリティ基準: 最新のバイオメトリックセキュリティ要件に合わせてください。
- 店舗ガイドライン: Apple App Store と Google Play のポリシーに準拠して、提出問題を避けるために
結論
主なポイント
セキュリティ、パフォーマンス、ユーザー エクスペリエンスのバランスをとるために、Capacitor アプリにバイオメトリック認証を追加するには、次の要素を考慮する必要があります。
| コンポーネント | 実装の焦点 | 重要な考慮事項 |
|---|---|---|
| セキュリティ基準 | プラットフォームネイティブ ストレージ (Keychain/Keystore) | エンドツーエンド暗号化、資格情報保護 |
| プラグインの選択 | 最新バージョンの互換性 | 複数のバイオメトリック タイプのサポート |
| 更新管理 | 定期的なメンテナンスサイクル | セキュリティパッチの迅速な展開 |
| ユーザー体験 | フォールバック認証オプション | ユーザーフレンドリーな認証プロンプト |
__CAPGO_KEEP_0__のバージョンに合ったバイオメトリックプラグインを選択してください。設定ファイル、例えば
バイオメトリック認証をアプリに統合するためのステップ
バイオメトリック認証をアプリに統合するには、次の手順に従ってください。
-
プラグイン統合
まず、Capacitorのバージョンに合ったバイオメトリックプラグインを選択してください。設定ファイル、例えばAndroidManifest.xmlとInfo.plist、は適切に設定されていることを確認してください。セキュアなクレデンシャルストレージのために、ネイティブソリューションであるKeychainまたはKeystoreに頼りましょう。 -
セキュリティ設定
ユーザーデータを保護するには、すべての認証情報の送信にエンドツーエンド暗号化を有効にします。必要な場合、多要素認証を含めることで、セキュリティの追加層を追加します。障害やエラーの場合の機能を維持するために、堅牢なエラーハンドリングとフォールバックオプションを計画します。 継続的なメンテナンス アプリをセキュアに保つには、セキュリティパッチのための定期的な更新パイプラインを設定します。プラグインの更新とセキュリティアドバイザリーの監視を実行します。ツールとして__CAPGO_KEEP_0__を使用すると、このプロセスを簡素化できます。__CAPGO_KEEP_1__は、24時間以内に95%のユーザーが更新することを誇張しており、貴重なツールキットの追加となります -
「__CAPGO_KEEP_0__は、開発者がより生産的になることを望む開発者にとって必須のツールです。バグ修正のレビューを避けることは、金の価値です。」 - Bessie Cooper
Keep your app secure by setting up a regular update pipeline for security patches. Stay on top of plugin updates and monitor security advisories. Tools like Capgo can simplify this process by enabling instant updates. Capgo boasts an impressive 95% user update rate within 24 hours, making it a valuable addition to your toolkit [2].
“Capgo is a must-have tool for developers who want to be more productive. Avoiding review for bug fixes is golden.” - Bessie Cooper [2]
biometricプラグインの__CAPGO_KEEP_0__の違いは何ですか。どのプラグインが私のアプリに最適ですか?
biometricプラグインを選択する際には、プロジェクトの特定の要件に合わせることが重要です。考慮すべき要素として、
What are the differences between biometric plugins for Capacitor, and how can I select the best one for my app?
When picking a biometric plugin for your Capacitor app, it’s crucial to align the choice with your project’s specific requirements. Consider factors like などがあります。 __CAPGO_KEEP_0__ Face ID または指紋認証 __CAPGO_KEEP_0__.
このガイドでは、 Capacitorなどのツールは、 Capgo FAQ
__CAPGO_KEEP_0__
How do I ensure biometric authentication in my Capacitor app meets security standards and app store guidelines?
Capacitor
- の生物認証が現在のセキュリティ基準とアプリストアの規則を満たしていることを確認するには、次の重要な実践に従ってください。: Capacitorの信頼できるバイオメトリック認証プラグインを使用して
@capacitor/biometricsを確実に実行し、デバイス間で平滑に動作するようにします。 - プラットフォームの規則を遵守する: AppleおよびAndroidのガイドラインに準拠し、ユーザーの同意を取得し、安全なストレージを使用し、PINまたはパスワードなどのバックアップオプションを提供する
- 依存関係を最新に保つ: アプリとライブラリを定期的に更新して脆弱性を修正し、標準が変化するにつれて一致する
ライブアップデートサービスとして Capgo を使用すると、このプロセスが滑らかに実行できるようになります。セキュリティアップデートや改善をアプリに即座にプッシュできるため、アプリストアの承認遅延を回避できます。このアプリは、AppleおよびAndroidのポリシーと一致し、セキュアで、コンプライアントです。 :::
::: faq
Capacitorアプリにバイオメトリック認証を統合する際に開発者が直面する可能性のある課題は何か、それらをどのように乗り越えるか?
Capacitorアプリにバイオメトリック認証を実装することは、デバイス間の互換性を確保すること、ユーザーの権限を効果的に管理すること、敏感なデータを安全に取り扱うことなど、課題が多数あります。以下の方法でこれらの問題を解決できます:
-
デバイス互換性: Android と iOS の両方でバイオメトリック機能をサポートするには、
@capacitor-fingerprint-authプラグインなどを使用することを検討してください。 -
これらのツールは、さまざまなデバイス間で平滑に動作するようにアプリを実現するために、プラットフォーム間のギャップを埋めるのに役立ちます。ユーザー許可
-
: アプリがバイオメトリックアクセスを必要とする理由を明確に説明することが重要です。ユーザーに透明性のある情報を提供し、アプリを設計して、ユーザーが許可を与えない場合に、柔軟に状況を処理できるようにしてください。データセキュリティ : 認証データの保護は重要です。各プラットフォームから提供されるセキュリティガイドラインに従い、 暗号化のベストプラクティス
To make updates or fix issues related to biometric features without the hassle of app store approvals, you can use tools like Capgo. This allows for real-time updates, enabling you to address bugs or improve functionality quickly while staying compliant with Apple and Android policies. :::
Keep going from Biometric Authentication in Capacitor Apps
アプリストアの承認の手間を避けることができます。__CAPGO_KEEP_0__などのツールを使用することができます。このツールはリアルタイムのアップデートを可能にし、バグを解決したり機能性を向上させたりすることができます。また、Apple と Android のポリシーに準拠することができます。 Capacitor のバイオメトリック認証 __CAPGO_KEEP_0__ を接続して、セキュリティと法的合致を計画する 暗号化 暗号化の実装詳細については 法的合致 法的合致の実装詳細については Capgo セキュリティ スキャナー Capgo セキュリティ スキャナーの製品ワークフローについて Capgo セキュリティ Capgo セキュリティの製品ワークフローについて Capgo トラスト センター Capgo トラスト センターの製品ワークフローについて


