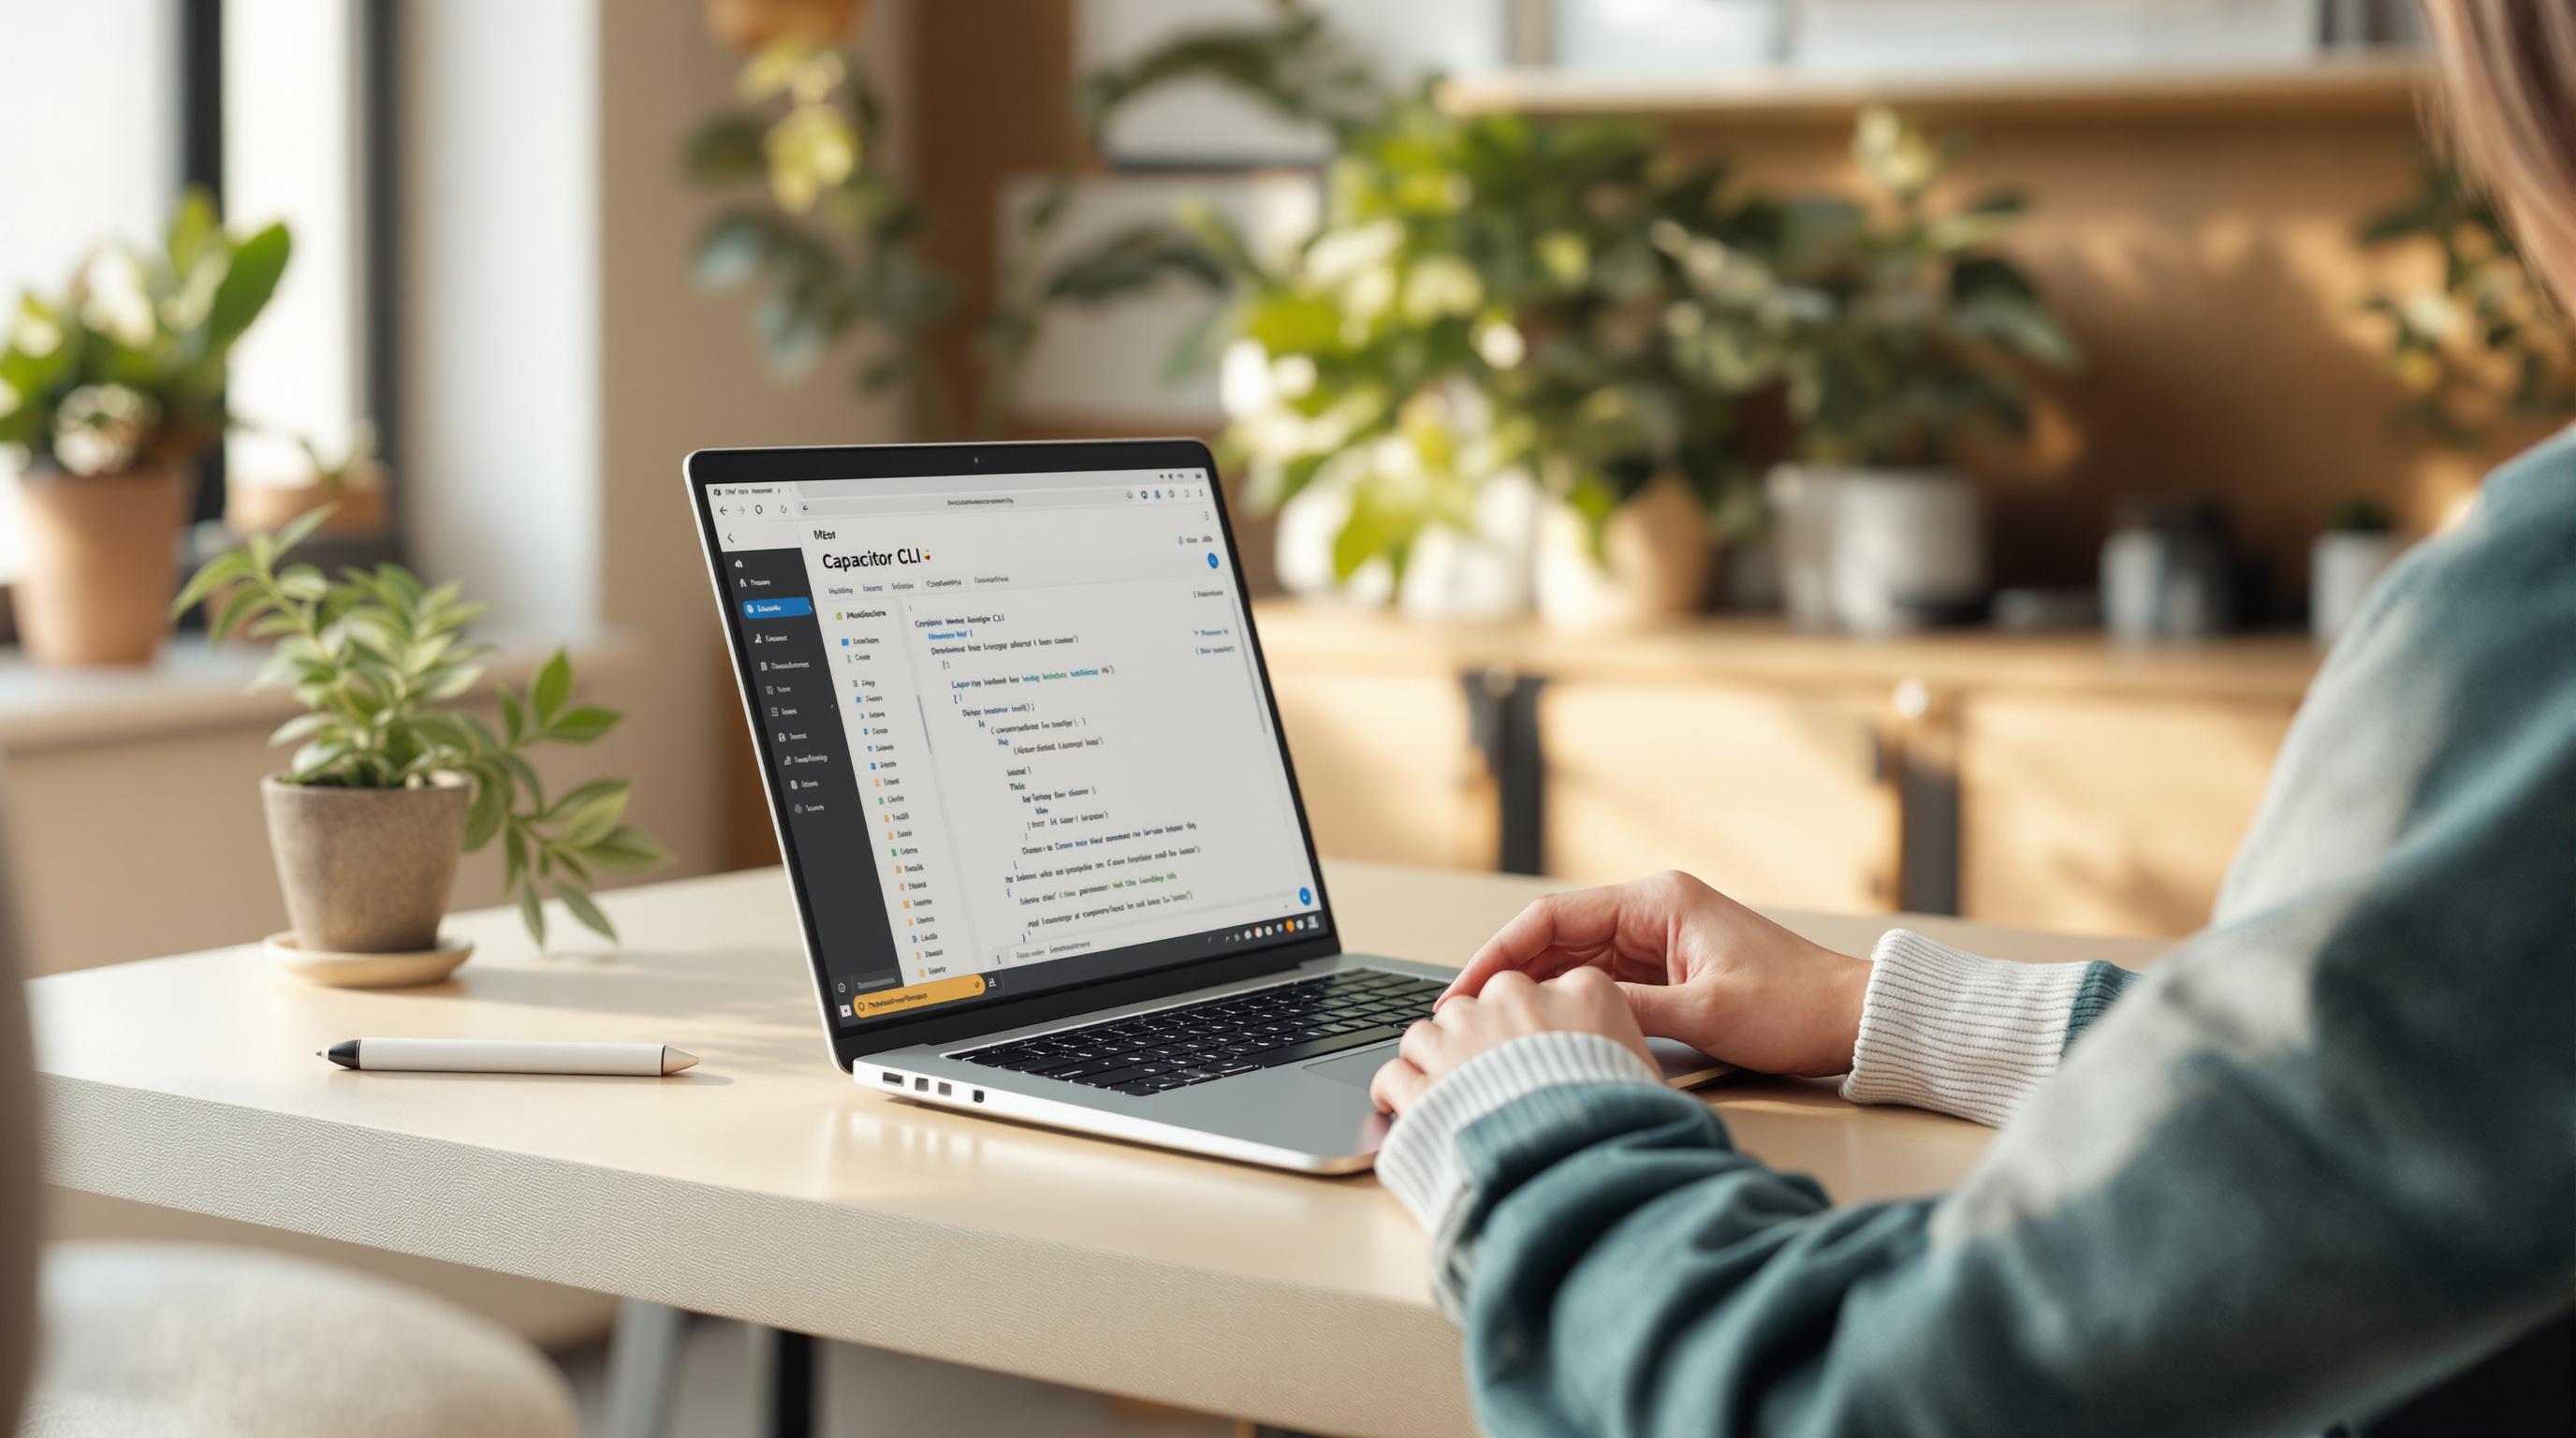
Capacitor CLI helps you transform web apps into native iOS and Android apps with one codebase. Here’s how to set it up quickly:
- Prerequisites: Install Node.js (v16+), npm, and a web framework (React, Vue, Angular, etc.).
- Install Capacitor CLI: Run
npm install @capacitor/cli @capacitor/coreand initialize your project withnpx cap init. - Prepare Platforms: Add support for iOS (
npx cap add ios) and Android (npx cap add android) platforms. - Build and Sync: Use
npm run buildandnpx cap syncto transfer web assets to native projects. - Optional Live Updates: Use tools like Capgo to push updates instantly without app store delays.
Capacitor CLI simplifies app development and maintenance. Follow the guide for smooth setup and troubleshooting.
Build a Mobile App Fast! React + Capacitor + Tailwind + DaisyUI
Before You Start
Get your environment ready by following these steps:
Set Up Node.js and npm
You’ll need Node.js version 16 or higher. The latest LTS version is recommended. To check your setup, run:
node --versionnpm --versionIf you need to update, download Node.js (which includes npm) from the official website.
After confirming Node.js is ready, ensure your web project meets the necessary Capacitor requirements.
Check Your Web Project
Your web project should have the following:
- A valid package.json: Make sure it’s properly configured.
- A build directory: This is where your web assets live (commonly
distorwww). - An entry point: Your build directory must include an
index.htmlfile.
Here’s a quick look at key package.json fields:
| Required Field | Example Value | Purpose |
|---|---|---|
| name | ”my-app” | Identifies the project |
| version | ”1.0.0” | Specifies app version |
| build directory | ”dist” or “www” | Points to web assets |
Once your Node.js and web project are ready, move on to installing platform-specific tools.
Install Required Software
For Android Development:
- Download and install the latest version of Android Studio.
- Set up the Android SDK with at least API level 22.
- Configure the
ANDROID_HOMEenvironment variable.
For iOS Development (Mac only):
-
Install Xcode 14 or a newer version.
-
Install Command Line Tools.
-
Use Homebrew to install CocoaPods:
Terminal window brew install cocoapods -
Accept the Xcode license:
Terminal window sudo xcodebuild -license accept
When integrating Capgo later, make sure you have a stable internet connection and valid SSL certificates.
With these steps done, you’re set for a smooth Capacitor development process. Next, you’ll install the Capacitor CLI.
Install Capacitor CLI
With your environment ready, it’s time to install and configure Capacitor CLI.
Add Capacitor Packages
Start by installing the Capacitor CLI and Core packages using npm:
npm install @capacitor/cli @capacitor/coreOnce installed, confirm the setup by checking the Capacitor version:
npx cap --versionSet Up Your Project
Initialize Capacitor in your project with the following command:
npx cap initDuring initialization, you’ll be prompted to provide these details:
| Setting | Description | Example |
|---|---|---|
| App Name | The name displayed in app stores | ”My Awesome App” |
| App ID | A unique identifier for your app | ”com.mycompany.myapp” |
| Web Directory | Path to your web assets | ”dist” or “www” |
Next, update your configuration file (capacitor.config.ts or capacitor.config.json) with the relevant settings:
import { CapacitorConfig } from '@capacitor/cli';
const config: CapacitorConfig = {  appId: 'com.mycompany.myapp',  appName: 'My Awesome App',  webDir: 'dist',  bundledWebRuntime: false};
export default config;
Set Up iOS and Android
Add support for iOS and Android platforms with these commands:
npx cap add iosnpx cap add androidThis will generate native projects:
- iOS: Creates an
iosfolder containing the Xcode project. - Android: Creates an
androidfolder for the Android Studio project.
After making any changes to your web assets, run the following commands to build and sync:
npm run buildnpx cap syncThis process compiles your web assets and transfers them to the native projects, including any installed Capacitor plugins.
To open the native projects for further customization:
npx cap open ios # Opens Xcodenpx cap open android # Opens Android StudioNow you’re ready to test your setup and resolve any issues that may arise.
Fix Common Problems
When setting up Capacitor CLI, you might run into a few common hiccups. Here’s how to tackle them:
Android Gradle Issues
If you’re facing Gradle-related problems, try these steps:
-
Navigate to the Android directory and clear the build cache:
Terminal window cd android./gradlew cleanBuildCache -
Update the Gradle version in
android/build.gradle:buildscript {ext {gradleVersion = '8.1.0'}} -
Add the following lines to
android/gradle.propertiesfor better performance:org.gradle.jvmargs=-Xmx4608morg.gradle.parallel=true
If problems persist, revisit your setup or consult additional troubleshooting resources.
App Shows Blank Screen
A blank screen usually points to a configuration issue. Here’s how to address it:
-
Check the Web Directory Path: Ensure the
webDirmatches your build output.const config: CapacitorConfig = {webDir: 'dist', // Adjust if necessary}; -
Verify Server Configuration: Confirm the server settings are correct.
server: {url: 'http://localhost:3000',cleartext: true} -
Update Content Security Policy: Add this meta tag to your HTML for proper resource loading.
<meta http-equiv="Content-Security-Policy" content="default-src 'self' 'unsafe-inline' 'unsafe-eval' data: *">
Plugin Not Working
If a plugin isn’t behaving as expected, follow these steps:
-
Perform a clean installation of dependencies:
Terminal window rm -rf node_modulesnpm cache clean --forcenpm install -
Check the plugin settings in
capacitor.config.tsto ensure they’re configured correctly:plugins: {PluginName: {option: 'value'}}
For those using Capgo’s native plugin, it automatically synchronizes plugins and maintains compatibility during updates.
After applying these fixes, rebuild your project to verify the changes:
npm run build && npx cap copy && npx cap syncOnce everything is running smoothly, you can move forward with exploring live update options with Capgo.
Live Updates with Capgo
Simplify app updates using Capgo. It lets you push updates directly to users, skipping the need for app store reviews.
Getting started is simple. First, install the necessary packages:
npm install @capgo/cli @capgo/capacitor-updaternpx cap syncThen, initialize Capgo in your project:
npx @capgo/cli initPricing Plans
Capgo offers several pricing tiers to suit different needs:
| Plan | Monthly Active Users | Bandwidth | Storage | Price (Annual) |
|---|---|---|---|---|
| SOLO | 1,000 | 50 GB | 2 GB | $12/month |
| MAKER | 10,000 | 500 GB | 5 GB | $33/month |
| TEAM | 100,000 | 2,000 GB | 10 GB | $83/month |
For enterprise users, the PAYG plan starts at $249/month and includes perks like API access, custom domains, and dedicated support.
Configuration for Live Updates
To enable live updates, add the following to your capacitor.config.ts file:
{ plugins: { CapacitorUpdater: { autoUpdate: true, updateUrl: 'https://api.capgo.app/updates' } }}Key Features
Capgo provides several standout features:
- Secure updates with end-to-end encryption
- Automated deployments through integrated CI/CD
- Targeted updates via user assignment
- Instant rollback with version control
- Real-time analytics to track updates
Deployment Commands
Test updates in development before deploying them live. Use the following commands:
-
Deploy to staging:
Terminal window npx @capgo/cli deploy --channel staging -
Deploy to production:
Terminal window npx @capgo/cli deploy --channel production
Capgo ensures compliance with Apple and Android guidelines, so your live updates won’t risk app store violations. It’s an efficient way to manage Capacitor apps after installation.
Conclusion
Setting up Capacitor CLI is simple when you have the right prerequisites in place. This setup ensures smoother app updates and efficient development workflows.
Modern tools make app maintenance easier than ever. For example, Capgo now provides live updates, replacing older methods. Its integration with the CLI installation makes it a great option for developers working with Capacitor apps.
The Capacitor ecosystem is constantly improving with new tools and features. Installing the CLI is just the starting point for building mobile apps, and you’ll benefit from detailed documentation and an active developer community.
Be sure to keep the Capacitor CLI and its packages up to date to avoid compatibility issues.


