


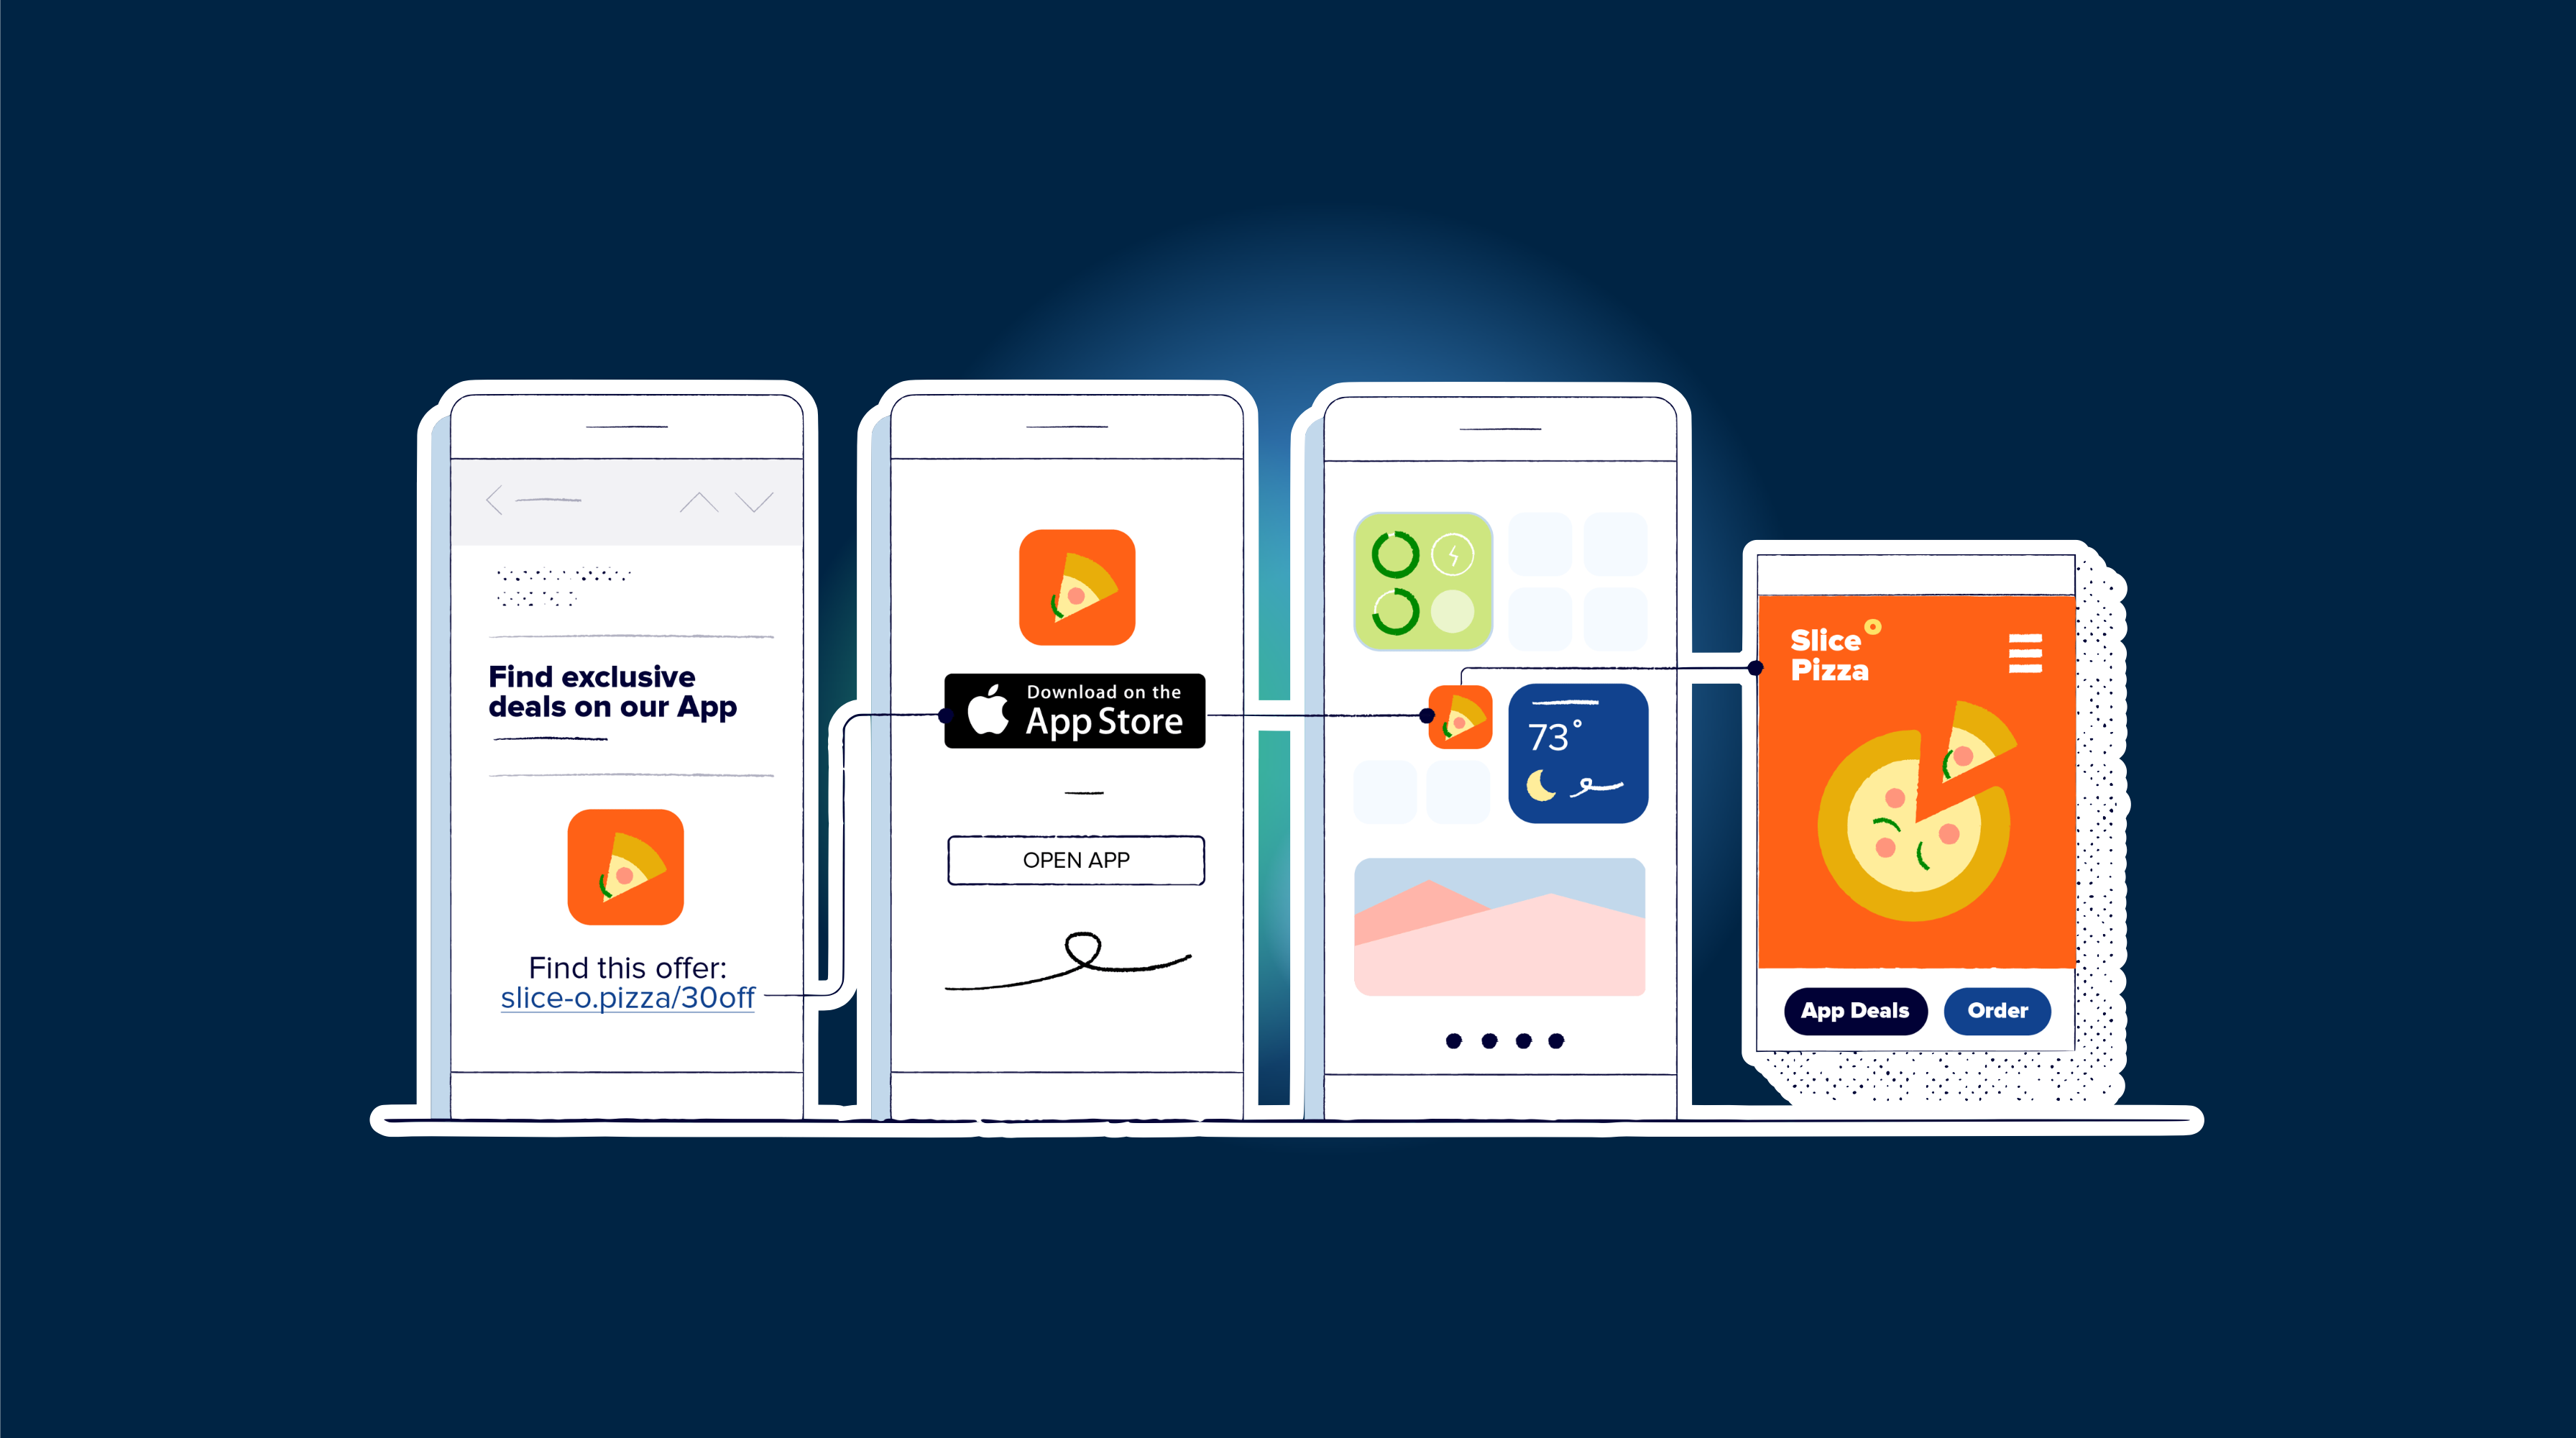
Universal links on iOS and App Links on Android allow users to be taken directly into your app from a link, bypassing the browser. This is particularly useful for improving user experience and maintaining the context from a web page to an app. In this guide, we’ll walk through the process of setting up these deep links for a Next.js app using Capacitor. For attribution and deferred deep links, @capgo/capacitor-appsflyer can route install campaigns into the correct in-app screen.
Setting up deep links doesn’t require a lot of code, but it does involve some configuration. By the end of this guide, you’ll be able to click a link like https://www.capgo.app/details/22 and have your app open to the correct page if it’s installed.
Next.js Deep Link Setup
First, we’ll create a new Next.js app and a details page for testing:
npx create-next-app@latest capgoLinks
cd capgoLinks
mkdir pages/details
touch pages/details/[id].js
npm run build
npx cap add ios
npx cap add android
Ensure your bundle ID is correctly set in the capacitor.config.json file, as it’s crucial for the setup:
{
  "appId": "com.capgo.deeplinks",
  "appName": "capgoLinks",
  "webDir": "out",
  "bundledWebRuntime": false
}
For routing, Next.js uses file-based routing, so by creating a file at pages/details/[id].js, we’ve already set up our wildcard route.
In pages/details/[id].js, we can retrieve the ID from the URL using Next.js’s built-in router:
import { useRouter } from 'next/router'

function DetailsPage() {
  const router = useRouter()
  const { id } = router.query

  return (
    <div>
      <p>My ID: {id}</p>
    </div>
  )
}

export default DetailsPage
Now, let’s handle the appUrlOpen event with Capacitor. This event is triggered when the app is opened via a custom URL scheme. Add a listener in the pages/_app.js file:
import { useEffect } from 'react'
import { App } from '@capacitor/app'

function MyApp({ Component, pageProps }) {
  useEffect(() => {
    App.addListener('appUrlOpen', (event) => {
      const slug = event.url.split('.app').pop()
      if (slug)
        window.location.href = slug

    })
  }, [])

  return <Component {...pageProps} />
}

export default MyApp
This code listens for the appUrlOpen event and navigates to the appropriate route within your Next.js app.
iOS Configuration
For iOS, you’ll need an app ID with Associated Domains enabled. Create an apple-app-site-association file with the following content, replacing YOURTEAMID and com.your.bundleid with your actual team ID and bundle ID:
{
  "applinks": {
    "apps": [],
    "details": [
      {
        "appID": "YOURTEAMID.com.your.bundleid",
        "paths": ["*"]
      }
    ]
  }
}
Upload this file to the .well-known directory on your domain, making it accessible at https://www.capgo.app/.well-known/apple-app-site-association.
In Xcode, add the domain to your app’s entitlements using the format applinks:capgo.app.
Android Configuration
For Android App Links, follow these steps:
- Generate a keystore file if you don’t have one.
- Obtain the SHA256 fingerprint from the keystore.
- Create an assetlinks.json file with your package name and SHA256 fingerprint.
- Upload this file to the
.well-knowndirectory on your domain.
In your AndroidManifest.xml, add an intent-filter to the activity element that handles deep links:
<activity ...>
  <intent-filter android:autoVerify="true">
    <action android:name="android.intent.action.VIEW" />
    <category android:name="android.intent.category.DEFAULT" />
    <category android:name="android.intent.category.BROWSABLE" />
    <data android:scheme="https" android:host="capgo.app" />
  </intent-filter>
</activity>
After uploading the assetlinks.json file, you can verify it using Google’s Digital Asset Links tool. If everything is set up correctly, you’ll see a green checkmark.
To build and sign your app, use the following commands:
cd android
./gradlew assembleRelease
cd ..
jarsigner -verbose -sigalg SHA1withRSA -digestalg SHA1 -keystore my-release-key.keystore android/app/build/outputs/apk/release/app-release-unsigned.apk alias_name
zipalign -v 4 android/app/build/outputs/apk/release/app-release-unsigned.apk capgo.apk
adb install capgo.apk
This will install the signed app on your connected Android device.
Capacitor Configure for Native Project Settings
To automate native project settings, consider using the Capacitor configure package. Install it in your project:
npm install @capacitor/configureCreate a capacitor.config.yaml file at the root of your project:
vars:
  BUNDLE_ID: com.capgo.deeplinks
  PACKAGE_NAME: com.capgo.deeplinks
platforms:
  ios:
    targets:
      App:
        bundleId: $BUNDLE_ID
    entitlements:
      - com.apple.developer.associated-domains: ['applinks:capgo.app']
  android:
    packageName: $PACKAGE_NAME
Run the configure tool with this config:
npx cap-config run capacitor.config.yamlThis will apply the settings specified in the YAML file to your native projects.
Conclusion
Setting up deep links with Capacitor for a Next.js app involves configuring your domain and project settings for both iOS and Android. While the process requires attention to detail, it’s streamlined compared to older methods and doesn’t require additional plugins. Ensure your domain verification files are correctly served and check them with the respective platform tools. Once set up, your app will seamlessly open from web links, providing a smooth transition for your users from web to app.
Keep going from How to Integrate Universal Links in Next.js with Capacitor
If you are using How to Integrate Universal Links in Next.js with Capacitor to plan native plugin work, connect it with Capgo Plugin Directory for the product workflow in Capgo Plugin Directory, Capacitor Plugins by Capgo for the implementation detail in Capacitor Plugins by Capgo, Adding or Updating Plugins for the implementation detail in Adding or Updating Plugins, Ionic Enterprise Plugin Alternatives for the product workflow in Ionic Enterprise Plugin Alternatives, and Capgo Native Builds for the product workflow in Capgo Native Builds.





