


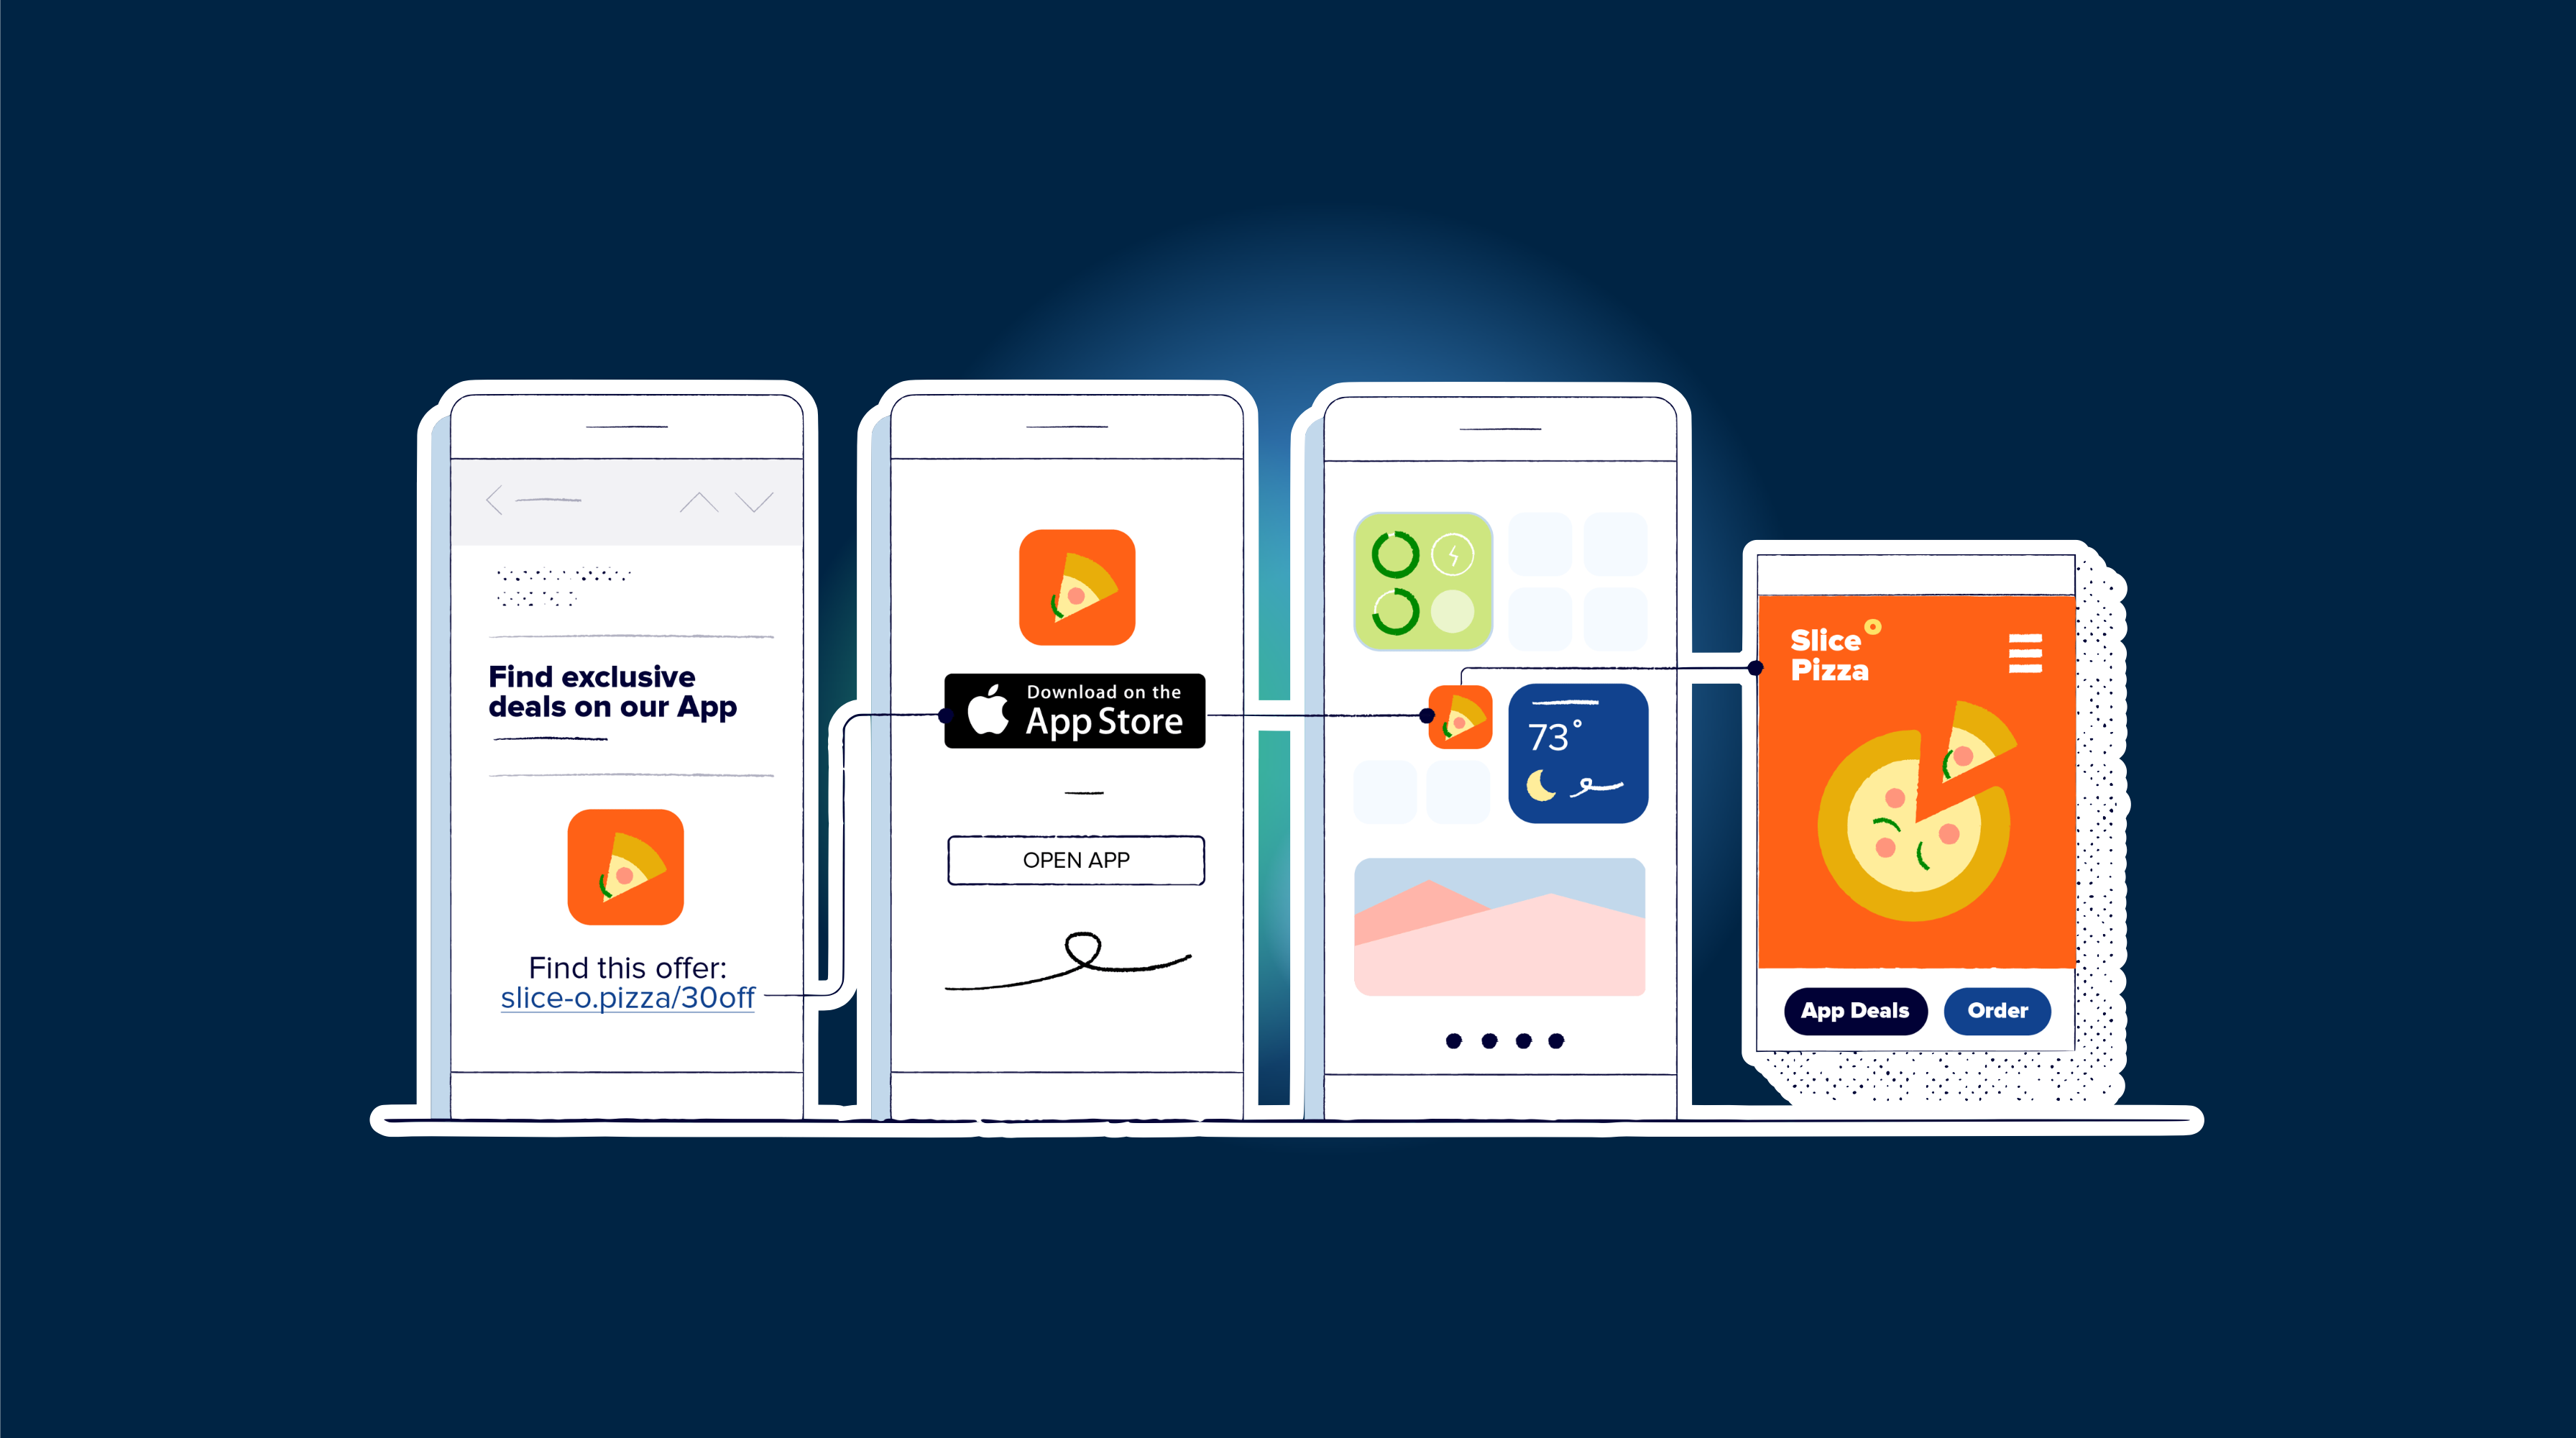
iOS 上的 Universal links 和 Android 上的 App Links 可以让用户通过链接直接跳转到您的 App,从而绕过浏览器。这对于提升用户体验以及保持从网页到 App 的上下文衔接非常有用。在本指南中,我们将介绍如何使用 Capacitor 为 Next.js 应用配置这些 deep links。关于归因和延迟深度链接 (deferred deep links), @capgo/capacitor-appsflyer 可以将安装活动路由到正确的 App 内页面。
配置 deep links 不需要大量的 code,但确实涉及一些配置工作。阅读完本指南后,您将能够点击如下链接: https://www.capgo.app/details/22 如果应用已安装,则直接打开到正确的页面。
Next.js Deep Link 配置指南
首先,我们将创建一个新的 Next.js 应用和一个用于测试的详情页:
npx create-next-app@latest capgoLinks
cd capgoLinks
mkdir pages/details
touch pages/details/[id].js
npm run build
npx cap add ios
npx cap add android
请确保您的 Bundle ID 已在 capacitor.config.json 文件中正确设置,这对配置至关重要:
{
  "appId": "com.capgo.deeplinks",
  "appName": "capgoLinks",
  "webDir": "out",
  "bundledWebRuntime": false
}
在路由方面,Next.js 使用基于文件的路由,因此通过在 pages/details/[id].js处创建一个文件,我们已经设置好了通配符路由。
在 pages/details/[id].js我们可以使用 Next.js 内置的 router 从 URL 中获取 ID:
import { useRouter } from 'next/router'

function DetailsPage() {
  const router = useRouter()
  const { id } = router.query

  return (
    <div>
      <p>My ID: {id}</p>
    </div>
  )
}

export default DetailsPage
现在,让我们来处理 appUrlOpen 通过 Capacitor 触发的事件。当应用通过自定义 URL scheme 打开时,会触发此事件。请在其中添加监听器: pages/_app.js 文件:
import { useEffect } from 'react'
import { App } from '@capacitor/app'

function MyApp({ Component, pageProps }) {
  useEffect(() => {
    App.addListener('appUrlOpen', (event) => {
      const slug = event.url.split('.app').pop()
      if (slug)
        window.location.href = slug

    })
  }, [])

  return <Component {...pageProps} />
}

export default MyApp
这个 code 会监听 appUrlOpen 事件,并跳转到 Next.js 应用中的相应路由。
iOS 配置
对于 iOS,你需要一个启用了 Associated Domains 的 App ID。创建一个 apple-app-site-association 文件,内容如下,并将 YOURTEAMID 和 com.your.bundleid 替换为你实际的 Team ID 和 Bundle ID:
{
  "applinks": {
    "apps": [],
    "details": [
      {
        "appID": "YOURTEAMID.com.your.bundleid",
        "paths": ["*"]
      }
    ]
  }
}
将此文件 upload 到 .well-known 域名下的目录,使其可通过以下地址访问: https://www.capgo.app/.well-known/apple-app-site-association.
在 Xcode 中,使用以下格式将域名添加到应用的 entitlements 中: applinks:capgo.app.
Android 配置
若要配置 Android App Links,请按照以下步骤操作:
- 如果你还没有 keystore 文件,请先生成一个。
- 从 keystore 中获取 SHA256 指纹。
- 创建一个 assetlinks.json 文件,其中包含你的包名和 SHA256 指纹。
- 将此文件上传到域名下的
.well-known.well-known 目录。
在你的 AndroidManifest.xml,添加一个 intent-filter 到 activity 处理 deep links 的元素:
<activity ...>
  <intent-filter android:autoVerify="true">
    <action android:name="android.intent.action.VIEW" />
    <category android:name="android.intent.category.DEFAULT" />
    <category android:name="android.intent.category.BROWSABLE" />
    <data android:scheme="https" android:host="capgo.app" />
  </intent-filter>
</activity>
上传 assetlinks.json 文件后,你可以使用 Google 的 Digital Asset Links 工具验证。如果一切配置正确,你会看到绿色对勾。
要构建并签名你的 App,请使用以下命令:
cd android
./gradlew assembleRelease
cd ..
jarsigner -verbose -sigalg SHA1withRSA -digestalg SHA1 -keystore my-release-key.keystore android/app/build/outputs/apk/release/app-release-unsigned.apk alias_name
zipalign -v 4 android/app/build/outputs/apk/release/app-release-unsigned.apk capgo.apk
adb install capgo.apk
这会将已签名的 App 安装到你连接的 Android 设备上。
Capacitor 配置 Native 项目设置
要自动化 native 项目设置,可以考虑使用 Capacitor configure 包。在你的项目中安装它:
npm install @capacitor/configure创建一个 capacitor.config.yaml 项目根目录下的文件:
vars:
  BUNDLE_ID: com.capgo.deeplinks
  PACKAGE_NAME: com.capgo.deeplinks
platforms:
  ios:
    targets:
      App:
        bundleId: $BUNDLE_ID
    entitlements:
      - com.apple.developer.associated-domains: ['applinks:capgo.app']
  android:
    packageName: $PACKAGE_NAME
使用此配置运行 configure 工具:
npx cap-config run capacitor.config.yaml这将把 YAML 文件中指定的设置应用到您的原生项目中。
总结
为 Next.js 应用使用 Capacitor 设置 Deep Links,需要同时配置 iOS 和 Android 的域名及项目设置。虽然整个过程需要细心操作,但相比旧方法流程已大幅简化,且无需安装额外插件。请确保您的域名验证文件已正确托管,并使用各平台工具进行检查。设置完成后,您的应用将能通过 Web 链接无缝打开,为用户提供从网页到 App 的流畅转换体验。
继续阅读:如何使用 Capacitor 在 Next.js 中集成 Universal Links
如果你正在使用 如何在 Next.js 中使用 Capacitor 集成 Universal Links 要规划原生插件工作,请将其连接到 Capgo 插件目录 用于 Capgo 插件目录中的产品工作流, 由 Capgo 提供的 Capacitor 插件 有关 Capgo 编写的 Capacitor 插件实现细节, 添加或更新插件 关于“添加或更新插件”中的实现细节, Ionic Enterprise 插件替代方案 了解 Ionic Enterprise 插件替代方案的产品工作流,以及 Capgo Native Build 关于 Capgo Native Builds 中的产品工作流。





