구글 플레이
__CAPGO_KEEP_0__

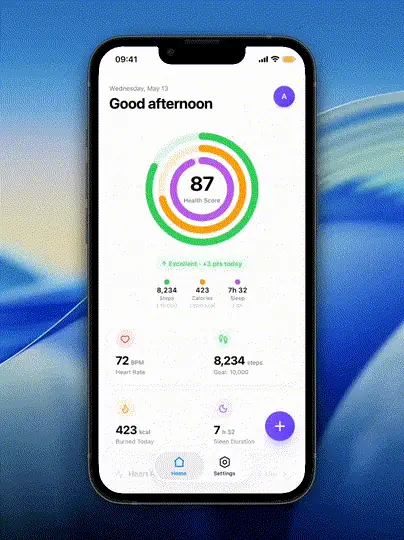
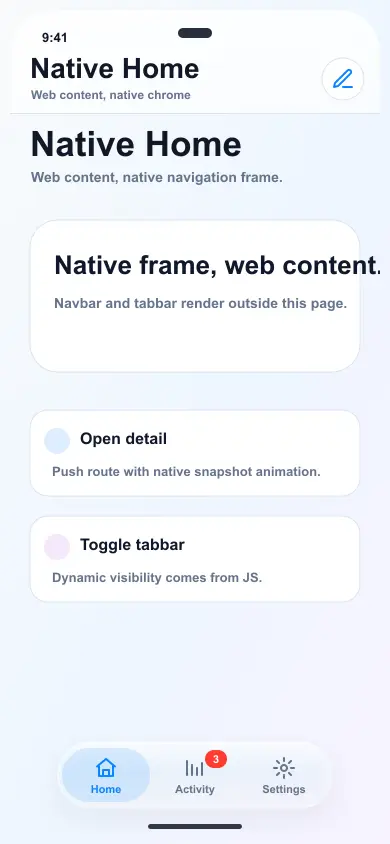
Using @capgo/capacitor-native-navigation
@capgo/capacitor-native-navigation Capacitor WebView 위에 네이티브 탑 네비게이션, 하단 탭 크롬, 및 루트 전환 셸을 렌더링합니다. 웹 프레임워크는 여전히 경로와 콘텐츠를 소유하고 있으면서 네이티브는 앱 프레임을 소유합니다.
설치 및 동기화
npm install @capgo/capacitor-native-navigation
npx cap sync
네이티브 프레임을 구성하십시오
import { NativeNavigation } from '@capgo/capacitor-native-navigation';

await NativeNavigation.configure({
  contentInsetMode: 'css',
  animationDuration: 360,
  colors: {
    tint: '#0f172a',
    inactiveTint: '#64748b',
  },
});
네이티브 네비게이션 바를 렌더링하십시오
await NativeNavigation.setNavbar({
  title: 'Inbox',
  subtitle: 'Native chrome',
  transparent: true,
  backButton: { visible: false },
  rightItems: [
    {
      id: 'compose',
      title: 'Compose',
      icon: {
        svg: '<svg viewBox="0 0 24 24" fill="none" stroke="currentColor" stroke-width="2"><path d="M12 20h9"/><path d="M16.5 3.5a2.12 2.12 0 0 1 3 3L7 19l-4 1 1-4Z"/></svg>',
      },
    },
  ],
});
네이티브 탭 바를 렌더링하십시오
await NativeNavigation.setTabbar({
  selectedId: 'inbox',
  labelVisibilityMode: 'selected',
  icons: true,
  colors: {
    dynamic: true,
    tint: '#0f172a',
    inactiveTint: '#64748b',
  },
  tabs: [
    {
      id: 'inbox',
      title: 'Inbox',
      icon: {
        svg: '<svg viewBox="0 0 24 24" fill="none" stroke="currentColor" stroke-width="2"><path d="M4 4h16v16H4z"/><path d="m4 13 4 4h8l4-4"/></svg>',
      },
    },
    {
      id: 'search',
      title: 'Search',
      icon: {
        svg: '<svg viewBox="0 0 24 24" fill="none" stroke="currentColor" stroke-width="2"><circle cx="11" cy="11" r="7"/><path d="m20 20-3-3"/></svg>',
      },
    },
  ],
});
네이티브 이벤트를 라우터에 연결하십시오
네이티브 바는 의도(intent)를 방출합니다. 여전히 라우터는 경로 변경을 수행합니다:
await NativeNavigation.addListener('navbarBack', () => {
  router.back();
});

await NativeNavigation.addListener('navbarItemTap', ({ id }) => {
  if (id === 'compose') router.push('/compose');
});

await NativeNavigation.addListener('tabSelect', ({ id }) => {
  router.push(`/${id}`);
});
경로 변경을 애니메이션화하십시오
정상적인 웹 경로 업데이트를 위한 전환 거래(transaction)를 사용하십시오:
const transition = await NativeNavigation.beginTransition({
  direction: 'forward',
});

router.push('/message/42');
await router.ready?.();

await NativeNavigation.setNavbar({
  title: 'Message',
  backButton: { visible: true, title: 'Inbox' },
});

await NativeNavigation.finishTransition({
  id: transition.id,
  direction: 'forward',
});
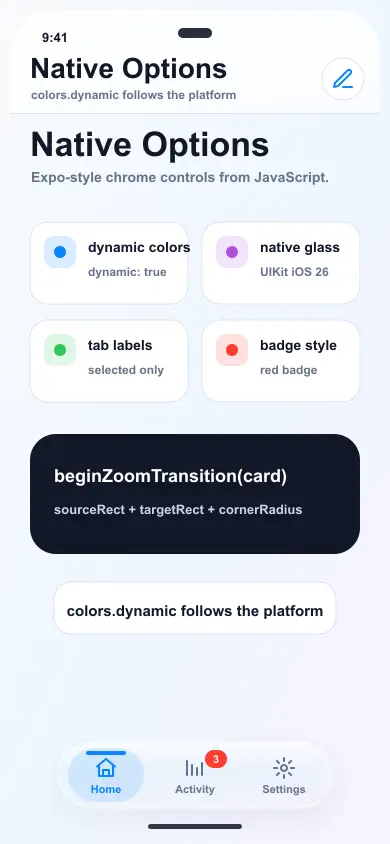
줌 전환 추가
카드, 그리드 아이템 또는 미디어 미리보기에서 열리는 경로에 대해 줌 도우미를 사용하세요.
import { beginZoomTransition, finishZoomTransition } from '@capgo/capacitor-native-navigation';

const card = document.querySelector('[data-message-card]');
if (card) {
  const transition = await beginZoomTransition(card, { cornerRadius: 18 });

  router.push('/message/42');
  await router.ready?.();

  await NativeNavigation.setNavbar({
    title: 'Message',
    backButton: { visible: true, title: 'Inbox' },
  });

  await finishZoomTransition(undefined, {
    id: transition.id,
    cornerRadius: 18,
  });
}
원본 인셋으로 콘텐츠를 패딩하세요.
그렇다면 contentInsetMode 그렇다면 css플러그인은 원본 바의 CSS 변수를 작성합니다.
.page {
  padding-top: var(--cap-native-navigation-top);
  padding-bottom: var(--cap-native-navigation-bottom);
}
아이콘 선택
아이콘은 React 또는 Vue 노드가 아닌 원본 설명자입니다. 원본 자산을 번들링하지 않으려면 SVG를 사용하세요.
const icon = {
  svg: '<svg viewBox="0 0 24 24"><path d="M3 10.5 12 3l9 7.5"/></svg>',
  template: true,
  ios: { sfSymbol: 'house.fill' },
  android: { resource: 'ic_menu_view' },
};
인라인 SVG는 path, line, polyline, polygon, circle, 및 rect,을 지원합니다. 이는 Lucide 및 Feather와 같은 일반적인 아이콘 세트를 포함합니다.
Combine with @capgo/capacitor-transitions
자연스러운 네비게이션을 사용하여 네이티브 네비게이션 바, 탭 바, 안전 영역 인셋, 네이티브 인텐트 이벤트를 사용하십시오. @capgo/capacitor-transitions 웹뷰 페이지 스택 underneath 네이티브 크롬을 위해
npm install @capgo/capacitor-native-navigation @capgo/capacitor-transitions
npx cap sync
두 패키지를 한 번만 초기화하십시오:
import { NativeNavigation } from '@capgo/capacitor-native-navigation';
import '@capgo/capacitor-transitions';
import { initTransitions, setupRouterOutlet, setDirection } from '@capgo/capacitor-transitions/react';

initTransitions({ platform: 'auto' });

const outlet = document.querySelector('cap-router-outlet');
if (outlet) {
  setupRouterOutlet(outlet, { platform: 'auto', swipeGesture: 'auto' });
}

await NativeNavigation.configure({
  contentInsetMode: 'css',
});
페이지 전환에서 transition outlet을 유지하고 웹 바를 중복하지 마십시오:
<cap-router-outlet platform="auto" swipe-gesture="auto">
  <cap-page>
    <cap-content slot="content" fullscreen>
      <main class="page">Inbox content</main>
    </cap-content>
  </cap-page>
</cap-router-outlet>
같은 라우터 액션으로 두 패키지를 제어하십시오:
async function openMessage(id: string) {
  setDirection('forward');
  await router.push(`/messages/${id}`);
  await NativeNavigation.setNavbar({
    title: 'Message',
    backButton: { visible: true, title: 'Inbox' },
  });
}

await NativeNavigation.addListener('navbarBack', () => {
  setDirection('back');
  router.back();
});

await NativeNavigation.addListener('tabSelect', ({ id }) => {
  setDirection('root');
  router.push(`/${id}`);
});
한 번에 하나의 애니메이션 레이어를 사용하십시오. @capgo/capacitor-transitions 일반 페이지 푸시를 animate하고, 공유된 요소나 줌 루트에만 네이티브 네비게이션의 줌 헬퍼만 사용하십시오.
전체 참조
- GitHub https://github.com/Cap-go/capacitor-native-navigation/
- 문서: /docs/plugins/native-navigation/
Using @capgo/capacitor-native-navigation
만약에 capgo/capacitor-native-navigation을 사용하고 있다면 __CAPGO_KEEP_0__/__CAPGO_KEEP_1__-native-navigation과 연결하세요. capgo/capacitor-native-navigation의 implementation detail을 보려면 for the implementation detail in @capgo/capacitor-native-navigation, Getting Started의 implementation detail을 보려면 __CAPGO_KEEP_0__/__CAPGO_KEEP_1__-live-activities를 사용하세요. capgo/capacitor-live-activities의 native capability을 보려면 capgo/capacitor-live-activities capgo/capacitor-live-activities의 implementation detail을 보려면 capgo/capacitor-video-player를 사용하세요. capgo/capacitor-video-player native 기능을 위한 @capgo/capacitor-비디오 플레이어를 사용합니다.