
Want to build iOS and Android apps with one codebase? Capacitor CLI simplifies the process, letting you create native apps using web technologies. Here’s what you’ll learn:
- Quick Setup: Install Capacitor CLI and initialize your project in minutes.
- Platform Integration: Add iOS and Android support with simple commands.
- Live Updates: Use Capgo for instant over-the-air updates.
- Common Fixes: Troubleshoot issues like sync errors or build failures.
Key Steps to Get Started:
- Install Node.js, npm, JDK, Xcode, and Android Studio.
- Run
npm install @capacitor/core @capacitor/cliand initialize your project. - Add iOS and Android platforms using
npx cap add iosandnpx cap add android. - Optional: Set up Capgo for live app updates.
This guide covers everything you need to set up Capacitor CLI, configure platforms, and deploy your app. Let’s dive in!
Introducing Capacitor Configure
Setup Requirements
To get started, make sure you have the following tools installed:
- Node.js (version 14 or newer) and npm
- Java JDK (version 11 or newer)
- Xcode (version 12 or newer for iOS builds)
- Android Studio (for Android builds)
- Capacitor CLI (version 6 or 7)
Optional: If you want to enable live updates, check out the “Capgo Setup Guide” below.
CLI Installation Steps
Before starting, ensure you have Node.js, npm, JDK, Xcode, and Android Studio set up. Once ready, you can install the Capacitor CLI by running:
npm install --save @capacitor/core @capacitor/clinpx cap initThis command installs Capacitor and sets up its core components.
After completing this step, move on to Creating a New Project to scaffold your application.
Creating a New Project
To get started with your project using Capacitor CLI, follow these steps:
mkdir my-app && cd my-appnpm init -ynpx cap init my-app com.company.app --web-dir distUpdating the Configuration File
Edit the capacitor.config.json file to include the following settings:
{ "appId": "com.company.app", "appName": "My App", "webDir": "dist", "bundledWebRuntime": false, "server": { "hostname": "app.example.com", "androidScheme": "https" }}Once updated, use this configuration to set up Capacitor for your project.
Platform Setup
Now that the project scaffolding is done, it’s time to set up iOS and Android targets.
Adding iOS and Android
Start by installing the necessary platform-specific packages using the Capacitor CLI:
npm install @capacitor/ios @capacitor/androidnpx cap add iosnpx cap add androidFor iOS, make sure you have Xcode 14 or later, CocoaPods 1.11 or newer, and macOS 12 or higher. For Android, you’ll need Android Studio Giraffe (2022.3.1+), JDK 17 or later, and Gradle 7.5 or above.
Once installed, you’ll need to keep your native targets updated with changes to your web application.
Platform Updates
To sync your platforms with the latest web changes, follow these steps after updating your web app:
npm run buildnpx cap syncThe cap sync command handles two tasks:
- Copies updated web assets to the native platforms
- Updates native configurations and plugins to match the latest changes
IDE Setup
Open the platform-specific projects in the appropriate IDEs:
npx cap open ios # Opens Xcodenpx cap open android # Opens Android StudioIn Xcode:
- Choose your development team.
- Set up signing certificates.
- Update your bundle identifier.
In Android Studio:
- Modify the application ID in
build.gradle. - Configure the keystore for signing.
- Set up both debug and release build variants.
When everything is configured, build the projects using npx cap build ios or npx cap build android. Don’t forget to run npx cap sync again to ensure all assets are up to date.
Capgo Setup Guide
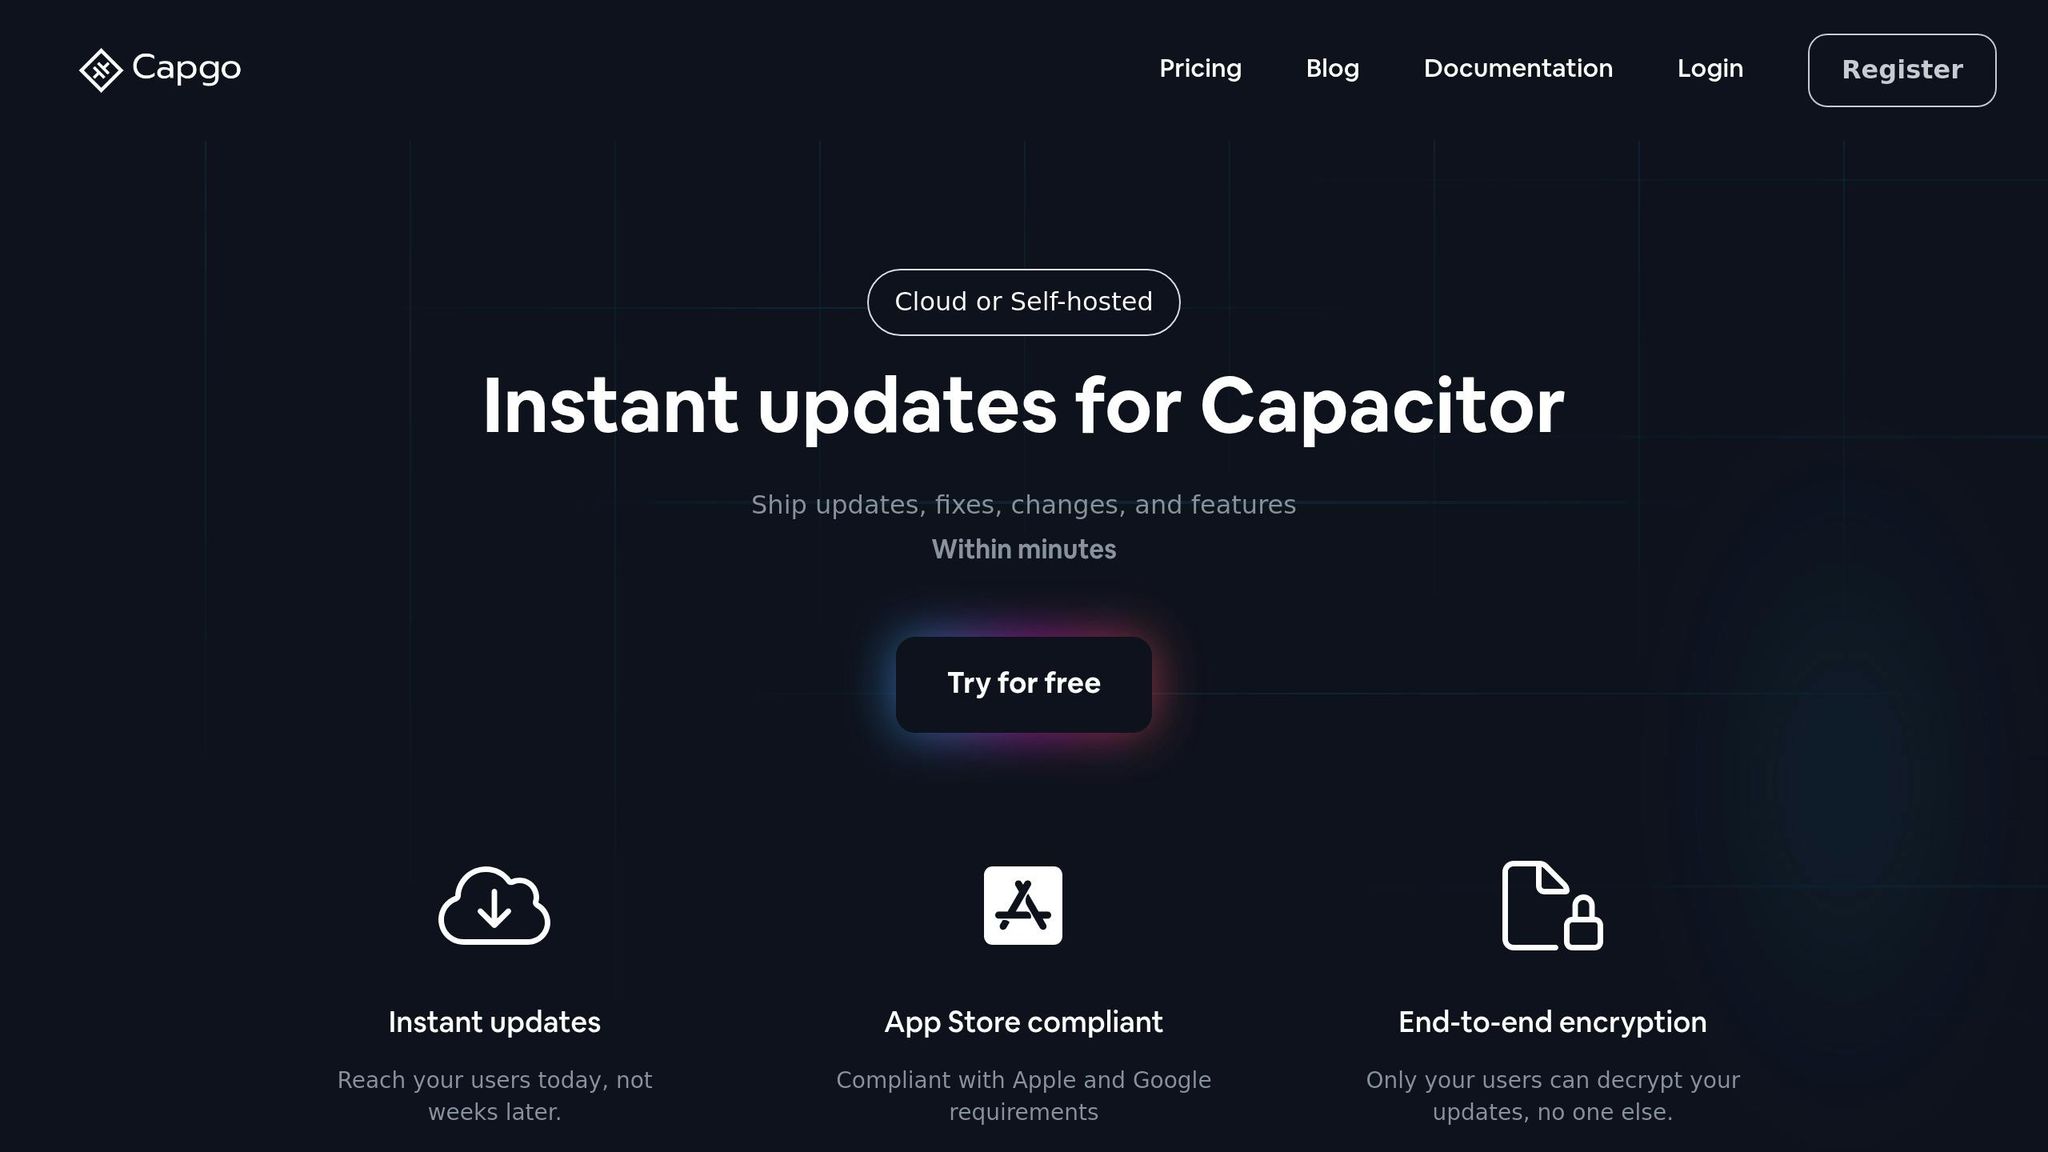
Set up Capgo to enable instant over-the-air updates for your app.
Key Features of Capgo
Capgo offers several tools to streamline app updates:
- End-to-end encryption ensures secure delivery of updates.
- Updates run in the background when the app launches.
- Analytics tools help track update success rates and user engagement.
- A one-click rollback option lets you quickly recover from problematic updates.
- Use the channel system for staged rollouts and beta testing.
Installing Capgo
Follow these steps to get started with Capgo:
-
Terminal window npm install --save @capgo/cli -
Initialize Capgo in your project:
Terminal window npx capgo init -
Build and release updates:
Terminal window npm run buildnpx capgo release -
Open the app to trigger the background update process.
Best Practices
- Use channels to test updates before rolling them out to all users.
- Monitor analytics to ensure updates are delivered successfully and users stay engaged.
- Enable error tracking to catch and fix issues early.
- Keep the rollback feature ready to quickly address any problems.
Capgo is compatible with Capacitor 8, integrates smoothly with CI/CD pipelines, and complies with Apple and Google store requirements.
Common Issues and Tips
Once you’ve completed the platform and Capgo setup, you might face some common errors. Here’s how to address them quickly.
Environment Setup Issues
-
CLI Not Found
Error: The commandnpx capfails.
Fix: Runnpm install --save @capacitor/cli @capacitor/coreand try again. -
Node Version Mismatch
Error: CLI commands fail due to Node.js version errors.
Fix: Install Node.js version 14 or higher as outlined in the setup requirements.
Configuration Problems
-
Config Mismatch
Error: Changes incapacitor.config.jsondon’t take effect.
Fix: Make sure theappIdandwebDirvalues match your project’spackage.jsonand the web build output folder. -
Platform Sync Errors
Error: Runningnpx cap syncresults in plugin version conflicts.
Fix: Update@capacitor/androidand@capacitor/iosto the same major version, then rerun the sync command.
Build and Deployment
-
Build Signing Failures
Error: iOS or Android builds fail due to missing certificates or a keystore.
Fix: Follow the IDE setup instructions. For iOS, add your development team in Xcode. For Android, configure the keystore inbuild.gradle. -
Web Directory Not Found
Error:npx cap synccan’t find the web assets.
Fix: Run your web build command (e.g.,npm run build) before syncing the platforms.
Live Update Issues
- Capgo Update Failures
Error: Updates are not appearing in the production app.
Fix: Double-check your Capgo API key incapacitor.config.jsonand ensure you’re targeting the correct channel.
For more details on platform-specific setup, revisit the Platform Setup section. If you’re working with live updates, consult the Capgo Setup Guide for additional troubleshooting tips.
Summary
Setup Review
Start your web app with Capacitor CLI, set up iOS and Android platforms, and optionally include Capgo for live updates.
Here’s how to get started:
- Use the Capacitor CLI to initialize your project.
- Set up your app’s package ID and define the web output directory.
- Add support for iOS and Android platforms.
- Install and set up Capgo with the following command:
npm install --save @capgo/cli && npx capgo init
For detailed setup instructions or troubleshooting, check out the official Capacitor and Capgo documentation.


