序文
Capgoのアップデートシステムを楽しむようになったら、自分が作っているアプリの場合も、”もっと欲しいな”という気分がわくでしょう。
私もその気分を感じましたが、Capgoの作成者なので、内部を見てみることができました。
すべてがオープンソースなので、同じ力を手に入れることもできます :)
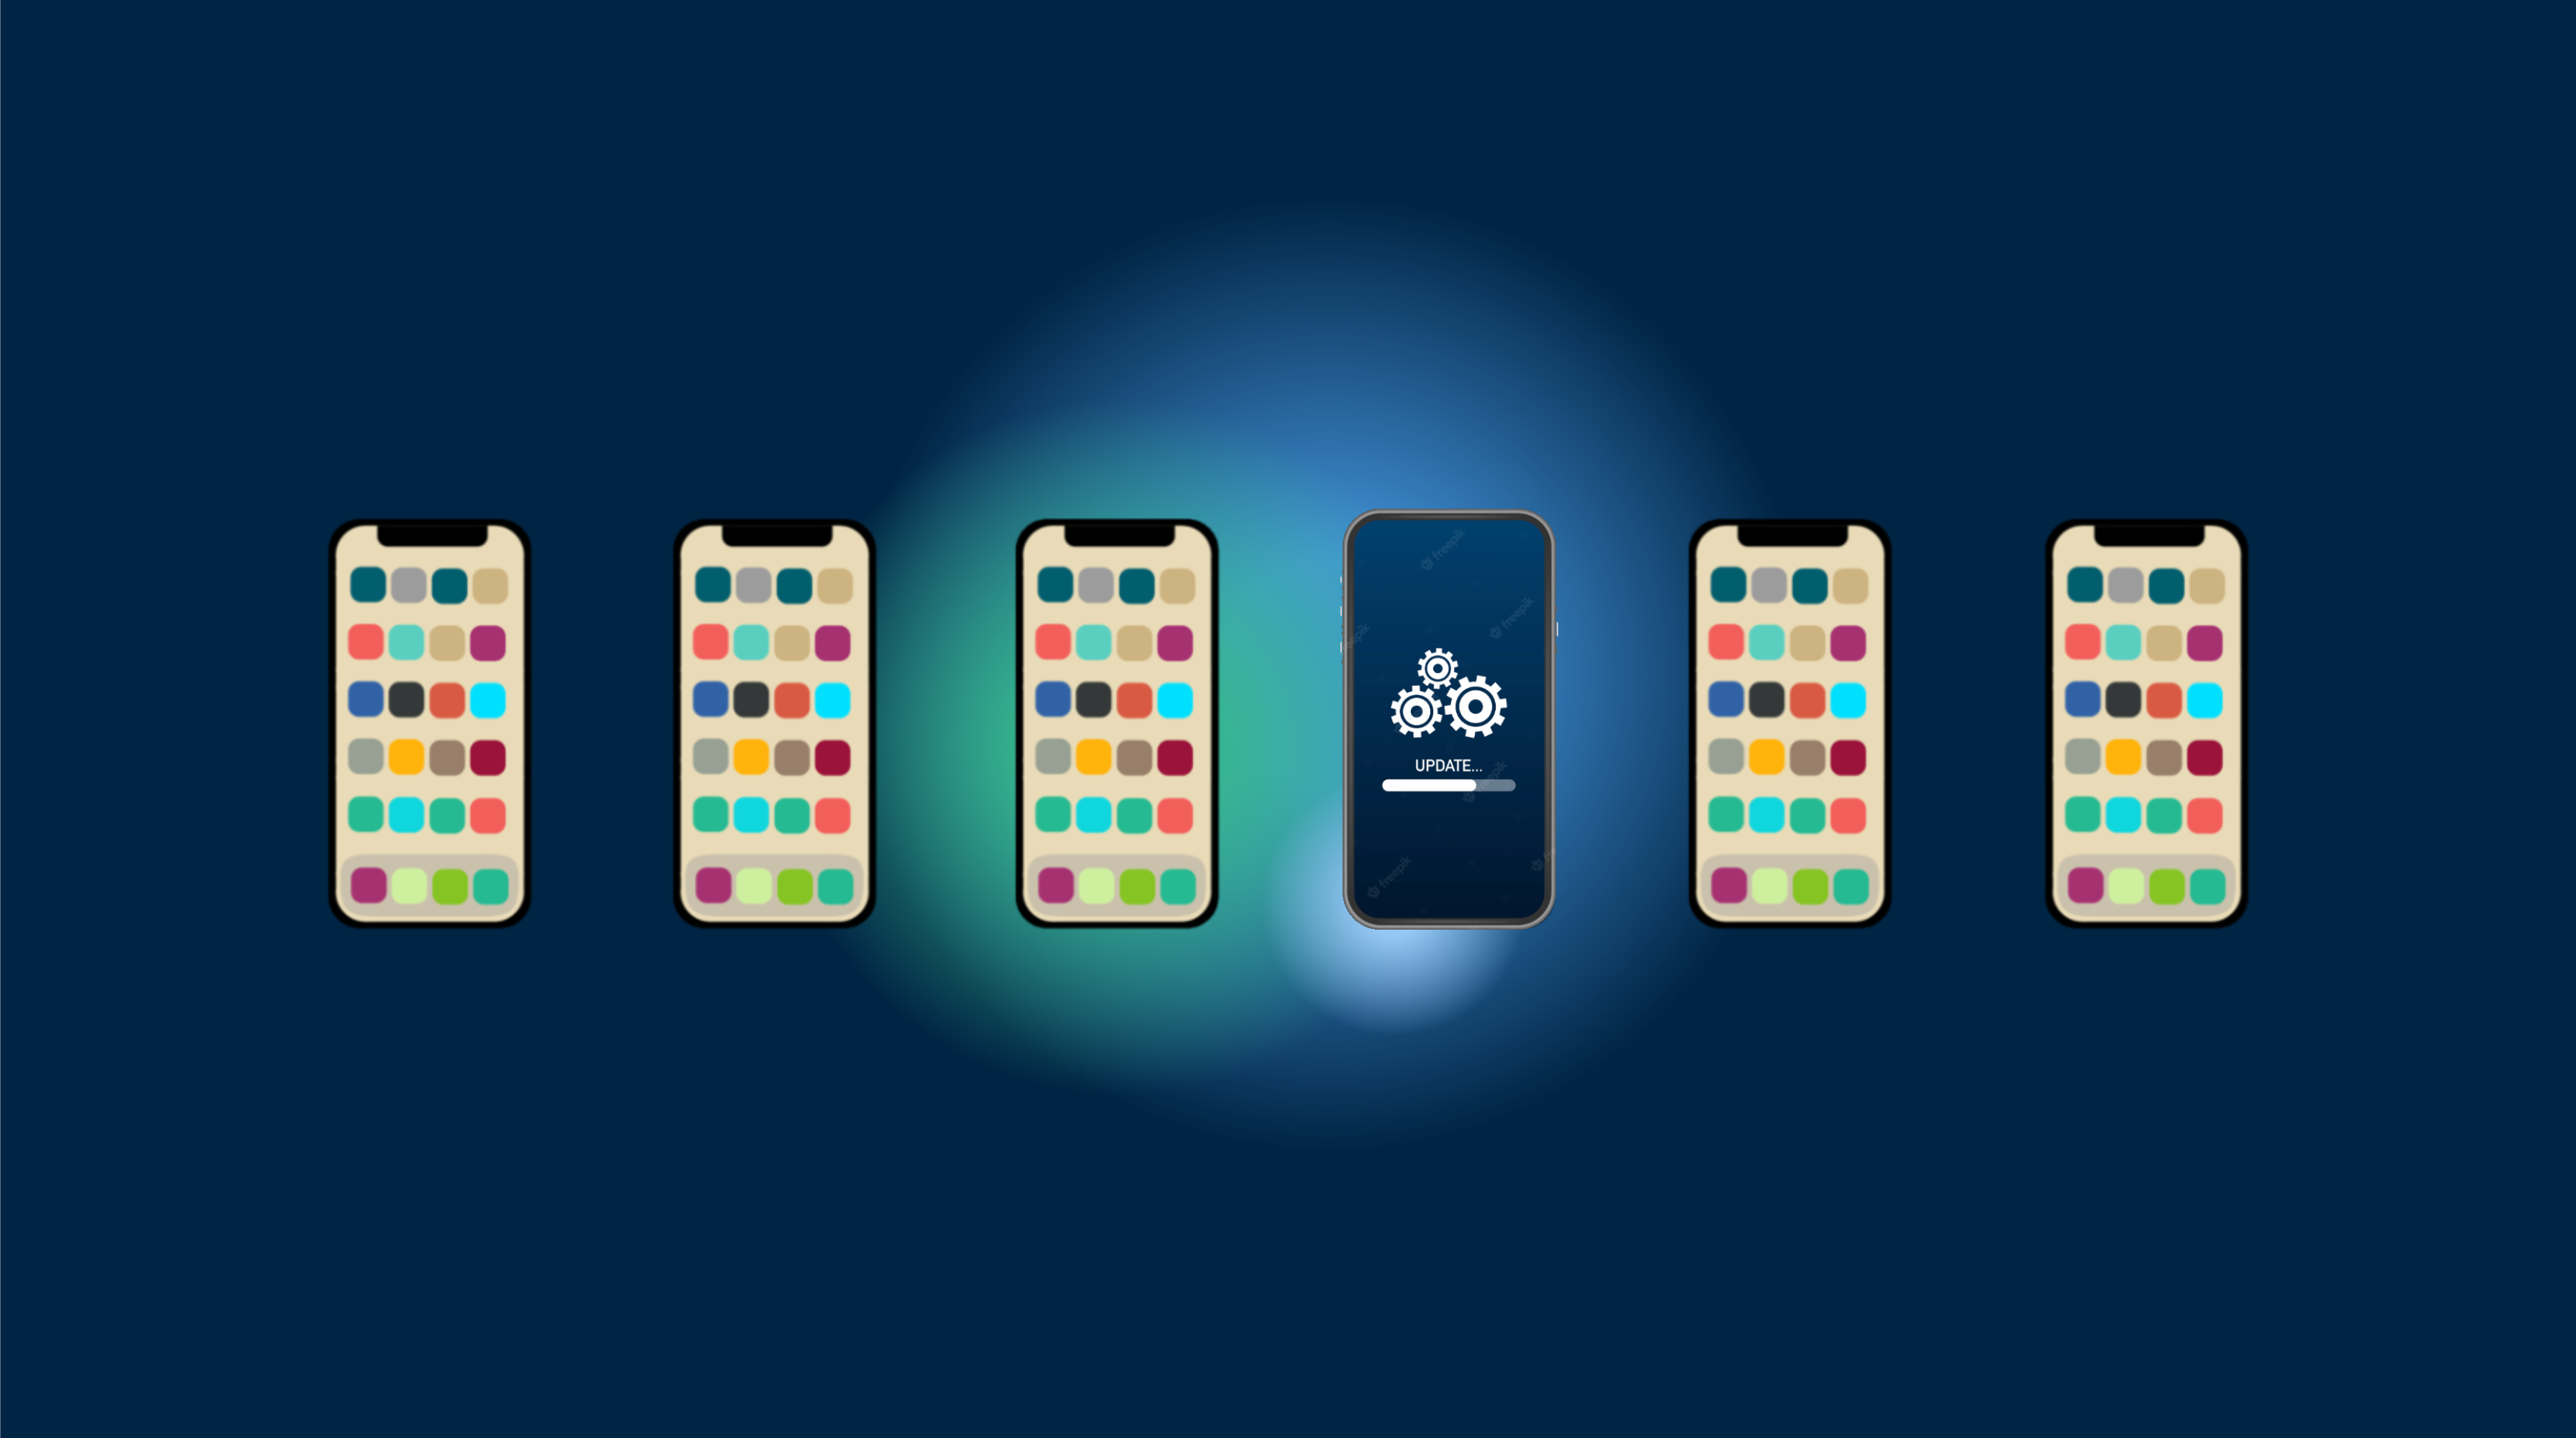
Capacitorアプリの配布プロセスで私が感じた次の痛点は、他のチームメンバーにアップデートをテストしてもらうことです。
TestFlightの場合、チームに人を招待し、テスト方法を理解させることが時間がかかります。
アップデートをAppleに送信するたびに、BOTによるランダムレビューが行われ、5分か5時間かかることもあります。
私もこのため、多くのプレゼンテーションが遅延することがありました…
And for Google this is even worse, the big mystery of my life, releasing a production version takes less than 2 hours, but releasing a close beta takes 1–2 days.
解決策
この問題を解決するために、Capgoでチャンネルシステムを実装しました。
npx @capgo/cli@latest bundle upload -c production すべてのユーザーに更新を適用する (プロダクション チャンネルがデフォルトに設定されている場合)。
もし npx @capgo/cli@latest bundle upload -c development すると、バージョンは異なるチャンネルに到達します。このことが、__CAPGO_KEEP_0__アクションで自動化できます。 GitHub action.
超自動の方法
この方法は、チャンネルを設定するための独自のバックエンドを作成しなくても便利です。この方法は実装が速いです。
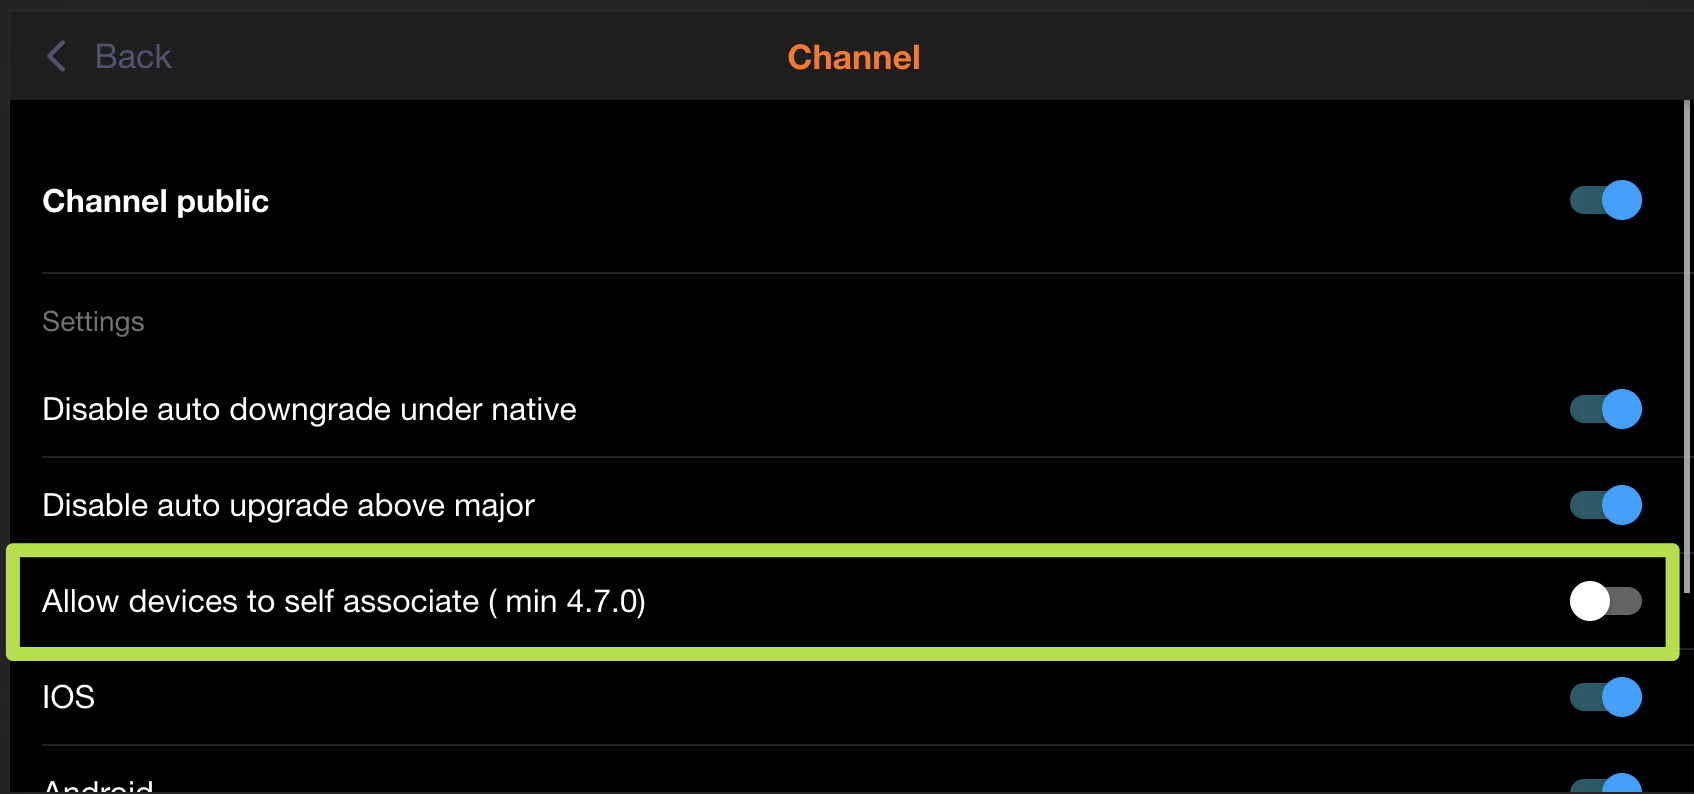
そのため、チャンネルを 1 つだけ許可する必要があります。許可するチャンネルを __CAPGO_KEEP_0__ で設定してください。
許可設定自在
そして、Ionic アプリの code に次の内容を追加してください。 最適な体験を得るには、ユーザーが「ベータ版の登録」ボタンをクリックした後で実行してください。
import { CapacitorUpdater } from '@capgo/capacitor-updater'

const deviceId = await CapacitorUpdater.setChannel({ channel: 'beta' })
手動の方法
内部チーム向けに便利な機能です。実装が速いため、使用できます。 ユーザーがデバイスIDをアプリからコピーし、自分で送信する機能を提供します。 code は、デバイスIDを取得するのに役立ちます。
import { CapacitorUpdater } from '@capgo/capacitor-updater'

const deviceId = await CapacitorUpdater.getDeviceId()
アプリ内でボタンを隠すか、特定のロールを持つユーザーにのみ表示する機能を提供します。例えば、ロール「管理者」にのみ表示する機能を提供します。 admin Web アプリまたはネイティブ アプリの __CAPGO_KEEP_0__ にアクセスし、管理者としてログインし、アプリを選択し、デバイスの一覧を表示し、検索バーにデバイスIDを入力し、検索結果から選択し、チャネルリンクをクリックします。
Then Go to the Web app or native app Capgo, connect as app admin, select your app, click on the device list.
チームメンバーは、最新のバージョンを取得します。 development自動の方法
ベータ版テスター向けに便利な機能です。実装が長いため、使用できます。
手動の方法と同じです。デバイスIDを取得する必要があります。
手動の方法と同じです。デバイスIDを取得する必要があります。
手動の方法と同じです。デバイスIDを取得する必要があります。
import { CapacitorUpdater } from '@capgo/capacitor-updater'

const deviceId = await CapacitorUpdater.getDeviceId()
この度は自動でバックエンドに送信する必要がありますが、方法はあなたに任せます。
データベースに保存することをお勧めします。後日、生活が簡単になります。
バックエンドでは、Capgo バックエンドにも送信する必要があります。以下の2つのcodeの例があります。
NodeJS
import axios from 'axios'

await axios.post('https://api.capgo.app/device', {
  app_id: 'YOUR_APP_ID',
  device_id: 'DEVICE_ID',
  channel: 'CHANNEL_NAME', // The name of the channel, or undefined if version_id provided
  version_id: 'VERSION_NAME' // this is optional, if provide it will override the channel, that useful when you want to debug only one user.
}, {
  headers: {
    authorization: 'YOUR_API_KEY' // choose a key with 'write' or 'all' rights
  }
})
Cloudflare
addEventListener('fetch', (event) => {
  event.respondWith(
    handleRequest(event.request).catch(
      err => new Response(err.stack, { status: 500 })
    )
  )
})

async function handleRequest(request) {
  const { pathname, method } = new URL(request.url)
  const body = await request.json()
  const newBody = JSON.stringify({
    app_id: 'YOUR_APP_ID',
    device_id: body.device_id,
    channel: 'alpha'
  })
  const newUrl = new URL('https://api.capgo.app/device')
  const options = {
    headers: {
      authorization: 'YOUR_API_KEY',
    },
    method: 'POST',
    body: newBody
  }

  if (request.method === 'DELETE') {
    // DELETE the channel link
    options.method = 'DELETE'
    return fetch(newUrl.toString(), options)
  }

  return fetch(newUrl.toString(), options)
}
デプロイされたURLにPOSTで送信し、追加と削除のメソッドを使用して、デバイスIDを本体に送信します。
この設定が完了したら、オプチン機能を追加するボタンをアプリに追加し、Webアプリで設定が有効かどうかを確認してください。
オプチン機能を有効にすることもできます。 null オーバーライドを削除するには
オーバーライドが設定されているデバイスのURLにアクセスして、プログラムで確認することができます。
import axios from 'axios'

const res = await axios.get('https://api.capgo.app/device?app_id=YOUR_APP_ID&device_id=DEVICE_ID', {
  headers: {
    authorization: 'YOUR_API_KEY' // choose a key with 'write' or 'all' rights
  }
})

console.log('data', res.json())
次のステップは、特定のユーザーまたはグループにアップデートを送信する方法を説明する「How to send specific update to one user or a group」です。
使用している場合は 特定のユーザーまたはグループに特定のアップデートを送信する方法 チャンネルルーティングとステージドロールアウトを計画するには、を接続する チャンネル チャンネルの実装詳細については チャンネルの実装詳細については チャンネルの実装詳細については ベータテストソリューション ベータテストソリューションの製品ワークフローについては バージョン目標ソリューション バージョン目標ソリューションの製品ワークフローについては __CAPGO_KEEP_0__ __CAPGO_KEEP_0__


