translations.1.targetLanguage
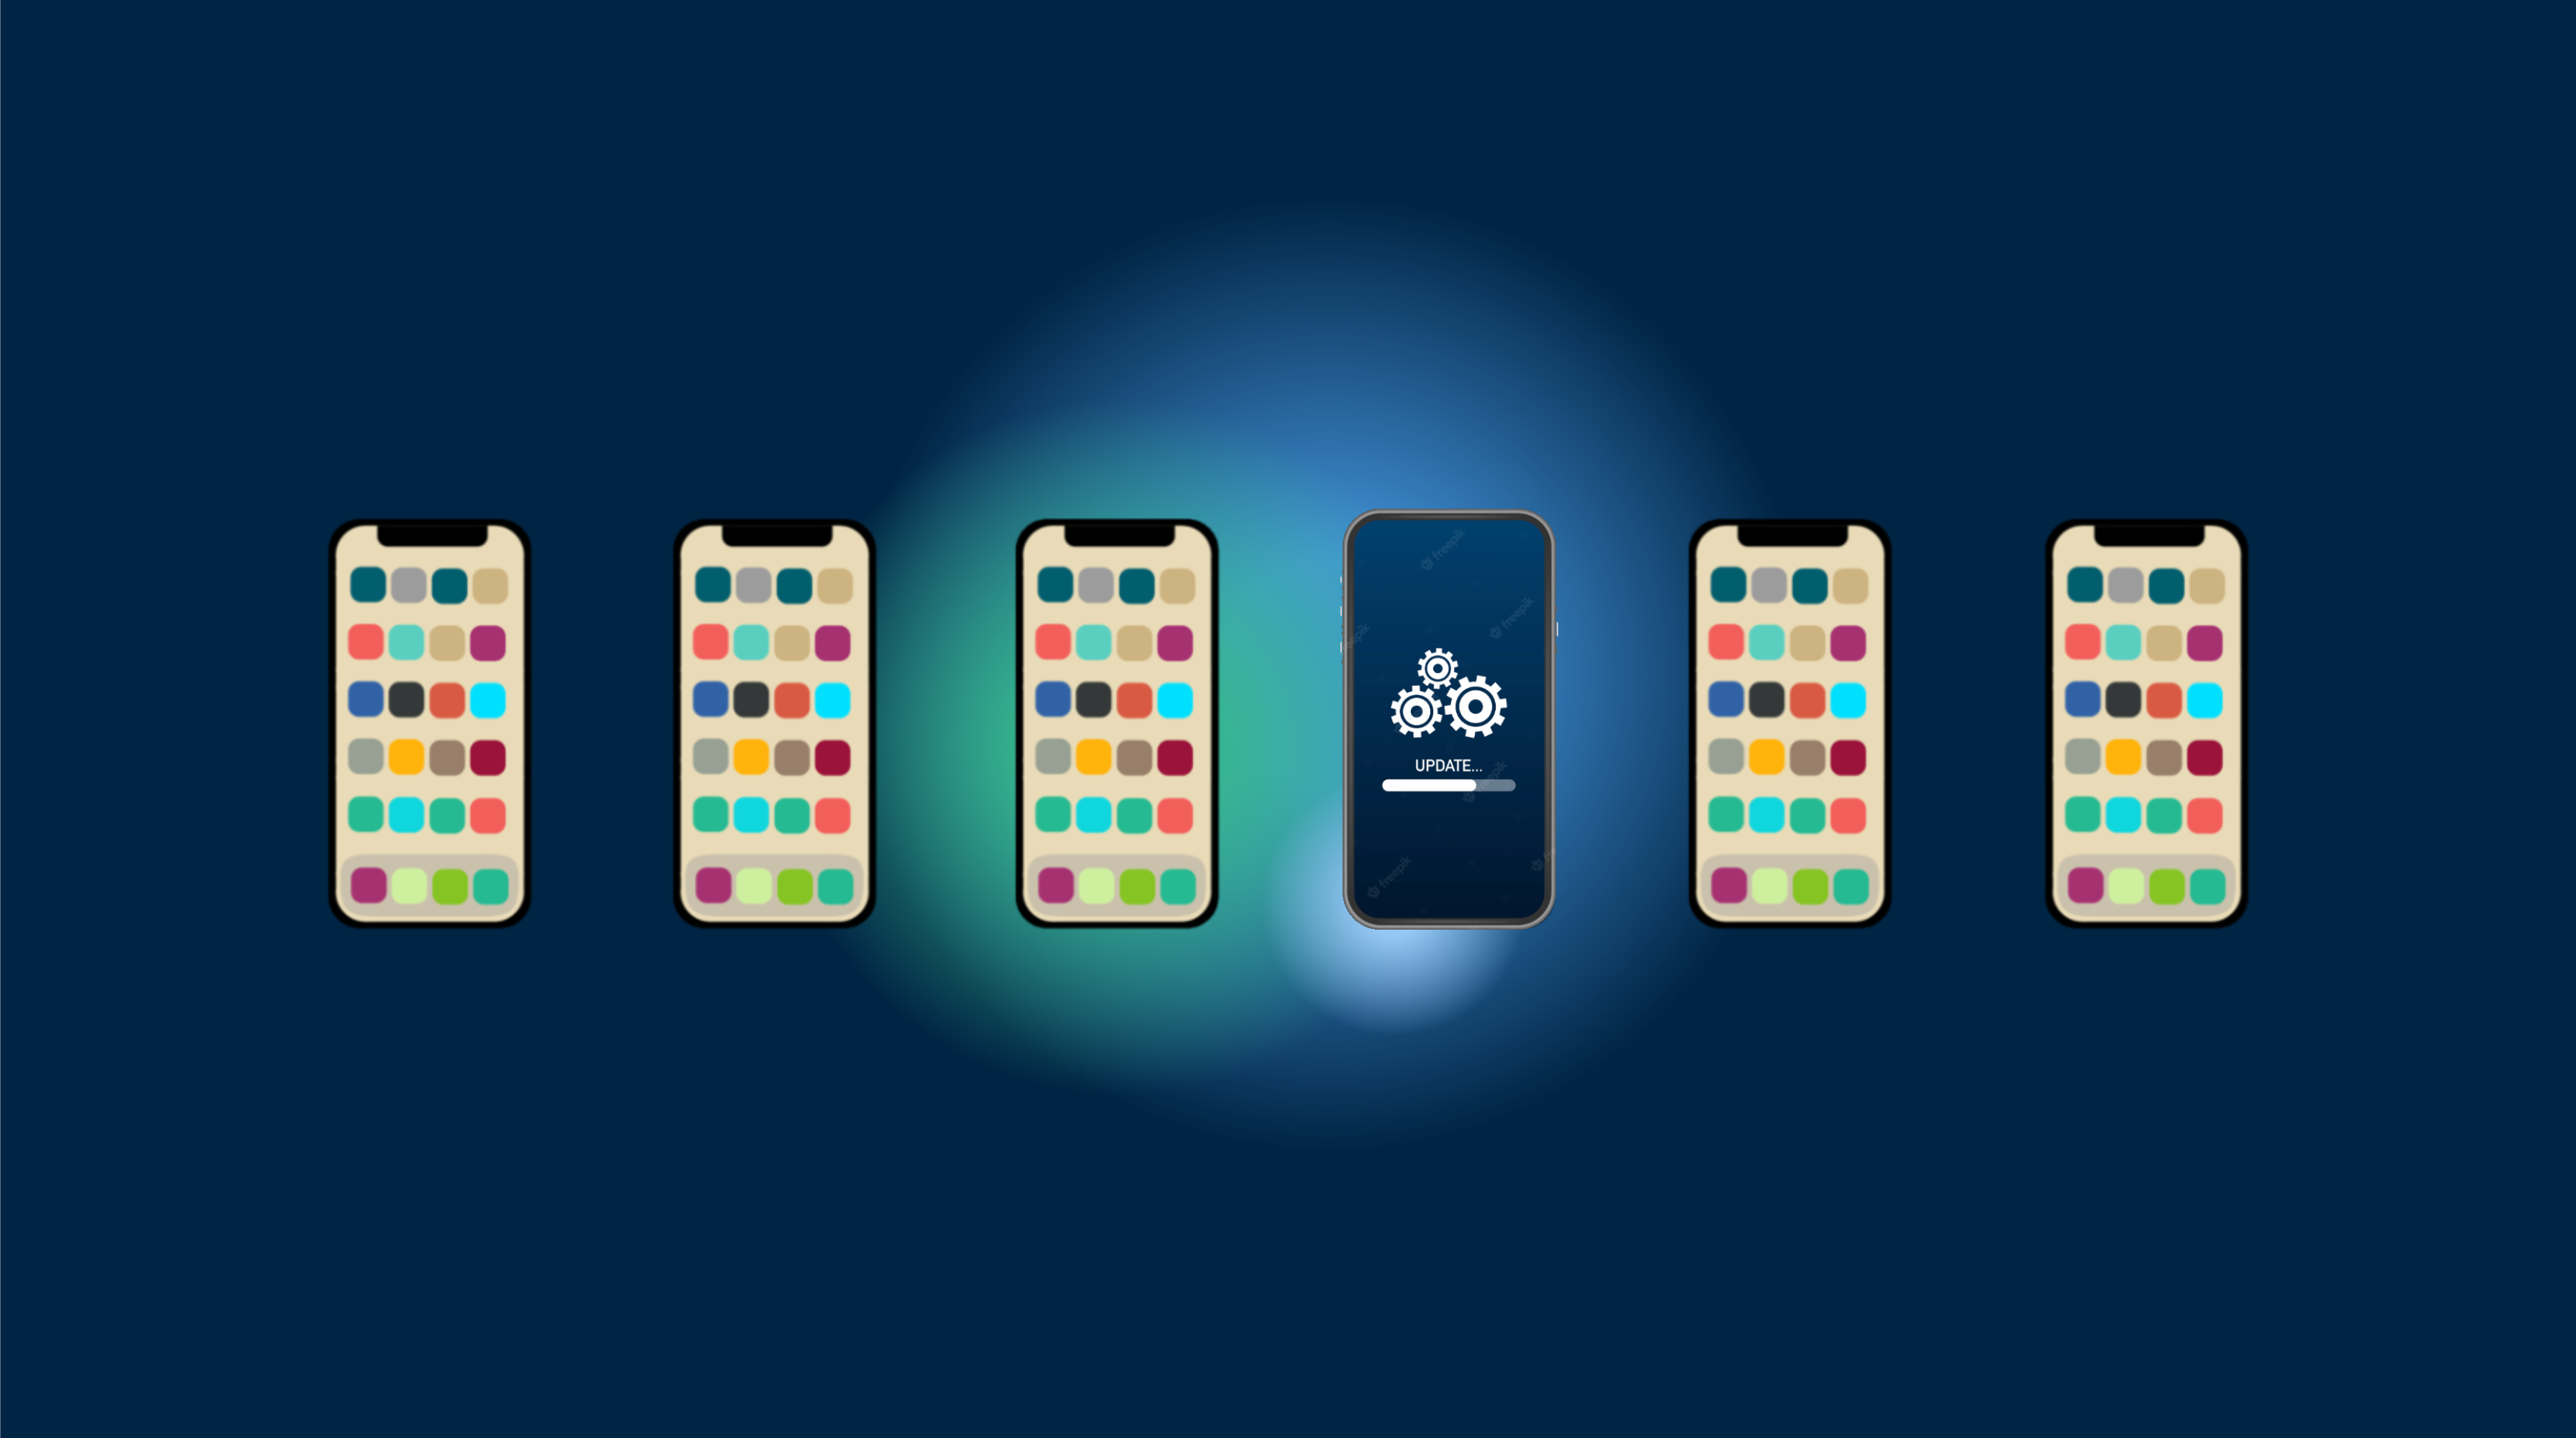
When you start to enjoy the update system of Capgo, like me for my apps, you will start to get the feeling “What if I want more?”
I got the feeling too, but since I’m the maker of Capgo, I was able to take a look!
translations.2.targetLanguage
The next pain I got in the Capacitor app distribution process is to make other teammates test the updates!
translations.2.texts
translations.3.targetLanguage
translations.3.protectedTokens
And for Google this is even worse, the big mystery of my life, releasing a production version takes less than 2 hours, but releasing a close beta takes 1–2 days.
解决方案
为了解决这个问题,我在Capgo中创建了Channel系统。
npx @capgo/cli@latest bundle upload -c production 会更新到所有用户(如果设置了生产频道为默认)
如果你这样做 npx @capgo/cli@latest bundle upload -c development 那么版本将落在一个不同的频道,这可以在__CAPGO_KEEP_0__动作中自动化 GitHub action.
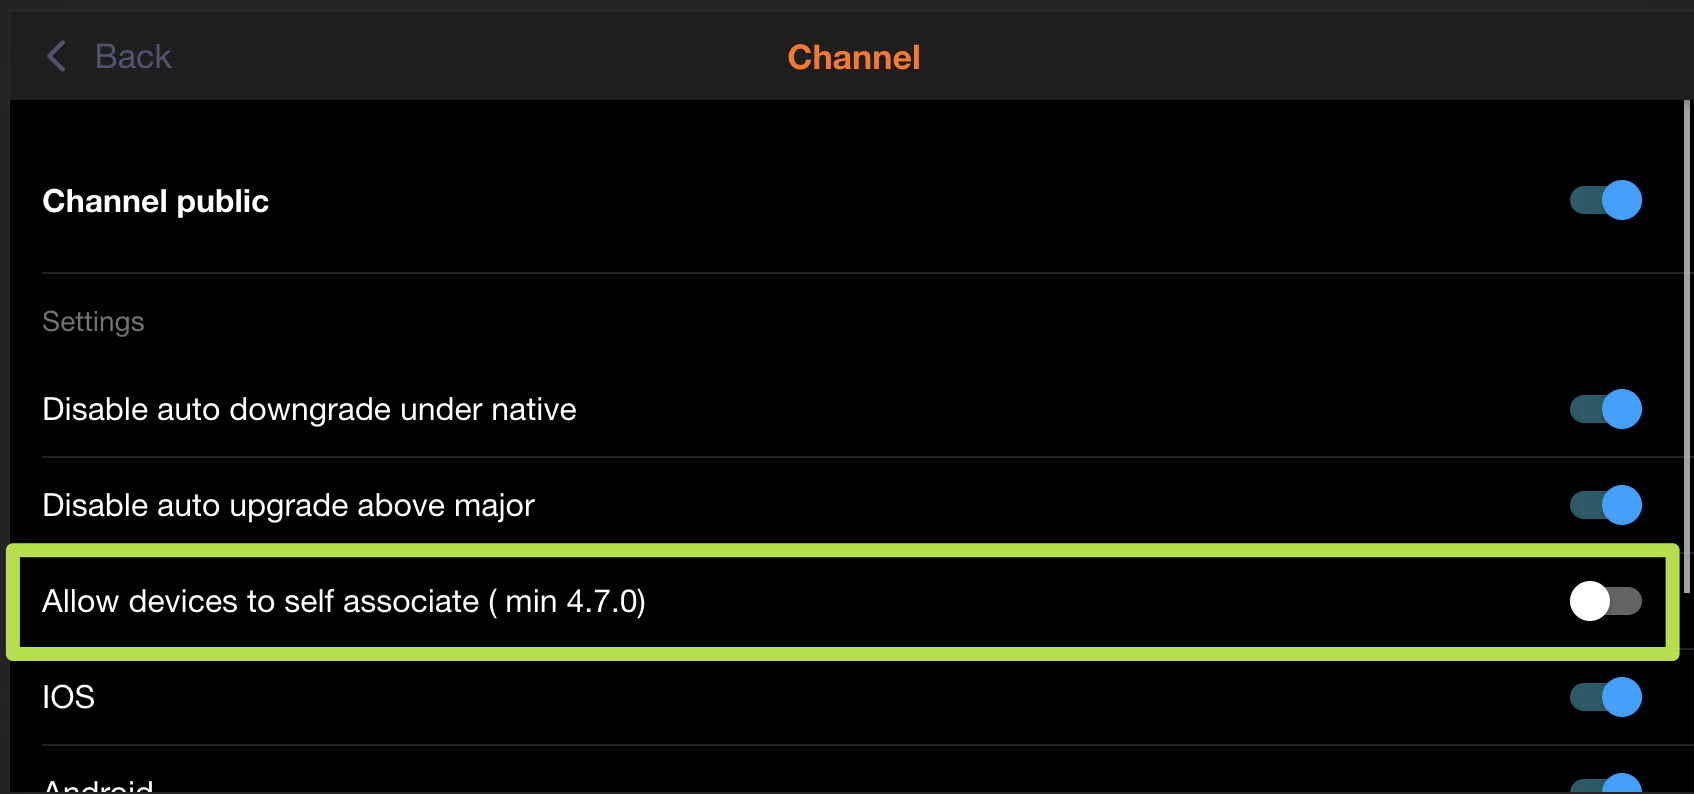
超级自动方式
当你不想为频道设置创建自己的后端时,这可以快速实现。
只需允许其中一个频道自行设置即可。
允许在__CAPGO_KEEP_0__中设置自行设置。']}
And then add this in the code of your Ionic app, for best experience, use this after the user clicks on a button like “register for beta”
import { CapacitorUpdater } from '@capgo/capacitor-updater'

const deviceId = await CapacitorUpdater.setChannel({ channel: 'beta' })
手动方式
这对你的内部团队来说可能很有用,这个方法很快就能实施。 允许用户从应用程序中复制设备ID并将其发送给你,手动方式的code将有助于你获取它:
import { CapacitorUpdater } from '@capgo/capacitor-updater'

const deviceId = await CapacitorUpdater.getDeviceId()
在应用程序中隐藏一个按钮,或者只向已连接的用户显示按钮,例如, admin 然后在Web应用程序或原生应用程序__CAPGO_KEEP_0__中,作为应用程序管理员登录,选择你的应用程序,点击设备列表
Then Go to the Web app or native app Capgo, connect as app admin, select your app, click on the device list.
,请你的同事再次打开应用程序,等待30秒,然后打开关闭应用程序 development他应该获得你的版本
自动方式
这对你的beta测试者来说可能很有用,这个方法需要更长的时间来实施.
同样是手动方式,你需要获取设备ID
手动方式
import { CapacitorUpdater } from '@capgo/capacitor-updater'

const deviceId = await CapacitorUpdater.getDeviceId()
但这次你必须自动将其发送到你的后端,如何做你自己决定.
我只会建议你将其存储在数据库中,这样会使你的生活更容易.
然后在你的后端中,你必须将其发送到Capgo后端。以下是两个code示例:
NodeJS
import axios from 'axios'

await axios.post('https://api.capgo.app/device', {
  app_id: 'YOUR_APP_ID',
  device_id: 'DEVICE_ID',
  channel: 'CHANNEL_NAME', // The name of the channel, or undefined if version_id provided
  version_id: 'VERSION_NAME' // this is optional, if provide it will override the channel, that useful when you want to debug only one user.
}, {
  headers: {
    authorization: 'YOUR_API_KEY' // choose a key with 'write' or 'all' rights
  }
})
Cloudflare
addEventListener('fetch', (event) => {
  event.respondWith(
    handleRequest(event.request).catch(
      err => new Response(err.stack, { status: 500 })
    )
  )
})

async function handleRequest(request) {
  const { pathname, method } = new URL(request.url)
  const body = await request.json()
  const newBody = JSON.stringify({
    app_id: 'YOUR_APP_ID',
    device_id: body.device_id,
    channel: 'alpha'
  })
  const newUrl = new URL('https://api.capgo.app/device')
  const options = {
    headers: {
      authorization: 'YOUR_API_KEY',
    },
    method: 'POST',
    body: newBody
  }

  if (request.method === 'DELETE') {
    // DELETE the channel link
    options.method = 'DELETE'
    return fetch(newUrl.toString(), options)
  }

  return fetch(newUrl.toString(), options)
}
并且只需将设备_id发送到部署的URL中,使用POST方法添加和DELETE方法删除.
在此配置后,尝试在你的应用程序中添加一个按钮来激活频道,并在web应用程序中检查是否已设置.
你也可以发送 null 删除覆盖
如果你需要程序化地检查一个设备上的覆盖设置,
import axios from 'axios'

const res = await axios.get('https://api.capgo.app/device?app_id=YOUR_APP_ID&device_id=DEVICE_ID', {
  headers: {
    authorization: 'YOUR_API_KEY' // choose a key with 'write' or 'all' rights
  }
})

console.log('data', res.json())
继续从如何发送特定更新到一个用户或一个组
如果你正在使用 如何向一个用户或一个群组发送特定的更新 为了规划频道路由和分阶段发布,连接它 频道 频道的实现细节在频道中 频道 频道的实现细节在频道中 频道 频道的实现细节在频道中 Beta 测试解决方案 了解 Beta 测试解决方案中的产品工作流程, 版本目标解决方案 了解版本目标解决方案中的产品工作流程.


