本教程主要关注 GitHub 的托管,但您可以轻松适应任何其他 CI/CD 平台
前言
确保您已在 Capgo 中添加了您的 Capacitor 应用程序,这个教程只关注上传阶段
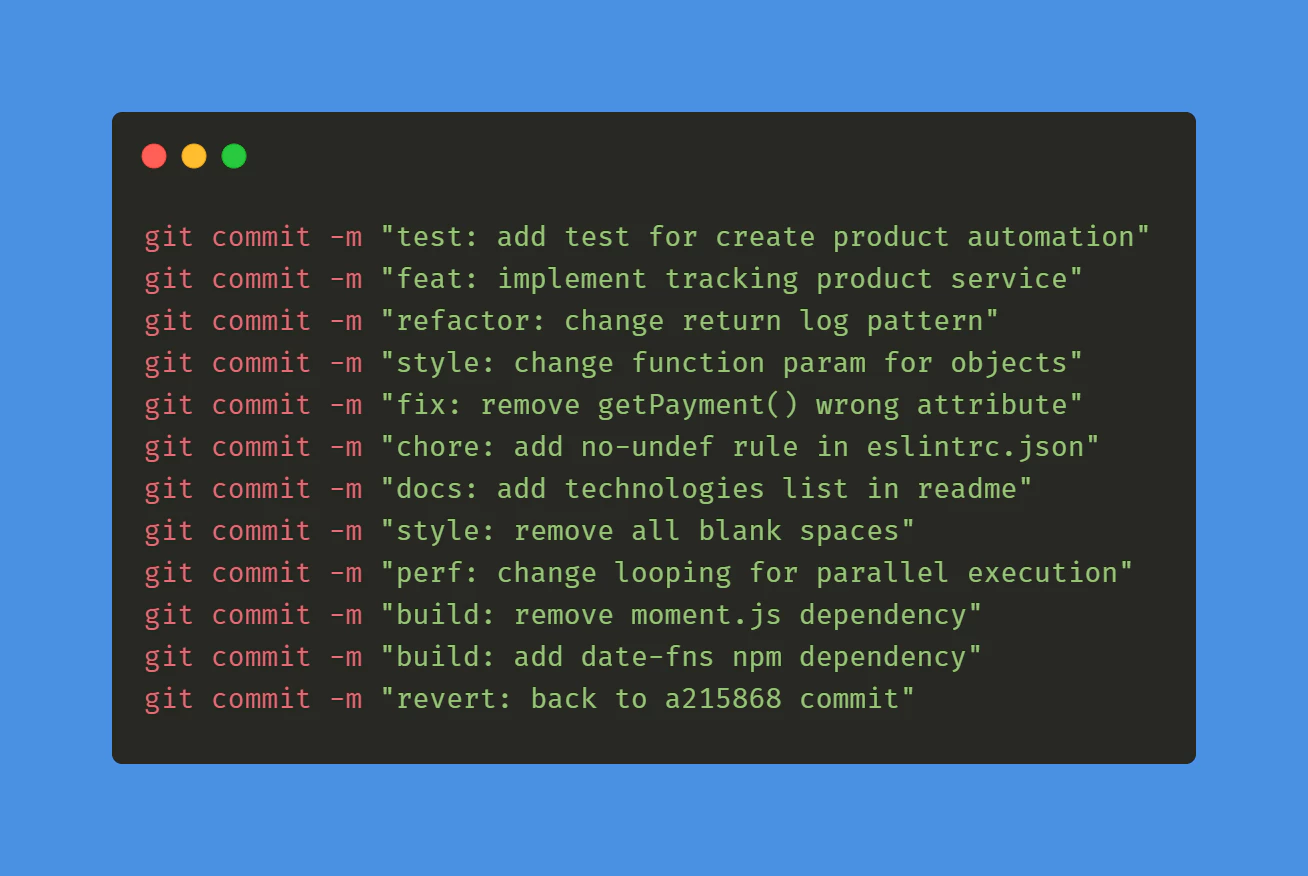
提交约定
首先,您需要遵循提交约定 规范提交` 这将有助于工具了解如何升级版本号,学习它只需 5 分钟。
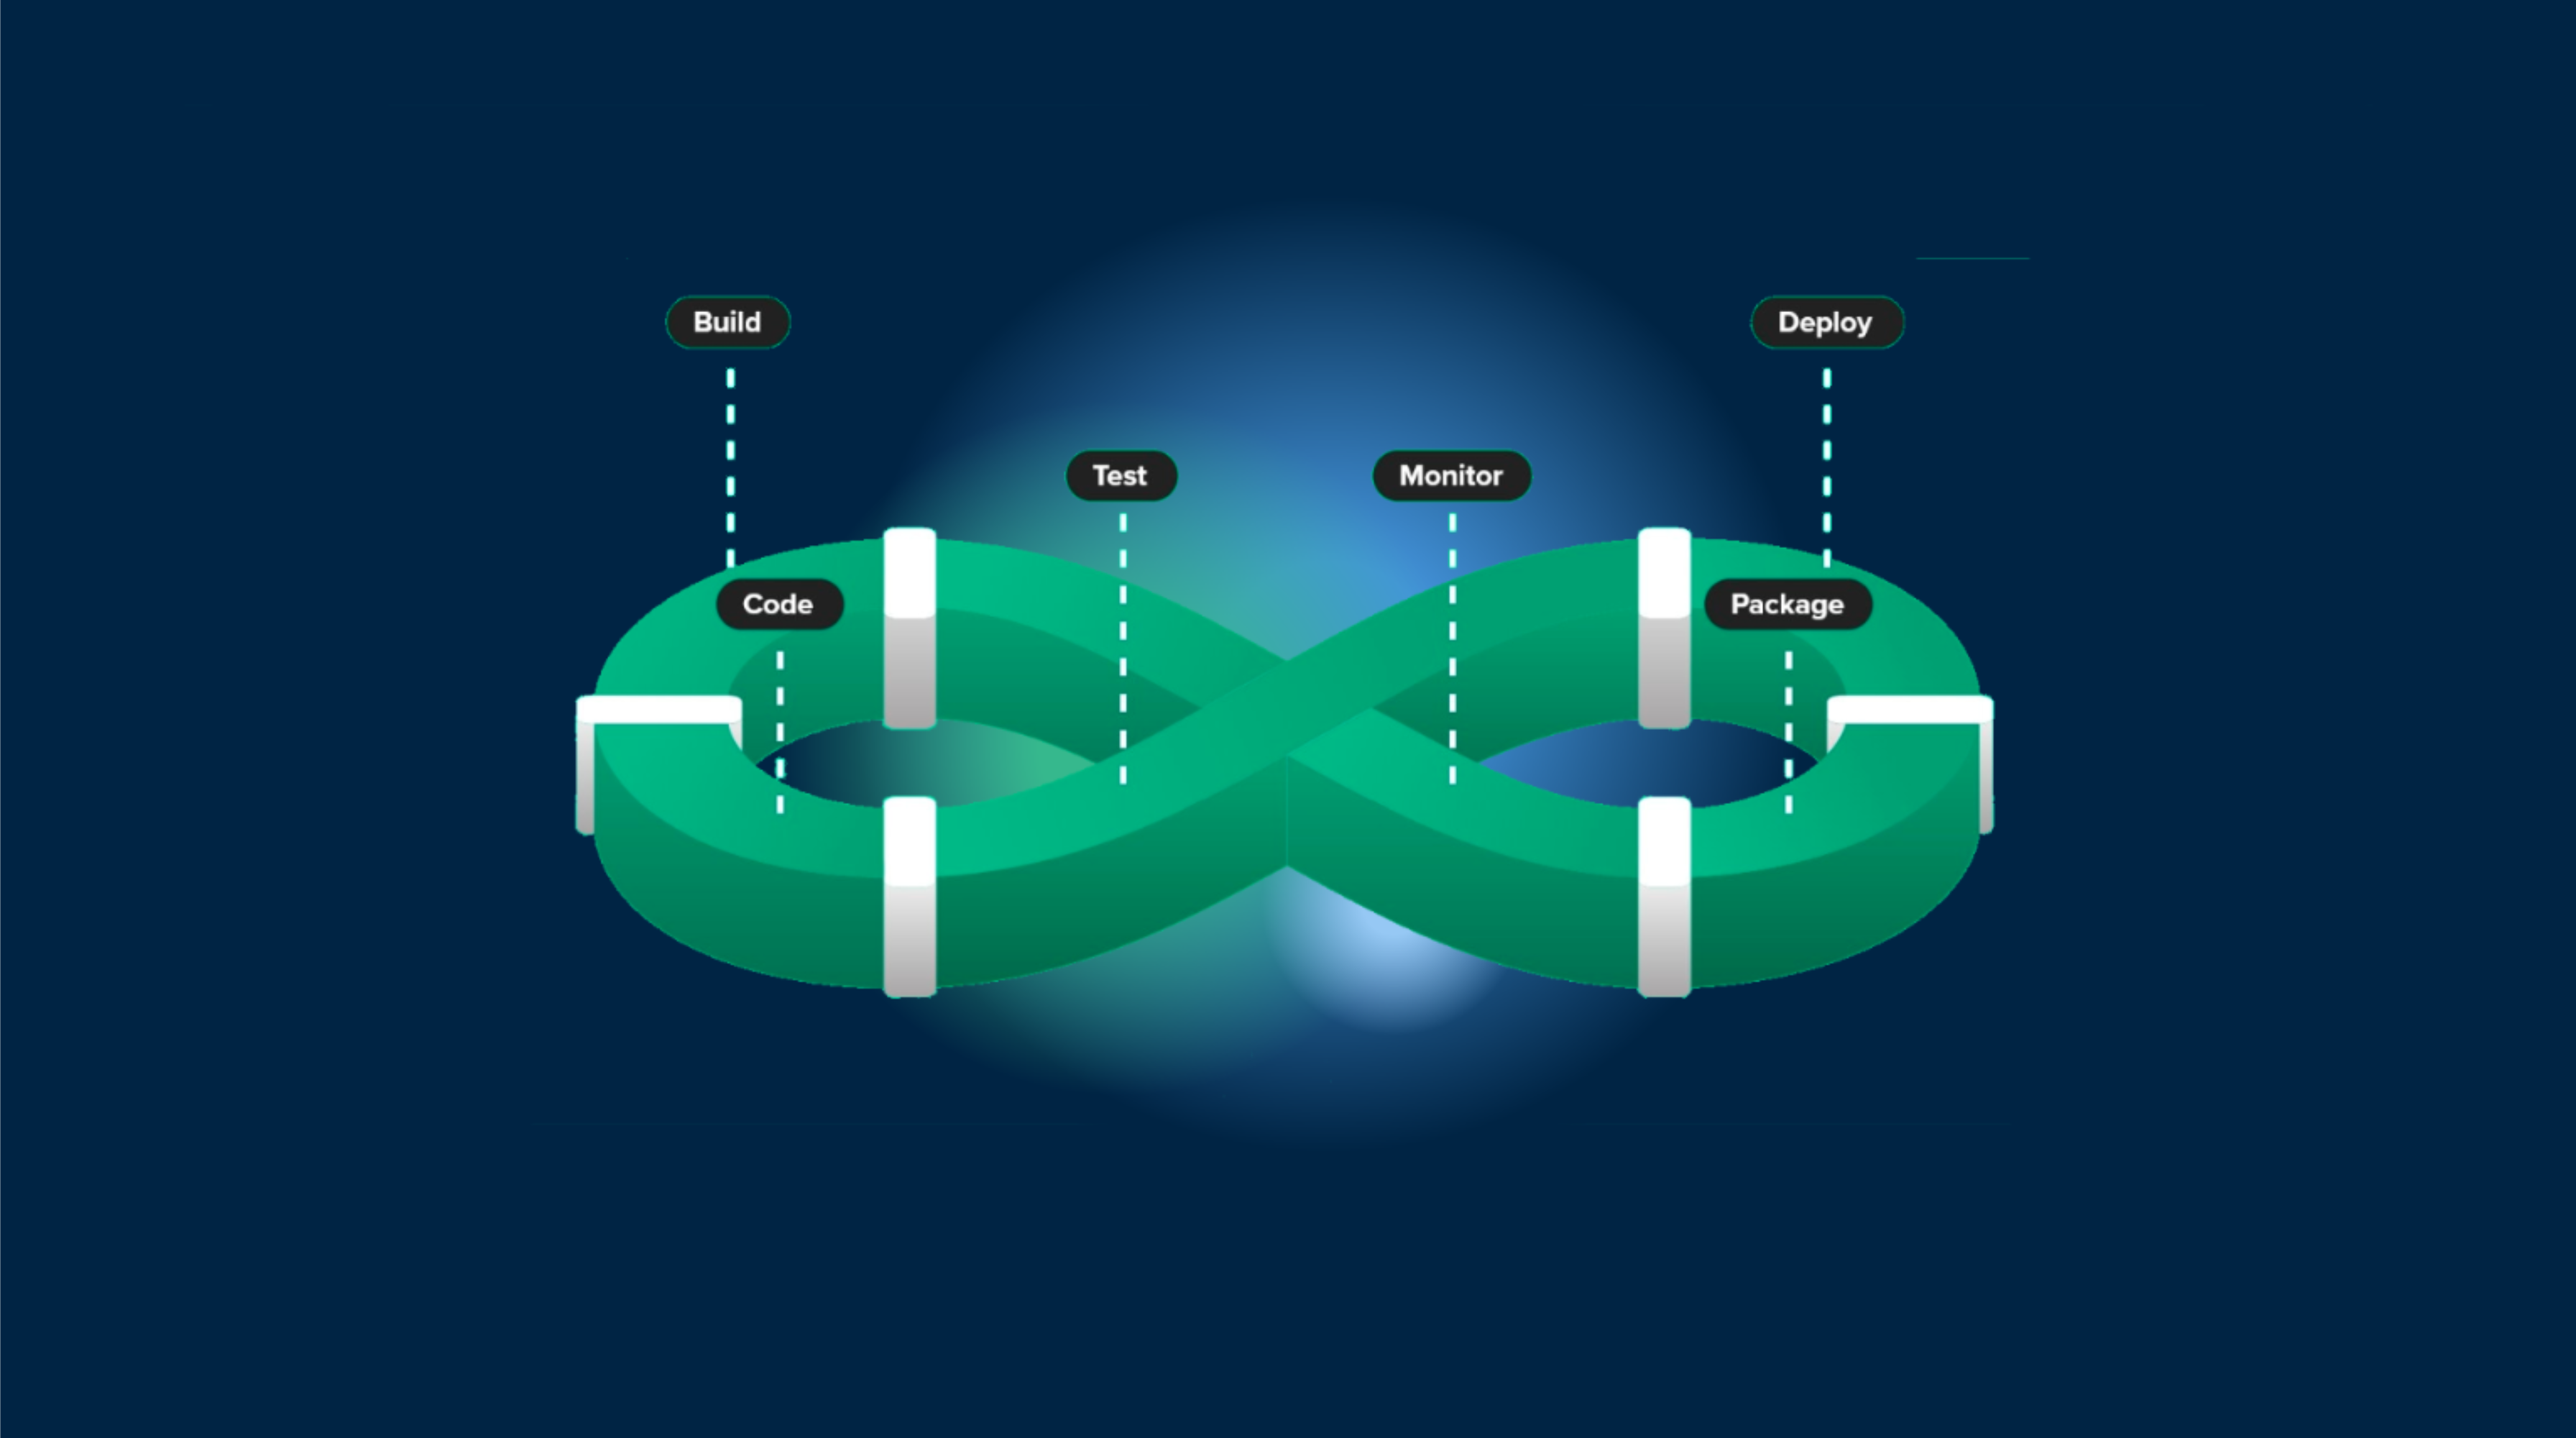
GitHub 动作
然后你需要创建一个自动构建和创建标签的第一个 GitHub 动作
在这个路径创建一个文件: .github/workflows/bump_version.yml
内容如下:
name: Bump version

on:
  push:
    branches:
      - main
      - development

jobs:
  bump-version:
    if: "!startsWith(github.event.head_commit.message, 'chore(release):')"
    runs-on: ubuntu-latest
    name: "Bump version and create changelog with standard version"
    steps:
      - name: Check out
        uses: actions/checkout@v6
        with:
          fetch-depth: 0
          filter: blob:none
          token: '${{ secrets.PERSONAL_ACCESS_TOKEN }}'
      - name: Git config
        run: |
          git config --local user.name "github-actions[bot]"
          git config --local user.email "github-actions[bot]@users.noreply.github.com"
      - name: Create bump and changelog
        if: github.ref == 'refs/heads/main'
        run: npx capacitor-standard-version
      - name: Create bump and changelog
        if: github.ref != 'refs/heads/main'
        run: npx capacitor-standard-version --prerelease alpha
      - name: Push to origin
        run: |
          CURRENT_BRANCH=$(git rev-parse --abbrev-ref HEAD)
          remote_repo="https://${GITHUB_ACTOR}:${{ secrets.PERSONAL_ACCESS_TOKEN }}@github.com/${GITHUB_REPOSITORY}.git"
          git pull $remote_repo $CURRENT_BRANCH
          git push $remote_repo HEAD:$CURRENT_BRANCH --follow-tags --tags
这将为你的主分支中的每个提交发布一个标签。并且 alpha 发布 development,最后为每个提交创建一个 CHANGELOG.md.
不用担心,如果你没有这个文件,它会自动创建的。
为了让这个功能工作,你需要创建一个 个人访问令牌 并将其添加到你的 GitHub 密钥 因为 PERSONAL_ACCESS_TOKEN.
这有必要让CI提交changelog和版本更新。
当您创建令牌时,请选择过期时间为 never 并且范围为 repo.
设置 version 在您的 package.json 文件中使用。使用最后版本发布在
商店。
You can now commit this both files and see your first tag appear in GitHub!
capacitor-standard-version 您现在可以提交这两个文件并看到您的第一个标签出现在__CAPGO_KEEP_0__!
GitHub actions for build
创建一个文件到这个路径: .github/workflows/build.yml
内容:
name: Build source code and send to Capgo

on:
  push:
    tags:
      - '*'

jobs:
  deploy:
    runs-on: ubuntu-latest
    name: "Build code and release"
    steps:
      - name: Check out
        uses: actions/checkout@v6
      - name: Install dependencies
        id: install_code
        run: npm i
      - name: Build
        id: build_code
        run: npm build
        env:
          MY_ENV_VAR: ${{ secrets.MY_ENV_VAR }}
      - name: Create Release Alpha
        if: "contains(github.ref, '-alpha.')"
        id: create_release_prepro
        run: npx @capgo/cli@latest bundle upload -a ${{ secrets.CAPGO_TOKEN }} -c development
      - name: Create Release Production
        if: "!contains(github.ref, '-alpha.')"
        id: create_release_prod
        run: npx @capgo/cli@latest bundle upload -a ${{ secrets.CAPGO_TOKEN }} -c production
这将安装并构建您的依赖项,然后将其发送到 Capgo。
如果您的构建命令不同,您可以在" build_code 步骤"中进行更改。
如果您需要环境变量,请使用" MY_ENV_VAR 并在您的 __CAPGO_KEEP_0__ 项目设置中设置" secret in your GitHub project setting, then secret then GitHub Action.
要使 Capgo 上传工作,您需要获取您的 API 密钥,Capgo,并将其添加到您的 Capgo 仓库的" secret of your GitHub repository 。 CAPGO_TOKEN.
您现在可以提交这两个文件并看到您的第一个版本出现在 Capgo 中!
在添加提交时,会为生产和开发频道生成一个新的Capacitor构建。
您应该在Ionic构建步骤中添加测试,以确保您的code正在工作。
前往您的Capgo控制台,检查刚刚出现的构建,您现在拥有了CI/CD系统。
继续使用GitHub管理开发和生产构建的操作
如果您正在使用 使用GitHub管理开发和生产构建的操作 规划频道路由和阶段性发布,连接它与 频道 频道 频道 频道 频道 为 Channels 中的实现细节 Beta 测试解决方案 为 Beta 测试解决方案中的产品工作流程,和 版本目标解决方案 为版本目标解决方案中的产品工作流程。


