Prerequisites
Before continuing with the tutorial…
- Make sure you use GitHub
- Use Capacitor
- Your app is already deployed on Apple Store
- Desire to read 😆…
Using Ionic is optional, for Cordova it could work, but I didn’t try.
Important about the price
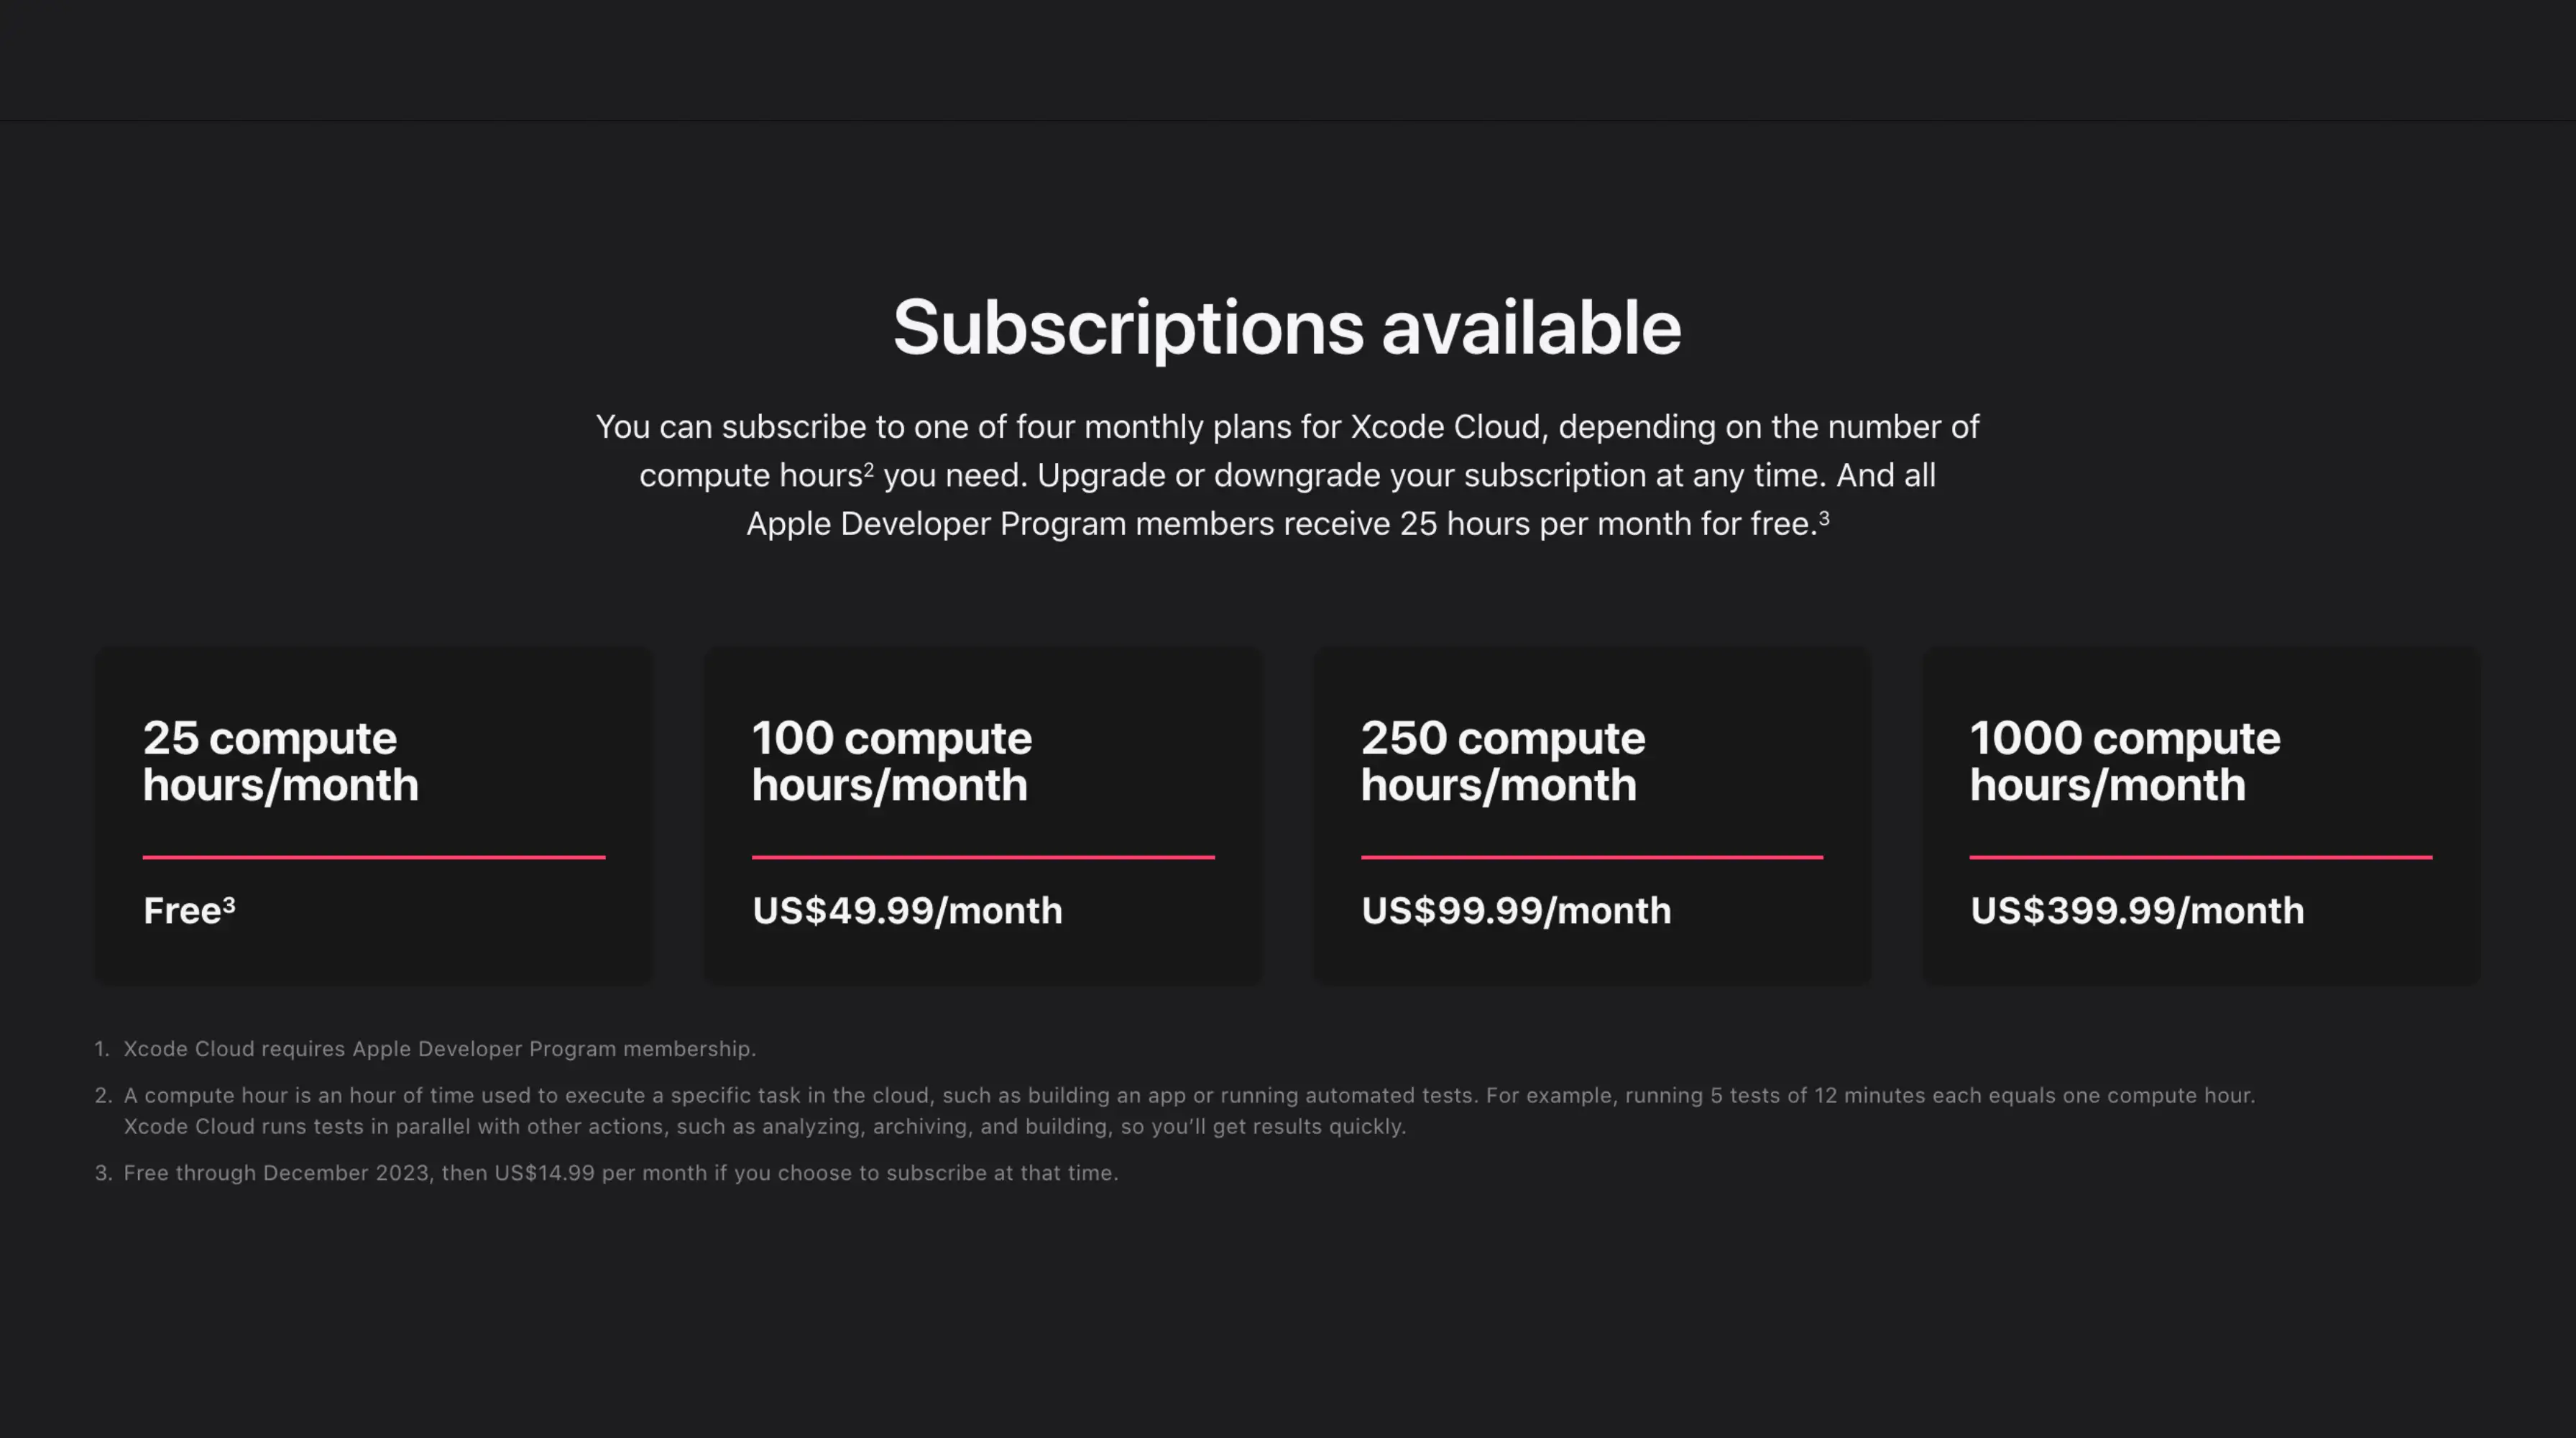
https://developer.apple.com/xcode-cloud/
The service is ‘free’ up to the limit.
You can see in the screenshot price and limits (prices as of the creation of the tutorial, they could undergo changes in the future)
🔴 Once warned of requirements and prices, if you like, we continue…
📣 In the post, we assume that we have the app created in Apple Store
Intro
To make Xcode build your Capacitor app, you need to set up a few things.
Package Preparation
Be sure to have your build command in your package.json script.
Then add the sync:ios command like below.
{
  "scripts": {
    "build": "YOUR BUILD COMMAND",
    "sync:ios": "cap sync ios"
  }
}
This step will make the post script work simply
Post clone script
This script will be run by Xcode cloud after the clone step
#!/usr/bin/env bash

set -x

export HOMEBREW_NO_INSTALL_CLEANUP=TRUE
# Install CocoaPods
echo "📦 Install CocoaPods"
brew install cocoapods
brew install node@18
brew link node@18

# Install dependencies
# XCode Cloud is literally broken for 2 months now - https://developer.apple.com/forums/thread/738136?answerId=774510022#774510022
npm config set maxsockets 3
npm ci
# or `pnpm install --frozen-lockfile` or `yarn add --frozen-lockfile` or bun install
npm run build
# or npm run build
npm run sync:ios
Save this file in the root of your project and name it ios/App/ci_scripts/ci_post_clone.sh
Then make this file executable with this command chmod +x ios/App/ci_scripts/ci_post_clone.sh
Create an Xcode workflow
Open Xcode (yes, to remove Xcode you need Xcode)
And go to this tab :
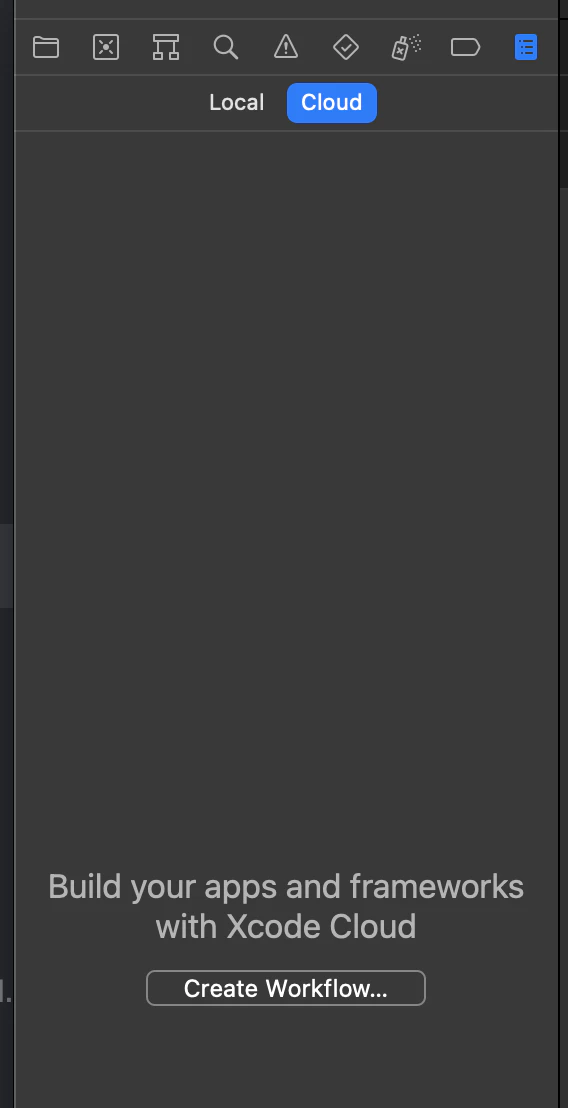
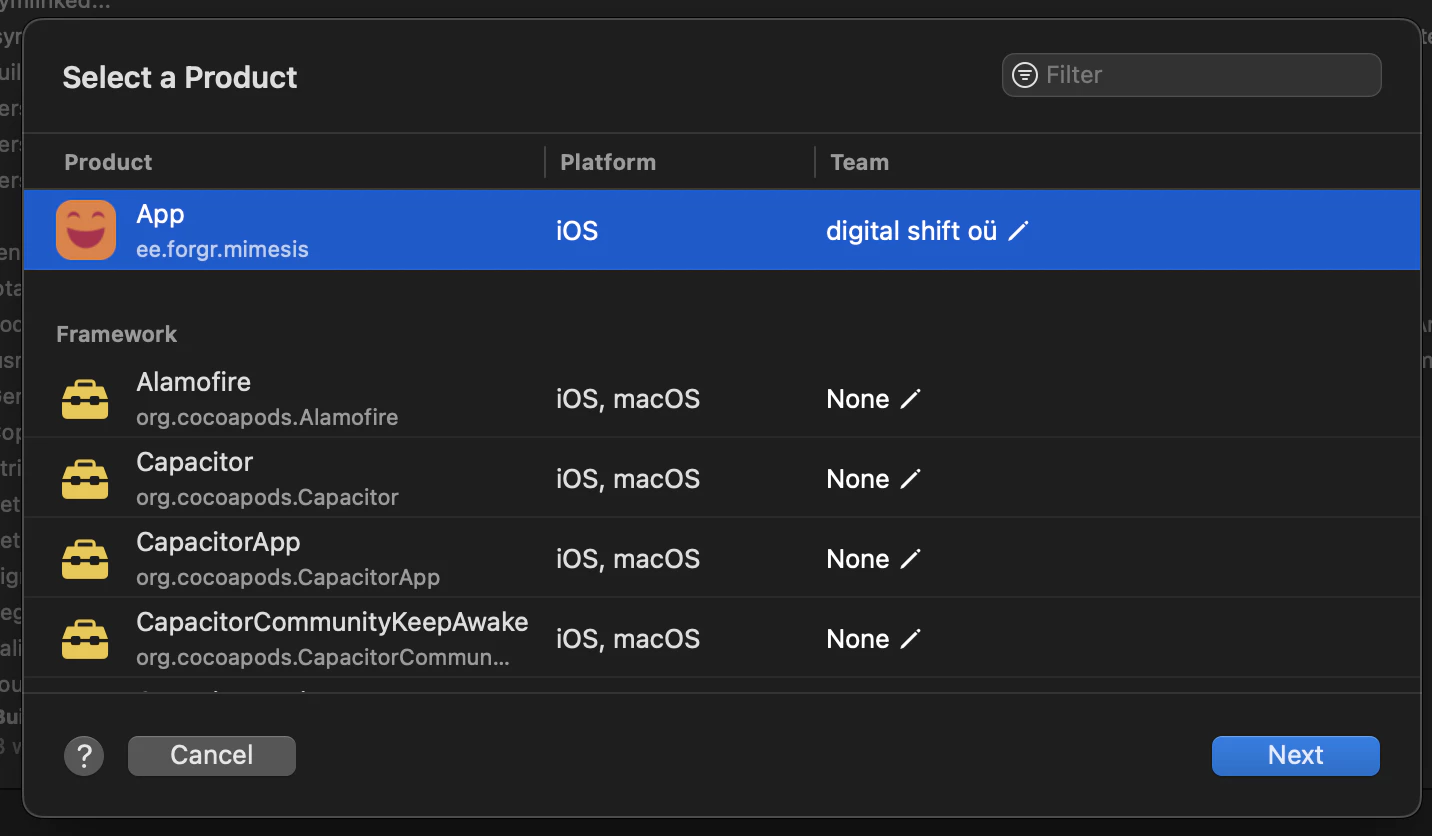
Click on create workflow, select your app, click next like below.
Click on Edit workflow on the left
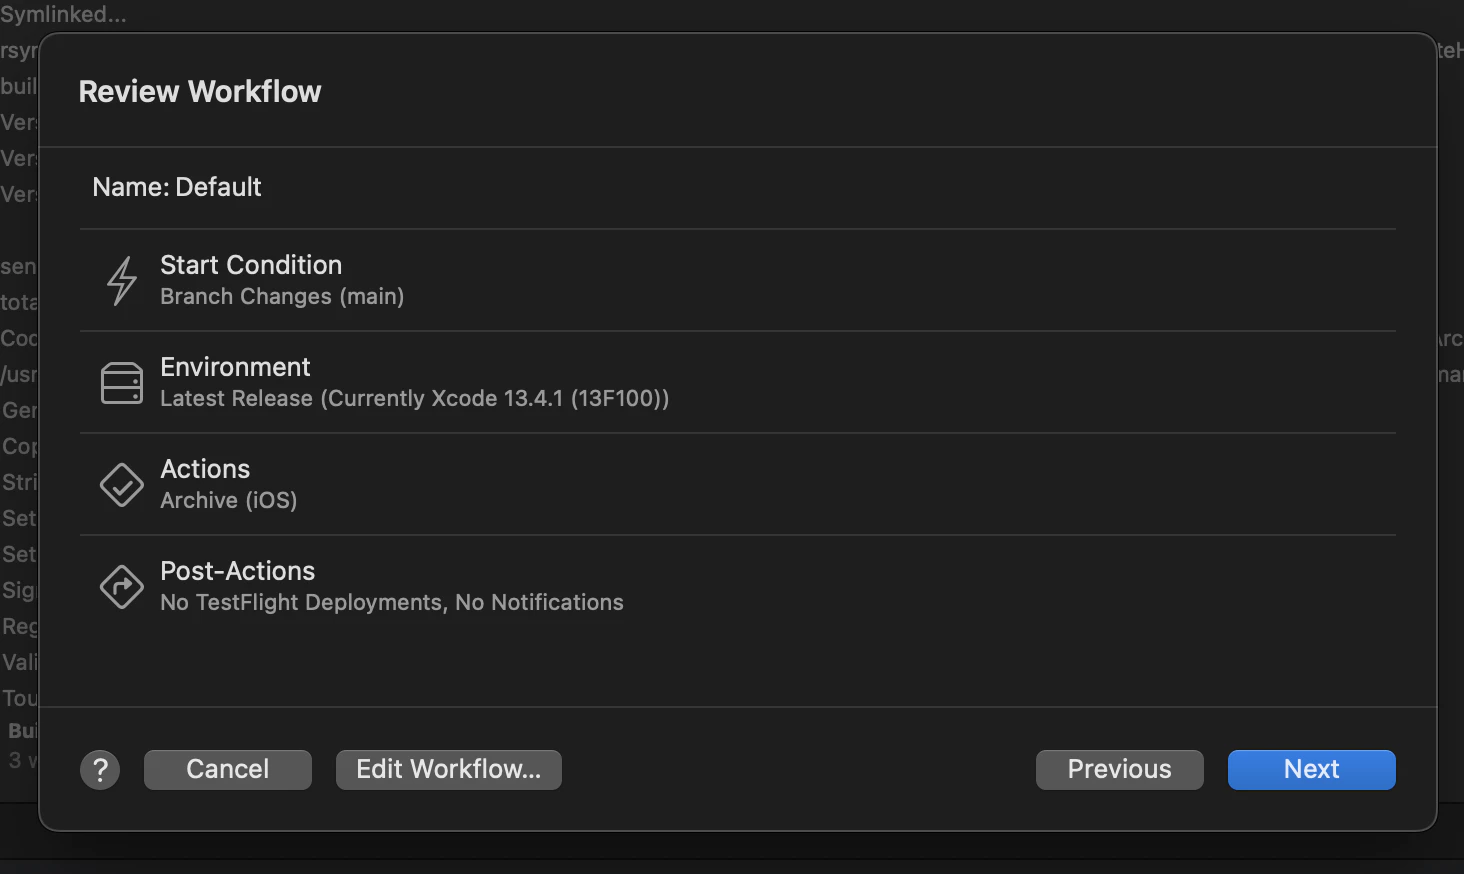
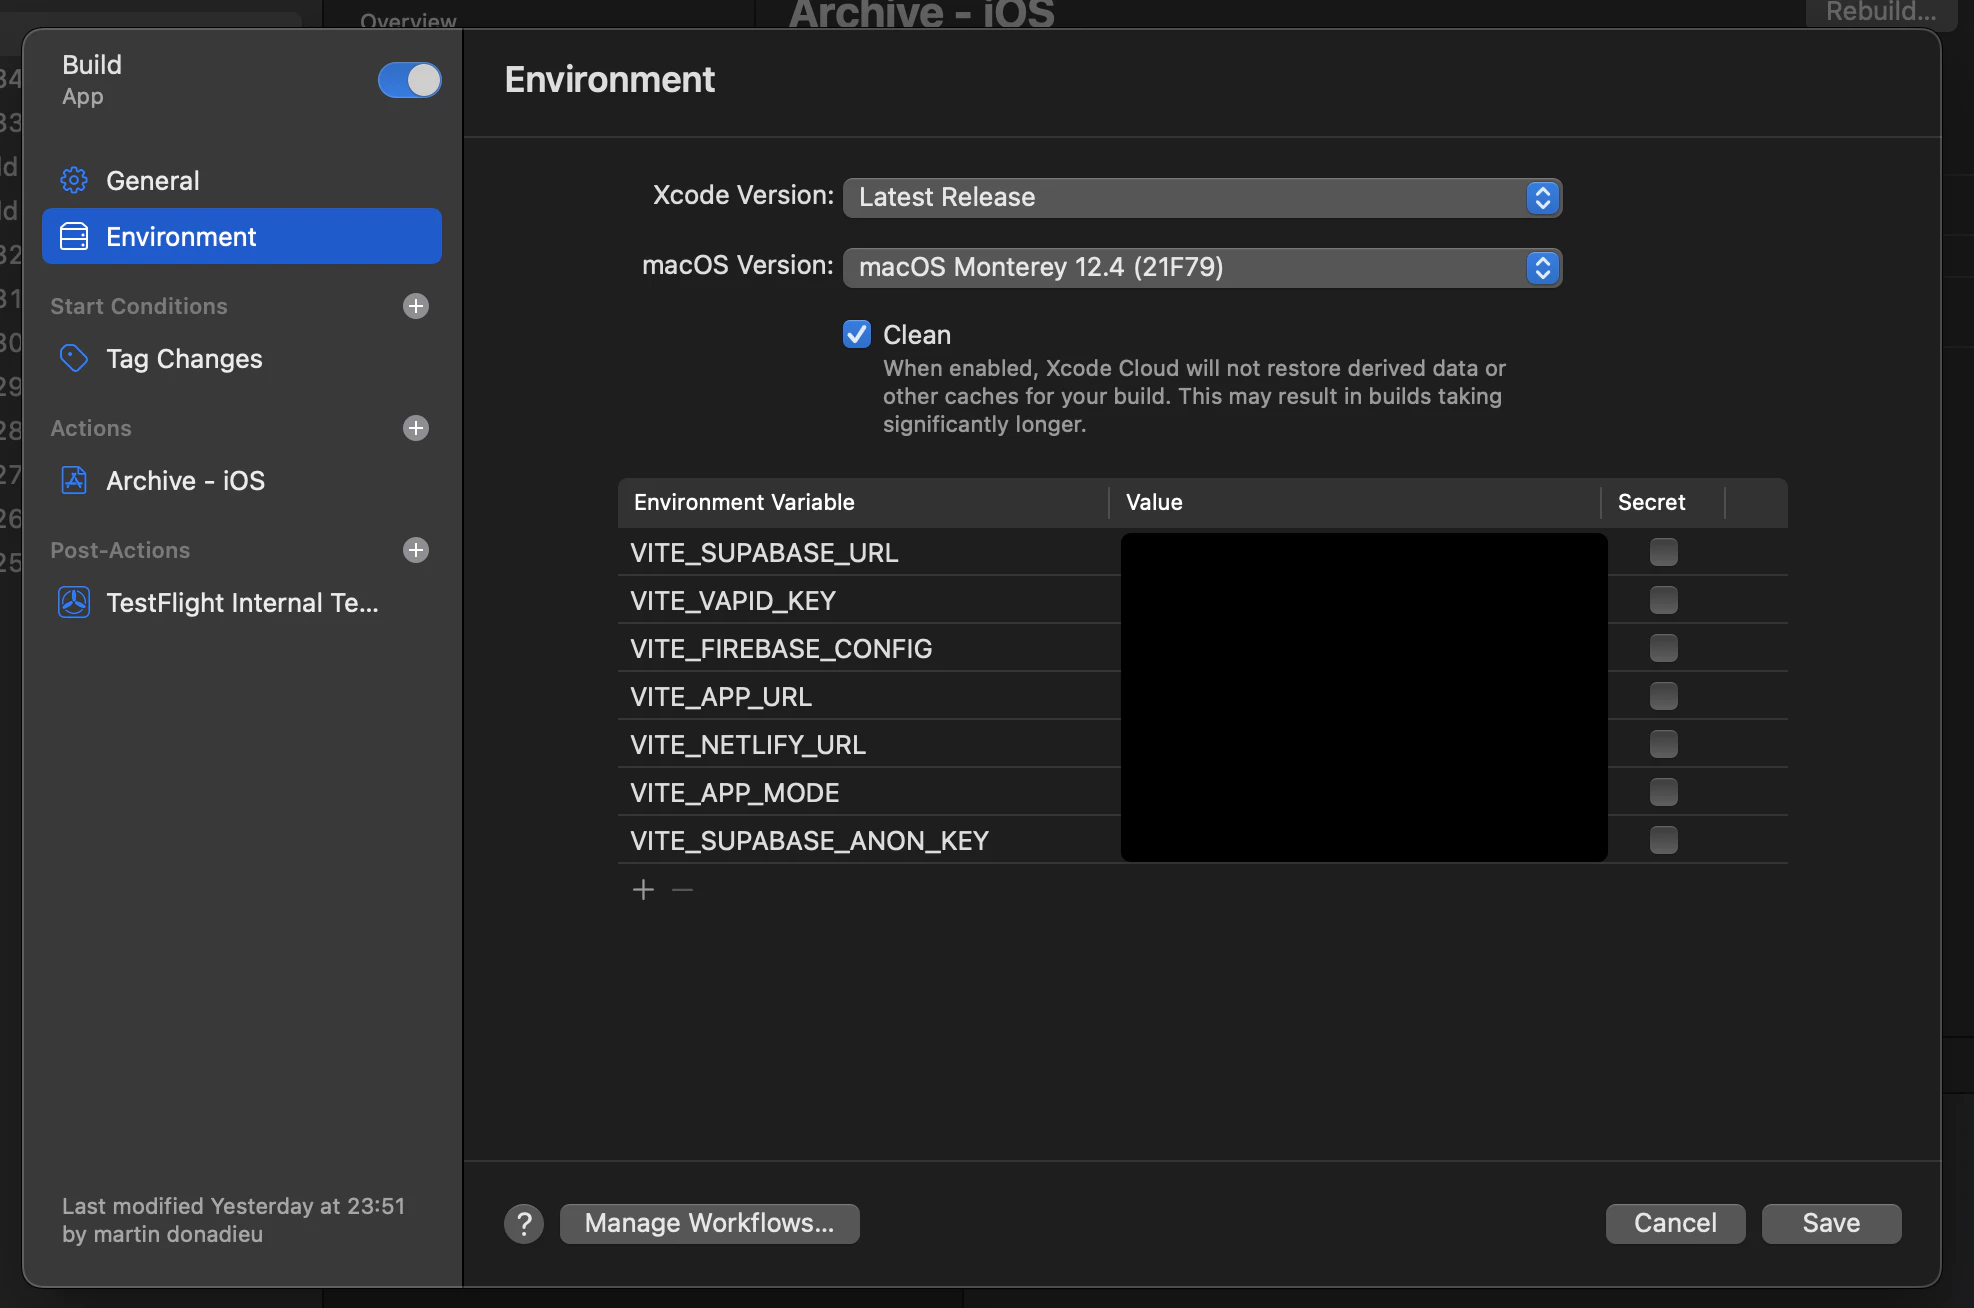
Go to the environments tab and choose like below Mac 12.4 and check the proper option
Choose your start condition. If you use the same build as us, I suggest using Tag instead of branch, to avoid double build.
Set your env variable
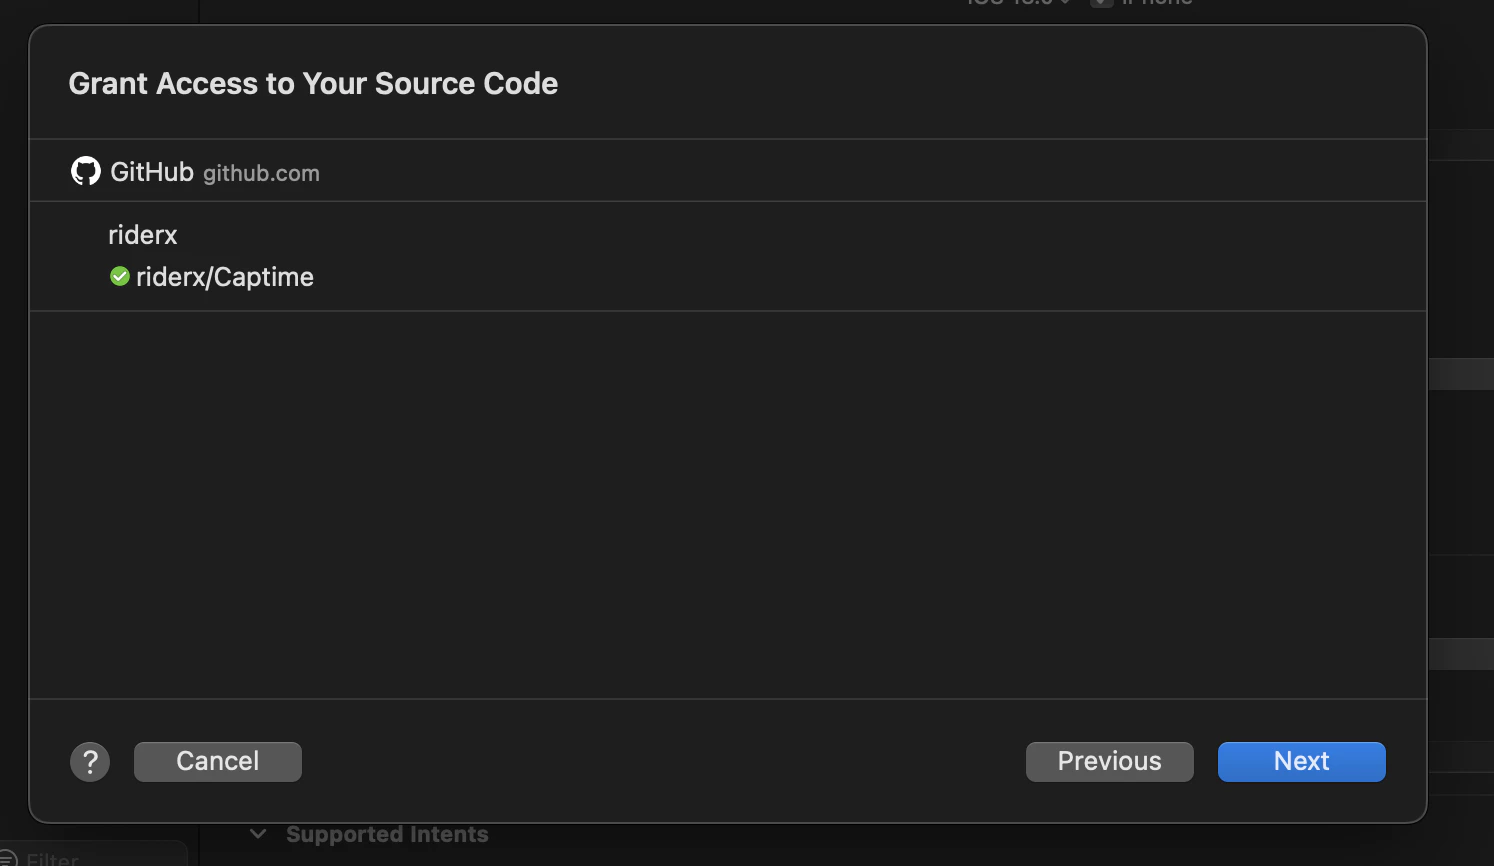
Connect your GitHub account
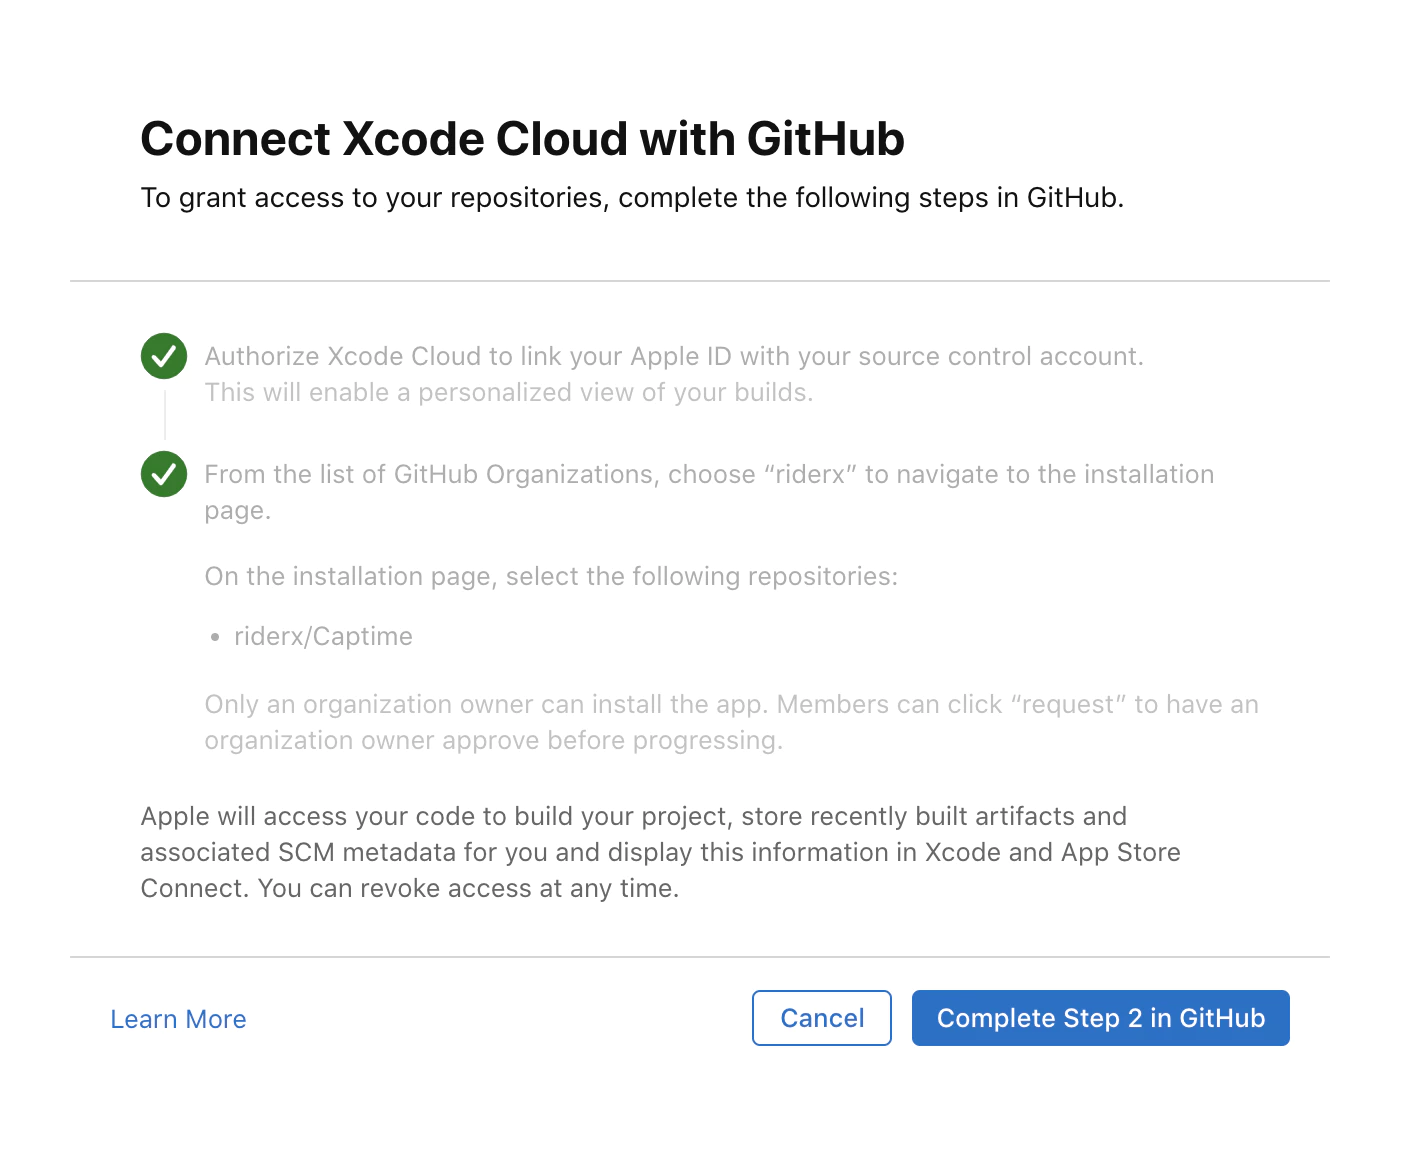
Then enable and the workflow and commit your first change, you should see your build running in Xcode.
Build Processing
In Xcode Cloud, you are billed based on the minutes you have used for running your CI/CD workflow. From experience, it takes about 10–15 minutes before a build can be processed in the Apple Store.
For private projects, the estimated cost per build can go up to $0.008/min x 5 mins = $0.4, or more, depending on the configuration or dependencies of your project.
For Open-source projects, this shouldn’t be a problem at all. See pricing.
Keep going from How to build Ionic Capacitor app in Xcode Cloud
If you are using How to build Ionic Capacitor app in Xcode Cloud to plan CI/CD automation, connect it with Capgo CI/CD for the product workflow in Capgo CI/CD, Capgo Native Builds for the product workflow in Capgo Native Builds, Capgo Integrations for the product workflow in Capgo Integrations, CI/CD Integration for the implementation detail in CI/CD Integration, and GitHub Actions Integration for the implementation detail in GitHub Actions Integration.


