


Building an iOS app traditionally means one thing: you need Xcode, and Xcode means macOS. That constraint is annoying if your whole team is on Windows or Linux, or if you just do not want to maintain a Mac build machine.
The combo of Capacitor (to generate the native iOS project) and Capgo Build (to compile and sign it in the cloud) lets you do iOS builds and TestFlight submissions from a Windows workstation.
This guide shows a pragmatic workflow that works well in teams:
- Develop on Windows like a normal web project.
- Keep
ios/in your repo (so native state is reproducible). - Run
cap synclocally (so your web build is copied into the iOS project). - Trigger an iOS cloud build with Capgo Build.
What You Actually Build Where
There are two separate “builds” in a Capacitor app:
- Web build (your JS/HTML/CSS): you do this locally on Windows.
- Native build (Xcode archive, signing, upload): Capgo Build does this on Mac hardware in the cloud.
This separation is the key: Capgo Build compiles the native project, but it expects your web assets to already be synced into ios/.
Prerequisites
- A working Capacitor app (any framework is fine).
- An Apple Developer account.
- App Store Connect access for the app you want to upload (for TestFlight/App Store submission).
- Your Capgo account and API token (
CAPGO_TOKEN).
1) Create or Prepare Your Capacitor App (Windows)
If you already have a web app, skip to the Capacitor steps.
Example with Vite:
bun create vite@latest my-app
cd my-app
bun install
Build must produce static assets (for Vite this is dist/ by default):
bun run build2) Add Capacitor and the iOS Platform
Install Capacitor:
bun add @capacitor/core @capacitor/ios
bun add -d @capacitor/cli
Initialize and create the iOS platform folder:
bunx cap init
bunx cap add ios
At this point you will have an ios/ directory. Commit it to git. Capgo Build compiles what is inside ios/, so you want it versioned and reproducible.
3) Always Sync Web Assets into iOS Before Building
Every time you change your web app, do this sequence on Windows:
bun run build
bunx cap sync ios
cap sync is what copies your built web assets into the native iOS project (the files Capgo Build will actually compile).
4) Install and Authenticate the Capgo CLI
Capgo Build is triggered via the Capgo CLI. With bun, use bunx:
bunx @capgo/cli@latest loginOr set your token via env var in your shell/CI:
export CAPGO_TOKEN="your_api_key_here"5) Configure iOS Signing for Cloud Builds
To build iOS you need signing material:
- Apple Distribution certificate (
.p12) and its password - Provisioning profile (
.mobileprovision) - App Store Connect API key (
AuthKey_XXXXXX.p8) and metadata (Key ID, Issuer ID, Team ID)
If you still need to generate these files, follow the Capgo documentation:
- Managing Credentials (what to save and how)
- How to Get iOS Certificates and Provisioning Profiles
The easiest path is: create/export these once (often using any available Mac, a teammate, or a one-time rental), then reuse them from Windows for every subsequent build.
Once you have the files locally, save them for Capgo Build:
bunx @capgo/cli@latest build credentials save \
  --platform ios \
  --certificate ./cert.p12 \
  --p12-password "password" \
  --provisioning-profile ./profile.mobileprovision \
  --apple-key ./AuthKey.p8 \
  --apple-key-id "KEY123" \
  --apple-issuer-id "issuer-uuid" \
  --apple-team-id "team-id"
Tip: in CI, store the credential files base64-encoded as secrets, decode them at runtime, then run the same build credentials save command.
6) Trigger an iOS Build from Windows
From your app folder:
bun run build
bunx cap sync ios
bunx @capgo/cli@latest build com.example.app --platform ios --build-mode release
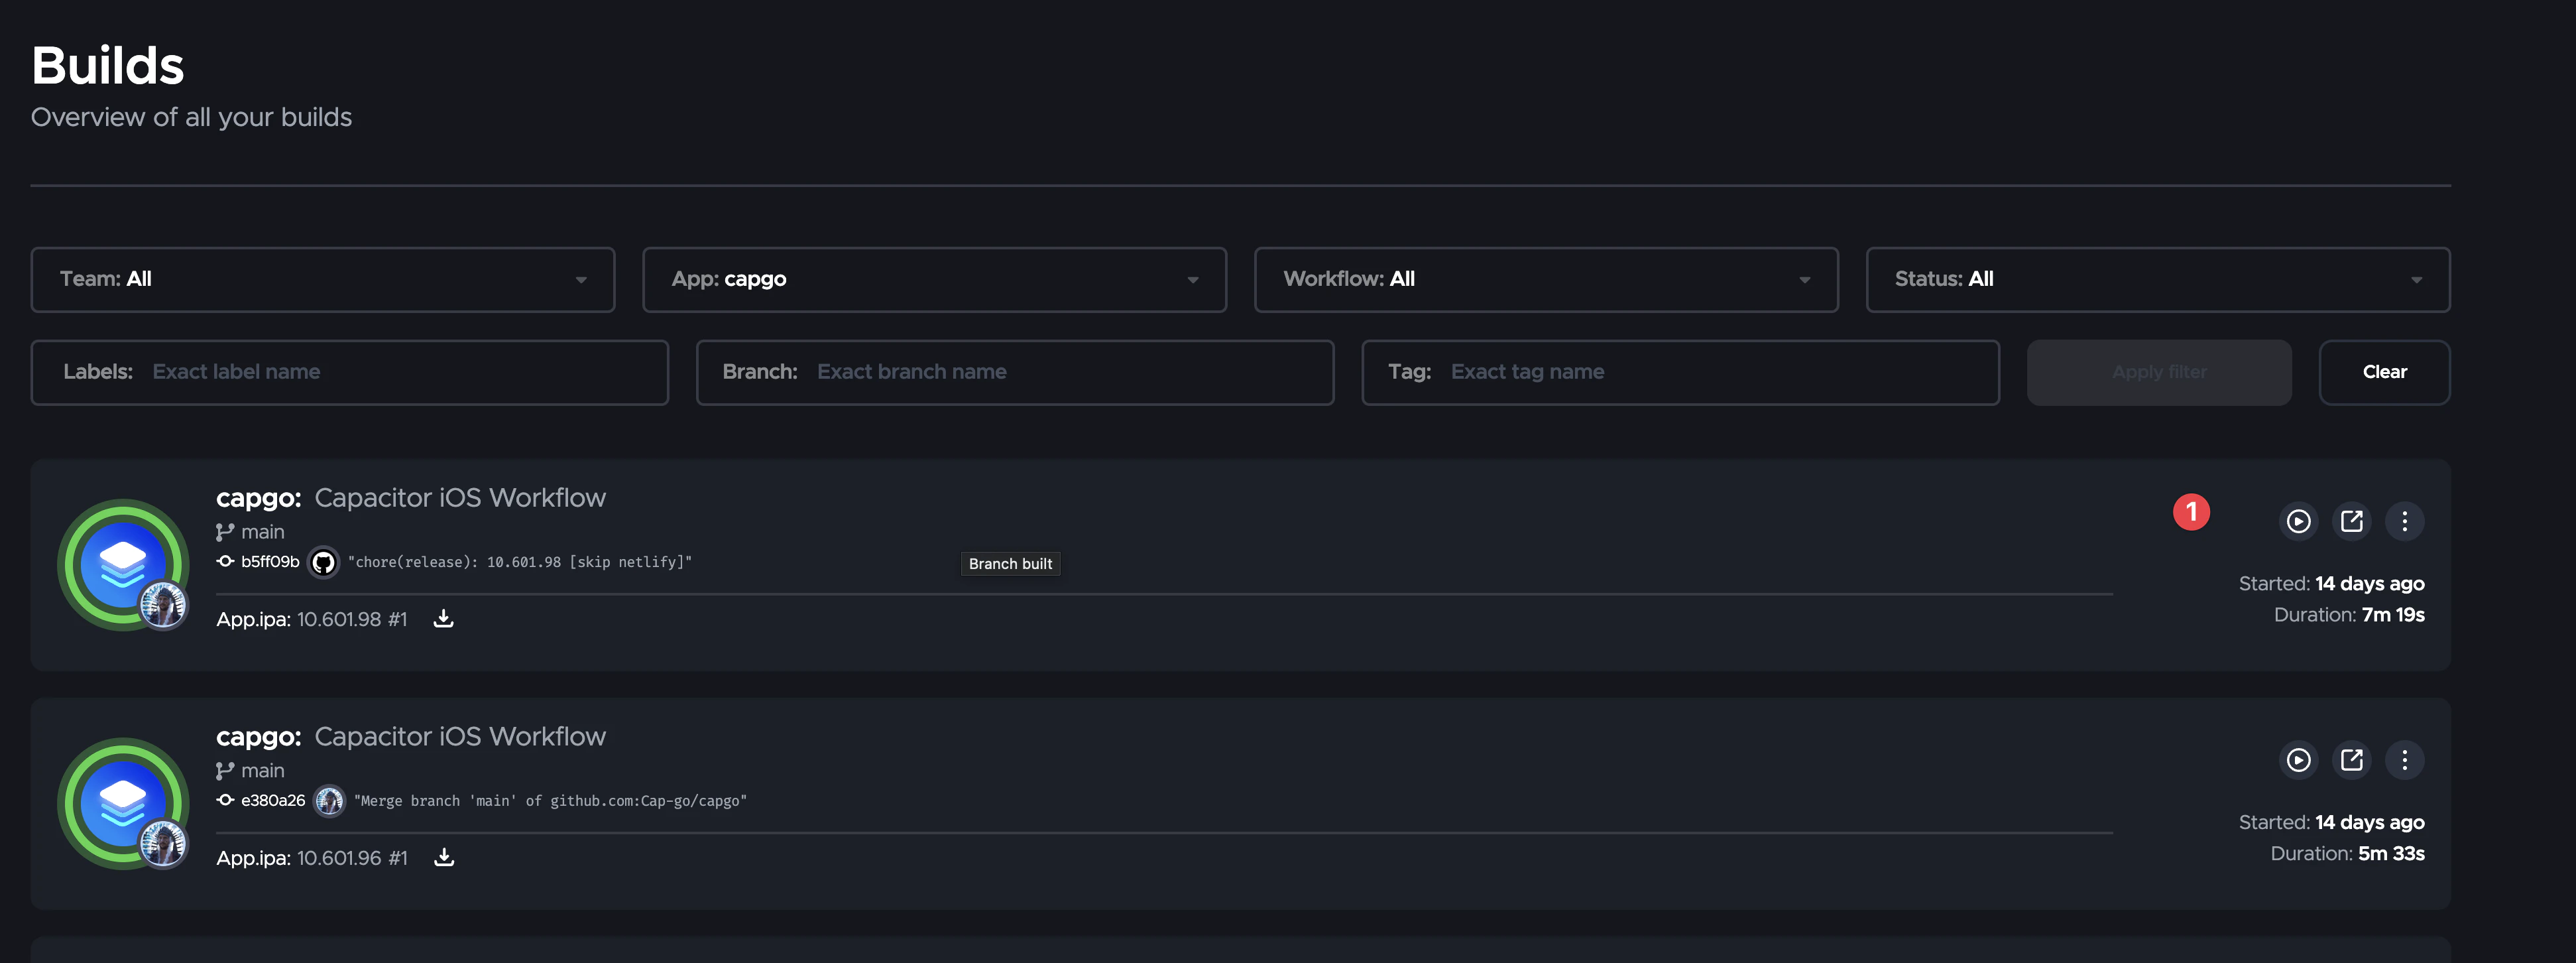
You will see real-time logs in your terminal. If your App Store Connect key is configured, Capgo Build can submit the resulting build to TestFlight automatically.
7) Iterate Fast: Live Updates for Web-Only Changes
Capgo Build is for native changes:
- adding/removing Capacitor plugins
- changing native permissions
- changing icons/splash
- updating Capacitor
- any Swift/Objective-C changes
For day-to-day UI tweaks and JavaScript fixes, you generally want Live Updates (OTA), so you do not rebuild the native binary every time.
A good team workflow is:
- Use Live Updates for frequent web changes.
- Use Capgo Build occasionally when native changes are needed.
Common Windows Pitfalls (and Fixes)
- Forgetting
cap sync: if your UI changes are missing in the iOS build, you likely built the web app but did not sync it intoios/. - Not committing
ios/: Capgo Build compiles the native project. If the folder is not in git (or not in your build context), the build cannot reproduce your app. - Plugin changes without native rebuild: adding a plugin is a native change; plan a Capgo Build run (and a store submission) afterward.
Summary
You cannot run Xcode on Windows, but you can ship iOS apps from Windows:
- Wrap your web app with Capacitor (
ios/in your repo). - Build web assets locally, then
cap sync. - Use Capgo Build to compile, sign, and submit your iOS binary from the CLI.
Keep going from Build an iOS App from Windows with Capacitor and Capgo Build
If you are using Build an iOS App from Windows with Capacitor and Capgo Build to plan CI/CD automation, connect it with Capgo CI/CD for the product workflow in Capgo CI/CD, Capgo Native Builds for the product workflow in Capgo Native Builds, Capgo Integrations for the product workflow in Capgo Integrations, CI/CD Integration for the implementation detail in CI/CD Integration, and GitHub Actions Integration for the implementation detail in GitHub Actions Integration.





