Canali
Un canale Live Update punta a una specifica build del bundle JS della tua app che sarà condivisa con qualsiasi dispositivo configurato per ascoltare quel canale per gli aggiornamenti. Quando installi l’SDK Capgo Live Updates nella tua app, ogni binario nativo configurato su quel canale controllerà gli aggiornamenti disponibili ogni volta che l’app viene avviata. Puoi cambiare la build a cui punta un canale in qualsiasi momento e puoi anche tornare a build precedenti se necessario.
Come un dispositivo sceglie un canale (precedenza)
Section titled “Come un dispositivo sceglie un canale (precedenza)”Quando un dispositivo controlla un aggiornamento, Capgo decide quale canale usare in questo ordine rigoroso (priorità più alta prima):
- Mappatura dispositivo forzata (Dashboard) – Collega manualmente un ID dispositivo specifico a un canale. Usa per debug urgente o test controllati con un singolo utente reale. Questo vince sempre.
- Override cloud (per-dispositivo) via Dashboard o API – Creato quando cambi il canale del dispositivo nella dashboard o via API. Usa per utenti QA che passano tra canali feature/PR o per riprodurre un problema utente. La reinstallazione del binario non lo cancella; eliminare la voce del dispositivo sì.
- Capacitor config
defaultChannel(default build di test) – Se presente incapacitor.config.*e non esiste nessun force/override, l’app parte su questo canale (es.beta,qa,pr-123). Pensato per build TestFlight/interne così i tester atterrano automaticamente su un canale pre-release. Le build di produzione tipicamente lasciano questo non impostato. - Cloud Default Channel (percorso principale ~99% degli utenti) – Se contrassegni un canale default nella dashboard, tutti gli utenti finali normali (nessun force, nessun override, nessun config defaultChannel) si collegano qui. Cambialo per rollout o rollback istantaneo—nessun nuovo binario. Se hai default specifici per piattaforma (uno solo iOS, uno solo Android), ogni dispositivo atterra sul default che corrisponde alla sua piattaforma. Lasciare il cloud default non impostato è permesso; in quel caso il dispositivo deve corrispondere ai passaggi 1-3 per ricevere aggiornamenti.
Best practice:
- Tratta 1-3 come layer di eccezione/test; quando imposti un cloud default, gli utenti reali dovrebbero confluire lì. Se scegli di non impostarne uno, sii intenzionale su come gli utenti si collegano (tipicamente via
defaultChannelnel config o override per-dispositivo). - Configura
defaultChannelsolo nei binari che distribuisci esplicitamente ai tester. Lasciarlo non impostato mantiene la logica di produzione centralizzata nella dashboard. - Usa
setChannel()con parsimonia in produzione—principalmente per QA o diagnostica mirata.
Se un canale è disabilitato per la piattaforma (toggle iOS/Android) quando altrimenti sarebbe scelto, il processo di selezione lo salta e continua nella lista.
Riepilogo: Force > Override > Config
defaultChannel> Cloud Default.
Comportamento del Canale Default
Section titled “Comportamento del Canale Default”Impostare un cloud default è opzionale, ma di solito serve come percorso catch-all per i nuovi dispositivi. Senza uno, solo i dispositivi che corrispondono a mappature forzate, override o un defaultChannel nel config Capacitor riceveranno aggiornamenti. Quando scegli di contrassegnare i default, tieni a mente questi pattern:
- Default singolo (più comune) – Se il canale ha sia iOS che Android abilitati, diventa l’unico default; qualsiasi dispositivo senza override si collegherà qui.
- Default specifici per piattaforma – Se dividi i canali per piattaforma (per esempio,
ios-productioncon solo iOS abilitato eandroid-productioncon solo Android abilitato), contrassegna ciascuno come default per la sua piattaforma. I dispositivi iOS vanno al default iOS, i dispositivi Android vanno al default Android.
Ricorda che il cloud default e defaultChannel in capacitor.config.* occupano entrambi lo stesso layer decisionale. Se imposti un cloud default, non hai bisogno di duplicare il valore nel tuo config Capacitor—lascia defaultChannel vuoto per le build di produzione. Riserva defaultChannel per binari che distribuisci intenzionalmente a tester o QA quando vuoi che partano su un canale non-produzione anche se il cloud default è diverso.
Puoi cambiare i default in qualsiasi momento nella dashboard. Quando scambi un default, i nuovi dispositivi obbediscono al nuovo routing immediatamente e i dispositivi esistenti seguono le normali regole di precedenza la prossima volta che fanno check-in.
Configurare un Canale
Section titled “Configurare un Canale”Durante l’onboarding crei il primo canale (la maggior parte dei team lo chiama “Production”), ma nulla è bloccato—puoi rinominare o eliminare qualsiasi canale in qualsiasi momento. Per aggiungere canali aggiuntivi in seguito:
- Vai alla sezione “Channels” della dashboard Capgo
- Clicca sul pulsante “New Channel”
- Inserisci un nome per il canale e clicca “Create”
I nomi dei canali possono essere qualsiasi cosa tu desideri. Una strategia comune è far corrispondere i canali alle tue fasi di sviluppo, come:
Development- per testare gli aggiornamenti live su dispositivi locali o emulatoriQA- per il team QA per verificare gli aggiornamenti prima del rilascio più ampioStaging- per i test finali in un ambiente simile alla produzioneProduction- per la versione della tua app che gli utenti finali ricevono dagli app store
Configurare il Canale nella Tua App
Section titled “Configurare il Canale nella Tua App”Con i tuoi canali creati, devi configurare la tua app per ascoltare il canale appropriato. In questo esempio, useremo il canale Development.
Apri il tuo file capacitor.config.ts (o capacitor.config.json). Nella sezione plugins, imposta opzionalmente defaultChannel per build di test (interne/QA). Per le build di produzione, preferisci ometterlo così i dispositivi usano il Cloud Default a meno che non siano esplicitamente sovrascritti.
import { CapacitorConfig } from '@capacitor/cli';
const config: CapacitorConfig = {  plugins: {    CapacitorUpdater: {      // Per una build QA/TestFlight – i tester partono automaticamente sul canale Development.      defaultChannel: 'Development',      // Le build di produzione di solito omettono questo così gli utenti si collegano al Cloud Default channel.    },  },};
Successivamente, compila la tua web app ed esegui npx cap sync per copiare il file di configurazione aggiornato nei tuoi progetti iOS e Android. Se salti questo passaggio di sincronizzazione, i tuoi progetti nativi continueranno a utilizzare il canale per cui erano precedentemente configurati.
Opzioni e Strategie dei Canali
Section titled “Opzioni e Strategie dei Canali”I canali hanno diverse opzioni che controllano chi può ricevere aggiornamenti e come gli aggiornamenti vengono consegnati. Le più importanti sono sotto. Puoi configurarle dalla web app, dalla CLI o dalla Public API.
- Canale default: Contrassegna opzionalmente il canale o i canali specifici per piattaforma a cui si collegano i nuovi dispositivi. Vedi “Comportamento del Canale Default” per scenari di routing.
- Filtri piattaforma: Abilita o disabilita la consegna a dispositivi
iOSe/oAndroidper canale. - Disabilita auto downgrade sotto native: Impedisce l’invio di un aggiornamento quando la versione native dell’app del dispositivo è più recente del bundle del canale (per esempio, dispositivo su 1.2.3 mentre il canale ha 1.2.2).
- Permetti build di development: Permetti aggiornamenti alle build di development (utile per il testing).
- Permetti dispositivi emulatore: Permetti aggiornamenti a emulatori/simulatori (utile per il testing).
- Permetti auto-assegnazione dispositivo: Permette all’app di passare a questo canale a runtime usando
setChannel. Se disabilitato,setChannelfallirà per questo canale.
Strategie per Disabilitare Auto Update
Section titled “Strategie per Disabilitare Auto Update”Usa questo per limitare quali tipi di aggiornamenti il canale consegnerà automaticamente. Opzioni:
- major: Blocca aggiornamenti cross-major (0.0.0 → 1.0.0). Aggiornamenti minor e patch ancora permessi.
- minor: Blocca aggiornamenti cross-minor (es., 1.1.0 → 1.2.0) e major. Aggiornamenti patch ancora permessi. Nota: non blocca 0.1.0 → 1.1.0.
- patch: Molto restrittivo. Permette solo versioni patch crescenti all’interno dello stesso major e minor. Esempi: 0.0.311 → 0.0.314 ✅, 0.1.312 → 0.0.314 ❌, 1.0.312 → 0.0.314 ❌.
- metadata: Richiede un metadata di versione minima di aggiornamento su ogni bundle. Configura via CLI usando
--min-update-versiono--auto-min-update-version. Se mancante, il canale è contrassegnato come mal configurato e gli aggiornamenti saranno rifiutati finché non viene impostato. - none: Permetti tutti gli aggiornamenti secondo la compatibilità semver.
Scopri più dettagli ed esempi nella strategia Disabilita aggiornamenti su /docs/cli/commands/#disable-updates-strategy.
Esempio (CLI):
# Blocca aggiornamenti major sul canale Productionnpx @capgo/cli@latest channel set production com.example.app \  --disable-auto-update major
# Permetti ai dispositivi di auto-assegnarsi al canale Betanpx @capgo/cli@latest channel set beta com.example.app --self-assign
Usare setChannel() dalla Tua App
Section titled “Usare setChannel() dalla Tua App”Il metodo setChannel() permette alla tua app di cambiare canale programmaticamente a runtime. Questo è particolarmente utile per:
- Menu QA/debug dove i tester possono passare tra canali
- Flussi di opt-in per programmi beta
- Implementazioni di feature flag
- Scenari di A/B testing
import { CapacitorUpdater } from '@capgo/capacitor-updater';
// Passa al canale betaawait CapacitorUpdater.setChannel({ channel: 'beta' });
// Opzionalmente attiva un controllo aggiornamenti immediato dopo il cambioawait CapacitorUpdater.setChannel({ channel: 'beta', triggerAutoUpdate: true});Assegnare un Bundle a un Canale
Section titled “Assegnare un Bundle a un Canale”Per distribuire un aggiornamento live, devi caricare una nuova build del bundle JS e assegnarla a un canale. Puoi farlo in un unico passaggio con la CLI di Capgo:
npx @capgo/cli@latest bundle upload --channel=DevelopmentQuesto caricherà i tuoi asset web compilati e imposterà il nuovo bundle come build attiva per il canale Development. Qualsiasi app configurata per ascoltare quel canale riceverà l’aggiornamento la prossima volta che controllerà.
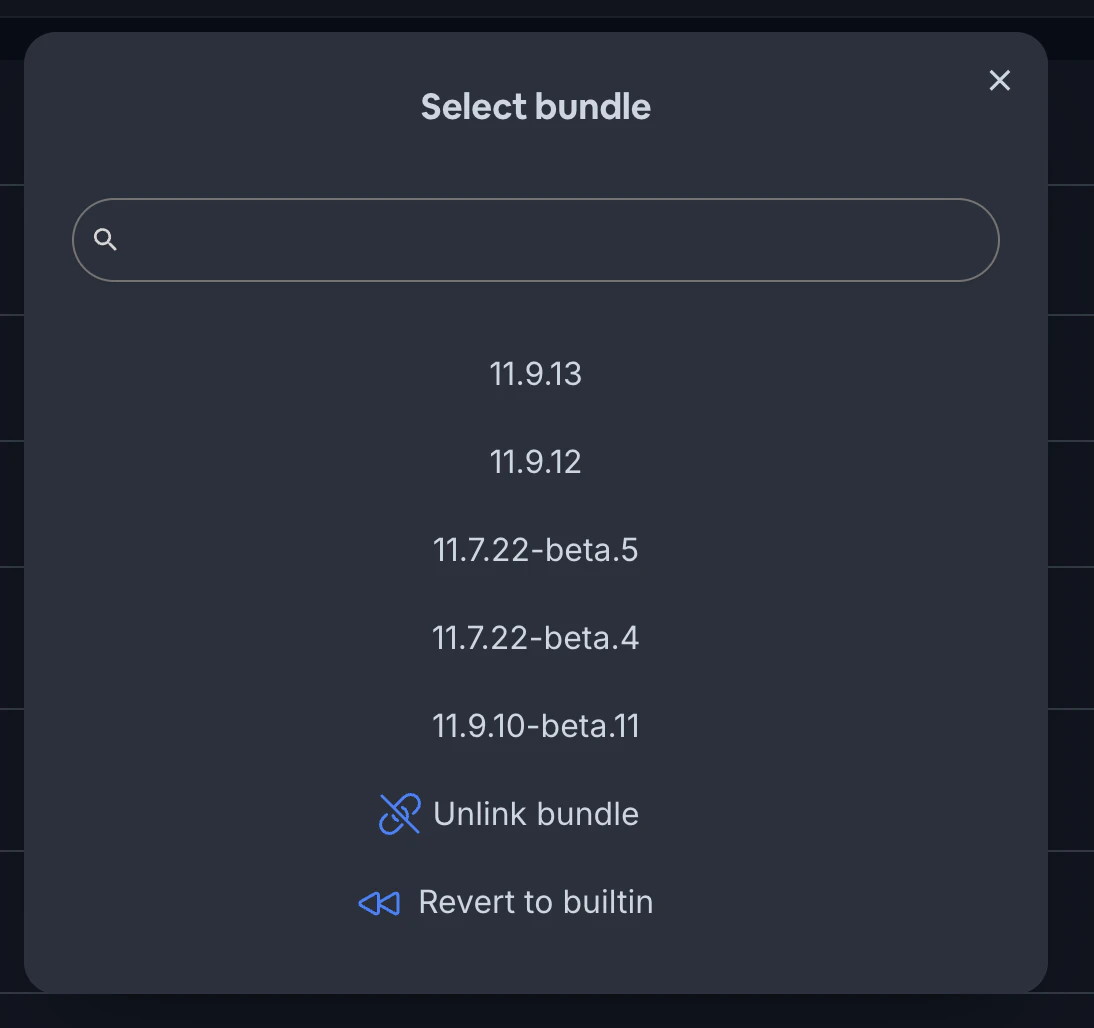
Puoi anche assegnare le build ai canali dalla sezione “Bundles” della dashboard Capgo. Clicca sull’icona del menu accanto a una build e seleziona “Assign to Channel” per scegliere il canale per quella build.
Versionamento dei Bundle e Canali
Section titled “Versionamento dei Bundle e Canali”È importante notare che i bundle in Capgo sono globali per la tua app, non specifici per i singoli canali. Lo stesso bundle può essere assegnato a più canali.
Per il versionamento dei bundle, consigliamo di utilizzare il versionamento semantico semver con identificatori di pre-release per le build specifiche del canale. Ad esempio, una versione beta potrebbe essere versionata come 1.2.3-beta.1.
Questo approccio ha diversi vantaggi:
- Comunica chiaramente la relazione tra le build:
1.2.3-beta.1è ovviamente una pre-release di1.2.3 - Permette di riutilizzare i numeri di versione tra i canali, riducendo la confusione
- Abilita percorsi di rollback chiari. Se devi tornare indietro da
1.2.3, sai che1.2.2è la precedente versione stabile
Ecco un esempio di come potresti allineare le versioni dei bundle con una tipica configurazione dei canali:
- Canale
Development:1.2.3-dev.1,1.2.3-dev.2, ecc. - Canale
QA:1.2.3-qa.1,1.2.3-qa.2, ecc. - Canale
Staging:1.2.3-rc.1,1.2.3-rc.2, ecc. - Canale
Production:1.2.3,1.2.4, ecc.
Usare semver con identificatori di pre-release è un approccio raccomandato, ma non strettamente richiesto. La chiave è trovare uno schema di versionamento che comunichi chiaramente le relazioni tra le tue build e si allinei con il processo di sviluppo del tuo team.
Rollback di un Aggiornamento Live
Section titled “Rollback di un Aggiornamento Live”Se distribuisci un aggiornamento live che introduce un bug o che necessita di essere revocato, puoi facilmente tornare a una build precedente. Dalla sezione “Channels” della dashboard:
- Clicca sul nome del canale che vuoi ripristinare
- Trova la build a cui vuoi tornare e clicca sull’icona della corona

- Conferma l’azione
La build selezionata diventerà immediatamente la build attiva per quel canale. Le app riceveranno la versione ripristinata la prossima volta che controlleranno gli aggiornamenti.
Automatizzare i Deployment
Section titled “Automatizzare i Deployment”Per flussi di lavoro più avanzati, puoi automatizzare i tuoi deployment di aggiornamenti live come parte della tua pipeline CI/CD. Integrando Capgo nel tuo processo di build, puoi caricare automaticamente nuovi bundle e assegnarli ai canali ogni volta che fai push su determinati branch o crei nuove release.
Consulta la documentazione Integrazione CI/CD per saperne di più sull’automazione degli aggiornamenti live di Capgo.
Distribuire su un Dispositivo
Section titled “Distribuire su un Dispositivo”Ora che hai compreso i canali, sei pronto per iniziare a distribuire aggiornamenti live su dispositivi reali. Il processo base è:
- Installare l’SDK Capgo nella tua app
- Configurare l’app per ascoltare il canale desiderato
- Caricare una build e assegnarla a quel canale
- Avviare l’app e attendere l’aggiornamento!
Per una guida più dettagliata, consulta la guida Distribuire Aggiornamenti Live. Buon aggiornamento!
Utilizzo Avanzato dei Canali: Segmentazione Utenti
Section titled “Utilizzo Avanzato dei Canali: Segmentazione Utenti”I canali possono essere utilizzati per più che solo le fasi di sviluppo. Sono uno strumento potente per la segmentazione degli utenti, abilitando funzionalità come:
- Feature flag per diversi tier di utenti
- A/B testing
- Rollout graduali delle funzionalità
- Programmi di beta testing
Scopri come implementare questi casi d’uso avanzati nella nostra guida: How to Segment Users by Plan and Channels for Feature Flags and A/B Testing.
