Swift Package Manager is the default direction for Capacitor iOS projects. If your app still uses CocoaPods, you can migrate the app itself to SPM without rebuilding your JavaScript code, Android project, or release workflow from scratch.
This guide is for app teams. It explains how to migrate a Capacitor iOS app from CocoaPods to SPM, what the migration assistant changes, what you still need to check in Xcode, and how to clean up CI after the app builds.
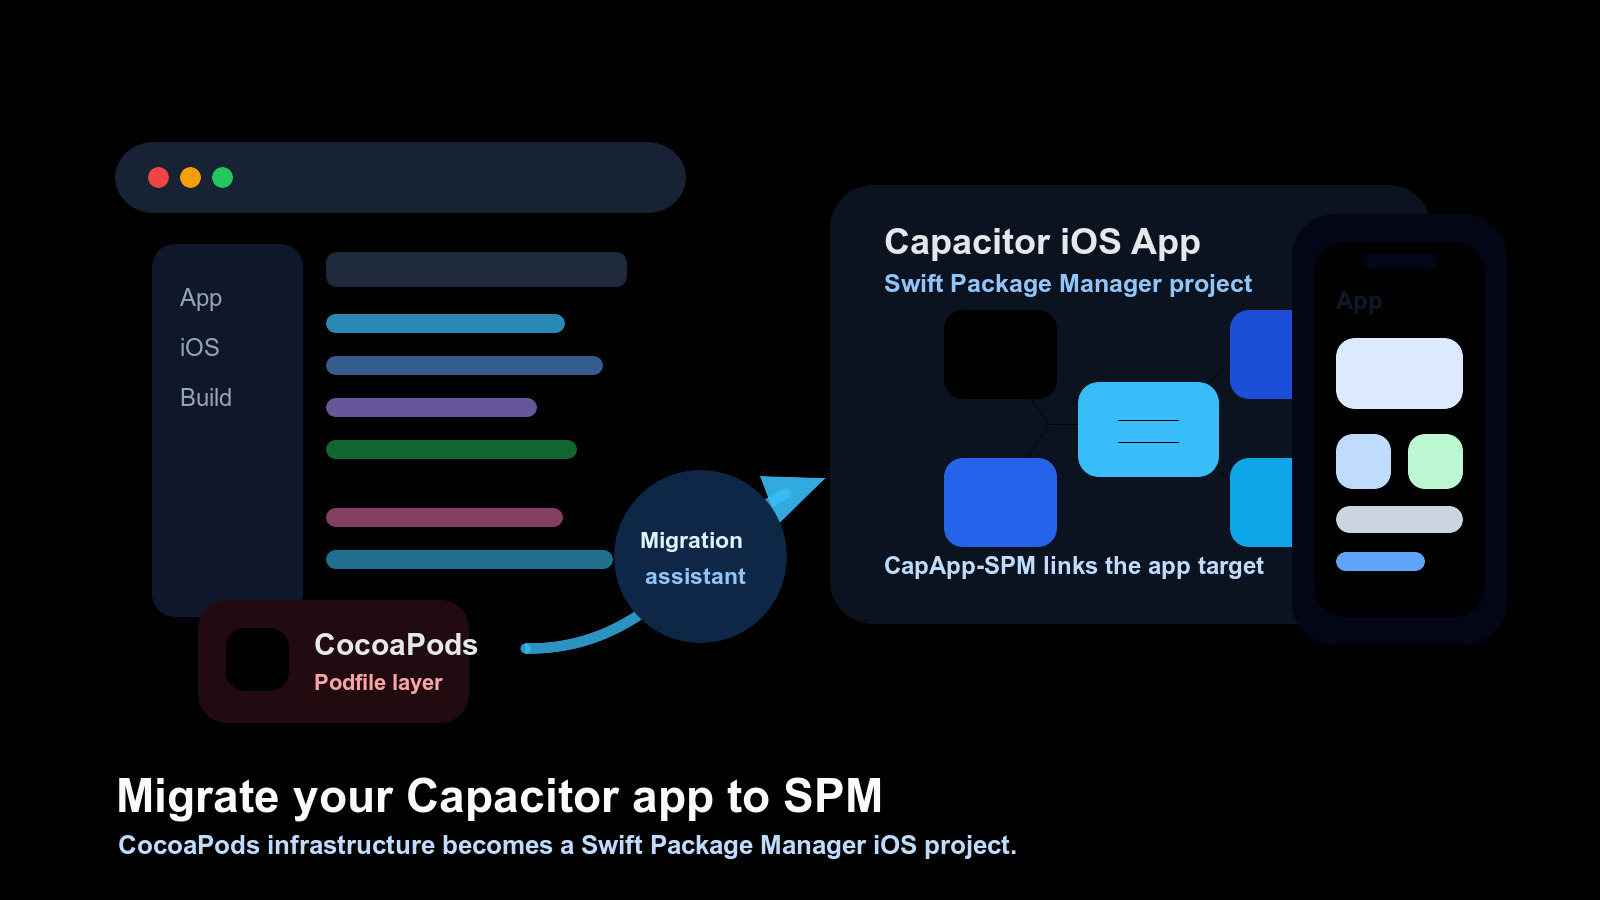
What changes in the app
A CocoaPods-based Capacitor app depends on files such as:
ios/App/Podfileios/App/Podfile.lockios/App/Pods/ios/App/App.xcworkspace
An SPM-based Capacitor app moves iOS dependency wiring into Swift Package Manager. During migration, Capacitor creates a local package named CapApp-SPM and uses it to connect the app target with Capacitor and installed native dependencies.
The web build still works the same way. You still run a web build, sync Capacitor, open Xcode, and archive the app. The main difference is that CocoaPods no longer owns the iOS dependency graph.
Before you migrate
Start from a clean branch and make sure the current app builds before changing dependency managers:
git status
npm run build
npx cap sync ios
Then commit the working state. The migration touches generated iOS project files, so having a clean rollback point matters.
Next, review what your app has customized under ios/App/. Common files and settings to preserve include:
App/Info.plistApp/AppDelegate.swiftApp/SceneDelegate.swift, if presentApp/Assets.xcassets/App/Base.lproj/App/App.entitlementsApp/GoogleService-Info.plist, if you use Firebase- custom
.xcconfigfiles - signing settings, bundle identifier, team ID, and provisioning profiles
- app extensions, native Swift files, Objective-C files, or embedded frameworks
Also check your installed Capacitor and Cordova dependencies. An app-level SPM migration can be blocked by a native dependency that has no SPM-compatible path. Update those packages before migrating when possible.
Use the migration assistant
For most existing apps, start with the official Capacitor migration assistant:
npx cap spm-migration-assistantRun it from the root of your Capacitor project. The assistant removes CocoaPods integration, creates the local CapApp-SPM package, generates package references for installed native dependencies, and adds generated configuration needed by the iOS project.
After it finishes, open the iOS project:
npx cap open iosRead the assistant output before closing your terminal. If it asks you to complete manual Xcode steps, do those before syncing again.
Finish the Xcode steps
In Xcode, check the app project and target configuration:
- Confirm
CapApp-SPMis added as a local package dependency. - Confirm the app target links the generated package products.
- Add the generated
debug.xcconfigto the project configuration if the assistant asks for it. - Resolve any package warnings in Xcode.
- Build the app once from Xcode.
If Xcode cannot resolve packages, use File > Packages > Reset Package Caches, then resolve packages again.
Sync and build again
After Xcode is configured, return to the terminal and sync Capacitor:
npx cap sync iosThen build from Xcode again. Do not treat the migration as done until a clean build works from Xcode, because release signing, entitlements, app extensions, and package resolution are validated there.
If the app uses push notifications, associated domains, background modes, app groups, Firebase, or any native SDK configuration, run those flows on a simulator or device after the build succeeds.
Alternative: recreate iOS with SPM
If your ios/ folder is close to the default Capacitor template, it can be faster to recreate it with SPM instead of migrating in place.
Only use this path after committing or backing up every native file and signing setting you need:
rm -rf ios
npx cap add ios --packagemanager SPM
npx cap sync ios
npx cap open ios
Then restore your app-specific native files and settings. This path gives you a clean SPM project, but it is easier to lose custom Xcode changes if you did not inventory them first.
For new Capacitor apps, Capacitor 8 creates iOS projects with SPM by default:
npx cap add iosYou can still be explicit:
npx cap add ios --packagemanager SPMClean up CocoaPods leftovers
After the SPM app builds, remove leftover CocoaPods assumptions from local scripts and CI.
Remove steps like:
pod installAlso remove caches that only existed for CocoaPods:
ios/App/Podsios/App/Podfile.lock- CocoaPods specs repositories
- CI cache keys based on the Podfile
A basic CI flow after migration should install JavaScript dependencies, build the web app, sync Capacitor, and build with Xcode:
npm ci
npm run build
npx cap sync ios
If your CI still builds App.xcworkspace, update it to the project or workspace path that exists after migration. Do not keep stale CocoaPods paths around just because the old job used them.
Troubleshooting
The assistant warns about an incompatible dependency
Update the dependency first and run the assistant again. If no SPM-compatible version exists, keep the app on CocoaPods until you replace that dependency or the maintainer adds SPM support.
Xcode cannot resolve packages
Reset package caches in Xcode, check that CapApp-SPM is present as a local package, and run npx cap sync ios again.
The app builds locally but CI fails
Look for old CocoaPods assumptions: pod install, Pods/ caches, Podfile.lock cache keys, or build commands that point to a deleted .xcworkspace.
Signing or entitlements changed
Compare the migrated Xcode target against the pre-migration project. Restore the bundle identifier, team, provisioning profile, entitlements file, capabilities, and extension settings.
Migration checklist
Before migration:
- Create a branch.
- Confirm the current iOS app builds.
- Commit the working state.
- Inventory custom native files and signing settings.
- Update native dependencies that already have newer SPM-compatible releases.
During migration:
- Run
npx cap spm-migration-assistant. - Open the project with
npx cap open ios. - Add
CapApp-SPMin Xcode if required. - Add
debug.xcconfigin Xcode if required. - Resolve package warnings.
- Run
npx cap sync ios.
After migration:
- Build the app from Xcode.
- Test native capabilities on a simulator or device.
- Remove CocoaPods commands from CI.
- Remove CocoaPods-only caches.
- Verify archive and release signing.
Use Capgo Skills for the migration
If you use AI agents to handle the migration, start from Capgo Skills instead of a blank prompt. The most useful skills for this work are:
capacitor-best-practicesto review the app structure before changingios/.cocoapods-to-spmto plan the SPM migration and Xcode follow-up steps.capacitor-ci-cdto remove CocoaPods assumptions from build pipelines.debugging-capacitorandios-android-logsto investigate device-only issues after migration.
Use them before changing the iOS project so the agent audits native files, CI, and dependency compatibility instead of only running the migration command.
Conclusion
Migrating a Capacitor app to Swift Package Manager is mostly an iOS dependency-management change. The safest path is to start from a clean branch, run npx cap spm-migration-assistant, finish the manual Xcode steps, sync again, and remove CocoaPods from CI only after the app builds.
If your iOS project is heavily customized, migrate in place. If it is close to the default Capacitor template, recreating ios/ with npx cap add ios --packagemanager SPM can be cleaner.


