


このチュートリアルは、GitHubホスティングに焦点を当てていますが、他のCI/CDプラットフォームに適応するには少しだけ調整するだけで済みます。
序文
Be sure you have added your Capacitor app first to Capgo, this tutorial just focuses on the upload phase. If you need to add your app to Capgo, you can follow this チュートリアル
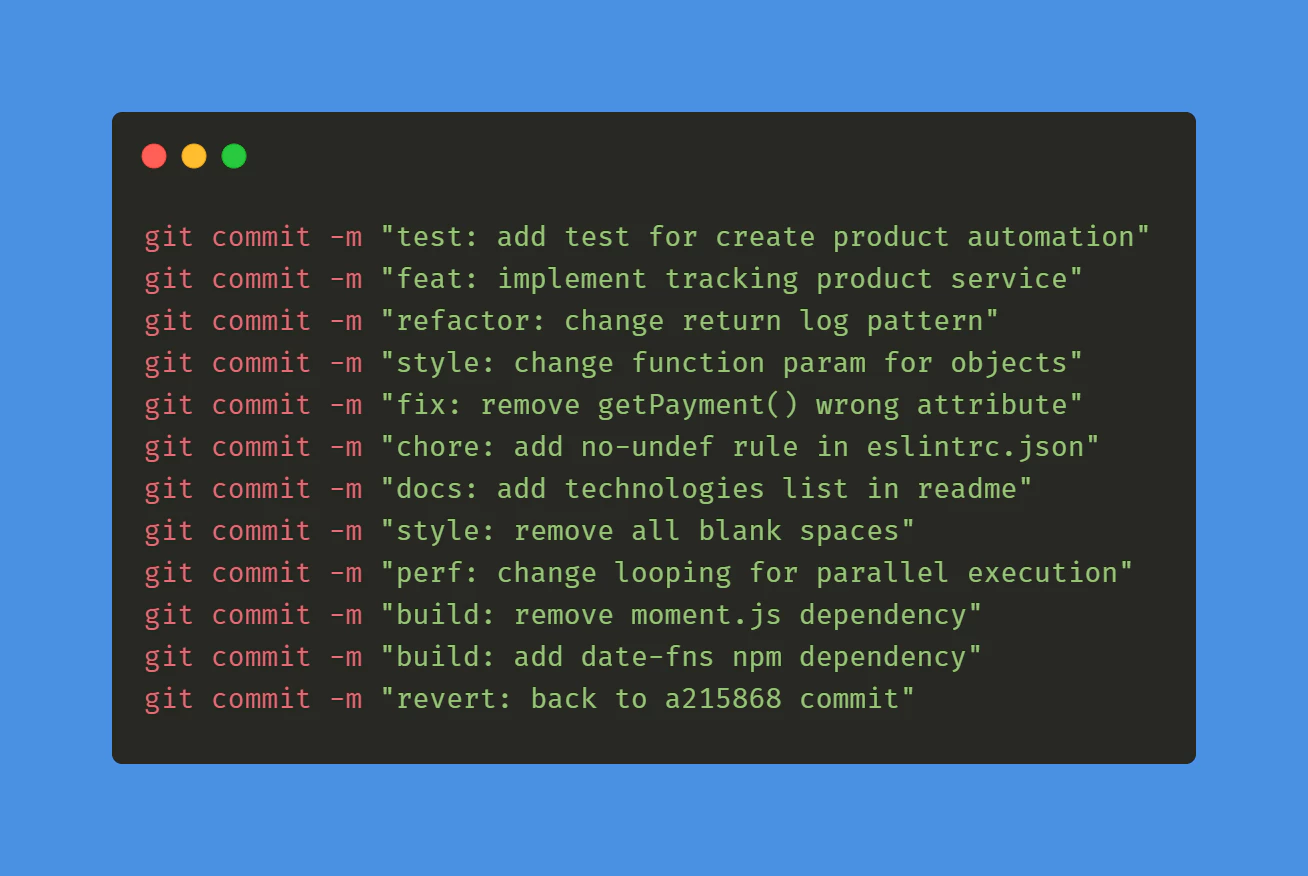
コミット規約
コミット規約を開始する必要があります。 コンヴェンショナル コミット` 5分で学べるように設計されています。
GitHub アクションの GitHub
次に、自動ビルドとタグを作成するための最初の GitHub アクションを作成する必要があります。
このパスにファイルを作成します: .github/workflows/bump_version.yml
この内容で:
name: Bump version

on:
  push:
    branches:
      - main

jobs:
  bump-version:
    if: "!startsWith(github.event.head_commit.message, 'chore(release):')"
    runs-on: ubuntu-latest
    name: "Bump version and create changelog with standard version"
    steps:
      - name: Check out
        uses: actions/checkout@v6
        with:
          fetch-depth: 0
          filter: blob:none
          token: '${{ secrets.PERSONAL_ACCESS_TOKEN }}'
      - name: Git config
        run: |
          git config --local user.name "github-actions[bot]"
          git config --local user.email "github-actions[bot]@users.noreply.github.com"
      - name: Create bump and changelog
        run: npx capacitor-standard-version
      - name: Push to origin
        run: |
          CURRENT_BRANCH=$(git rev-parse --abbrev-ref HEAD)
          remote_repo="https://${GITHUB_ACTOR}:${{ secrets.PERSONAL_ACCESS_TOKEN }}@github.com/${GITHUB_REPOSITORY}.git"
          git pull $remote_repo $CURRENT_BRANCH
          git push $remote_repo HEAD:$CURRENT_BRANCH --follow-tags --tags
この設定では、main ブランチのすべてのコミットごとにタグをリリースし、main ブランチのすべてのコミットごとに changelog エントリを追加します。 CHANGELOG.md.
このファイルが存在しない場合は、心配しないでください。自動的に作成されます。
この設定を実行するには、 パーソナル アクセス トークン GitHub の中で シークレット として PERSONAL_ACCESS_TOKEN.
CIで変更ログをコミットするようにする必要があります。
トークンを作成するときは、有効期限を選択してください。 never スコープを選択してください。 repo.
最後に、ファイルのバージョンを設定し、Nativeバージョン番号と同期してください。これにより、次のステップが簡単になります。 package.json これは最初の時のみ必要です。ツールは以降の更新を自動的に行います。
この両方のファイルをコミットし、最初のタグが__CAPGO_KEEP_0__に表示されることを確認できます。
ファイルを共にコミットし、最初のタグがGitHubに表示されることを確認できます。
__CAPGO_KEEP_0__のアクションを実行してビルド
GitHub GitHub アクションを使用したビルド
この内容でファイルを作成してください: .github/workflows/build.yml
これにより、依存関係をインストールしてビルドし、__CAPGO_KEEP_0__に送信することができます。
name: Build source code and send to Capgo

on:
  push:
    tags:
      - '*'

jobs:
  deploy:
    runs-on: ubuntu-latest
    name: "Build code and release"
    steps:
      - name: Check out
        uses: actions/checkout@v6
      - name: Install dependencies
        id: install_code
        run: npm i
      - name: Build
        id: build_code
        run: npm run build
        env: # Remove both lines  if you don't need it
          FIREBASE_CONFIG: ${{ secrets.FIREBASE_CONFIG }} # Example of env var coming from a secret
      - name: Create Release
        id: create_release
        run: npx @capgo/cli@latest bundle upload -a ${{ secrets.CAPGO_TOKEN }} -c production
依存関係をインストールしてビルドし、Capgoに送信することができます。
あなたのビルドコマンドが異なる場合、以下のステップで変更できます。 build_code ステップ。
この機能を使用するには、APIのCapgoキーを取得し、APIリポジトリのシークレットに追加する必要があります。 GitHub リポジトリの秘密 as CAPGO_TOKEN.
GitHubに初めてのタグが表示されます。
ビルドステップでテストを追加してください。__CAPGO_KEEP_0__が正常に動作していることを確認してください。
codeダッシュボードにアクセスし、最新のビルドを確認してください。CI/CDシステムが構築されました。
すべてのユーザーが更新を取得できるようにする場合は、チャンネルにアクセスし、Capgoを設定してください。
Ionic __CAPGO_KEEP_0__ JavaScriptアプリのネイティブビルドを追加するには、このチュートリアルを参照してください 👇 public.
自動ビルドとリリースアプリケーションをCapacitorアクションで続行してください
Githubアクションで自動ビルドとリリースアプリケーションを続行してください
Capgoを使用している場合 自動ビルドとリリースアプリケーションにGithubアクションを使用 CI/CD自動化を計画するには、__CAPGO_KEEP_0__アクションを接続 Capgo CI/CD Capgoネイティブビルド Capgoインテグレーション Capgoインテグレーション Capgo 連携サービス Capgoの製品ワークフローでCapgo統合を使用します。 __CAPGO_KEEP_0__アクションインテグレーション __CAPGO_KEEP_0__アクションインテグレーション GitHubアクションインテグレーション Capgoの実装詳細はGitHub Actions Integrationで行われます。



