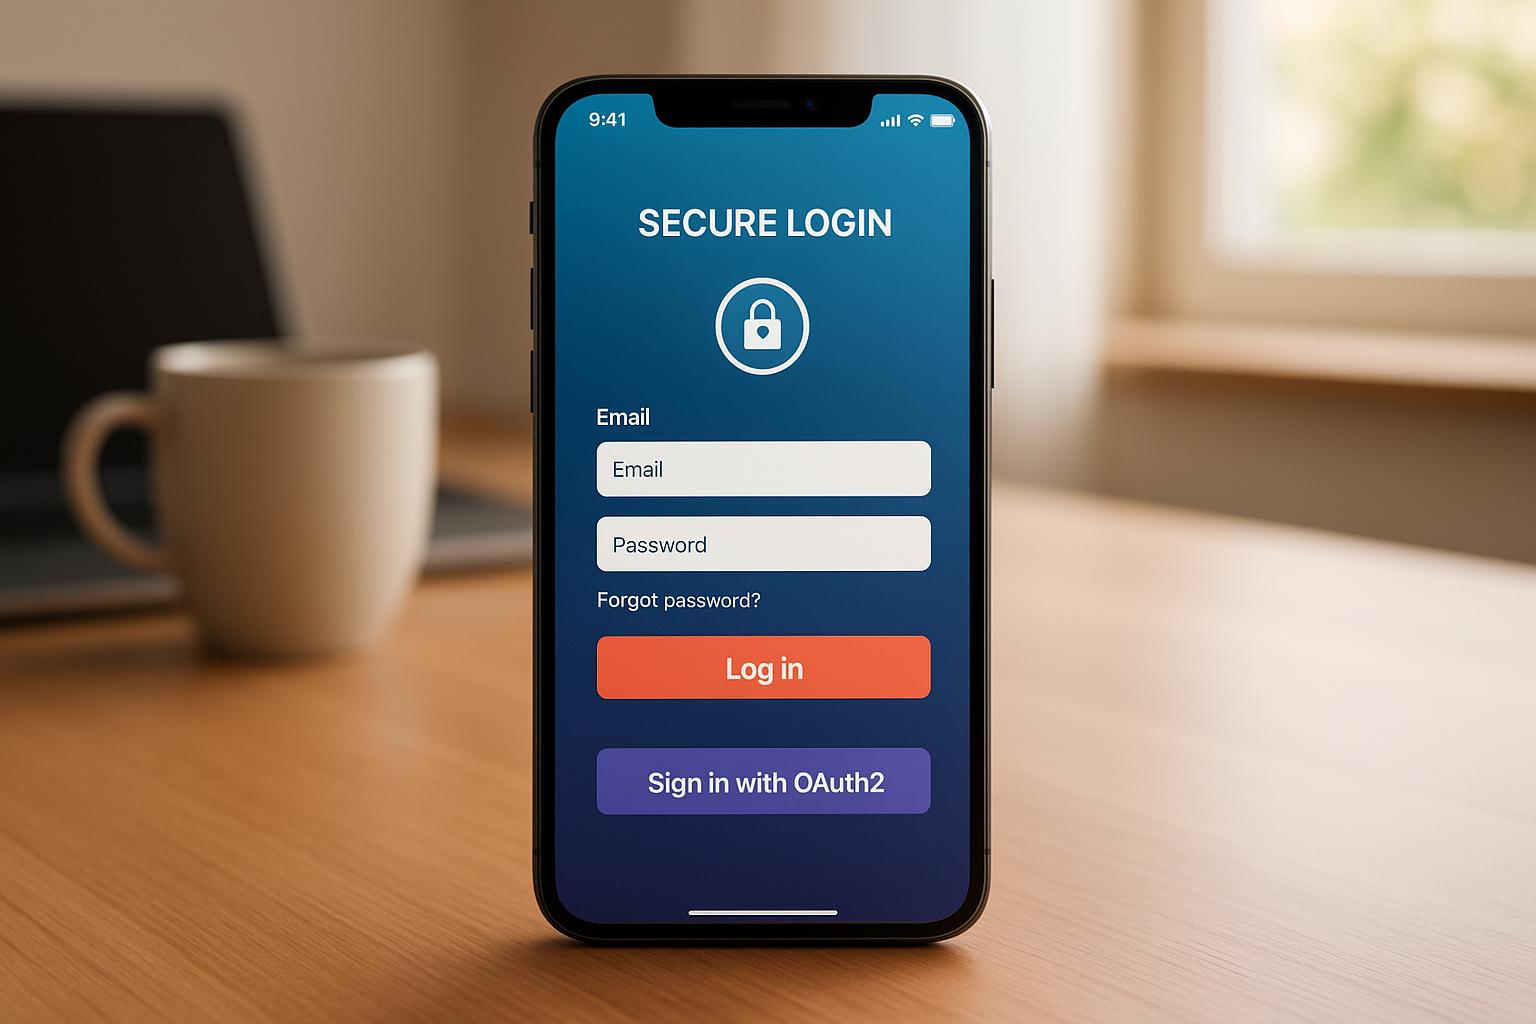
Want to add secure OAuth2 authentication to your Capacitor app? Here’s a quick guide to get started.
OAuth2 is a protocol that lets users share access to their data without sharing passwords. It’s ideal for Capacitor apps because it works across platforms like iOS, Android, and the web. Plus, it keeps your app secure by using tokens instead of storing sensitive credentials.
Here’s how to integrate OAuth2 into your Capacitor app in just 5 steps:
- Set Up Your OAuth2 Provider: Choose a provider (e.g., Google, Auth0), configure redirect URIs, and manage client credentials securely.
- Install and Configure the OAuth2 Plugin: Add the
@byteowls/capacitor-oauth2plugin and set up platform-specific settings (e.g.,Info.plistfor iOS,AndroidManifest.xmlfor Android). - Build the Authentication Flow: Use the plugin to handle user login, token storage, and logout securely. Enable PKCE for extra protection.
- Test Across Platforms: Verify the flow on iOS, Android, and web browsers. Fix common issues like redirect URI mismatches or PKCE errors.
- Secure Your Implementation: Store tokens in secure storage (Keychain/Keystore), use HTTPS, and set up strong Content Security Policies.
Quick Comparison: Secure Token Storage Options
| Storage Option | Best For | Security Level | Offline Access | Example Use Case |
|---|---|---|---|---|
| Secure Storage | Mobile apps | High | Yes | Refresh tokens |
| Memory Storage | Temporary access | Medium | No | Active access tokens |
| HttpOnly Cookies | Web applications | High | Yes | Browser-based sessions |
How to add Google Sign In using Capacitor to your Ionic App
Step 1: Set Up Your OAuth2 Provider
Getting your OAuth2 provider set up correctly is the first and most crucial step to ensure everything runs smoothly. This involves picking a provider that aligns with your app’s requirements, configuring technical details like redirect URIs, and securely handling your credentials. These steps pave the way for installing the OAuth2 plugin in the following phase.
Choose an OAuth2 Provider
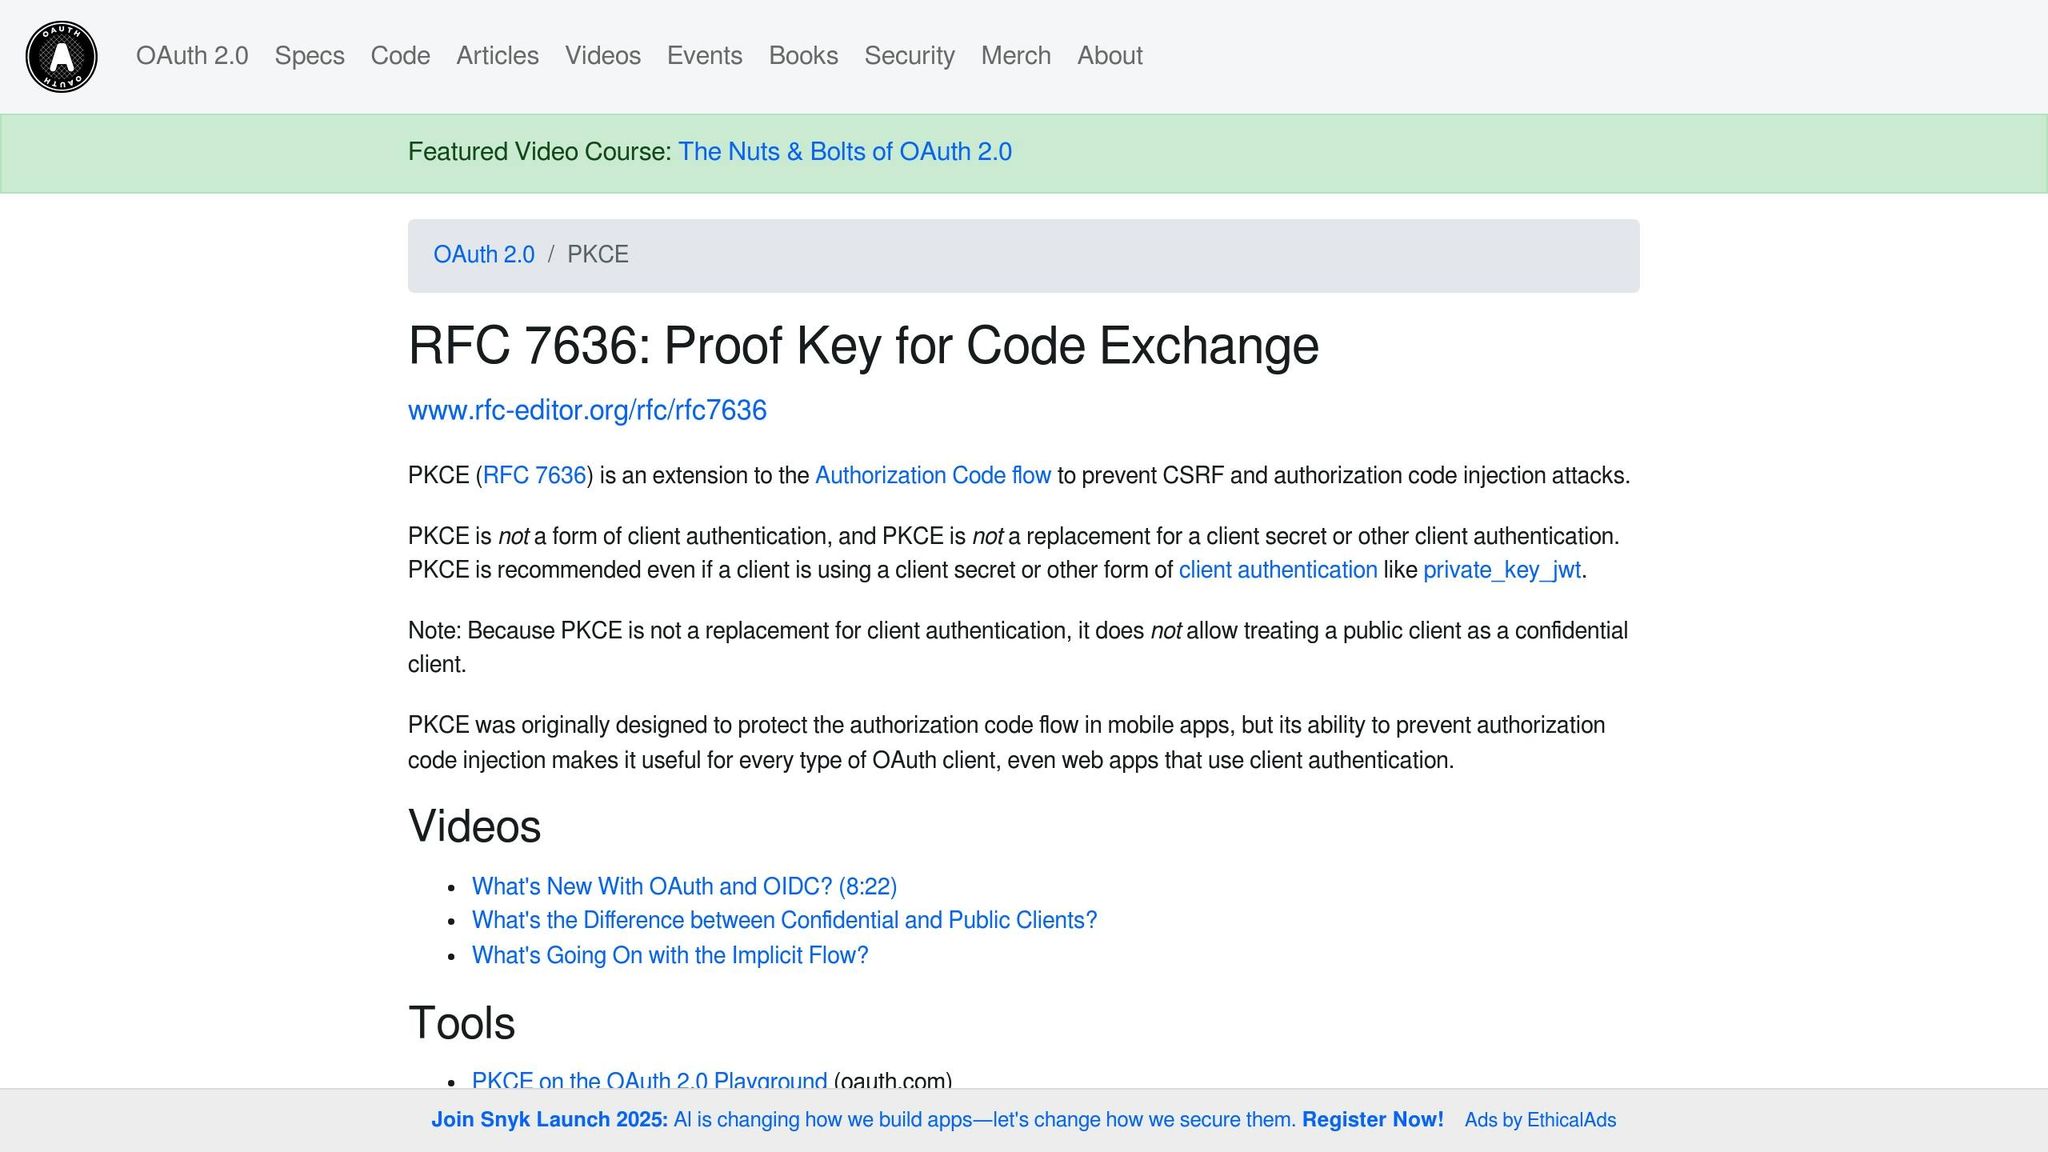
Start by selecting an OAuth2 provider that matches your app’s functionality, security needs, and compatibility. The type of application you’re building plays a key role in determining the OAuth 2.0 flow you’ll use, which directly impacts your choice of provider [2]. For Capacitor-based apps, it’s recommended to use the Authorization Code Flow with PKCE - this is the preferred method for mobile applications.
When comparing providers, focus on their security features. Look for options like signed cookies, CSRF token validation, and encrypted JWTs. If your app deals with sensitive data, support for multi-factor authentication is a must. While evaluating, balance cost and features based on your needs without getting bogged down in lengthy comparisons.
Configure Redirect URIs
Redirect URIs are critical - they tell the OAuth2 provider where to send users after they’ve completed authentication. Properly configuring these URIs ensures a seamless experience across both mobile and web platforms.
For mobile apps, use custom URL schemes, typically formatted as com.example.app://callback, where com.example.app matches your app’s package ID. On the web, use window.location.origin as the redirect URI. If you’re testing locally, a URL like http://localhost:8100/callback works well.
For iOS users, keep in mind that Capacitor’s Browser plugin uses SFSafariViewController. On iOS 11 and later, this doesn’t share cookies with Safari, which can affect single sign-on functionality. If SSO is essential, consider using a plugin that supports ASWebAuthenticationSession [3].
Manage Client Credentials
Client credentials identify your app to the OAuth2 provider and consist of a client ID and a client secret. Think of the client ID as a public identifier, while the client secret should be treated like a private key.
Never hardcode client secrets directly into your app or commit them to version control. Instead, use environment variables or a secure secrets management system to store them. Additionally, opt for short-lived tokens with minimal scopes to limit exposure and enhance security.
Step 2: Install and Configure the OAuth2 Plugin
Now that your OAuth2 provider is ready, the next step is to add the plugin to your Capacitor app and set it up for iOS, Android, and web platforms.
Install the Plugin
The @byteowls/capacitor-oauth2 plugin works with most OAuth2 providers. To avoid compatibility issues, you’ll need to install the version that matches your Capacitor setup.
Here are the installation commands based on your Capacitor version:
- Capacitor v5:
npm i @byteowls/capacitor-oauth2 - Capacitor v4:
npm i @byteowls/capacitor-oauth2@4 - Capacitor v3:
npm i @byteowls/capacitor-oauth2@3
Once installed, run the sync command (npx cap sync) to update your native dependencies. This step is crucial to ensure the plugin integrates correctly with your iOS and Android projects. Skipping this can lead to build errors when compiling for mobile platforms.
Configure Plugin Settings
After installation, you’ll need to configure the plugin to match your OAuth2 provider’s setup. This is done through the oauth2Options object when calling the authenticate() method. Key parameters to define include:
- appId: Your client ID from the OAuth2 provider.
- authorizationBaseUrl: The provider’s authorization endpoint.
- responseType: Typically set to
"code"for mobile apps. - redirectUrl: This must match the redirect URL configured in Step 1.
You can also set additional parameters like accessTokenEndpoint, scope, and platform-specific options to fine-tune the authentication process.
For Android, update your AndroidManifest.xml and strings.xml files with the correct scheme and host information. On iOS, modify the Info.plist file to register your redirect URL scheme. These platform-specific changes ensure users are redirected back to your app after authentication.
Check Capacitor Version Compatibility
It’s essential to verify that the plugin version matches your Capacitor version. Mismatched versions can cause build errors or runtime issues. The @byteowls/capacitor-oauth2 plugin strictly aligns with Capacitor releases, so double-check compatibility before proceeding.
| Plugin Version | Compatible Capacitor Version | Notes |
|---|---|---|
| 5.x | 5.x.x | Requires Xcode 14.1. Breaking changes noted in the changelog. |
| 4.x | 4.x.x | Requires Xcode 12.0. Breaking changes noted in the changelog. |
| 3.x | 3.x.x | Requires Xcode 12.0. Breaking changes noted in the changelog. |
| 2.x | 2.x.x | Requires Xcode 11.4. Breaking changes noted in the changelog. |
| 1.x | 1.x.x |
If you’re developing for iOS, pay close attention to the Xcode version requirements. Using an incompatible version will prevent your app from building successfully. The plugin documentation includes detailed compatibility tables, which are a great resource for troubleshooting version-related issues.
If you run into problems after installation, uninstall the current plugin version, install the correct one for your Capacitor version, and run the sync command again. This method is far more effective than trying to force incompatible versions to work.
Step 3: Build the OAuth2 Authentication Flow
With your plugin set up, it’s time to create a fully functional authentication flow. This step ensures secure user login, token management, and logout, making your app capable of managing user sessions across platforms.
Create the Login Flow
The login process starts by calling authenticate() with an options object. This object should include your authorizationBaseUrl, redirectUrl, and the responseType set to 'code' to comply with PKCE requirements. The plugin securely opens the provider’s login page, where users can enter their credentials. After a successful login, the provider redirects users back to your app with tokens and user details.
Here’s the best part: users enter their credentials directly with the OAuth2 provider, so your app never has access to sensitive information. The method returns a response object that includes the access token, refresh token, and user data like email or profile details.
On iOS and Android, this process uses a secure web view that shares cookies with the system browser. On web platforms, it relies on standard browser redirects. Properly configuring your redirect URL ensures a smooth user experience no matter the platform.
Handle Token Storage and Refresh
Once users are logged in, securely managing tokens is your next priority. This includes storing tokens safely and refreshing them automatically to avoid session interruptions. Here’s how you can handle it:
- Access Tokens: Store these in memory for quick and temporary access.
- Refresh Tokens: Use secure storage, like the
capacitor-secure-storageplugin, which encrypts tokens with AES-256 via the iOS Keychain or Android Keystore. This ensures tokens stay protected, even if the device is compromised.
When your app restarts, check for stored tokens to log users back in without requiring them to re-enter credentials.
| Storage Method | Security Level | Performance | Offline Access | Best Use Case |
|---|---|---|---|---|
| Secure Storage | AES-256 Hardware | Medium | Yes | Refresh tokens, long-term data |
| Memory Storage | High (temporary) | High | No | Active access tokens |
| Regular Storage | Low | High | Yes | Non-sensitive preferences |
To keep sessions active, refresh tokens before they expire. Before making API calls, check if the access token is close to expiration. If it is, use the refresh token to get a new access token from your OAuth2 provider. For added reliability, include logic to retry token refresh when the network reconnects. If the refresh token has expired or been revoked, redirect users back to the login flow to re-authenticate.
Add Logout Functionality
A secure and effective logout process is just as important. Start by revoking the refresh token via the provider’s endpoint. Then, clear tokens from secure storage and reset user data to ensure all sessions are terminated.
Simply deleting local tokens isn’t enough. OAuth2 providers often maintain server-side sessions that could re-authenticate users automatically. Revoking the refresh token breaks the token chain linked to the authorization grant, ensuring that stored credentials can’t be reused.
“JWT Access Tokens cannot be revoked. They are valid until they expire. Since they are bearer tokens, there is no way to invalidate them.” – lihua.zhang, Auth0 Employee [5]
To revoke tokens, call the provider’s token revocation endpoint with the refresh token before clearing local storage. This server-side action prevents token misuse, even if credentials are compromised. After revocation, remove tokens from secure storage, reset cached user data, and navigate users back to the login screen.
For single sign-on (SSO) setups, decide whether logging out should also end sessions for other apps using the same provider. Additionally, make sure the logout process works smoothly during network interruptions by storing logout requests locally and retrying them when the connection is restored. This ensures proper cleanup on the provider’s end.
Step 4: Test Your OAuth2 Integration
After setting up your OAuth2 configuration and developing the authentication flow, the next step is testing it thoroughly. This ensures your integration works seamlessly across devices and platforms, providing a reliable experience for your users. Testing involves verifying functionality on mobile devices and web browsers, while also identifying and resolving potential issues before launching your app.
Test on iOS and Android
Start by testing the entire authentication process on physical iOS and Android devices.
-
For iOS: Make sure your URL scheme is correctly configured in the
Info.plistfile, and confirm your app handles redirects from the OAuth2 provider properly. Avoid usingWKWebViewfor authorization requests, as it can lead to adisallowed_useragenterror. Instead, use libraries like Google Sign-In for iOS or OpenID Foundation’s AppAuth for iOS to handle authentication flows effectively [6]. -
For Android: Check that your
AndroidManifest.xmlincludes the correct intent filters to handle redirect URIs. Similar to iOS, avoid usingandroid.webkit.WebViewfor authorization requests, as it can also causedisallowed_useragenterrors. Opt for libraries like Google Sign-In or OpenID AppAuth for Android [6].
In both cases, test for error scenarios, such as an unavailable authorization server [7]. If your app requests multiple permissions (scopes), verify which ones are granted and handle situations where some may be denied [6].
Test on Web
For web platforms, use developer tools to monitor network requests and ensure token security. Tools like OAuth 2.0 Playground can help you test your flow [10], while HTTP intercepting proxies like ZAP or BurpSuite offer deeper insights during testing [11].
When testing, use the Authorization Code grant with PKCE, as it’s the recommended approach for public clients. Ensure secrets are transmitted securely via POST parameters or header values instead of URL parameters. Additionally, implement security headers like Referrer-Policy to enhance protection [11].
Fix Common Issues
During testing, you may encounter common issues that need to be addressed:
-
Incorrect Redirect URIs: Mismatched redirect URIs often cause “unauthorized client” errors. Ensure the redirect URI matches exactly across your OAuth2 provider’s settings, the
capacitor.config.jsonfile in your Capacitor app, and the native platform manifests.“The sso accepted route needs to support the combination of iosScheme and hostname: ionic://com.myapp.mybundle” - LBopp [8]
-
PKCE Verification Errors: Confirm that PKCE is supported and configured correctly, as it’s essential for securing your app [9].
-
Plugin Implementation Errors: Errors like “Plugin is not implemented on iOS” typically indicate missing configurations or issues within the Capacitor environment. Enable logging in your OAuth2 plugin to help identify and resolve these problems [4].
-
State Mismatch Errors: If the state parameter in the authorization request doesn’t match the one in the redirect response, it could signal a security risk. This is especially relevant when using custom OAuth handlers for providers like Facebook. Carefully review your custom handler code to ensure there are no errors or misconfigurations [4].
Step 5: Secure Your OAuth2 Implementation
Protecting your OAuth2 integration is crucial to safeguarding sensitive data and minimizing vulnerabilities. Below are key practices to ensure your implementation remains secure.
Enable PKCE for Better Security
One of the most effective ways to secure your authorization flow is by enabling PKCE (Proof Key for Code Exchange). PKCE helps prevent unauthorized interception of authorization codes. Here’s how it works:
- Start by generating a random
code_verifierthat’s between 43 and 128 characters long. - Then, create a
code_challengeby hashing thecode_verifierusing SHA-256 and encoding the result in base64 URL format.
If you’re using the capacitor-community/generic-oauth2 plugin, enabling PKCE is straightforward. Here’s an example configuration:
{ responseType: "code", pkceEnable: true, redirectUrl: "com.companyname.appname:/"}This plugin automatically handles PKCE and does not support the Code Flow without it. The code_challenge_method is set to “S256” by default for proper validation [12].
Use Secure Storage for Tokens
Securely storing OAuth2 tokens is essential to prevent unauthorized access. For native mobile apps, leverage the secure storage provided by the operating system:
- On iOS, use the Keychain for hardware-backed encryption and OS-level protection.
- On Android, use the Keystore, which can also support biometric authentication for added security.
For web applications, store tokens in HttpOnly secure cookies with the SameSite attribute to mitigate cross-site scripting (XSS) risks.
Here’s a quick comparison of secure storage options:
| Storage Option | Best For | Security Benefits | Considerations |
|---|---|---|---|
| iOS Keychain | Native iOS apps | Hardware-backed encryption and OS-level protection | Requires platform-specific implementation |
| Android Keystore | Native Android apps | Secure storage with potential biometric protection | Varies by device security features |
| HttpOnly Cookies | Web browsers | Resistant to XSS and secure automatic transmission | Must be configured for same-domain API access |
| Backend for Frontend | All platforms | Tokens are never exposed to the client | Requires additional server infrastructure |
For added security, consider using short-lived access tokens and encrypted storage. For instance, Auth0 limits active refresh tokens to 200 per user per application to reduce risks [13]. You can also enhance security with a Backend for Frontend (BFF) proxy that uses HttpOnly cookies [14].
Set Up Content Security Policies
In addition to secure storage, implementing strong Content Security Policies (CSP) can help protect your app from attacks like cross-site scripting (XSS) and code injection. You can configure CSP at the server level using the Content-Security-Policy HTTP header or by adding a <meta> tag in your HTML.
Key directives to focus on include:
- default-src: Sets fallback rules for all content types.
- script-src: Controls which JavaScript files are allowed to execute.
- connect-src: Manages API calls and OAuth2 interactions.
- frame-ancestors: Prevents clickjacking by restricting who can embed your app in an iframe.
For maximum protection, use strict nonces or hashes instead of broad allowlists, and avoid directives like unsafe-inline or unsafe-eval. If your app is transitioning from HTTP to HTTPS, consider adding the upgrade-insecure-requests directive. To ensure your OAuth2 content cannot be embedded elsewhere, set frame-ancestors 'none'.
Conclusion and Next Steps
Key Takeaways
You’ve successfully implemented OAuth2 authentication in your Capacitor app by following five core steps. These included setting up your OAuth2 provider, installing the required plugins, creating the authentication flow, testing across platforms, and securing your integration using PKCE and proper token storage. It’s important to remember that OAuth 2.0 is an authorization protocol, not an authentication protocol [1]. Its primary focus is on granting access rather than verifying user identity.
Security is crucial, especially for mobile apps. Organizations using OAuth 2.0 report a 34% drop in API access security incidents compared to those relying on basic authentication methods [19]. By incorporating best practices - like using short-lived access tokens, implementing PKCE, and securely storing tokens - you’ve laid a strong foundation for your app’s authentication system.
Now, you can explore ways to expand your app’s functionality while maintaining this secure framework.
Add More Features
With OAuth2 in place, you have the opportunity to enhance your app with additional features. For example:
- OpenID Connect (OIDC): Extend OAuth 2.0 with user authentication and Single Sign-On (SSO) capabilities [16].
- Multi-Factor Authentication (MFA): Boost security by adding an extra layer of protection [17].
- Progressive Profiling: Gradually collect user data to improve onboarding and user experience [15].
For ongoing maintenance and updates, consider tools like Capgo, which allows you to push live updates, fixes, and new features instantly - bypassing the need to wait for app store approvals. This can be especially useful for handling security patches or rolling out new authentication features quickly.
More Resources
To further enhance your OAuth2 implementation, take advantage of these resources and strategies:
-
API Gateway Security: Strengthen your deployment by implementing authentication and authorization measures, caching, and robust logging and analytics [20].
-
Aaron Parecki’s Advice: According to Aaron Parecki, author of OAuth 2.0 Simplified:
“The Authorization Code Flow is the most secure of the OAuth 2.0 flows and should be used whenever possible for server-side applications” [18].
Here’s a quick reference table to guide your next steps:
| Phase | Key Focus Areas |
|---|---|
| System Configuration | Manage token lifecycles, enforce HTTPS, and securely store sensitive information |
| Token Management | Use short-lived access tokens and rotate refresh tokens |
| Validation Process | Verify signatures and check token expiration |
Stay ahead by conducting regular security audits and keeping your implementation up-to-date. For example, OAuth 2.1 introduces improvements like requiring PKCE for all authorization code requests and retiring less secure flows [19]. Additionally, the Capacitor documentation and OAuth2 plugin repositories offer ongoing technical support to help maintain and improve your app’s authentication system.
FAQs
::: faq
Why should I use the Authorization Code Flow with PKCE for OAuth2 in mobile apps?
Why Use the Authorization Code Flow with PKCE for Mobile Apps?
The Authorization Code Flow with PKCE is a go-to choice for mobile apps because it boosts security by addressing risks like authorization code interception and man-in-the-middle attacks. PKCE (Proof Key for Code Exchange) works by adding an extra layer of protection: it requires a unique code challenge that the authorization server validates. This ensures that only the intended app can finalize the authentication process.
Mobile apps, classified as public clients, can’t securely store client secrets. That’s where PKCE comes in - it allows you to securely authenticate users without exposing sensitive data. The result? A safer, more reliable login process that improves the overall user experience. :::
::: faq
What’s the best way to securely store OAuth2 tokens in iOS, Android, and web apps?
To keep OAuth2 tokens safe across different platforms, it’s essential to use secure storage solutions tailored to each platform. For iOS, the go-to option is Keychain Services, while Android users should rely on the Android Keystore system. These tools are specifically built to protect sensitive data, including tokens. On the web, secure cookies or encrypted browser storage can serve as effective alternatives.
Adding encryption, such as AES-256, provides an additional layer of security for tokens. Using short-lived tokens and securely refreshing them when needed further reduces risk. Implementing PKCE (Proof Key for Code Exchange) during the OAuth2 process is another smart move to block unauthorized access. For even stronger protection, consider integrating biometric authentication, ensuring that only the rightful user can access the stored tokens. :::
::: faq
What are the most common issues when testing OAuth2 integration in Capacitor apps, and how can they be fixed?
When testing OAuth2 integration in Capacitor apps, developers might run into a few common roadblocks. Here’s a quick rundown of what to watch out for:
- Invalid Client Credentials: Make sure your client ID and secret are set up correctly and match the details in your OAuth provider’s configuration. Even a small typo can cause issues.
- Redirect URI Mismatch: The redirect URI in your app must be an exact match with what’s registered in your OAuth provider. Double-check this to avoid unnecessary headaches.
- Token Expiration: Tokens don’t last forever. Set up a reliable token refresh system to handle expired tokens smoothly and keep the user experience uninterrupted.
- Scope Misconfiguration: The scopes you request in your app need to align with those configured in your OAuth provider. Mismatched scopes can lead to unexpected errors.
To tackle these issues, take the time to review your app’s OAuth setup thoroughly. Implement strong error handling to catch and address problems early, and test your authentication flow under different scenarios. Tools like Capgo can make life easier by allowing you to push updates and fixes directly to your app without waiting for app store approvals, keeping development efficient and users happy. :::


