


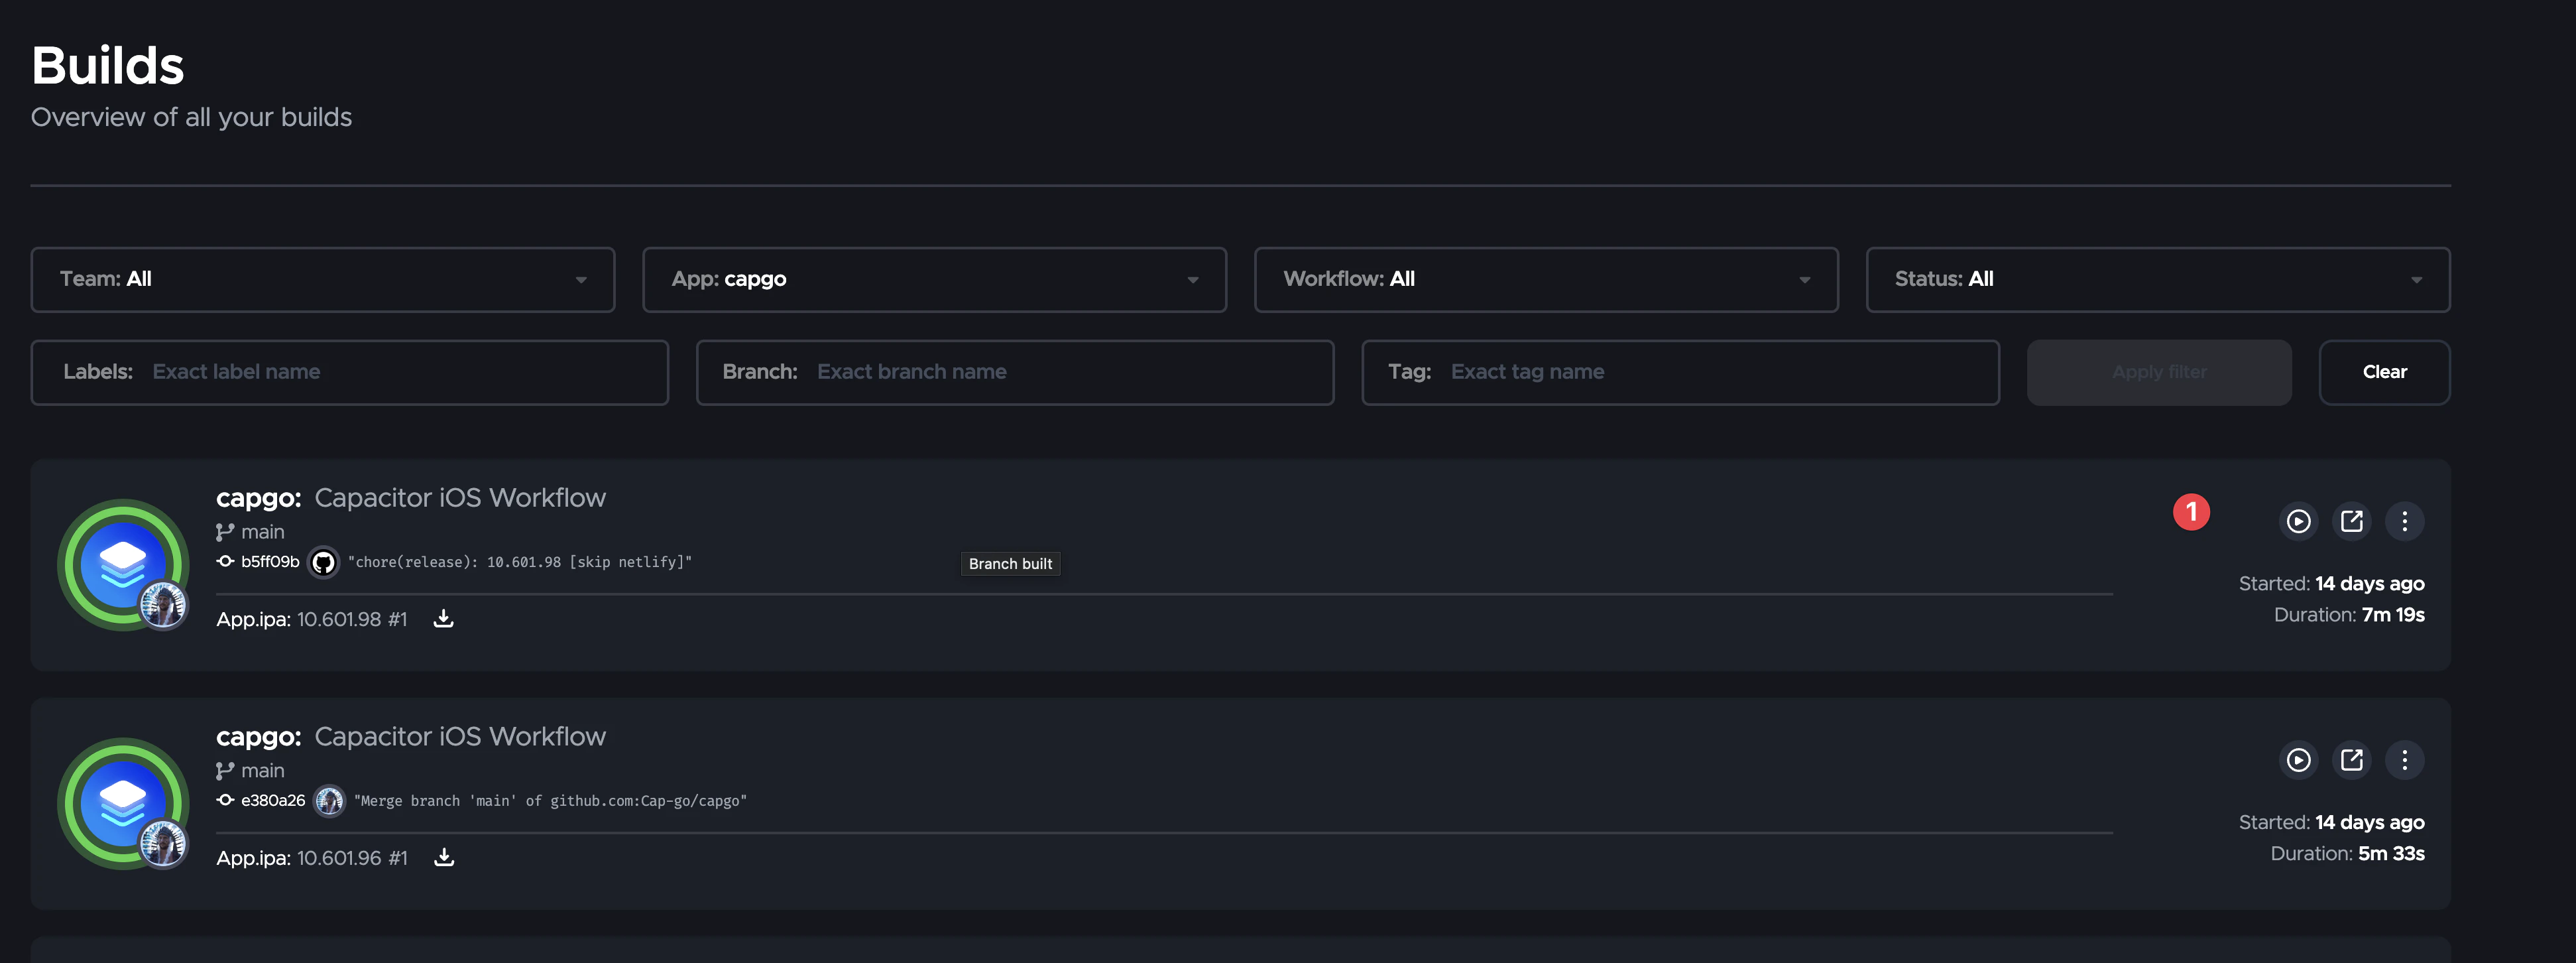
Linux is a comfortable place to write Capacitor apps, and Android ships from it with no compromise. iOS is the exception: Xcode and Apple’s signing tools only run on macOS. The answer is not a Mac mini under the desk. It is to generate the iOS project locally and compile it on macOS in the cloud.
This guide is the Linux version of Build an iOS app from Windows with Capacitor and Capgo Build. It covers the parts that differ on Linux: OpenSSL certificates, a Linux shell, and CI from Linux runners.
The division of labor
A Capacitor app has two builds:
- Web build: your framework output in
dist/. Done on Linux. - Native build: Xcode archive, signing, upload. Done by Capgo Build on Apple Silicon machines running the current macOS and Xcode.
The CLI uploads the prepared ios/ project from your machine. Nothing needs to be in a Git host, and no private registry credentials leave your box, because dependency installs and cap sync happen locally before the upload.
Prerequisites
- A Capacitor app that builds locally (any framework).
- Node 20+ or Bun on Linux.
- An Apple Developer Program membership.
- OpenSSL (installed by default on nearly every distribution).
- A Capgo account and the app registered with
bunx @capgo/cli@latest app add.
1) Generate the iOS project on Linux
bun add @capacitor/core @capacitor/ios
bun add -d @capacitor/cli
bunx cap init
bun run build
bunx cap add ios
You will see something like Skipping pod install because CocoaPods is not installed. Expected. The ios/ folder exists and should be committed; it carries your bundle ID, Info.plist, icons and native settings.
2) Sync web assets before every build
bun run build
bunx cap sync ios
cap sync copies dist/ into ios/App/App/public and updates plugin references. Capgo compiles what is in ios/, so an unsynced project ships your previous UI.
3) Create signing material without a Mac
You need three things: an Apple Distribution certificate as .p12, an App Store provisioning profile, and an App Store Connect API key. None requires Keychain Access.
Distribution certificate with OpenSSL
openssl genrsa -out ios_distribution.key 2048
openssl req -new -key ios_distribution.key -out ios_distribution.csr \
  -subj "/emailAddress=you@example.com/CN=Your Name/C=US"
Upload ios_distribution.csr at Certificates, Identifiers & Profiles, choose Apple Distribution, and download distribution.cer. Convert and bundle:
openssl x509 -in distribution.cer -inform DER -out distribution.pem -outform PEM
openssl pkcs12 -export -inkey ios_distribution.key -in distribution.pem \
  -out ios_distribution.p12 -legacy
The -legacy flag matters with OpenSSL 3. Without it, Apple’s tooling rejects the .p12 with an invalid password error even when the password is right. If you would rather not touch OpenSSL, the iOS certificate generator does the same in the browser.
Provisioning profile and API key
In the Apple Developer portal, create an App Store profile for your bundle ID that uses the new certificate and download the .mobileprovision. In App Store Connect, create an API key with the App Manager role and download the .p8; note the Key ID and Issuer ID. The iOS build guide shows each screen.
Want to inspect a profile on Linux? openssl smime -inform der -verify -noverify -in profile.mobileprovision prints the embedded plist.
4) Save the credentials in Capgo
bunx @capgo/cli@latest login
bunx @capgo/cli@latest build credentials save \
  --platform ios \
  --apple-team-id "TEAMID" \
  --apple-key ./AuthKey_KEYID.p8 \
  --apple-key-id "KEYID" \
  --apple-issuer-id "issuer-uuid" \
  --certificate ./ios_distribution.p12 \
  --ios-provisioning-profile ./App_Store.mobileprovision
Or run bunx @capgo/cli@latest build init --platform ios for the guided version. On Linux the App Store Connect key step is manual; everything else is prompted.
If Apple rejects the key with an authentication error, sync your clock. The JWT is signed with local time and Apple rejects tokens that drift too far:
timedatectl status
sudo timedatectl set-ntp true
5) Request the build
bun run build
bunx cap sync ios
bunx @capgo/cli@latest build request com.example.app --platform ios --build-mode release
The prepared ios/ project uploads, Capgo runs pod install, archives with Xcode, signs with your certificate and streams logs to your terminal. With the API key configured, the build is submitted to TestFlight when it finishes. Install the TestFlight app on an iPhone to run it.
Builds that fail can be diagnosed automatically by adding --ai-analytics; the AI build diagnosis reads the Xcode log and explains the fix.
6) Ad hoc builds for testers without TestFlight
For a QA device that is registered by UDID, use an Ad Hoc profile and keep the IPA as an artifact:
bunx @capgo/cli@latest build request com.example.app \
  --platform ios \
  --ios-distribution ad_hoc \
  --output-upload
The CLI prints a time-limited download link. Add --output-record build.json to save the link and a QR code for a tester.
7) Automate from a Linux CI runner
The same commands run on any Linux CI. A GitHub Actions example:
name: iOS build
on:
  workflow_dispatch:
jobs:
  ios:
    runs-on: ubuntu-latest
    steps:
      - uses: actions/checkout@v6
      - uses: oven-sh/setup-bun@v2
      - run: bun install
      - run: bun run build
      - run: bunx cap sync ios
      - run: bunx @capgo/cli@latest build request com.example.app --platform ios --build-mode release
        env:
          CAPGO_TOKEN: ${{ secrets.CAPGO_TOKEN }}
Credentials saved in step 4 are stored in Capgo, so the runner only needs the token. Alternatively, export a CI .env with bunx @capgo/cli@latest build credentials manage and pass the values as secrets; see managing credentials.
8) Day-to-day iteration without native builds
Once the TestFlight build exists, most changes are web changes. Push them with Capgo Live Updates:
bun run build
bunx @capgo/cli@latest bundle upload --channel production
Reserve build request for plugin additions, permission changes, icon changes and Capacitor upgrades.
Linux pitfalls
- Forgot
cap sync ios: the IPA shows old UI. Sync before every request. ios/in.gitignore: the CLI uploads from disk so it still builds, but your teammates and CI will not have the native project. Commit it..p12password rejected: regenerate with-legacy.- Apple authentication failed: clock drift. Enable NTP.
- Plugin added, forgot the native rebuild: adding a Capacitor plugin changes the native binary. Run a new cloud build and a store submission before shipping web changes that call it.
Summary
Linux cannot run Xcode, but it does not need to. Generate ios/ with Capacitor, build certificates with OpenSSL, and let Capgo Build compile, sign and send to TestFlight. With Live Updates for the web layer, a Linux-only team ships iOS as routinely as Android. For the full environment setup, read Capacitor development on Linux.





