Inicio de sesión de Google en iOS
Copiar un prompt de configuración con los pasos de instalación y la guía de markdown completa para este plugin.
Introducción
Sección titulada “Introducción”En esta guía, aprenderá a configurar el inicio de sesión de Google con Capgo Social Login para iOS. Supongo que ya ha leído la guía de configuración general.
Usando inicio de sesión de Google en iOS
Sección titulada “Usando inicio de sesión de Google en iOS”En esta parte, aprenderás a configurar el inicio de sesión de Google en iOS.
-
Crear un ID de cliente de iOS en la consola de Google
-
Hacer clic en la barra de búsqueda

-
Buscar
credentialsy hacer clic en elAPIs and Servicesuno (número 2 en la captura de pantalla)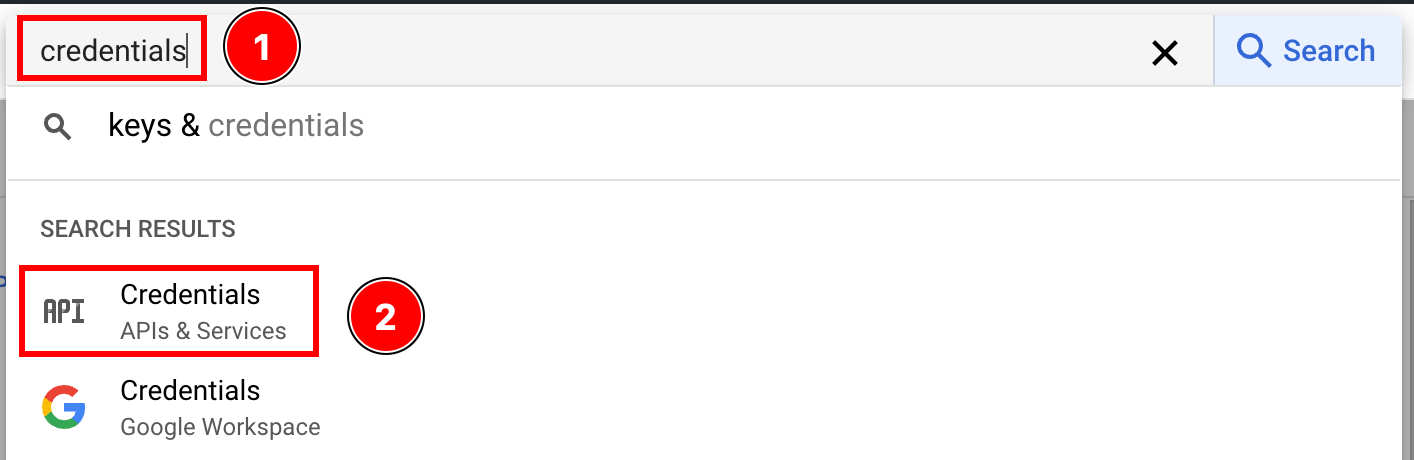
-
Hacer clic en el
create credentials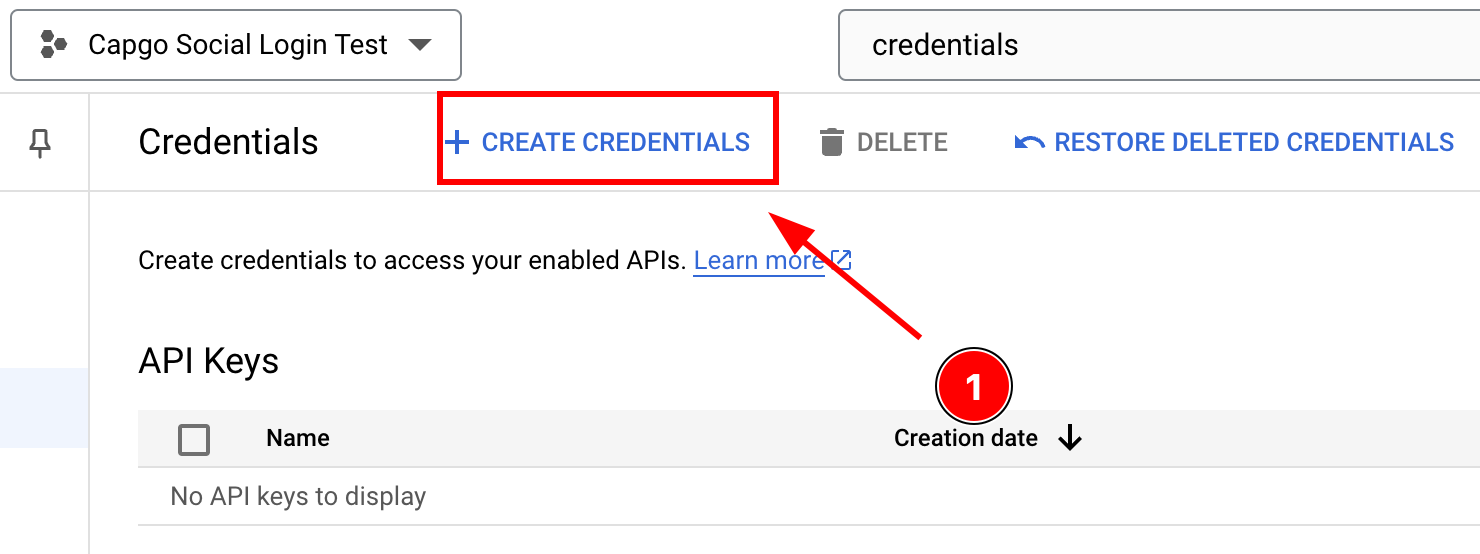
-
Seleccionar
OAuth client ID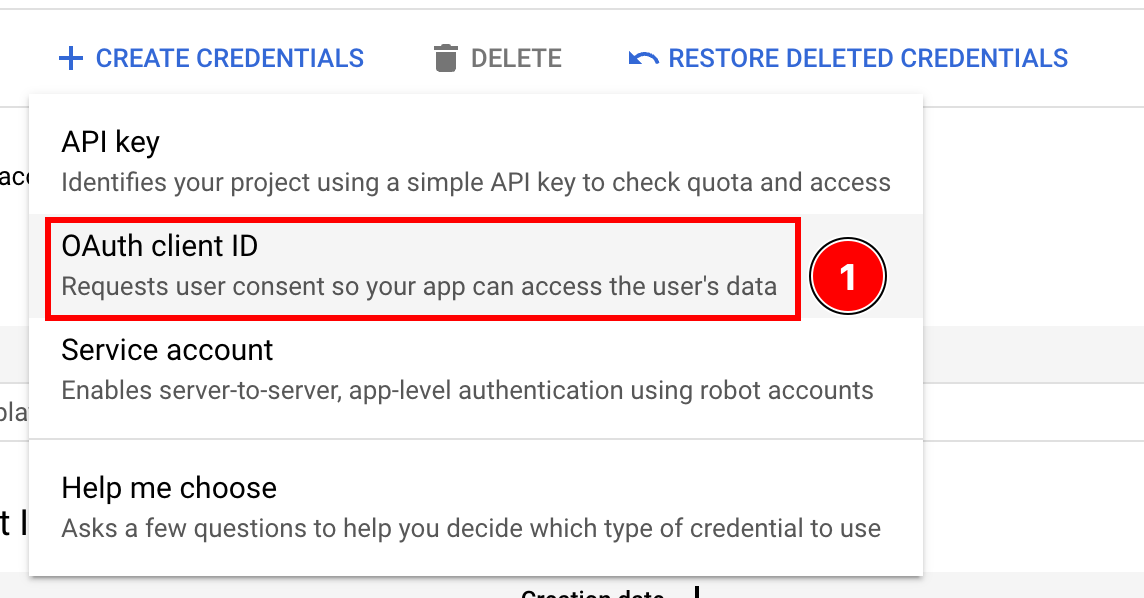
-
Seleccionar el
Application typeparaiOS
-
Encuentre el ID de la cesta
-
Abrir Xcode
-
Haga doble clic en
App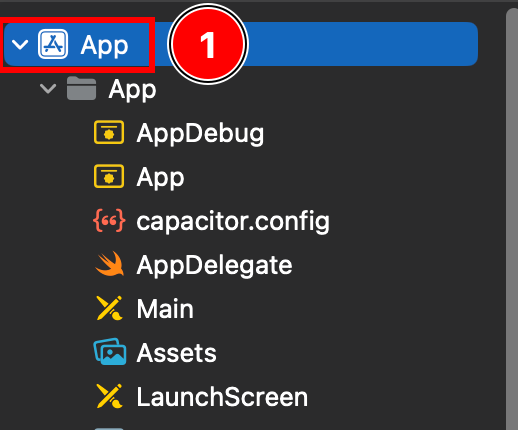
-
Asegúrese de que esté en
Targets -> App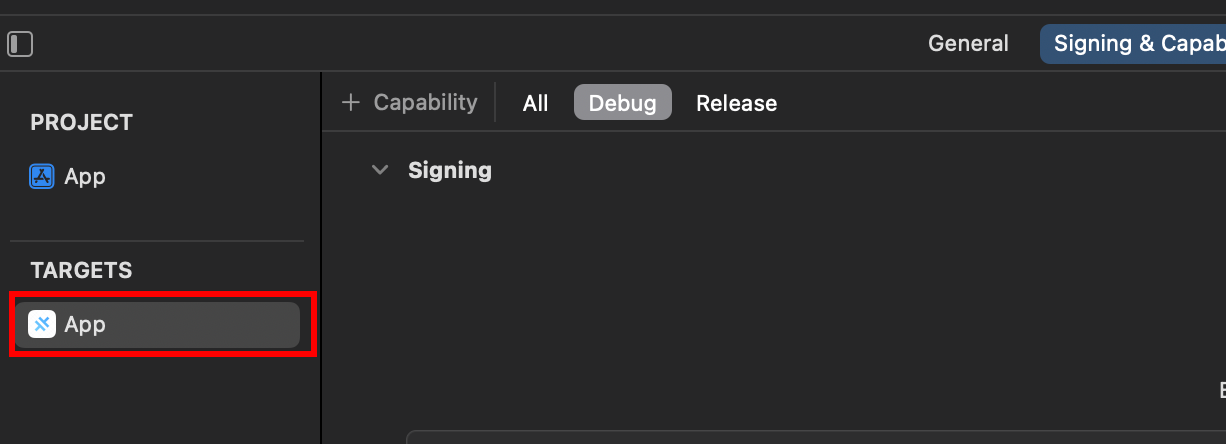
-
Encuentre su
Bundle Identifier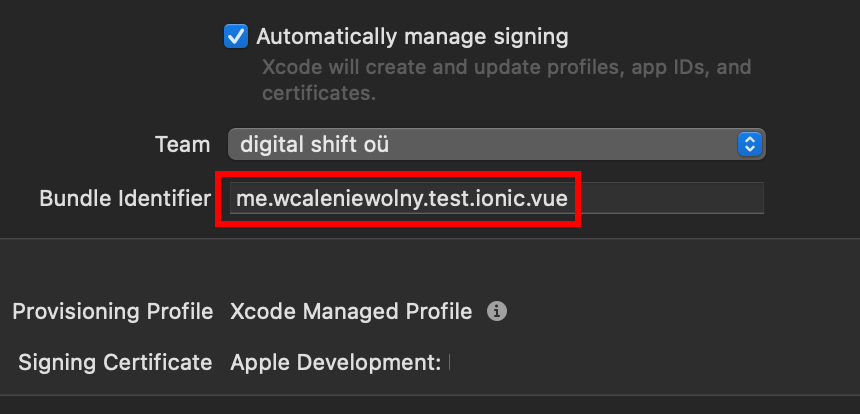
-
Volver a la consola de Google y pegar su
Bundle IdentifierenBundle ID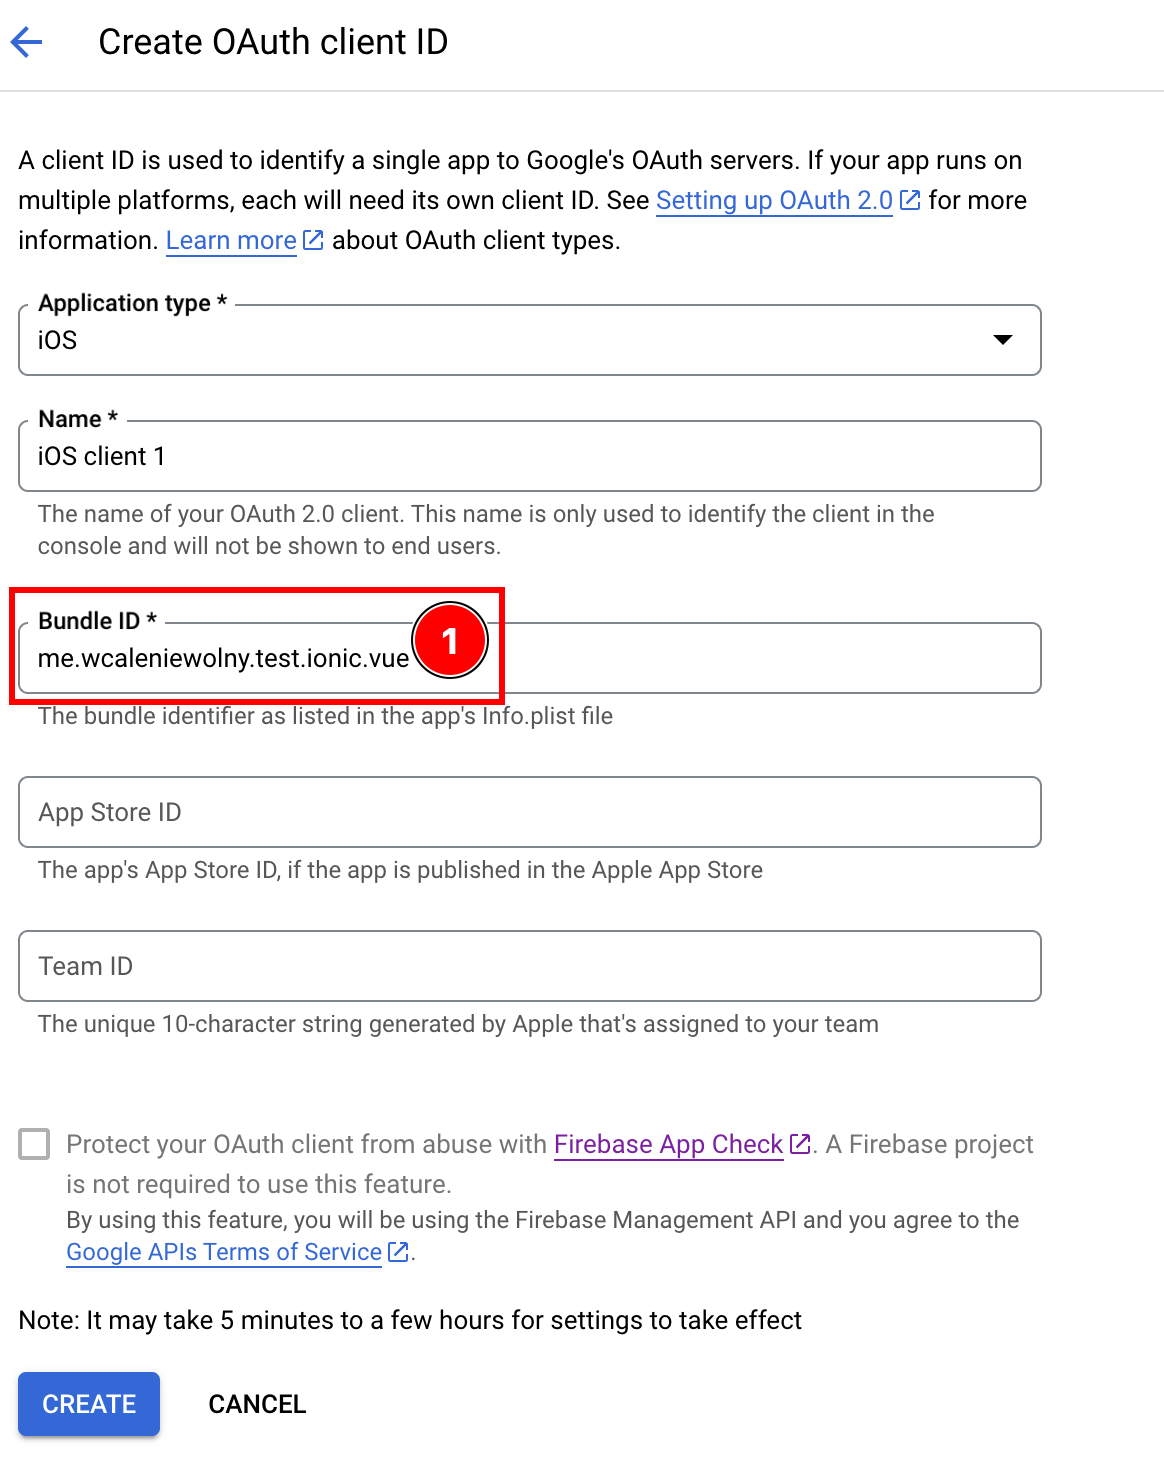
-
-
Opcionalmente, agregue su
App Store IDoTeam IDen el cliente ID si ha publicado su aplicación en la Tienda de Mac App -
Después de llenar todos los detalles, haga clic en
create
-
Haga clic en
OK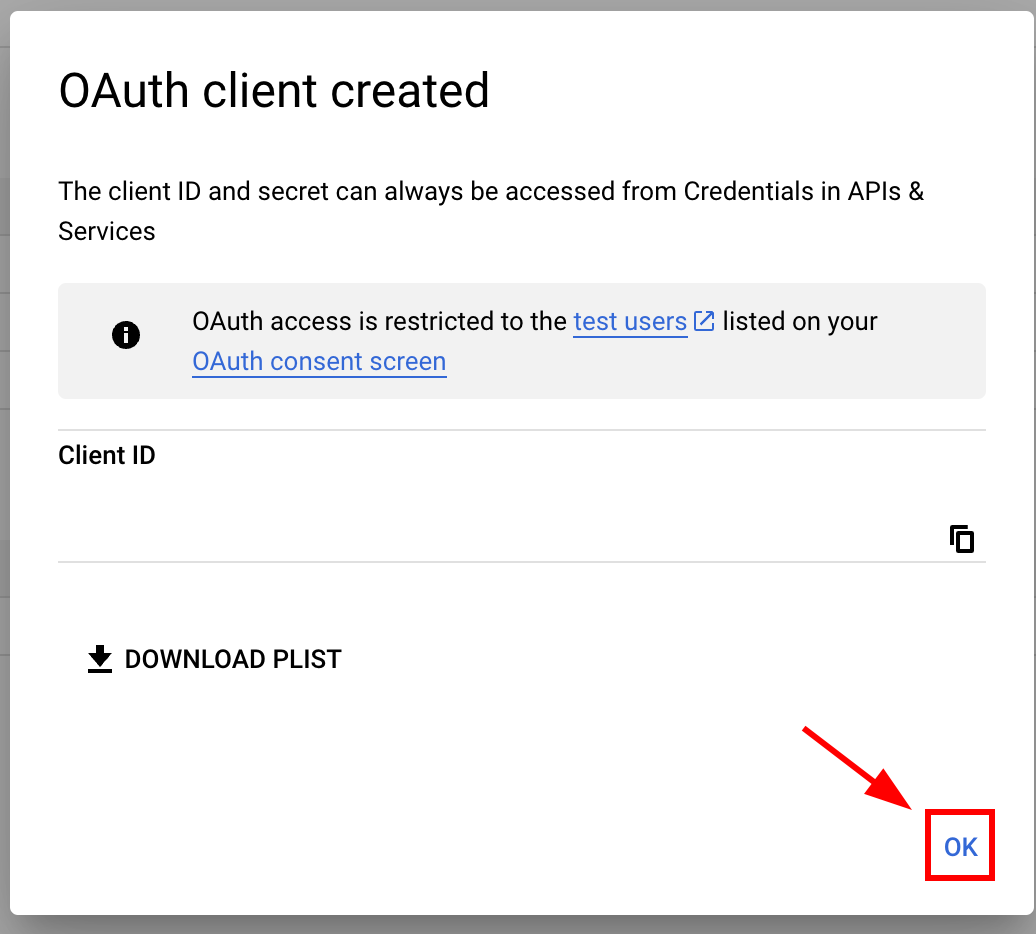
-
Abra el cliente iOS recién creado

-
Copie los siguientes datos

-
-
Modifique la configuración de Info.plist de su aplicación
-
Abra Xcode y busque el archivo
Info.plistarchivo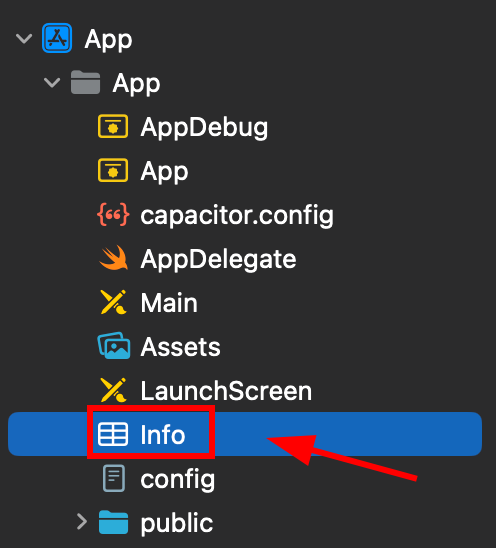
-
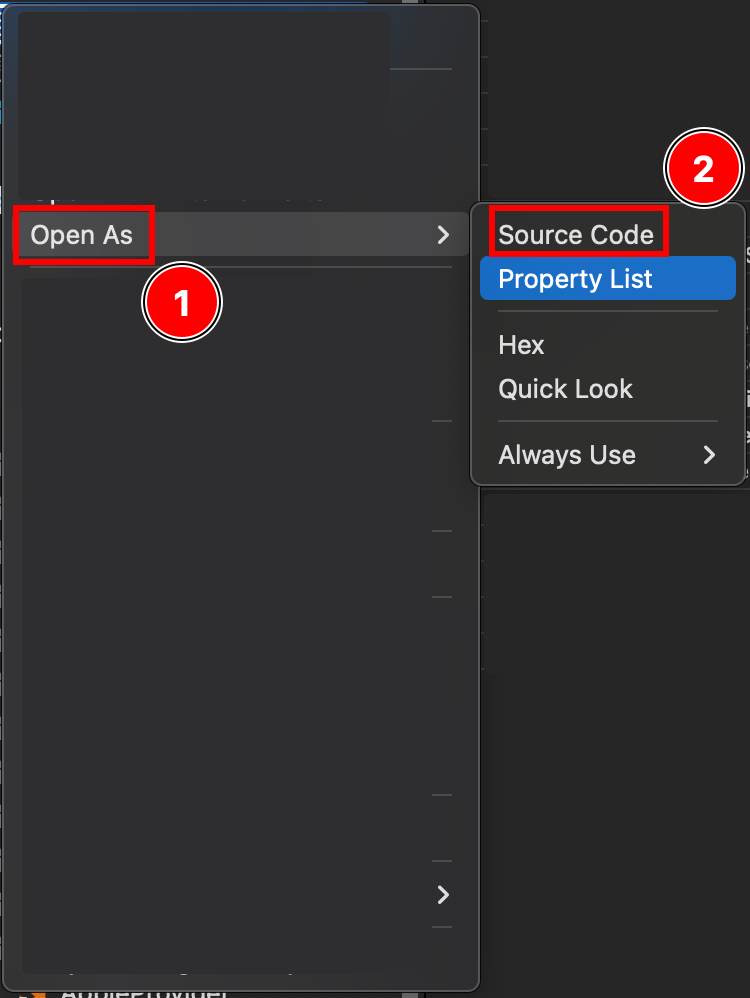
Haga clic con el botón derecho en este archivo y abra como fuente code
-
En la parte inferior de su
Plistarchivo, verá un</dict>etiqueta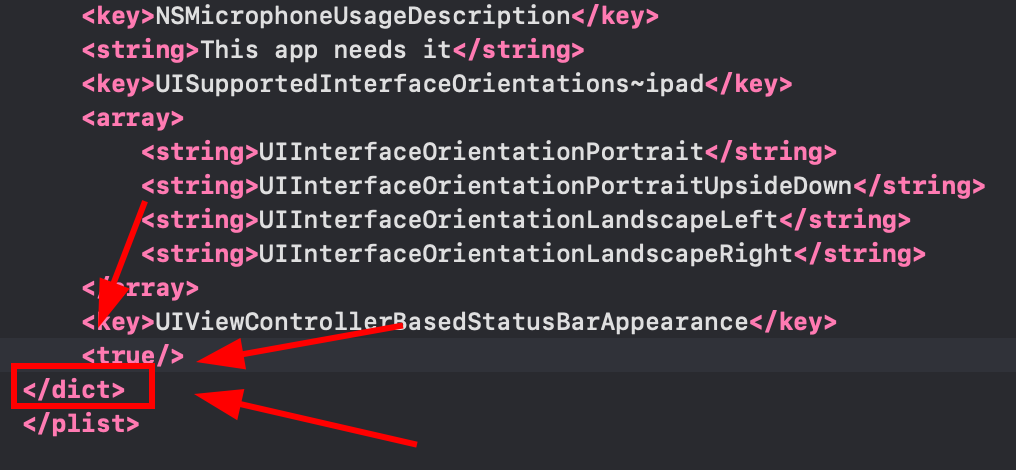
-
Inserte el siguiente fragmento justo antes de la etiqueta de cierre
</dict>archivo Info.plist con esquemas de URL __CAPGO_KEEP_0__ insertados antes de la etiqueta de cierre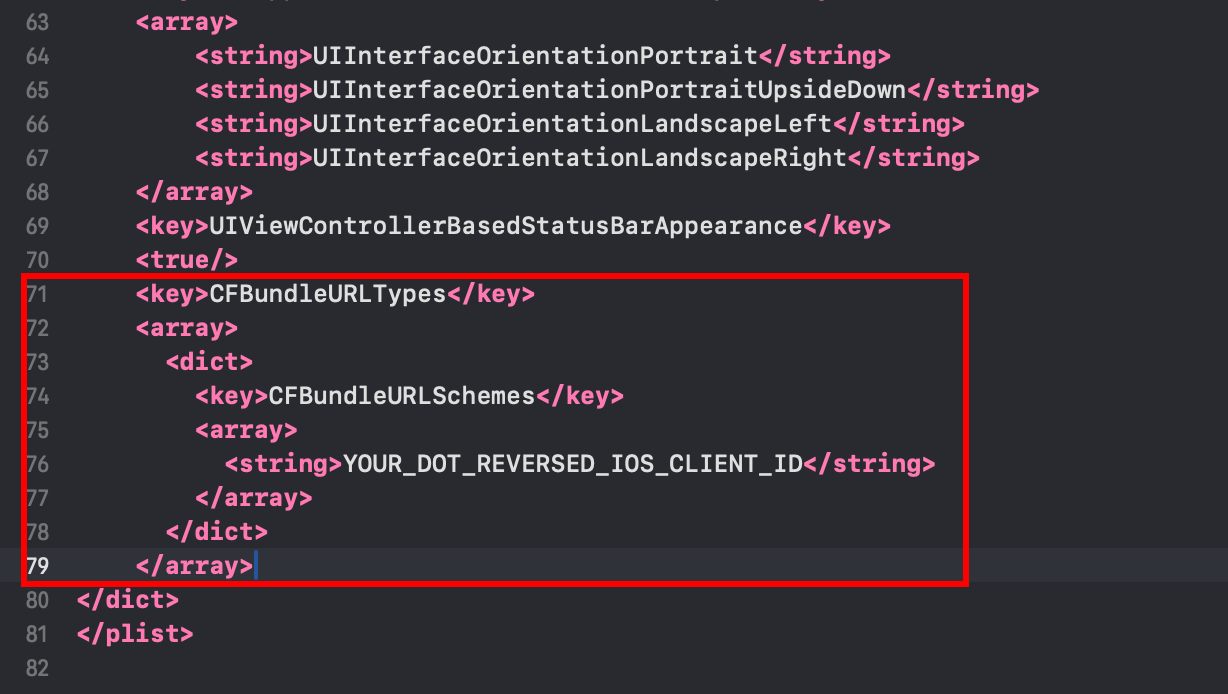 <key>CFBundleURLTypes</key><array><dict><key>CFBundleURLSchemes</key><array><string>YOUR_DOT_REVERSED_IOS_CLIENT_ID</string></array></dict></array>
 -
Cambiar a
YOUR_DOT_REVERSED_IOS_CLIENT_IDal valor copiado en el paso anterior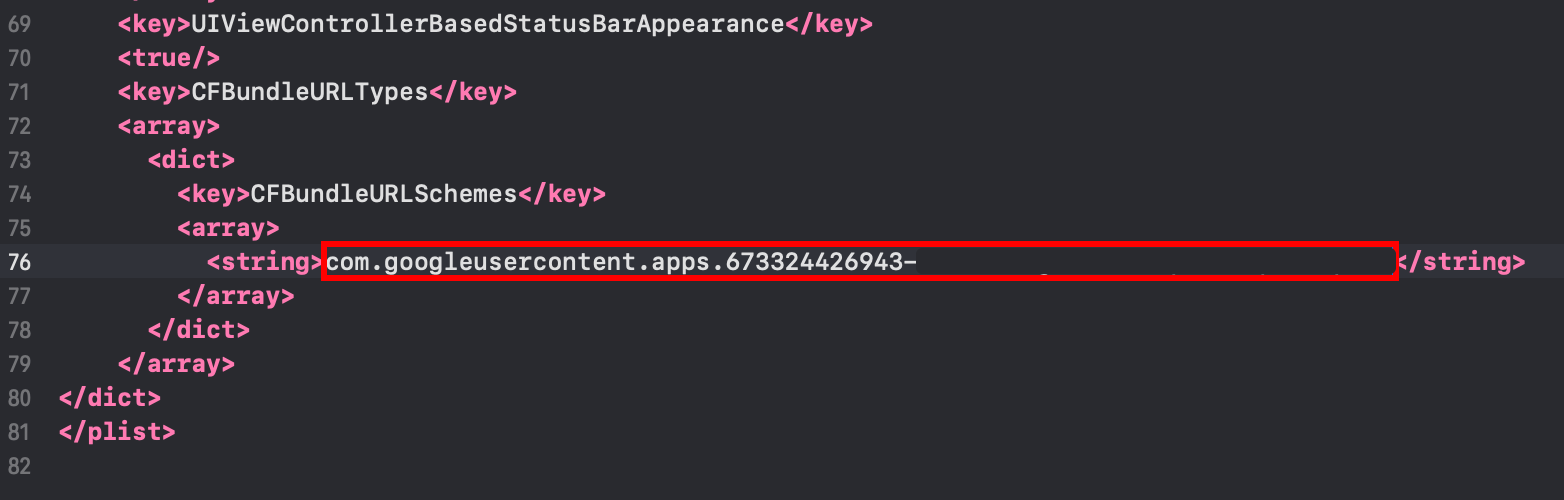
-
Guardar el archivo con
Command + S
-
-
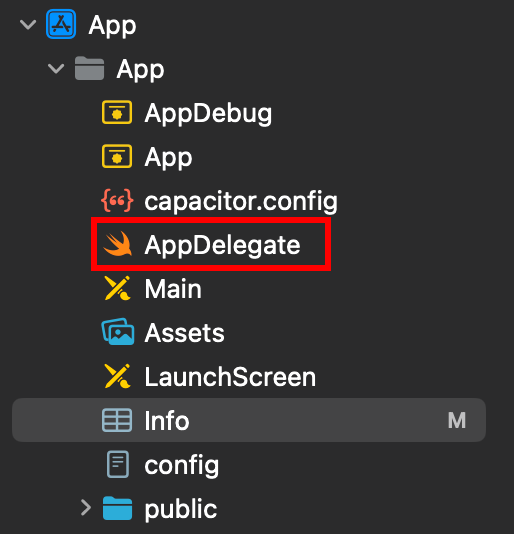
Modificar el
AppDelegate.swift-
Abrir el AppDelegate
-
Insertar
import GoogleSignInen la parte superior del archivo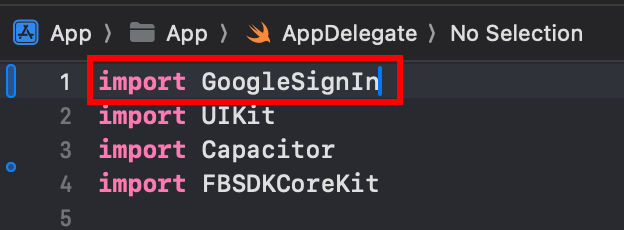
-
Encuentre el
func application(_ app: UIApplication, open url: URL, options: [UIApplication.OpenURLOptionsKey: Any] = [:])función
-
Modifique la función para que se vea así
func application(_ app: UIApplication, open url: URL, options: [UIApplication.OpenURLOptionsKey: Any] = [:]) -> Bool {// Called when the app was launched with a url. Feel free to add additional processing here,// but if you want the App API to support tracking app url opens, make sure to keep this callvar handled: Boolhandled = GIDSignIn.sharedInstance.handle(url)if handled {return true}return ApplicationDelegateProxy.shared.application(app, open: url, options: options)}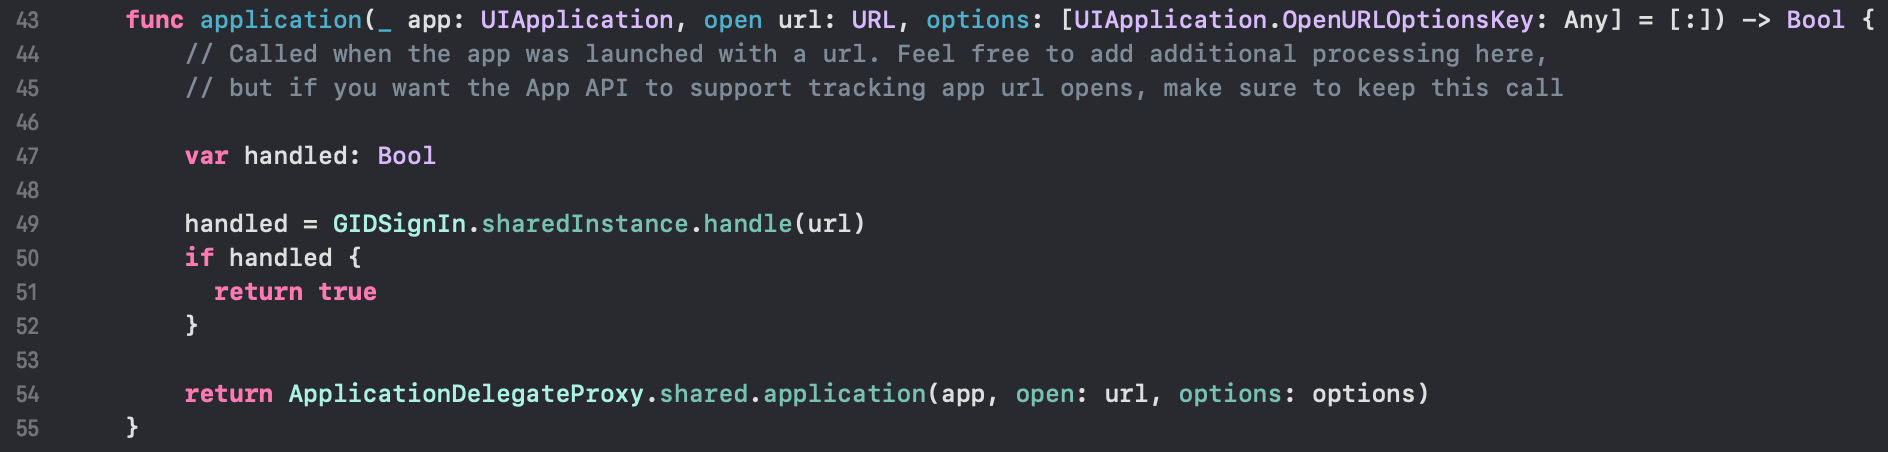
-
Guardar el archivo con
Command + S
-
-
Configurar inicio de sesión de Google en su JavaScript/TypeScript code
-
Importar
SocialLoginyCapacitorimport { SocialLogin } from '@capgo/capacitor-social-login';import { Capacitor } from '@capacitor/core'; -
Llamar al método de inicialización (debe llamarse solo una vez)
Configuración básica (modo en línea - recomendado para la mayoría de las aplicaciones):
// onMounted is Vue specificonMounted(() => {SocialLogin.initialize({google: {iOSClientId: '673324426943-redacted.apps.googleusercontent.com',mode: 'online' // Default mode}})})Configuración avanzada con IDs de cliente adicionales:
onMounted(() => {SocialLogin.initialize({google: {webClientId: 'YOUR_WEB_CLIENT_ID', // Optional: for web platform supportiOSClientId: 'YOUR_IOS_CLIENT_ID', // Required: from step 1iOSServerClientId: 'YOUR_WEB_CLIENT_ID', // Optional: same as webClientId, needed for some advanced featuresmode: 'online' // 'online' or 'offline'}})}) -
Implement the login function. Create a button and run the following code on click
Implemente la función de inicio de sesión. Crea un botón y ejecute el siguiente __CAPGO_KEEP_0__ al hacer clic
const res = await SocialLogin.login({provider: 'google',options: {}})// handle the response - contains user dataconsole.log(JSON.stringify(res))Para modo offline:
const res = await SocialLogin.login({provider: 'google',options: {forceRefreshToken: true // Recommended for offline mode}})// res contains serverAuthCode, not user data// Send serverAuthCode to your backend to get user information// Do not call SocialLogin.refresh() in offline modeconsole.log('Server auth code:', res.result.serverAuthCode)
-
-
Prueba tu aplicación
-
Construye tu aplicación y ejecútala
cap sync -
Si has hecho todo correctamente, deberías ver el flujo de inicio de sesión de Google funcionando correctamente
-
Problemas conocidos
Sección titulada “Problemas conocidos”Incompatibilidad del plugin de pantalla de privacidad
Sección titulada “Incompatibilidad de la pantalla de privacidad del plugin”El plugin de inicio de sesión de Google es incompatible con @capacitor/pantalla-de-privacidadAl utilizar ambos plugins juntos, el visor de inicio de sesión de Google se interrumpirá por la pantalla de privacidad.
Solución alternativa: Llamar await PrivacyScreen.disable(); antes de llamar a la función de inicio de sesión:
import { PrivacyScreen } from '@capacitor/privacy-screen';import { SocialLogin } from '@capgo/capacitor-social-login';
await PrivacyScreen.disable();await SocialLogin.login({  provider: 'google',  options: {}});
Continuar desde el inicio de sesión de Google en iOS
Sección titulada “Continuar desde el inicio de sesión de Google en iOS”Si está utilizando Inicio de sesión de Google en iOS To plan autenticación y flujos de cuenta, conecte con Usando @capgo/capacitor-login-social Para la capacidad nativa en Usando @capgo/capacitor-login-social, @capgo/capacitor-login-social Para el detalle de implementación en @capgo/capacitor-login-social, @capgo/capacitor-passkey Para el detalle de implementación en @capgo/capacitor-passkey, @capgo/capacitor-biométrica-nativa Para el detalle de implementación en @capgo/capacitor-biométrica-nativa, y Autenticación de dos factores Para el detalle de implementación en Autenticación de dos factores.