Bitbucket Pipelines 无法在其托管的 runner 上构建 iOS 应用,因为每个步骤都在 Linux 容器中运行,而 Xcode 只能在 macOS 上运行。你有两种可行方案:将自己的 Mac 注册为自托管 Bitbucket runner,或者让步骤继续在 Linux 上运行,把 iOS 编译、签名和 TestFlight 上传交给云构建服务。本指南会介绍这两种方案,并给出完整的 bitbucket-pipelines.yml Capacitor 应用文件。
如果你的团队已经在 Bitbucket 里做 code 评审、关联 Jira、跑部署,那没必要为了 iOS 再引入一套 CI 工具。Pipeline 还是留在 Bitbucket,只需要把需要 Mac 的那部分搬走。
为什么 iOS 构建在 Bitbucket Pipelines 上会失败
Bitbucket Pipelines 会在你选定的 Docker 镜像(node:22, cimg/android等等)里运行每一步,底层是 Atlassian 的 Linux 基础设施。这对 bun install、单元测试、lint 检查,甚至完整的 Android 构建都没问题。但到了 iOS 就不行了:
xcodebuild,codesign,而 iOS SDK 只存在于 macOS 上。- Apple 的许可协议只允许 macOS 运行在 Apple 硬件上,所以没有任何 Linux 镜像能产出已签名的
.ipa. - 从 2026 年 4 月 28 日起,App Store Connect 会拒绝未使用 Xcode 26 和 iOS 26 SDK 构建的上传包,所以你用的 Mac 必须保持最新。详见 Apple 对 Capacitor 应用的 Xcode 26 要求.
Bitbucket 支持 Linux、Windows 和 macOS 的自托管 runner。Atlassian 不会对在自托管 runner 上运行的步骤计收构建分钟数,但硬件和维护成本要你自己承担。
你的三个选择
| 选项 | iOS 构建运行位置 | 您需要维护的内容 | 适用场景 |
|---|---|---|---|
| 自托管 macOS Runner | 您的 Mac mini 或租用的 Mac | macOS、Xcode、钥匙串、证书、磁盘空间、正常运行时间 | 已拥有 Mac 且有人负责运维的团队 |
| 专为移动端设置的第二套 CI | 其他供应商的 Mac | 两条流水线,两套密钥和触发器 | 希望拥有独立移动 CI 的团队 |
| 从 Linux 步骤调用云端构建 | Capgo Build 的 Mac 算力集群 | 只需一次 CLI 调用和几个安全变量 | 希望 Bitbucket 继续作为唯一 CI 的 Capacitor 团队 |
本指南的其余部分将详细介绍第一种和第三种方案。如需更全面地了解这些平台,请阅读 iOS 应用 CI/CD 平台对比.
方案 1:使用 Capgo Build 从 Linux 步骤构建 iOS
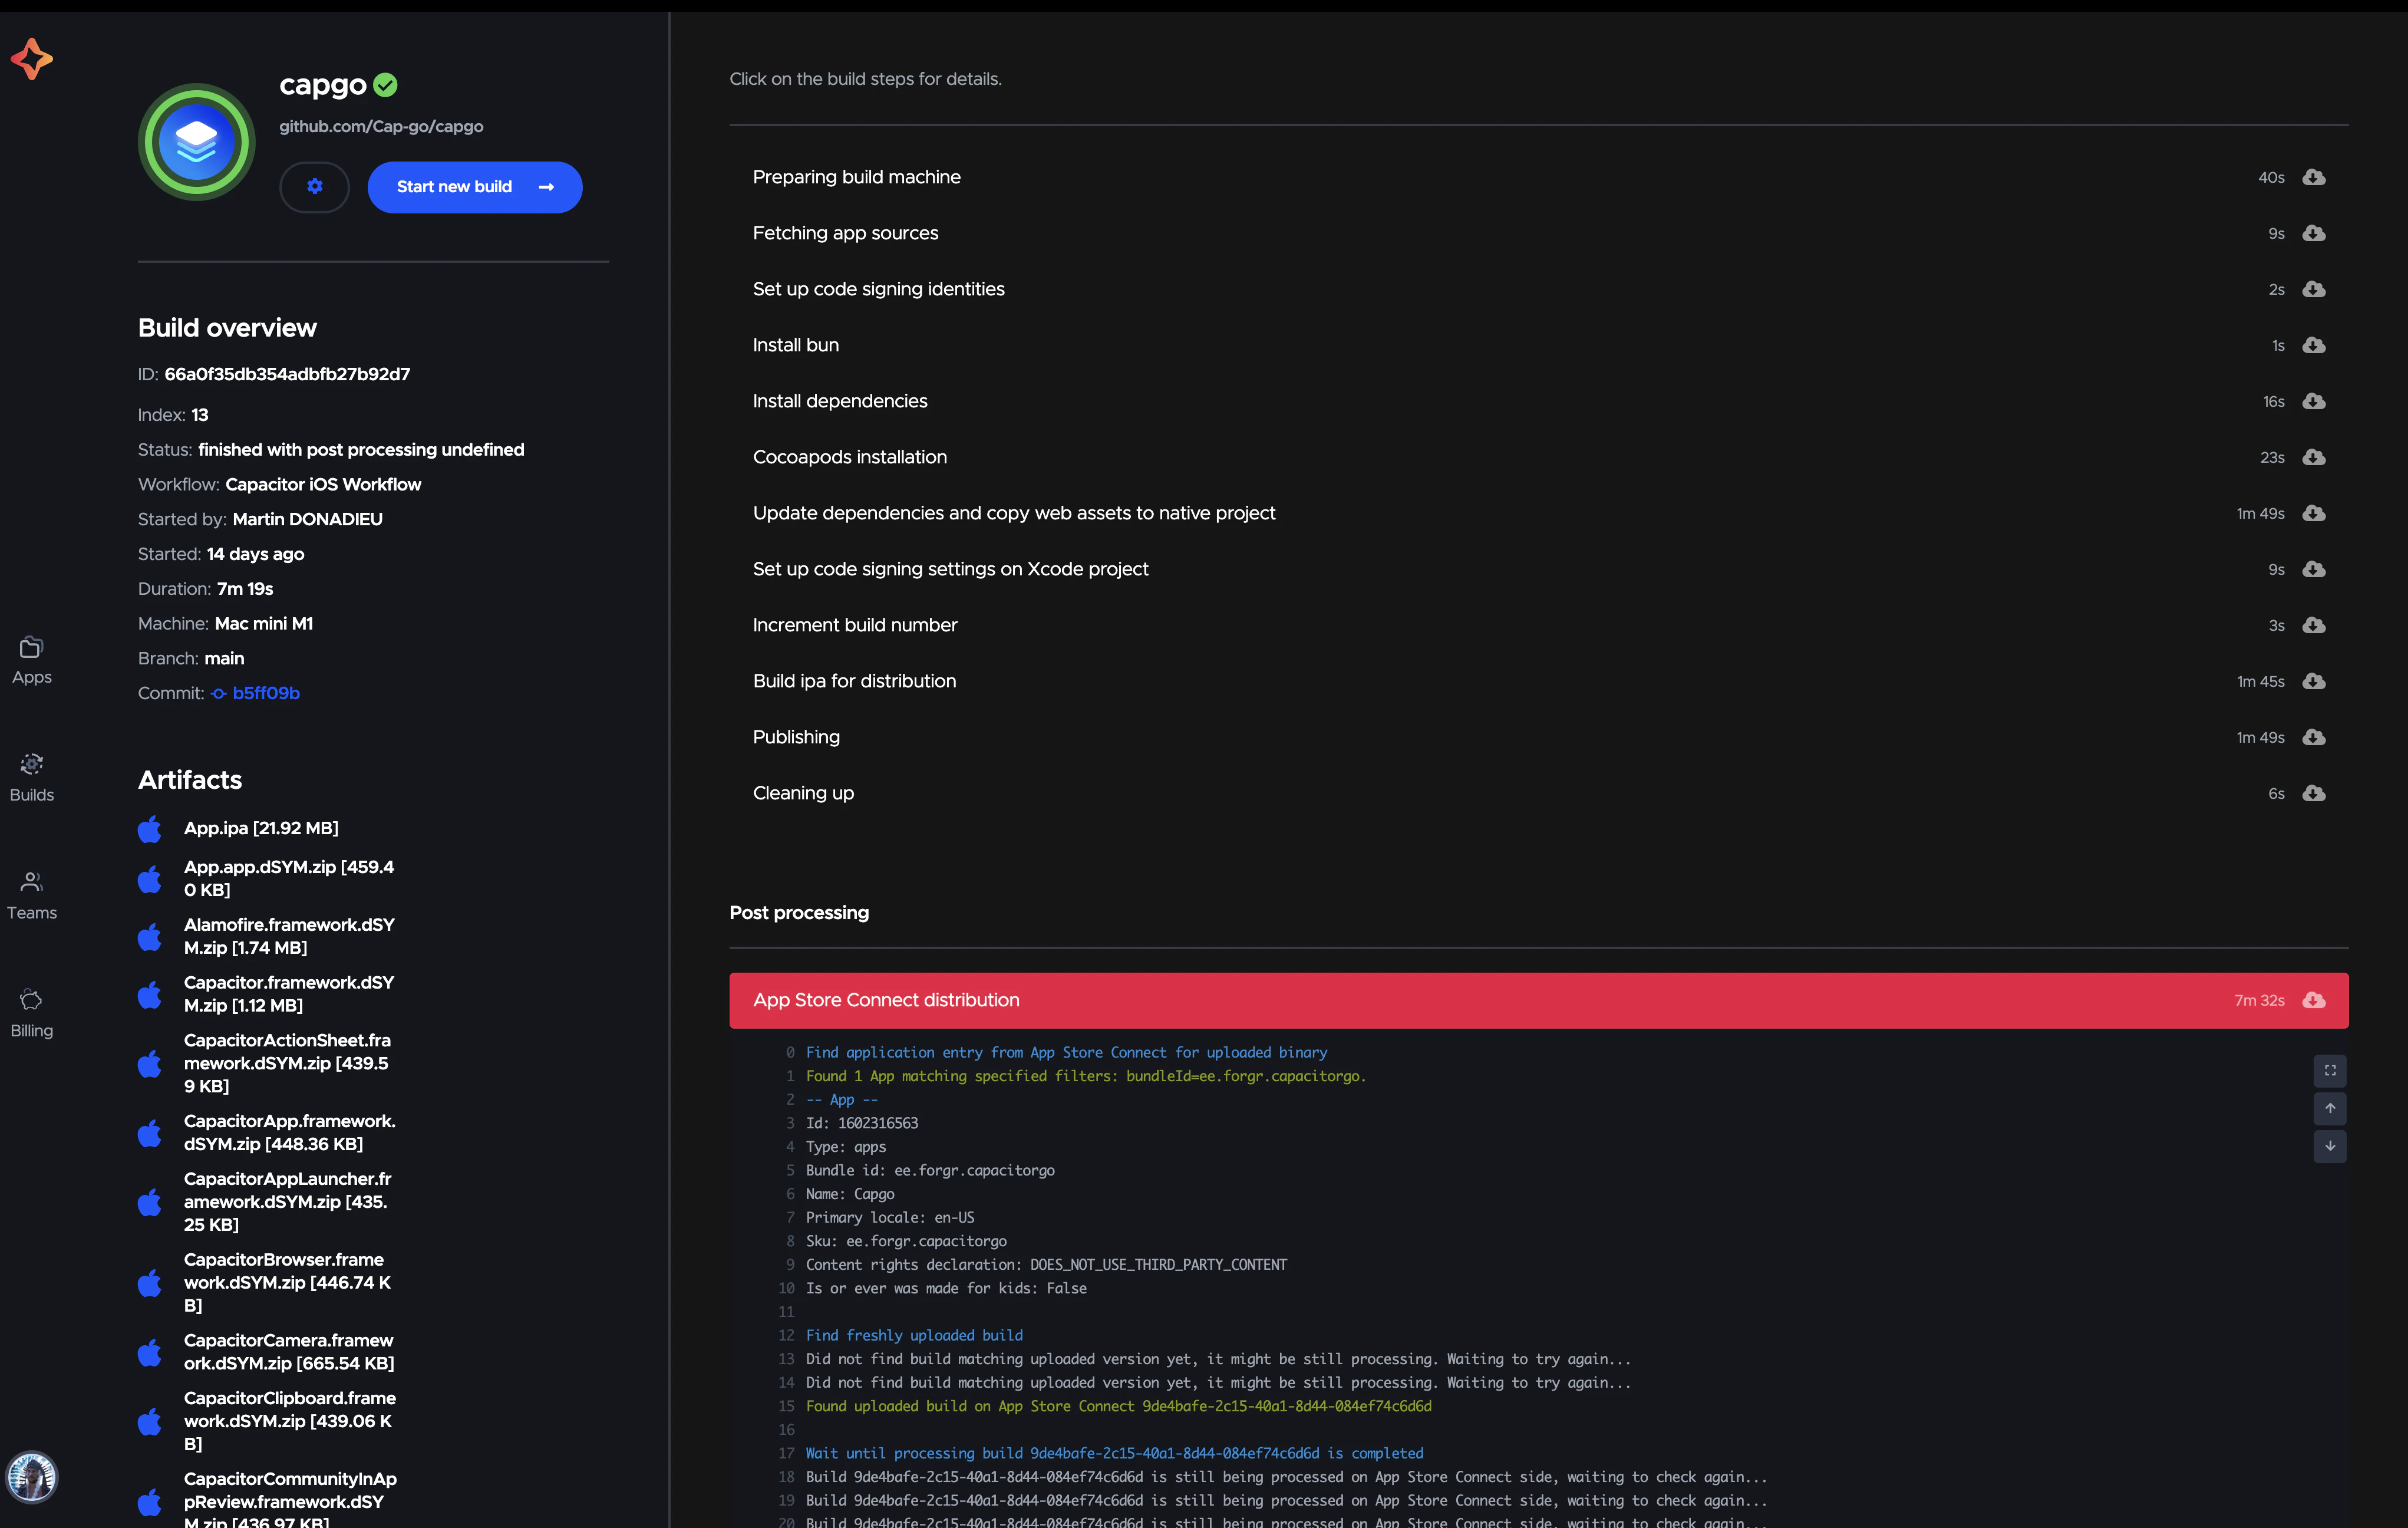
Capgo 构建 在 Capgo 管理的 Mac 上编译并签名 Capacitor 应用。您的 Bitbucket 步骤继续做它在 Linux 上本来就擅长的事:安装依赖、构建 Web 层并运行 cap sync ios。然后 Capgo CLI 会上传准备好的原生项目(而不是您的 Web 源码 code 或 node_modules),执行 Xcode 构建,用您的证书签名,并可将结果上传到 TestFlight。日志会实时回传到 Bitbucket 步骤,构建失败时命令会以非零状态码退出,因此 iOS 构建失败就会让流水线失败。
由于您的 runner 会把项目推送到 Capgo,Capgo 始终无需访问您的 Bitbucket 仓库。既没有需要授权的仓库连接,也没有需要批准的 OAuth 应用。
前提条件
- 一个在本地构建的 Capacitor 应用(Capacitor 8 需要 Node.js 22 或更高版本)
- 拥有团队管理员权限的 Apple Developer Program 会员资格
- 一个 Capgo 账户和一个具有上传权限的 API 密钥
- 在 Capgo 中注册的应用:
bunx @capgo/cli@latest app add
本机一次性配置
只需运行一次 onboarding。在 iOS 上,它会创建或复用你的分发证书和描述文件,并请求一个 App Store Connect API 密钥:
bunx @capgo/cli@latest login
bunx @capgo/cli@latest build init --platform ios
如果你手边没有 Mac,仍然可以在浏览器中使用以下工具创建证书签名请求: iOS 证书生成器,或者遵循 在 Windows 上使用 Capgo Build 构建 iOS 应用.
在接触 CI 之前,先在笔记本电脑上运行一次构建。CI 不是调试首次构建的好地方:
bun run build
bunx cap sync ios
bunx @capgo/cli@latest build request com.example.app --platform ios --build-mode release
导出 Bitbucket 凭据
CLI 会把凭据保存在你的本机。要移到 Bitbucket,请将它们导出到 .env 文件:
bunx @capgo/cli@latest build credentials manage --appId com.example.app --platform ios
# choose "Export to .env" in the menu
这会写入 .env.capgo.com.example.app.ios 模式为 0600。其中包含以下键:
| 变量 | 内容 |
|---|---|
BUILD_CERTIFICATE_BASE64 |
你的 ___ 的 Base64 编码 .p12 分发证书 |
P12_PASSWORD |
证书密码(没有则留空) |
CAPGO_IOS_PROVISIONING_MAP_BASE64 |
由 CLI 生成的 Provisioning profile 映射 |
APPLE_KEY_ID |
App Store Connect API 密钥 ID |
APPLE_ISSUER_ID |
App Store Connect Issuer ID |
APPLE_KEY_CONTENT |
的 Base64 编码 .p8 API 密钥 |
APP_STORE_CONNECT_TEAM_ID |
您的 Apple 团队 ID |
将每一行添加为 Bitbucket 中的 受保护 变量,路径为 仓库设置 > 流水线 > 仓库变量,以及 CAPGO_TOKEN ,并填入您的 Capgo API 密钥。受保护变量在日志中会被掩码处理,且无法从 UI 中读取。
如果你更想用 API,这个循环会一次性创建它们。它使用带 pipeline variables 写入权限的 Bitbucket API token:
WORKSPACE=my-team
REPO=my-app
ENV_FILE=.env.capgo.com.example.app.ios

grep -v '^#' "$ENV_FILE" | grep '=' | while IFS= read -r line; do
  key="${line%%=*}"
  value="${line#*=}"
  value="${value%\"}"; value="${value#\"}"
  jq -n --arg k "$key" --arg v "$value" '{key:$k, value:$v, secured:true}' |
    curl -s -u "$BB_EMAIL:$BB_API_TOKEN" \
      -H 'Content-Type: application/json' \
      -X POST --data @- \
      "https://api.bitbucket.org/2.0/repositories/$WORKSPACE/$REPO/pipelines_config/variables" > /dev/null
  echo "created $key"
done

rm "$ENV_FILE"
之后删除该文件并添加 .env.capgo.* 改为 .gitignore。它保存着明文签名材料。
对于生产环境凭据,建议使用 部署变量 而不是仓库变量。它们的作用域限定在某个部署环境(例如 Production),在 Premium 套餐中,你可以将该环境限制为仅限管理员或特定分支访问。
pipeline 文件
Bitbucket 会把仓库变量和部署变量注入为环境变量,因此 Capgo CLI 无需任何映射就能直接读取。该文件会在每次 push 时运行测试,按需构建 ad hoc iOS 包,并在打版本 tag 时发布到 TestFlight:
# bitbucket-pipelines.yml
image: node:22

definitions:
  caches:
    bun: ~/.bun/install/cache

pipelines:
  default:
    - step:
        name: Lint and test
        caches:
          - bun
        script:
          - curl -fsSL https://bun.sh/install | bash
          - export PATH="$HOME/.bun/bin:$PATH"
          - bun install --frozen-lockfile
          - bun run lint
          - bun run test

  tags:
    'v*':
      - step:
          name: Build iOS and upload to TestFlight
          deployment: Production
          caches:
            - bun
          script:
            - curl -fsSL https://bun.sh/install | bash
            - export PATH="$HOME/.bun/bin:$PATH"
            - bun install --frozen-lockfile
            - bun run build
            - bunx cap sync ios
            - >
              bunx @capgo/cli@latest build request com.example.app
              --platform ios
              --build-mode release
              --ios-distribution app_store

  custom:
    ios-adhoc:
      - step:
          name: Ad hoc iOS build for testers
          caches:
            - bun
          script:
            - curl -fsSL https://bun.sh/install | bash
            - export PATH="$HOME/.bun/bin:$PATH"
            - bun install --frozen-lockfile
            - bun run build
            - bunx cap sync ios
            - echo "$ADHOC_PROFILE_BASE64" | base64 --decode > adhoc.mobileprovision
            - >
              bunx @capgo/cli@latest build request com.example.app
              --platform ios
              --build-mode release
              --ios-distribution ad_hoc
              --ios-provisioning-profile ./adhoc.mobileprovision
              --output-upload
              --output-retention 2d
              --output-record /tmp/build.json
            - bunx @capgo/cli@latest build last-output --path /tmp/build.json --field outputUrl
几个关键细节:
- 该镜像就是一个普通 Linux 镜像
node:22。这个文件里没有任何步骤需要 macOS。 - 在 Linux 上,
cap sync ios会复制 Web 资源并更新原生配置,但无法运行 CocoaPods。这没关系。执行构建的 Mac 会自行安装 pods 或解析 Swift packages。 - Capgo 会从 App Store Connect 读取最新 build number 并递增,因此你永远不会遇到“bundle version must be higher than the previously uploaded version”。请传入
--skip-build-number-bump(如果你自行管理)。 - Ad Hoc build 需要 Ad Hoc provisioning profile,它只能安装到其列出的设备上。请将其存为安全
ADHOC_PROFILE_BASE64变量;--ios-provisioning-profile该 flag 仅对本次 build 覆盖环境中的 App Store profile。使用以下方式收集测试人员的 UDID: iOS UDID 查询工具. - 将 CLI 固定到确切版本(例如
@capgo/cli@7.104.0),等你的 pipeline 稳定后,CLI 的发布就不会在 sprint 中途改变行为。
从以下位置运行自定义 pipeline: Pipelines > 运行 pipeline > ios-adhoc最后一条命令会输出一个下载链接,该链接在保留期结束后失效。
TestFlight 前手动审批
Bitbucket 支持 trigger: manual 在单个步骤中。如果需要人工审批每次 TestFlight 上传,请将发布流程拆分为构建步骤和受控上传步骤:
  tags:
    'v*':
      - step:
          name: Test
          script:
            - curl -fsSL https://bun.sh/install | bash
            - export PATH="$HOME/.bun/bin:$PATH"
            - bun install --frozen-lockfile
            - bun run test
      - step:
          name: Ship iOS to TestFlight
          trigger: manual
          deployment: Production
          script:
            - curl -fsSL https://bun.sh/install | bash
            - export PATH="$HOME/.bun/bin:$PATH"
            - bun install --frozen-lockfile
            - bun run build
            - bunx cap sync ios
            - bunx @capgo/cli@latest build request com.example.app --platform ios --build-mode release
要在 TestFlight 上传后直接进入 App Review,请添加 --submit-to-store-review 配合 --store-release-name "$BITBUCKET_TAG"。您的 App Store 列表、截图和合规性回答必须先在 App Store Connect 中填写完整。
并行添加 Android
Android 构建可以直接在 Bitbucket 的 Linux runner 上运行,但您也可以将其发送到 Capgo Build,以便两个平台使用相同的签名和上传流程。使用一个 parallel 代码块中:
  tags:
    'v*':
      - parallel:
          - step:
              name: iOS release
              script:
                - curl -fsSL https://bun.sh/install | bash
                - export PATH="$HOME/.bun/bin:$PATH"
                - bun install --frozen-lockfile && bun run build
                - bunx cap sync ios
                - bunx @capgo/cli@latest build request com.example.app --platform ios --build-mode release
          - step:
              name: Android release
              script:
                - curl -fsSL https://bun.sh/install | bash
                - export PATH="$HOME/.bun/bin:$PATH"
                - bun install --frozen-lockfile && bun run build
                - bunx cap sync android
                - bunx @capgo/cli@latest build request com.example.app --platform android --build-mode release --android-track internal
Android 步骤需要 ANDROID_KEYSTORE_FILE, KEYSTORE_KEY_ALIAS, KEYSTORE_KEY_PASSWORD, KEYSTORE_STORE_PASSWORD,以及 PLAY_CONFIG_JSON 作为安全变量。以相同方式导出它们: --platform android.
无需 Native Build 即可发布 Web 端变更
大多数 Capacitor 应用的提交只涉及 HTML、CSS 和 JavaScript,这些改动不需要新的二进制文件。通过 Capgo 实时更新,Bitbucket 步骤可以在商店构建和 OTA bundle 之间做选择:
  branches:
    main:
      - step:
          name: Release (live update or native)
          script:
            - curl -fsSL https://bun.sh/install | bash
            - export PATH="$HOME/.bun/bin:$PATH"
            - bun install --frozen-lockfile
            - bun run build
            - |
              if bunx @capgo/cli@latest build needed com.example.app --channel production; then
                echo "No native change, shipping a live update"
                bunx @capgo/cli@latest bundle upload com.example.app --channel production
              else
                echo "Native change detected, building iOS"
                bunx cap sync ios
                bunx @capgo/cli@latest build request com.example.app --platform ios --build-mode release
              fi
build needed ,不需要 Native Build 时以 code 0 退出,需要时以 1 退出。它会把原生插件版本与 channel 上当前运行的版本做对比。它看不到 ios/下的手动修改,所以这些文件变化时也要强制走原生构建路径。完整写法见 自动选择 live update 或 Native Build.
方案 2:自托管 macOS runner
如果你已经有 Mac,可以把其中一台注册为 Bitbucket runner,自己跑 Xcode。
注册 runner
- 在 Bitbucket 中打开 仓库设置 > Runners (或 工作区设置 > 工作区 Runner 以共享它)并点击 添加 Runner.
- 选择 MacOS 作为系统。Bitbucket 会显示一条启动命令,包含 Runner UUID 和 OAuth 凭据。
- 在 Mac 上安装受支持的 JDK(Runner 是一个 Java 程序)、Xcode 26 和 fastlane。然后粘贴启动命令。
- 将 Runner 作为 launch agent 保持运行,以便在重启后继续工作。
步骤通过标签指定目标 Runner:
pipelines:
  tags:
    'v*':
      - step:
          name: iOS build on our Mac
          runs-on:
            - self.hosted
            - macos
          script:
            - bun install --frozen-lockfile
            - bun run build
            - bunx cap sync ios
            - echo "$BUILD_CERTIFICATE_BASE64" | base64 --decode > dist.p12
            - echo "$PROFILE_BASE64" | base64 --decode > profile.mobileprovision
            - bundle exec fastlane ios beta
macOS runner 直接在宿主机上以你的用户环境运行,而非在容器中。请在 Mac 上安装 Bun 和 Ruby。
精简版 Fastfile
default_platform(:ios)

platform :ios do
  lane :beta do
    setup_ci(force: true)

    api_key = app_store_connect_api_key(
      key_id: ENV["APPLE_KEY_ID"],
      issuer_id: ENV["APPLE_ISSUER_ID"],
      key_content: ENV["APPLE_KEY_CONTENT"],
      is_key_content_base64: true
    )

    import_certificate(
      certificate_path: "dist.p12",
      certificate_password: ENV["P12_PASSWORD"],
      keychain_name: "fastlane_tmp_keychain",
      keychain_password: ""
    )
    install_provisioning_profile(path: "profile.mobileprovision")

    update_code_signing_settings(
      path: "ios/App/App.xcodeproj",
      use_automatic_signing: false,
      team_id: ENV["APP_STORE_CONNECT_TEAM_ID"],
      code_sign_identity: "Apple Distribution",
      profile_name: ENV["PROFILE_NAME"]
    )

    increment_build_number(
      xcodeproj: "ios/App/App.xcodeproj",
      build_number: latest_testflight_build_number(api_key: api_key) + 1
    )

    build_app(
      project: "ios/App/App.xcodeproj", # use workspace: "ios/App/App.xcworkspace" for CocoaPods projects
      scheme: "App",
      export_method: "app-store"
    )

    upload_to_testflight(api_key: api_key, skip_waiting_for_build_processing: true)
  end
end
新的 Capacitor 8 项目使用 Swift Package Manager,因此你构建的是 App.xcodeproj。仍使用 CocoaPods 的旧项目构建的是 App.xcworkspace ,并且需要 pod install 在 runner 上。我们的 GitHub Actions iOS 指南 详细解释了每个 fastlane action;Bitbucket 上的 lane 配置相同。
注册后你将获得什么
Archive 是最简单的部分。自托管 Mac 还意味着:
- Xcode 升级 每当 Apple 提高最低 SDK 要求时,都能在截止日期前完成测试。
- Keychain 状态。 崩溃的任务可能会遗留临时 Keychain,导致下一个任务使用错误的身份。
- 无隔离。 任务运行在同一块磁盘上。DerivedData、旧归档和模拟器会把它占满。
- 一次一个构建 每个 runner,除非你买更多 Mac。
- 证书和描述文件 每年都会过期,还得在机器上续期。
如果你的团队本来就在管理 Mac,这是个合理的取舍。如果没人愿意负责这台机器,方案 1 可以省掉它。
故障排除
| 现象 | 可能原因和修复方法 |
|---|---|
CAPGO_TOKEN is not set |
变量缺失,或者它是部署变量,而该步骤没有 deployment: key。 |
步骤作用于 main 但不适用于标签 |
部署变量仅适用于声明了该部署环境的步骤。 |
Provisioning profile doesn't match bundle ID |
该配置文件是为另一个 App ID 创建的。请重新运行 build init 并重新导出。 |
| App Store Connect 身份验证失败 | Issuer ID 或 Key ID 错误,或密钥已被吊销。请在 App Store Connect > 用户和访问 > 集成 中检查密钥。 |
| SDK 版本上传被拒绝 | 构建使用了低于 26 版本的 Xcode。请升级自托管 Mac。 |
| 自托管步骤卡在“Pending”状态 | Runner 离线或标签不匹配 self.hosted 以及 macos. |
errSecInternalComponent 在 codesign 期间 |
在非交互式会话中,钥匙串已锁定。请使用 setup_ci 并将证书导入临时钥匙串。 |
| 构建通过但 TestFlight 中没有内容 | 处理需要几分钟,且出口合规性可能处于待定状态。如果 ITSAppUsesNonExemptEncryption 改为 Info.plist 如果您的应用仅使用标准加密,请添加 |
更多关于修复失败流水线的方案见 修复 Capacitor CI/CD 流水线中的构建失败 以及 Capgo 构建故障排除指南.
该如何选择?
如果您已拥有硬件、需要完全控制 Xcode 环境,或构建非 Capacitor 应用的原生 Swift 目标,请选择自托管 Mac。如果您的应用是 Capacitor 应用,且希望 Bitbucket 成为团队配置 CI 的唯一平台,请从 Linux 步骤中选择云构建。无论哪种方式,请将构建逻辑保留在 bitbucket-pipelines.yml 与您的 code 放在一起,将签名材料存储在安全变量中,并且仅在原生 code 实际发生变化时才运行原生构建。