


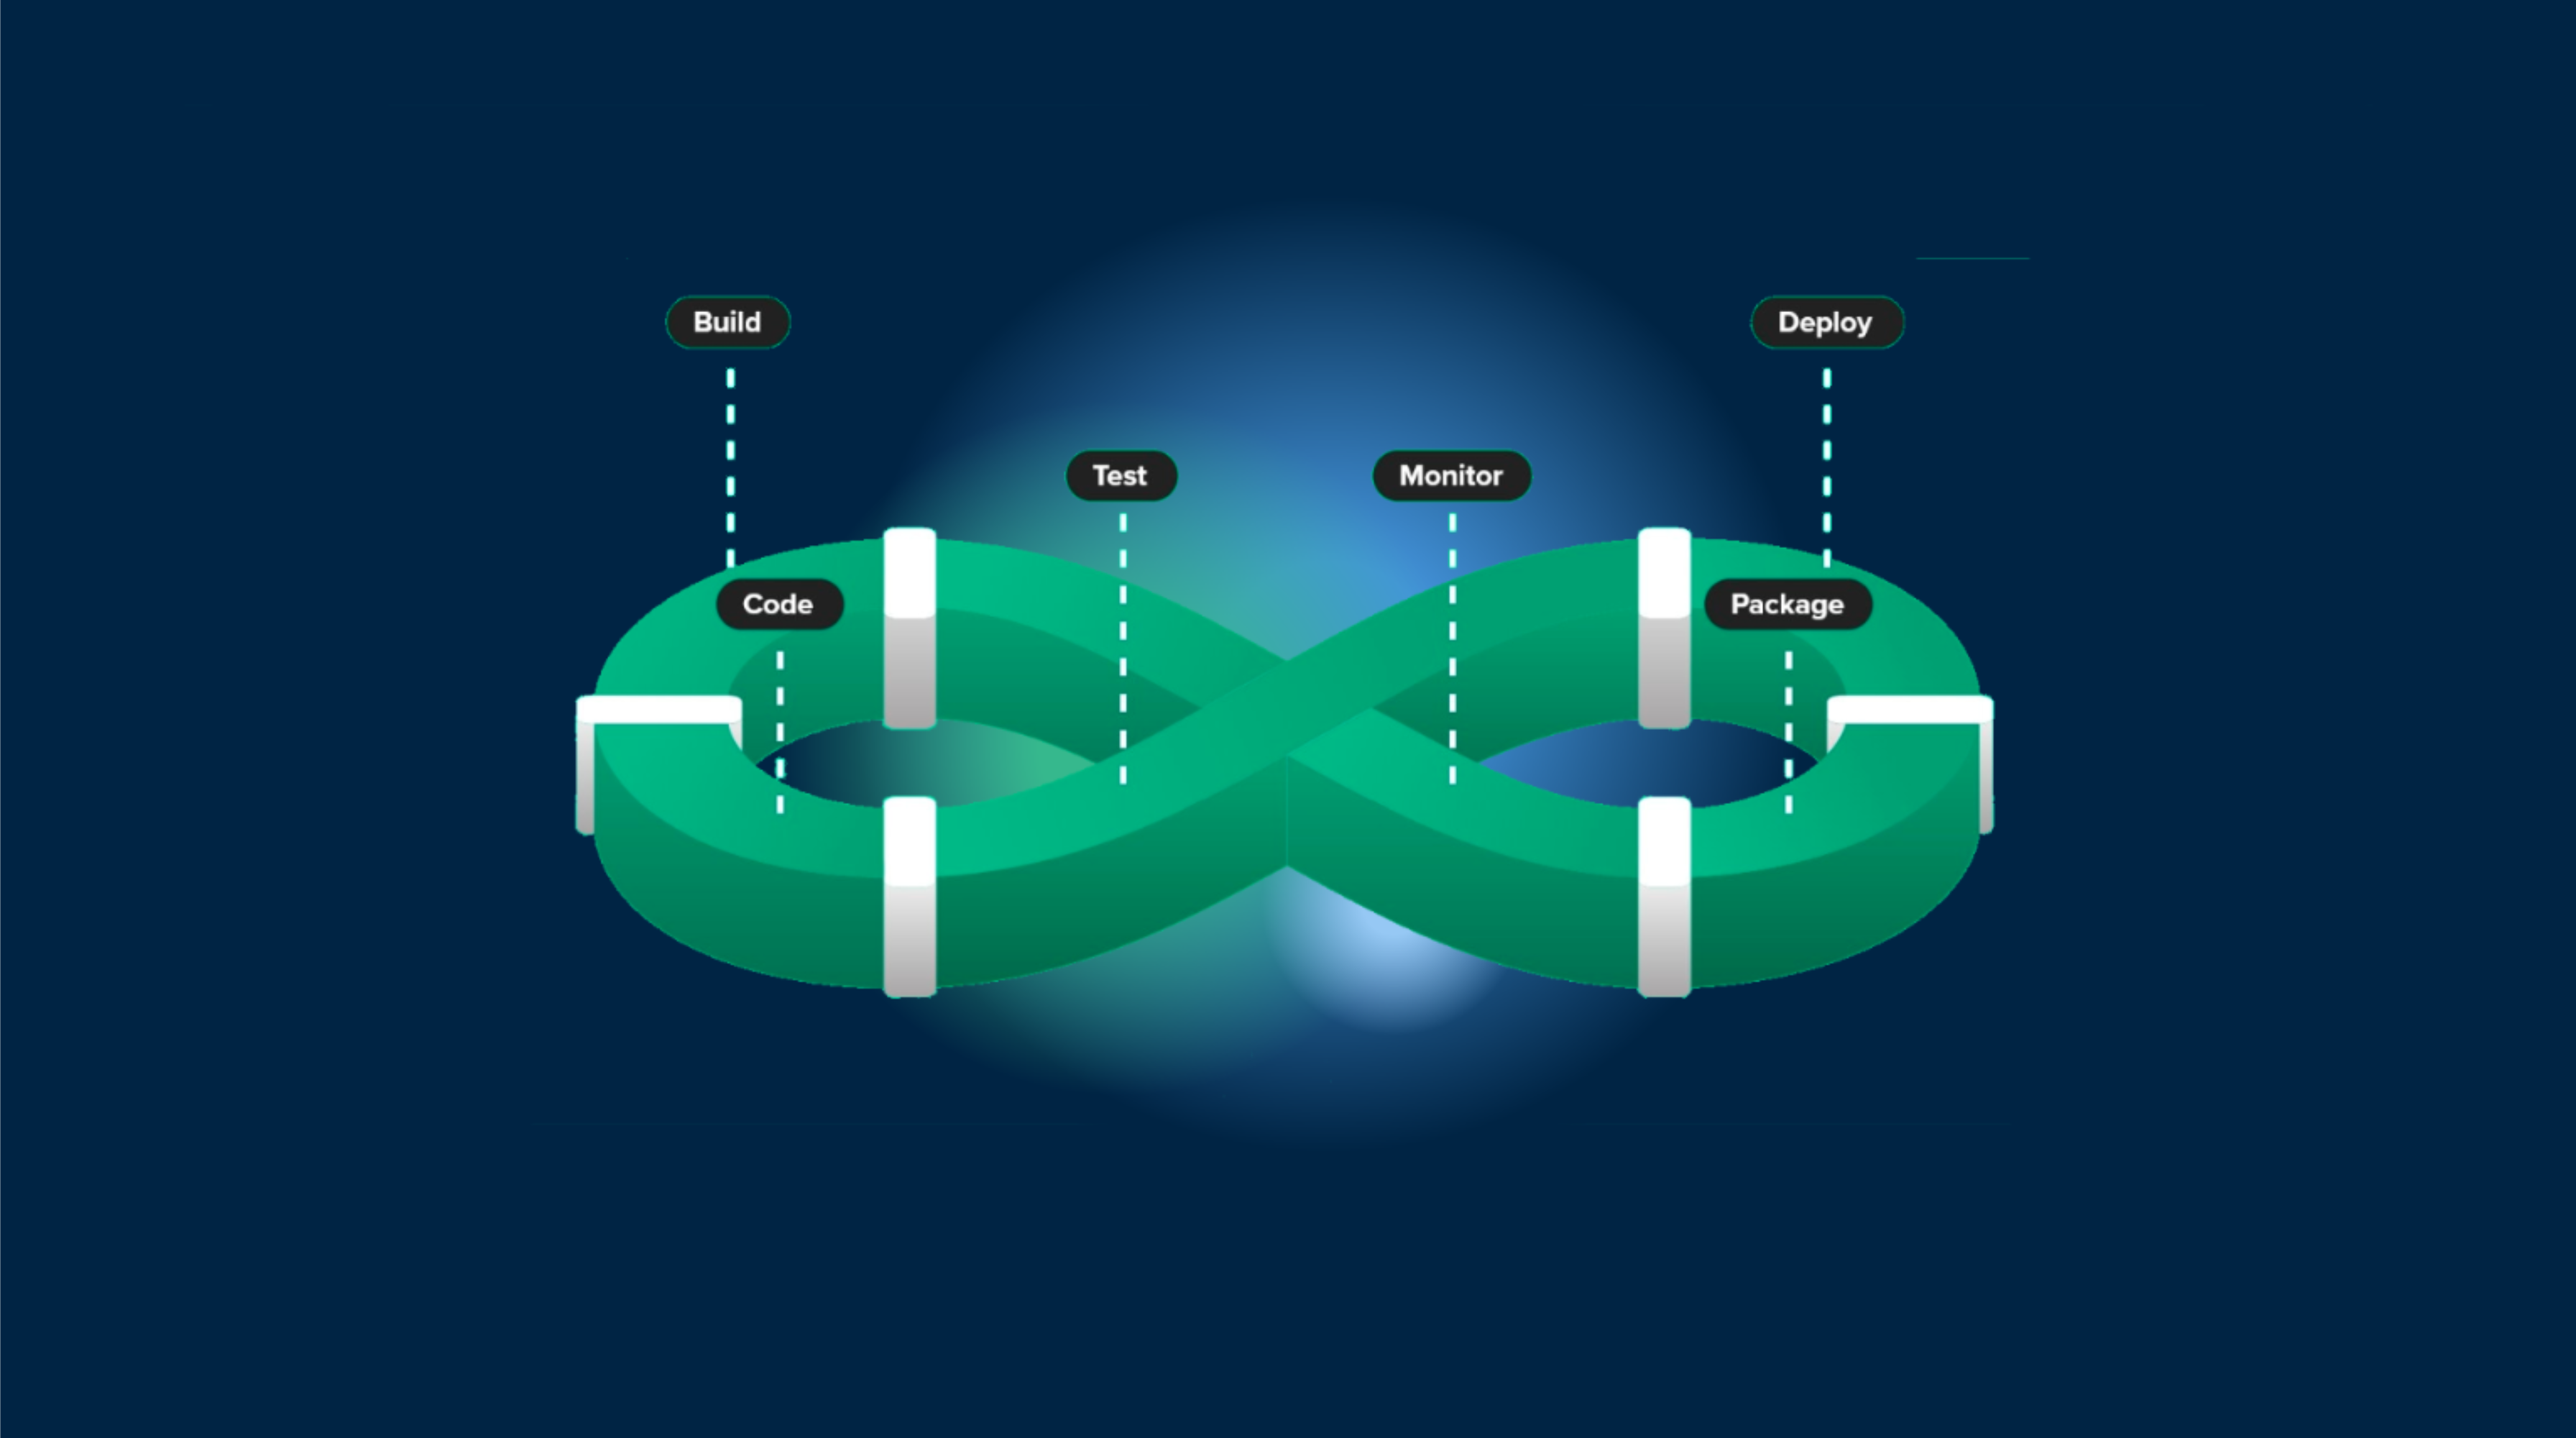
Bitbucket Pipelines cannot build an iOS app on its hosted runners, because every step runs in a Linux container and Xcode only runs on macOS. You have two working options: register your own Mac as a self-hosted Bitbucket runner, or keep the step on Linux and hand the iOS compile, signing, and TestFlight upload to a cloud build service. This guide shows both, with complete bitbucket-pipelines.yml files for a Capacitor app.
If your team already lives in Bitbucket for code review, Jira links, and deployments, you do not need a second CI tool just for iOS. The pipeline stays in Bitbucket. Only the part that needs a Mac moves.
Why iOS builds break on Bitbucket Pipelines
Bitbucket Pipelines runs each step inside a Docker image you choose (node:22, cimg/android, and so on) on Atlassian’s Linux infrastructure. That is fine for bun install, unit tests, linting, and even full Android builds. It stops at iOS:
xcodebuild,codesign, and the iOS SDK only exist on macOS.- Apple’s license only allows macOS to run on Apple hardware, so there is no Linux image that can produce a signed
.ipa. - Since April 28, 2026, App Store Connect rejects uploads that were not built with Xcode 26 and the iOS 26 SDK, so whatever Mac you use has to stay current. See Apple’s Xcode 26 requirement for Capacitor apps.
Bitbucket does support self-hosted runners on Linux, Windows, and macOS. Atlassian does not bill build minutes for steps that run on your own runners, but you pay in hardware and maintenance.
Your three options
| Option | Where the iOS build runs | What you maintain | Good fit |
|---|---|---|---|
| Self-hosted macOS runner | Your Mac mini or a rented Mac | macOS, Xcode, keychain, certificates, disk space, uptime | Teams that already own Macs and have someone to run them |
| Second CI just for mobile | Another vendor’s Macs | Two pipelines, two sets of secrets and triggers | Teams that want a dedicated mobile CI anyway |
| Cloud build called from a Linux step | Capgo Build’s Mac fleet | One CLI call and a few secured variables | Capacitor teams that want Bitbucket to stay the only CI |
The rest of this guide covers the first and third options in detail. For a broader view of the platforms, read Comparing CI/CD platforms for iOS apps.
Option 1: Build iOS from a Linux step with Capgo Build
Capgo Build compiles and signs Capacitor apps on Capgo-managed Macs. Your Bitbucket step does what it already does well on Linux: install dependencies, build the web layer, and run cap sync ios. Then the Capgo CLI uploads the prepared native project (not your web source code or node_modules), runs the Xcode build, signs it with your certificate, and can upload the result to TestFlight. Logs stream back into the Bitbucket step, and the command exits non-zero if the build fails, so a failed iOS build fails the pipeline.
Because your runner pushes the project to Capgo, Capgo never needs access to your Bitbucket repository. There is no repository connection to authorize and no OAuth app to approve.
Prerequisites
- A Capacitor app that builds locally (Capacitor 8 needs Node.js 22 or newer)
- An Apple Developer Program membership with admin rights on the team
- A Capgo account and an API key with upload permission
- The app registered in Capgo:
bunx @capgo/cli@latest app add
One-time setup on your machine
Run the onboarding once. On iOS it creates or reuses your distribution certificate and provisioning profile, and asks for an App Store Connect API key:
bunx @capgo/cli@latest login
bunx @capgo/cli@latest build init --platform ios
If you do not have a Mac at hand, you can still create the certificate signing request in the browser with the iOS certificate generator, or follow Build an iOS app from Windows with Capgo Build.
Run one build from your laptop before touching CI. CI is a bad place to debug a first build:
bun run build
bunx cap sync ios
bunx @capgo/cli@latest build request com.example.app --platform ios --build-mode release
Export the credentials for Bitbucket
The CLI keeps credentials on your machine. To move them into Bitbucket, export them to a dotenv file:
bunx @capgo/cli@latest build credentials manage --appId com.example.app --platform ios
# choose "Export to .env" in the menu
This writes .env.capgo.com.example.app.ios with mode 0600. It contains these keys:
| Variable | Content |
|---|---|
BUILD_CERTIFICATE_BASE64 |
Base64 of your .p12 distribution certificate |
P12_PASSWORD |
Certificate password (empty if none) |
CAPGO_IOS_PROVISIONING_MAP_BASE64 |
Provisioning profile mapping generated by the CLI |
APPLE_KEY_ID |
App Store Connect API key ID |
APPLE_ISSUER_ID |
App Store Connect issuer ID |
APPLE_KEY_CONTENT |
Base64 of the .p8 API key |
APP_STORE_CONNECT_TEAM_ID |
Your Apple team ID |
Add each line as a secured variable in Bitbucket under Repository settings > Pipelines > Repository variables, plus CAPGO_TOKEN with your Capgo API key. Secured variables are masked in logs and cannot be read back from the UI.
If you prefer the API, this loop creates them in one go. It uses a Bitbucket API token with the pipeline variables write scope:
WORKSPACE=my-team
REPO=my-app
ENV_FILE=.env.capgo.com.example.app.ios

grep -v '^#' "$ENV_FILE" | grep '=' | while IFS= read -r line; do
  key="${line%%=*}"
  value="${line#*=}"
  value="${value%\"}"; value="${value#\"}"
  jq -n --arg k "$key" --arg v "$value" '{key:$k, value:$v, secured:true}' |
    curl -s -u "$BB_EMAIL:$BB_API_TOKEN" \
      -H 'Content-Type: application/json' \
      -X POST --data @- \
      "https://api.bitbucket.org/2.0/repositories/$WORKSPACE/$REPO/pipelines_config/variables" > /dev/null
  echo "created $key"
done

rm "$ENV_FILE"
Delete the file afterwards and add .env.capgo.* to .gitignore. It holds plaintext signing material.
For production credentials, consider deployment variables instead of repository variables. They are scoped to a deployment environment (for example Production), and you can restrict that environment to admins or specific branches on Premium plans.
The pipeline file
Bitbucket injects repository and deployment variables as environment variables, so the Capgo CLI picks them up without any mapping. This file runs tests on every push, builds an ad hoc iOS build on demand, and ships to TestFlight on version tags:
# bitbucket-pipelines.yml
image: node:22

definitions:
  caches:
    bun: ~/.bun/install/cache

pipelines:
  default:
    - step:
        name: Lint and test
        caches:
          - bun
        script:
          - curl -fsSL https://bun.sh/install | bash
          - export PATH="$HOME/.bun/bin:$PATH"
          - bun install --frozen-lockfile
          - bun run lint
          - bun run test

  tags:
    'v*':
      - step:
          name: Build iOS and upload to TestFlight
          deployment: Production
          caches:
            - bun
          script:
            - curl -fsSL https://bun.sh/install | bash
            - export PATH="$HOME/.bun/bin:$PATH"
            - bun install --frozen-lockfile
            - bun run build
            - bunx cap sync ios
            - >
              bunx @capgo/cli@latest build request com.example.app
              --platform ios
              --build-mode release
              --ios-distribution app_store

  custom:
    ios-adhoc:
      - step:
          name: Ad hoc iOS build for testers
          caches:
            - bun
          script:
            - curl -fsSL https://bun.sh/install | bash
            - export PATH="$HOME/.bun/bin:$PATH"
            - bun install --frozen-lockfile
            - bun run build
            - bunx cap sync ios
            - echo "$ADHOC_PROFILE_BASE64" | base64 --decode > adhoc.mobileprovision
            - >
              bunx @capgo/cli@latest build request com.example.app
              --platform ios
              --build-mode release
              --ios-distribution ad_hoc
              --ios-provisioning-profile ./adhoc.mobileprovision
              --output-upload
              --output-retention 2d
              --output-record /tmp/build.json
            - bunx @capgo/cli@latest build last-output --path /tmp/build.json --field outputUrl
A few details that matter:
- The image is a plain Linux
node:22. Nothing in this file needs macOS. - On Linux,
cap sync ioscopies web assets and updates native config but cannot run CocoaPods. That is fine. The Mac that runs the build installs pods or resolves Swift packages itself. - Capgo reads the latest build number from App Store Connect and increments it, so you never hit “bundle version must be higher than the previously uploaded version”. Pass
--skip-build-number-bumpif you manage it yourself. - The ad hoc build needs an Ad Hoc provisioning profile, which only installs on the devices it lists. Store it as a secured
ADHOC_PROFILE_BASE64variable; the--ios-provisioning-profileflag overrides the App Store profile from the environment for this build only. Collect tester UDIDs with the iOS UDID finder. - Pin the CLI to an exact version (for example
@capgo/cli@7.104.0) once your pipeline is stable, so a CLI release cannot change behavior mid-sprint.
Run the custom pipeline from Pipelines > Run pipeline > ios-adhoc. The last command prints a download link that expires after the retention period.
Manual approval before TestFlight
Bitbucket supports trigger: manual on a step. Split the release into a build step and a gated upload step if you want a human to approve each TestFlight upload:
  tags:
    'v*':
      - step:
          name: Test
          script:
            - curl -fsSL https://bun.sh/install | bash
            - export PATH="$HOME/.bun/bin:$PATH"
            - bun install --frozen-lockfile
            - bun run test
      - step:
          name: Ship iOS to TestFlight
          trigger: manual
          deployment: Production
          script:
            - curl -fsSL https://bun.sh/install | bash
            - export PATH="$HOME/.bun/bin:$PATH"
            - bun install --frozen-lockfile
            - bun run build
            - bunx cap sync ios
            - bunx @capgo/cli@latest build request com.example.app --platform ios --build-mode release
To go straight to App Review after the TestFlight upload, add --submit-to-store-review with --store-release-name "$BITBUCKET_TAG". Your App Store listing, screenshots, and compliance answers still have to be complete in App Store Connect first.
Add Android in parallel
Android builds can run directly on Bitbucket’s Linux runners, but you can also send them to Capgo Build so both platforms use the same signing and upload flow. Use a parallel block:
  tags:
    'v*':
      - parallel:
          - step:
              name: iOS release
              script:
                - curl -fsSL https://bun.sh/install | bash
                - export PATH="$HOME/.bun/bin:$PATH"
                - bun install --frozen-lockfile && bun run build
                - bunx cap sync ios
                - bunx @capgo/cli@latest build request com.example.app --platform ios --build-mode release
          - step:
              name: Android release
              script:
                - curl -fsSL https://bun.sh/install | bash
                - export PATH="$HOME/.bun/bin:$PATH"
                - bun install --frozen-lockfile && bun run build
                - bunx cap sync android
                - bunx @capgo/cli@latest build request com.example.app --platform android --build-mode release --android-track internal
The Android step needs ANDROID_KEYSTORE_FILE, KEYSTORE_KEY_ALIAS, KEYSTORE_KEY_PASSWORD, KEYSTORE_STORE_PASSWORD, and PLAY_CONFIG_JSON as secured variables. Export them the same way with --platform android.
Ship web-only changes without a native build
Most commits to a Capacitor app only touch HTML, CSS, and JavaScript. Those do not need a new binary. With Capgo live updates, a Bitbucket step can decide between a store build and an over-the-air bundle:
  branches:
    main:
      - step:
          name: Release (live update or native)
          script:
            - curl -fsSL https://bun.sh/install | bash
            - export PATH="$HOME/.bun/bin:$PATH"
            - bun install --frozen-lockfile
            - bun run build
            - |
              if bunx @capgo/cli@latest build needed com.example.app --channel production; then
                echo "No native change, shipping a live update"
                bunx @capgo/cli@latest bundle upload com.example.app --channel production
              else
                echo "Native change detected, building iOS"
                bunx cap sync ios
                bunx @capgo/cli@latest build request com.example.app --platform ios --build-mode release
              fi
build needed exits with code 0 when no native build is required and 1 when it is. It compares native plugin versions with what is live on the channel. It does not see manual edits under ios/, so also force the native path when those files change. The full pattern is in Auto choose live update or native build.
Option 2: A self-hosted macOS runner
If you already own Macs, you can register one as a Bitbucket runner and run Xcode yourself.
Register the runner
- In Bitbucket, open Repository settings > Runners (or Workspace settings > Workspace runners to share it) and click Add runner.
- Choose MacOS as the system. Bitbucket shows a start command with a runner UUID and OAuth credentials.
- On the Mac, install a supported JDK (the runner is a Java program), Xcode 26, and fastlane. Then paste the start command.
- Keep the runner running as a launch agent so it survives reboots.
A step targets the runner with labels:
pipelines:
  tags:
    'v*':
      - step:
          name: iOS build on our Mac
          runs-on:
            - self.hosted
            - macos
          script:
            - bun install --frozen-lockfile
            - bun run build
            - bunx cap sync ios
            - echo "$BUILD_CERTIFICATE_BASE64" | base64 --decode > dist.p12
            - echo "$PROFILE_BASE64" | base64 --decode > profile.mobileprovision
            - bundle exec fastlane ios beta
macOS runners execute directly on the host with your user’s environment, not in a container. Install Bun and Ruby on the Mac itself.
A minimal Fastfile
default_platform(:ios)

platform :ios do
  lane :beta do
    setup_ci(force: true)

    api_key = app_store_connect_api_key(
      key_id: ENV["APPLE_KEY_ID"],
      issuer_id: ENV["APPLE_ISSUER_ID"],
      key_content: ENV["APPLE_KEY_CONTENT"],
      is_key_content_base64: true
    )

    import_certificate(
      certificate_path: "dist.p12",
      certificate_password: ENV["P12_PASSWORD"],
      keychain_name: "fastlane_tmp_keychain",
      keychain_password: ""
    )
    install_provisioning_profile(path: "profile.mobileprovision")

    update_code_signing_settings(
      path: "ios/App/App.xcodeproj",
      use_automatic_signing: false,
      team_id: ENV["APP_STORE_CONNECT_TEAM_ID"],
      code_sign_identity: "Apple Distribution",
      profile_name: ENV["PROFILE_NAME"]
    )

    increment_build_number(
      xcodeproj: "ios/App/App.xcodeproj",
      build_number: latest_testflight_build_number(api_key: api_key) + 1
    )

    build_app(
      project: "ios/App/App.xcodeproj", # use workspace: "ios/App/App.xcworkspace" for CocoaPods projects
      scheme: "App",
      export_method: "app-store"
    )

    upload_to_testflight(api_key: api_key, skip_waiting_for_build_processing: true)
  end
end
New Capacitor 8 projects use Swift Package Manager, so you build App.xcodeproj. Older projects that still use CocoaPods build App.xcworkspace and need pod install on the runner. Our GitHub Actions iOS guide explains each fastlane action in more depth; the lane is the same on Bitbucket.
What you sign up for
The archive is the easy part. A self-hosted Mac also means:
- Xcode upgrades whenever Apple raises the minimum SDK, tested before the deadline.
- Keychain state. A crashed job can leave a temporary keychain behind, and the next job picks up the wrong identity.
- No isolation. Jobs run on the same disk. DerivedData, old archives, and simulators fill it up.
- One build at a time per runner, unless you buy more Macs.
- Certificates and profiles that expire every year and have to be renewed on the machine.
That is a reasonable trade if your team already manages Macs. If nobody wants to own that box, Option 1 removes it.
Troubleshooting
| Symptom | Likely cause and fix |
|---|---|
CAPGO_TOKEN is not set |
The variable is missing, or it is a deployment variable and the step has no deployment: key. |
Step works on main but not on tags |
Deployment variables only apply to steps that declare that deployment environment. |
Provisioning profile doesn't match bundle ID |
The profile was created for another app ID. Re-run build init and re-export. |
| App Store Connect authentication failed | Wrong issuer ID or key ID, or a revoked key. Check the key in App Store Connect > Users and Access > Integrations. |
| Upload rejected for SDK version | The build used an Xcode older than 26. Upgrade the self-hosted Mac. |
| Self-hosted step stuck in “Pending” | Runner offline or labels do not match self.hosted and macos. |
errSecInternalComponent during codesign |
The keychain is locked in a non-interactive session. Use setup_ci and import the certificate into the temporary keychain. |
| Build passes but nothing in TestFlight | Processing takes several minutes, and export compliance may be pending. Add ITSAppUsesNonExemptEncryption to Info.plist if your app uses only standard encryption. |
More fixes for failing pipelines are in Fixing build failures in Capacitor CI/CD pipelines and the Capgo Build troubleshooting guide.
Which option should you pick?
Pick a self-hosted Mac when you already own the hardware, need full control of the Xcode environment, or build native Swift targets that are not Capacitor apps. Pick a cloud build from a Linux step when your app is a Capacitor app and you want Bitbucket to stay the single place your team configures CI. Either way, keep the build logic in bitbucket-pipelines.yml next to your code, put signing material in secured variables, and only run native builds when native code actually changed.





