


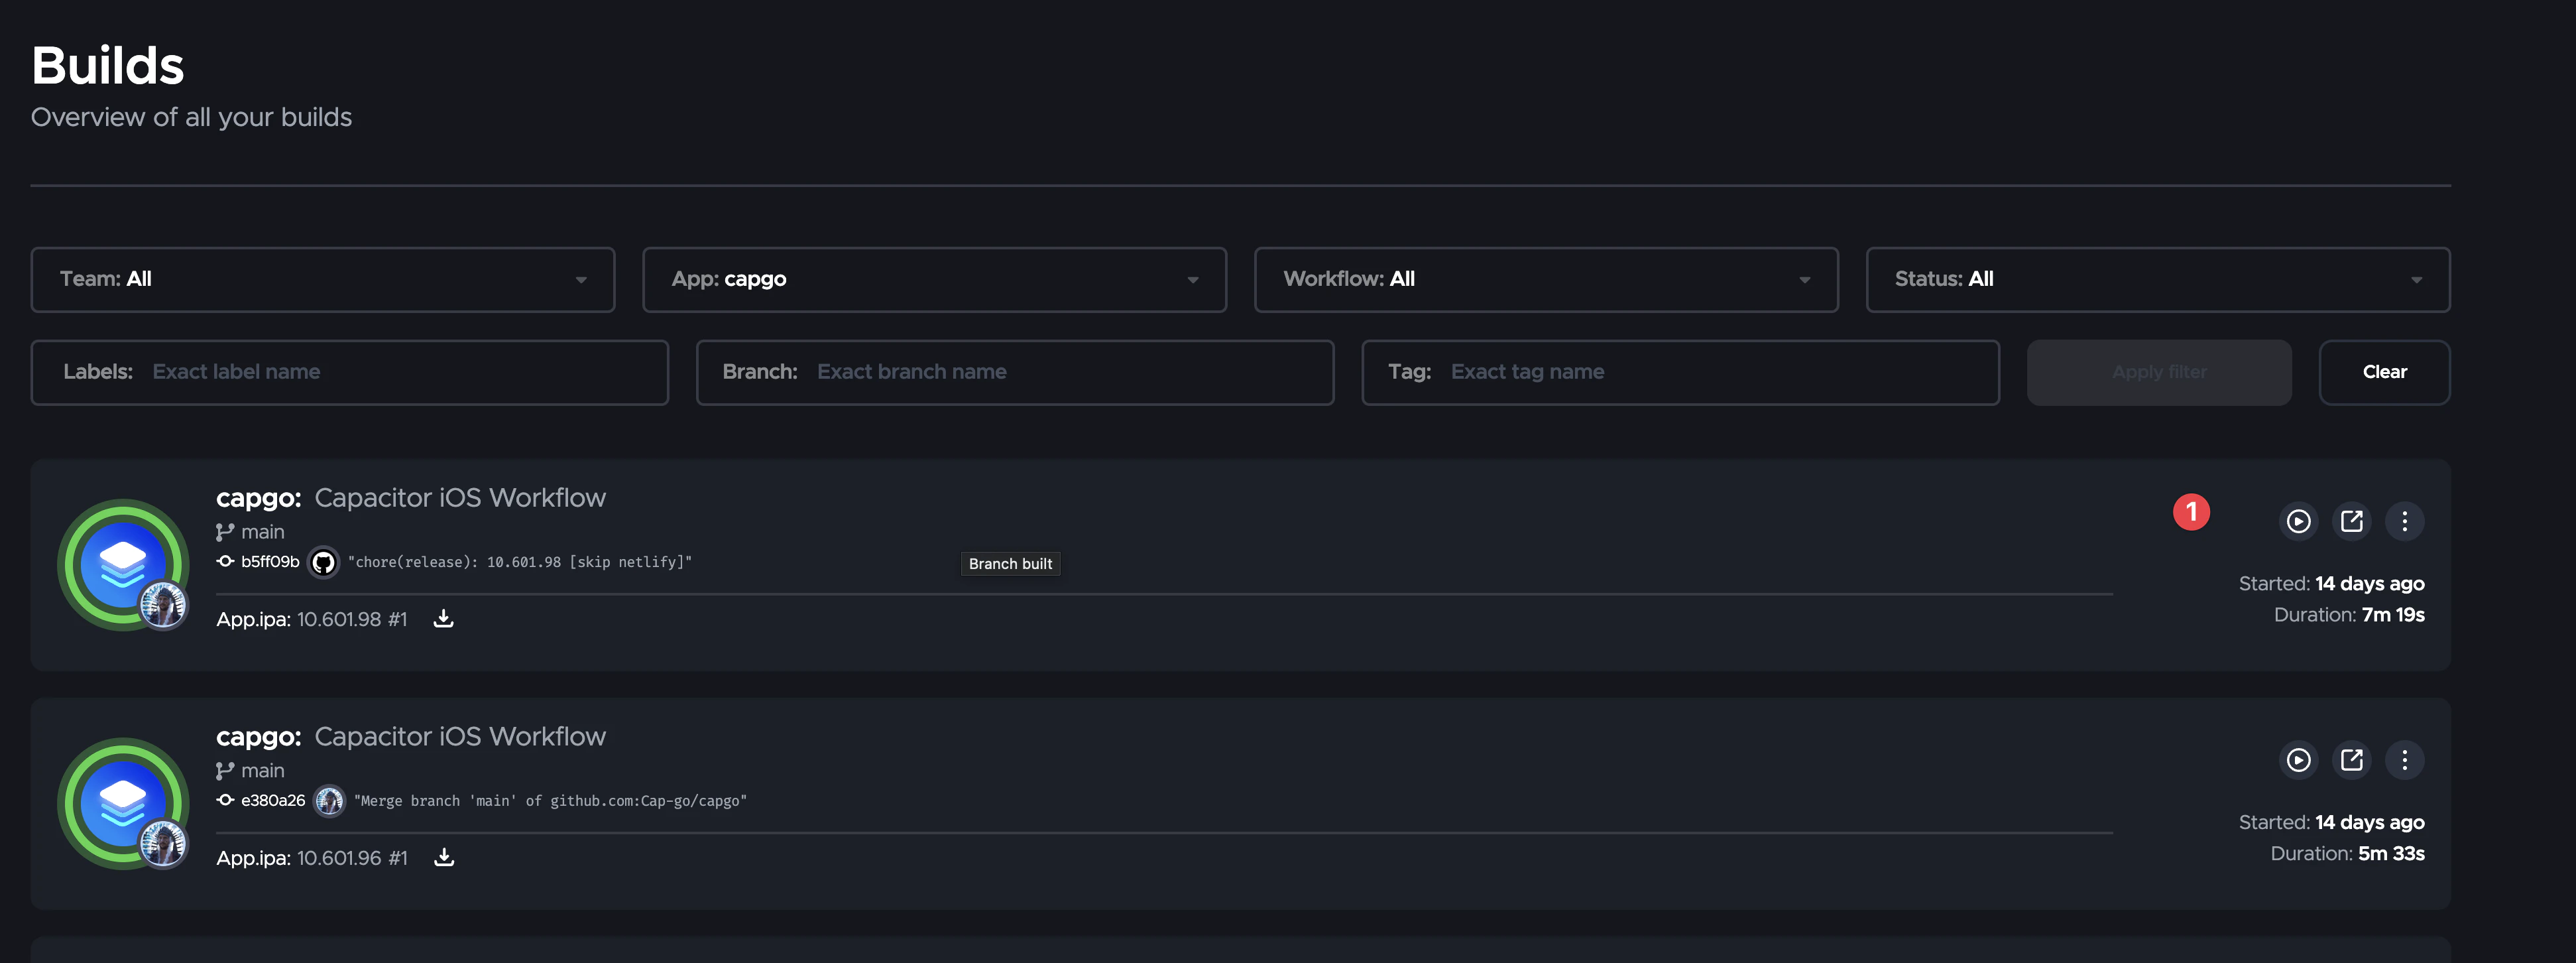
Testing iOS from a Windows or Linux machine comes down to one fact: the iOS Simulator and Safari Web Inspector are macOS only. Everything else can be arranged. This guide lays out a testing ladder that works without a Mac, from the browser to a real iPhone, and shows where Capgo Build and Live Updates remove the waiting.
The testing ladder
| Level | What you test | Where it runs | Needs a Mac |
|---|---|---|---|
| 1 | Web layer: logic, layout, responsive design | Desktop browser with iPhone viewport | No |
| 2 | Capacitor plugins, native bridge, permissions | Android emulator or device | No |
| 3 | Real iOS behavior: WebKit quirks, safe areas, keyboard, push, iOS plugins | iPhone via TestFlight | No, with Capgo Build |
| 4 | Ad hoc QA builds for specific devices | iPhone via Ad Hoc IPA | No, with Capgo Build |
| 5 | Step-through native debugging in Xcode | Mac | Yes |
Most bugs are caught at levels 1 and 2. Level 3 catches the iOS-only ones. Level 5 is rare for a Capacitor app, and when it happens a rented Mac for an hour is cheaper than owning one.
Level 1: the browser with an iPhone viewport
Open your dev server in Chrome or Edge, toggle device emulation and pick an iPhone profile. Capacitor exposes platform info so you can branch UI:
import { Capacitor } from '@capacitor/core';

if (Capacitor.getPlatform() === 'ios') {
  // iOS-only behavior
}
What this does not catch: WebKit rendering differences, safe area insets, the iOS keyboard pushing the viewport, and anything that touches a native plugin.
Level 2: Android first, because the web layer is shared
Capacitor runs the same web bundle on both platforms. Plugin wiring, permission prompts and bridge calls can be validated on Android from Windows or Linux with Chrome DevTools at chrome://inspect. If a plugin call works on Android, the JavaScript side is right; what remains is the iOS native implementation, which you test at level 3.
Setup guides: Windows and Linux.
Level 3: a real iPhone through TestFlight
This is the main iOS testing path without a Mac. Flow:
- Generate and sync the iOS project locally.
- Request a cloud build with App Store Connect credentials saved.
- Open TestFlight on the iPhone.
bun run build
bunx cap sync ios
bunx @capgo/cli@latest build request com.example.app --platform ios --build-mode release
Capgo compiles and signs the app on macOS, then uploads it to App Store Connect. Apple processes the build and TestFlight shows it to internal testers within minutes. Internal testers (members of your App Store Connect team) do not need Beta App Review, so the first install is fast.
Credentials setup is a one-time job; bunx @capgo/cli@latest build init --platform ios guides it, and the certificate can be created without a Mac using OpenSSL or the iOS certificate generator.
What you get on the device: real WebKit, real safe areas, the real keyboard, real push notifications, real plugin behavior. That is the list of things the browser could not tell you.
Level 4: ad hoc builds for named devices
When a tester is outside your App Store Connect team, or you want to skip Apple processing, use an Ad Hoc profile that lists the device UDID:
bunx @capgo/cli@latest build request com.example.app \
  --platform ios \
  --ios-distribution ad_hoc \
  --output-upload \
  --output-record build.json
The CLI returns a time-limited download link and a QR code for the IPA. Retention is configurable from 1 hour to 7 days with --output-retention. Ad hoc profiles need no App Store Connect API key, only the certificate and the profile.
To collect a tester’s UDID from Windows or Linux, ask them to open Settings, General, About on the iPhone and read the field, or use a UDID web helper. Add the device in the Apple portal and regenerate the profile.
Iterate without a new build: Live Updates
Once the TestFlight build is installed, do not rebuild for every change. Push the web bundle instead:
bun run build
bunx @capgo/cli@latest bundle upload --channel beta
Testers on the beta channel receive the new bundle on the next launch. For a team on Windows or Linux this turns the iOS feedback loop from “wait for a cloud build and Apple processing” into “seconds”. Native rebuilds are only needed when a plugin, permission or Capacitor version changes.
Point your TestFlight build at a dedicated channel so beta testers never pull production bundles. The channels guide explains the setup.
Debugging iOS without Safari Web Inspector
Safari’s inspector only attaches from macOS. Alternatives that work from any OS:
- Structured logging to a remote sink. Send
console.errorand bridge errors to Sentry or a similar tool. The Firebase Crashlytics for Capacitor guide covers the native SDK setup. - In-app debug panel. Render the last N log lines in a hidden view toggled by a gesture. Cheap and effective on TestFlight builds.
- Build logs. Native compile problems show up in the Capgo build log streamed to your terminal. Add
--ai-analyticsso a failed build is explained automatically. - Reproduce on Android. For anything in the shared web layer, Chrome DevTools on Android gives the full debugger.
For a true native crash that needs Xcode’s debugger, rent a Mac for an hour or ask a teammate. That case is rare in a Capacitor app; most issues live in the web layer or in plugin configuration.
A realistic weekly workflow
- Daily: browser plus Android device from Windows or Linux. Live Updates to the
betachannel for iPhone testers. - When native changes land: one Capgo Build to TestFlight. A few minutes of waiting, no Mac.
- Release: Capgo Build with App Store distribution, then promote the bundle channel.
Summary
You cannot simulate iOS on Windows or Linux, but you can test it on an iPhone without a Mac. Capgo Build gets the signed app to TestFlight or to an ad hoc link from one command, and Live Updates keeps iteration fast once it is installed. Save the Mac for the rare native debugging session.





