Channels
A Live Update channel points to a specific JS bundle build of your app that will be shared with any devices configured to listen to that channel for updates. When you install the Capgo Live Updates SDK in your app, any native binary configured to that channel will check for available updates whenever the app is launched. You can change the build a channel points to at any time and can also roll back to previous builds if needed.
How a device picks a channel (precedence)
Section titled “How a device picks a channel (precedence)”When a device checks for an update, Capgo decides which channel to use in this strict order (highest priority first):
- Forced device mapping (Dashboard) – Manually pin a specific device ID to a channel. Use for urgent debugging or controlled testing with a single real user. This always wins.
- Cloud override (per‑device) via Dashboard or API – Created when you change the device’s channel in the dashboard or via API. Use for QA users switching between feature / PR channels or to reproduce a user issue. Reinstalling the binary does not clear it; deleting the device entry does.
- Capacitor config
defaultChannel(test build default) – If present incapacitor.config.*and no force/override exists, the app starts on this channel (e.g.beta,qa,pr-123). Intended for TestFlight / internal builds so testers land on a pre‑release channel automatically. Production builds typically leave this unset. - Cloud Default Channel (primary path ~99% of users) – If you mark a default channel in the dashboard, all normal end‑users (no force, no override, no config defaultChannel) attach here. Change it to roll out or roll back instantly—no new binary. If you have platform-specific defaults (one iOS-only, one Android-only), each device lands on the default matching its platform. Leaving the cloud default unset is allowed; in that case the device must match on steps 1–3 to receive updates.
Best practice:
- Treat 1–3 as exception / testing layers; when you set a cloud default, real users should flow into it. If you choose not to set one, be deliberate about how users attach (typically via
defaultChannelin config or per-device overrides). - Only configure
defaultChannelin binaries you explicitly ship to testers. Leaving it unset keeps production logic centralized in the dashboard. - Use
setChannel()sparingly in production—mainly for QA or targeted diagnostics.
If a channel is disabled for the platform (iOS/Android toggles) when it would otherwise be chosen, the selection process skips it and continues down the list.
Summary: Force > Override > Config
defaultChannel> Cloud Default.
Default Channel Behavior
Section titled “Default Channel Behavior”Setting a cloud default is optional, but it usually serves as the catch-all path for new devices. Without one, only devices that match on forced mappings, overrides, or a defaultChannel in the Capacitor config will receive updates. When you do choose to mark defaults, keep these patterns in mind:
- Single default (most common) – If the channel has both iOS and Android enabled, it becomes the lone default; any device without overrides will attach here.
- Platform-specific defaults – If you split channels by platform (for example,
ios-productionwith only iOS enabled andandroid-productionwith only Android enabled), mark each one as the default for its platform. iOS devices go to the iOS default, Android devices go to the Android default.
Remember that the cloud default and defaultChannel in capacitor.config.* both occupy the same decision layer. If you set a cloud default, you don’t need to duplicate the value in your Capacitor config—leave defaultChannel empty for production builds. Reserve defaultChannel for binaries you intentionally ship to testers or QA when you want them to start on a non-production channel even if the cloud default is different.
You can change defaults at any time in the dashboard. When you swap a default, new devices obey the new routing immediately and existing devices follow the normal precedence rules the next time they check in.
Setting up a Channel
Section titled “Setting up a Channel”During onboarding you create the first channel (most teams name it “Production”), but nothing is locked—you can rename or delete any channel at any time. To add additional channels later:
- Go to the “Channels” section of the Capgo dashboard
- Click the “New Channel” button
- Enter a name for the channel and click “Create”
Channel names can be anything you’d like. A common strategy is to match channels to your development stages, such as:
Development- for testing live updates on local devices or emulatorsQA- for your QA team to verify updates before wider releaseStaging- for final testing in a production-like environmentProduction- for the version of your app that end users receive from the app stores
Configuring the Channel in Your App
Section titled “Configuring the Channel in Your App”With your channels created, you need to configure your app to listen to the appropriate channel. In this example, we’ll use the Development channel.
Open your capacitor.config.ts (or capacitor.config.json) file. Under the plugins section, optionally set defaultChannel for test builds (internal / QA). For production builds, prefer omitting it so devices use the Cloud Default unless explicitly overridden.
import { CapacitorConfig } from '@capacitor/cli';
const config: CapacitorConfig = {  plugins: {    CapacitorUpdater: {      // For a QA/TestFlight build – testers start on the Development channel automatically.      defaultChannel: 'Development',      // Production builds usually omit this so users attach to the Cloud Default channel.    },  },};
Next, build your web app and run npx cap sync to copy the updated config file to your iOS and Android projects. If you skip this sync step, your native projects will continue to use whichever channel they were previously configured for.
Channel Options and Strategies
Section titled “Channel Options and Strategies”Channels have several options that control who can receive updates and how updates are delivered. The most important ones are below. You can configure these from the web app, the CLI, or the Public API.
- Default channel: Optionally mark the channel or platform-specific channels that new devices attach to. See “Default Channel Behavior” for routing scenarios.
- Platform filters: Enable or disable delivery to
iOSand/orAndroiddevices per channel. - Disable auto downgrade under native: Prevents sending an update when the device’s native app version is newer than the channel’s bundle (for example, device on 1.2.3 while channel has 1.2.2).
- Allow development builds: Permit updates to development builds (useful for testing).
- Allow emulator devices: Permit updates to emulators/simulators (useful for testing).
- Allow device self‑assignment: Lets the app switch to this channel at runtime using
setChannel. If disabled,setChannelwill fail for this channel.
Disable Auto Update strategies
Section titled “Disable Auto Update strategies”Use this to restrict which kinds of updates the channel will automatically deliver. Options:
- major: Block cross‑major updates (0.0.0 → 1.0.0). Minor and patch updates still allowed.
- minor: Block cross‑minor updates (e.g., 1.1.0 → 1.2.0) and majors. Patch updates still allowed. Note: does not block 0.1.0 → 1.1.0.
- patch: Very strict. Allows only increasing patch versions within the same major and minor. Examples: 0.0.311 → 0.0.314 ✅, 0.1.312 → 0.0.314 ❌, 1.0.312 → 0.0.314 ❌.
- metadata: Require a minimum update version metadata on each bundle. Configure via CLI using
--min-update-versionor--auto-min-update-version. If missing, the channel is marked misconfigured and updates will be rejected until set. - none: Allow all updates according to semver compatibility.
Learn more details and examples in Disable updates strategy at /docs/cli/commands/#disable-updates-strategy.
Example (CLI):
# Block major updates on the Production channelnpx @capgo/cli@latest channel set production com.example.app \  --disable-auto-update major
# Allow devices to self-assign to the Beta channelnpx @capgo/cli@latest channel set beta com.example.app --self-assign
Using setChannel() from Your App
Section titled “Using setChannel() from Your App”The setChannel() method allows your app to programmatically switch channels at runtime. This is particularly useful for:
- QA/debug menus where testers can switch between channels
- Beta program opt-in flows
- Feature flag implementations
- A/B testing scenarios
import { CapacitorUpdater } from '@capgo/capacitor-updater';
// Switch to the beta channelawait CapacitorUpdater.setChannel({ channel: 'beta' });
// Optionally trigger an immediate update check after switchingawait CapacitorUpdater.setChannel({ channel: 'beta', triggerAutoUpdate: true});Assigning a Bundle to a Channel
Section titled “Assigning a Bundle to a Channel”To deploy a live update, you need to upload a new JS bundle build and assign it to a channel. You can do this in one step with the Capgo CLI:
npx @capgo/cli@latest bundle upload --channel=DevelopmentThis will upload your built web assets and set the new bundle as the active build for the Development channel. Any apps configured to listen to that channel will receive the update the next time they check for one.
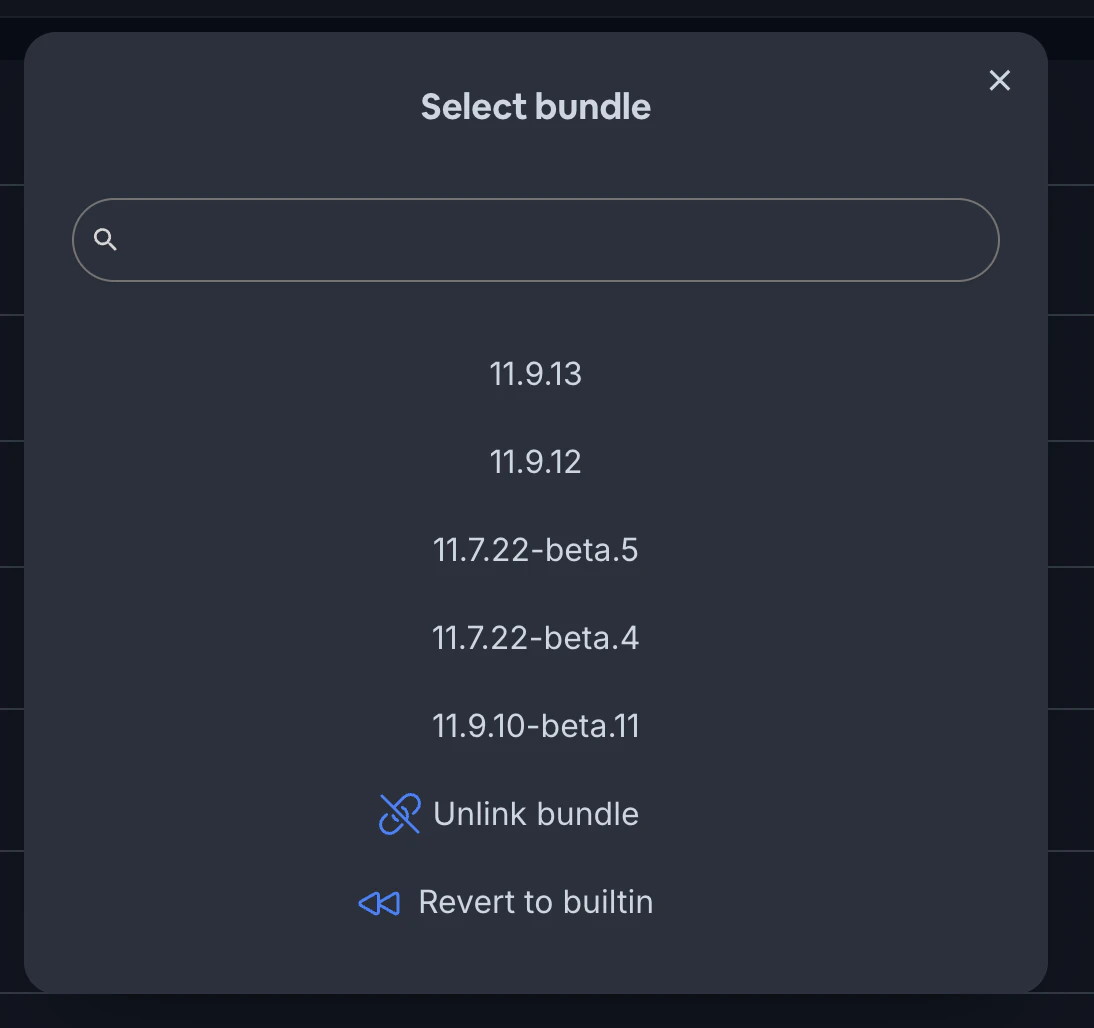
You can also assign builds to channels from the “Bundles” section of the Capgo dashboard. Click the menu icon next to a build and select “Assign to Channel” to choose the channel for that build.
Bundle Versioning and Channels
Section titled “Bundle Versioning and Channels”It’s important to note that bundles in Capgo are global to your app, not specific to individual channels. The same bundle can be assigned to multiple channels.
When versioning your bundles, we recommend using semantic versioning semver with pre-release identifiers for channel-specific builds. For example, a beta release might be versioned as 1.2.3-beta.1.
This approach has several benefits:
- It clearly communicates the relationship between builds.
1.2.3-beta.1is obviously a pre-release of1.2.3. - It allows for reusing version numbers across channels, reducing confusion.
- It enables clear rollback paths. If you need to roll back from
1.2.3, you know1.2.2is the previous stable release.
Here’s an example of how you might align your bundle versions with a typical channel setup:
Developmentchannel:1.2.3-dev.1,1.2.3-dev.2, etc.QAchannel:1.2.3-qa.1,1.2.3-qa.2, etc.Stagingchannel:1.2.3-rc.1,1.2.3-rc.2, etc.Productionchannel:1.2.3,1.2.4, etc.
Using semver with pre-release identifiers is a recommended approach, but not strictly required. The key is to find a versioning scheme that clearly communicates the relationships between your builds and aligns with your team’s development process.
Rolling Back a Live Update
Section titled “Rolling Back a Live Update”If you deploy a live update that introduces a bug or otherwise needs to be reverted, you can easily roll back to a previous build. From the “Channels” section of the dashboard:
- Click the name of the channel you want to roll back
- Find the build you want to revert to and click the crown icon

- Confirm the action
The selected build will immediately become the active build for that channel again. Apps will receive the rolled back version the next time they check for an update.
Automating Deployments
Section titled “Automating Deployments”For more advanced workflows, you can automate your live update deployments as part of your CI/CD pipeline. By integrating Capgo into your build process, you can automatically upload new bundles and assign them to channels whenever you push to certain branches or create new releases.
Check out the CI/CD Integration docs to learn more about automating Capgo live updates.
Deploying to a Device
Section titled “Deploying to a Device”Now that you understand channels, you’re ready to start deploying live updates to real devices. The basic process is:
- Install the Capgo SDK in your app
- Configure the app to listen to your desired channel
- Upload a build and assign it to that channel
- Launch the app and wait for the update!
For a more detailed walkthrough, see the Deploying Live Updates guide. Happy updating!
Advanced Channel Usage: User Segmentation
Section titled “Advanced Channel Usage: User Segmentation”Channels can be used for more than just development stages. They’re a powerful tool for user segmentation, enabling features like:
- Feature flags for different user tiers
- A/B testing
- Gradual feature rollouts
- Beta testing programs
Learn how to implement these advanced use cases in our guide: How to Segment Users by Plan and Channels for Feature Flags and A/B Testing.
