Apple login on IOS
Copy a setup prompt with the install steps and the full markdown guide for this plugin.
Let’s break down what you are going to need in order to setup Apple login on IOS.
-
Configure the capabilities of your app.
In order to do this, please open Xcode, click on
App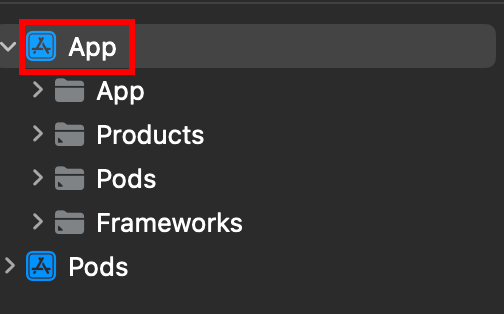
-
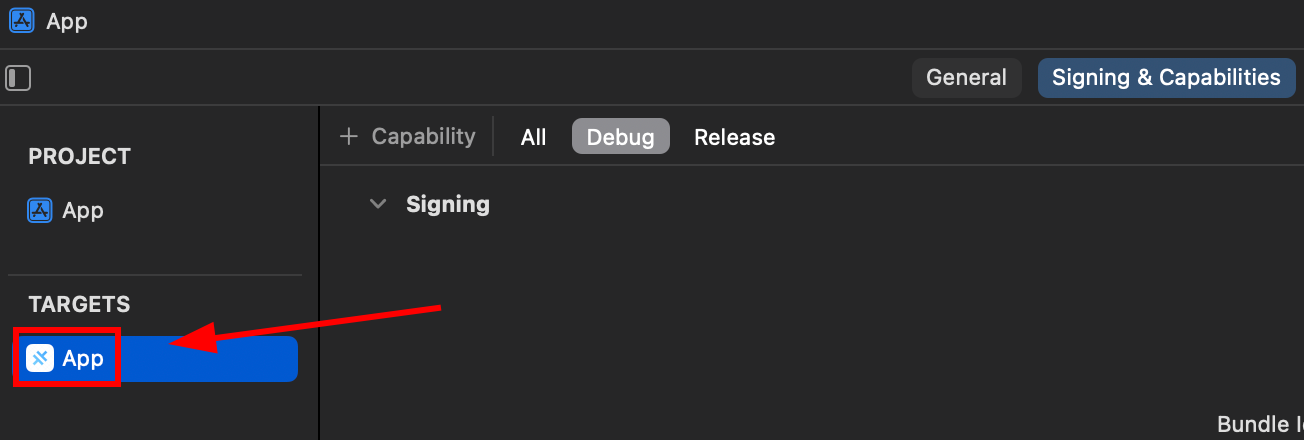
Make sure that you select the right target.
-
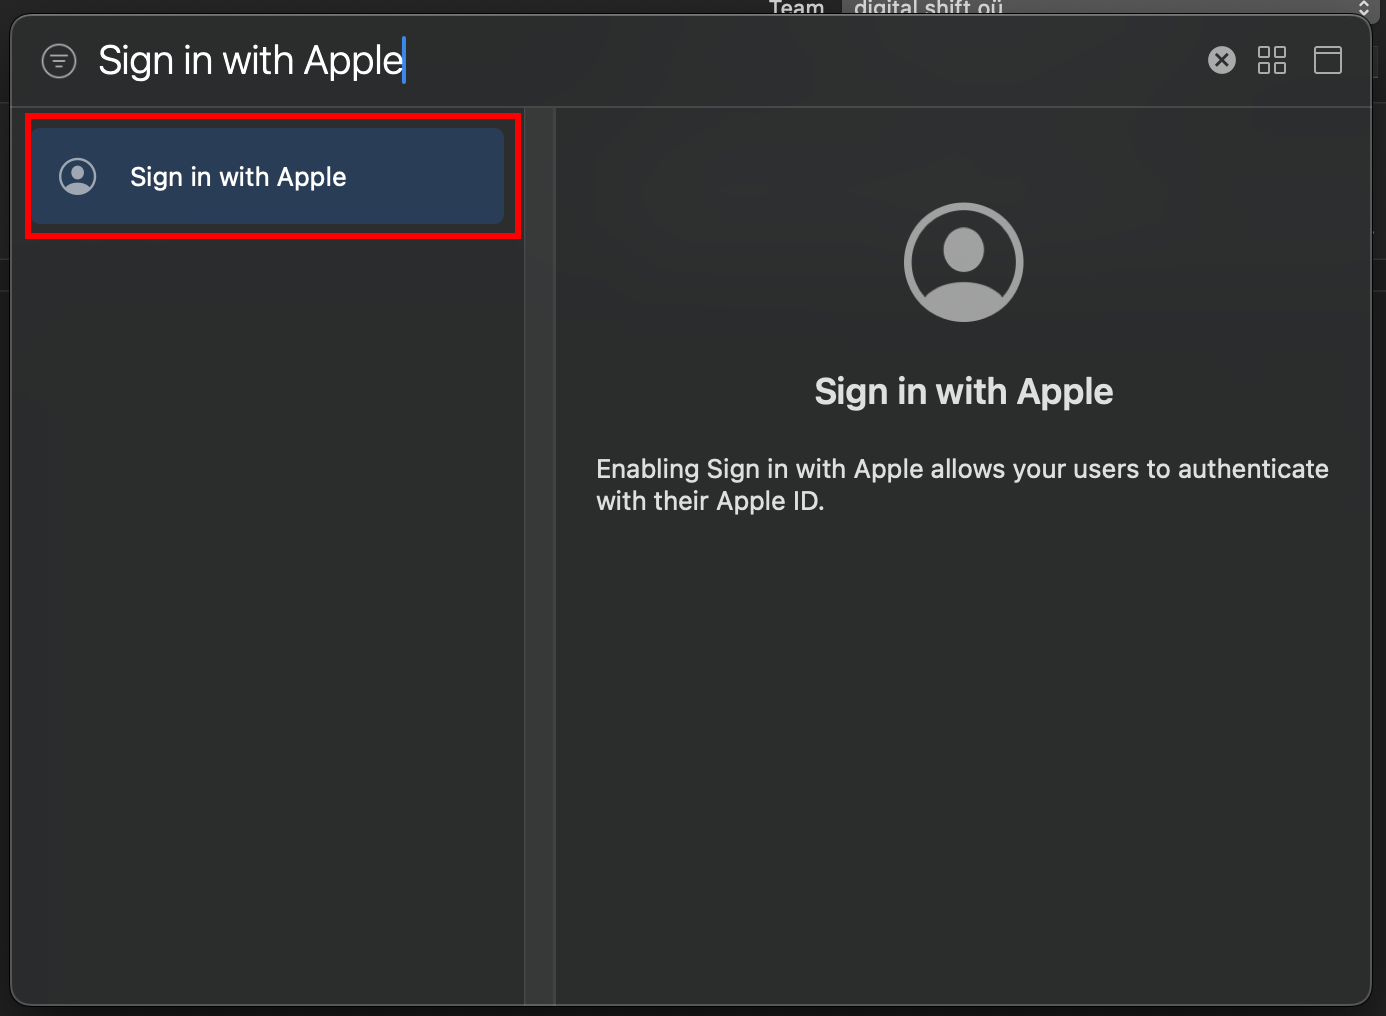
Please make sure that you add the
Sign in with Applecapability.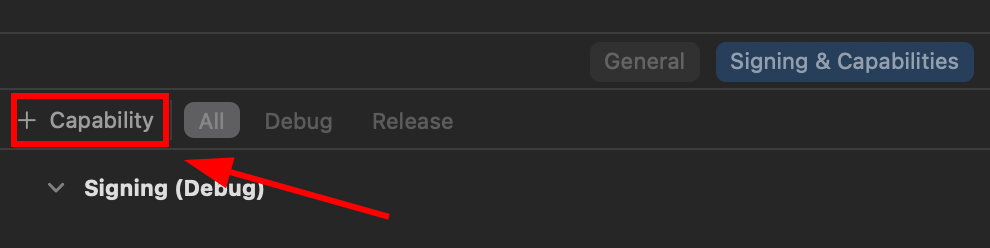
-
Initialize the Apple Login in your app.
// onMounted is vue specificonMounted(() => {SocialLogin.initialize({apple: {}})}); -
Create a button that will begin the login process.
Said button should call the following function:
async function loginApple() {const res = await SocialLogin.login({provider: 'apple',options: {}}) -
Run your app on a PHYSICAL device and test it.
If you followed the steps closely you will see the following screen after clicking your button.
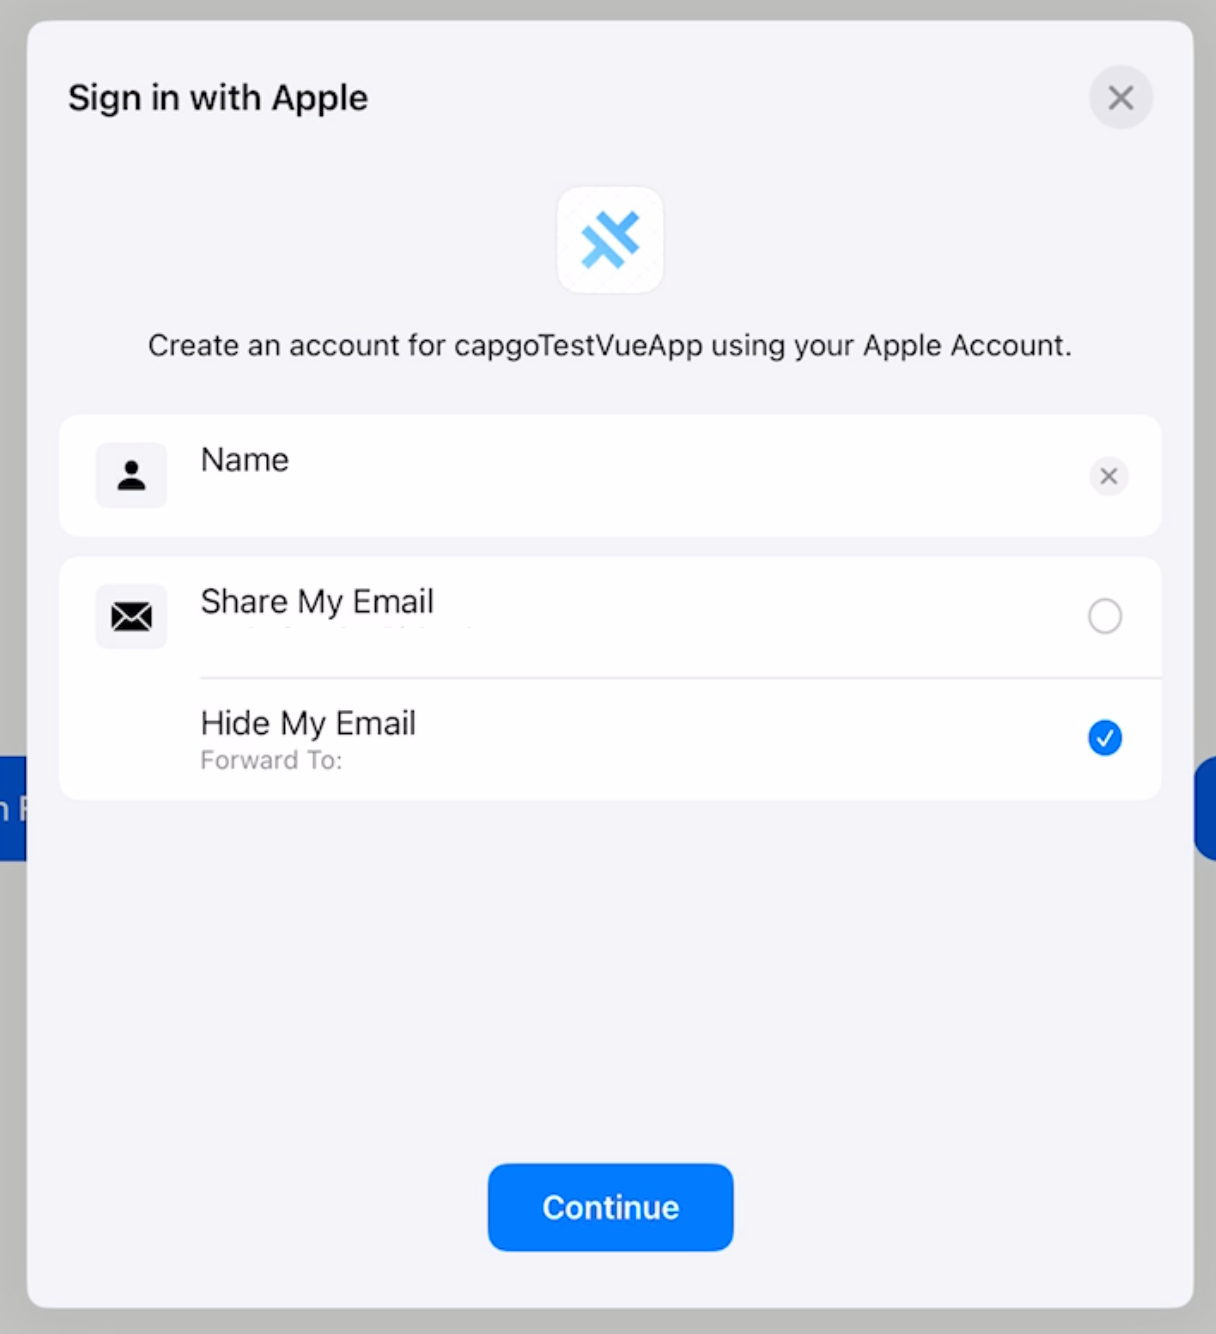
That’s it! You are all set.
Initialize Apple login
Section titled “Initialize Apple login”Call initialize with the apple provider before login. On iOS, clientId is not used by the operating system directly; the plugin uses it to know which provider to initialize.
await SocialLogin.initialize({  apple: {    clientId: 'your-client-id',  },});
const res = await SocialLogin.login({  provider: 'apple',  options: {    scopes: ['email', 'name'],  },});
Keep going from Apple login on IOS
Section titled “Keep going from Apple login on IOS”If you are using Apple login on IOS to plan authentication and account flows, connect it with Using @capgo/capacitor-social-login for the native capability in Using @capgo/capacitor-social-login, @capgo/capacitor-social-login for the implementation detail in @capgo/capacitor-social-login, @capgo/capacitor-passkey for the implementation detail in @capgo/capacitor-passkey, @capgo/capacitor-native-biometric for the implementation detail in @capgo/capacitor-native-biometric, and Two-factor authentication for the implementation detail in Two-factor authentication.