
아이폰에서 애플 로그인
설치 단계와 이 플러그인의 전체 마크다운 가이드를 포함한 설정 명령어를 복사하세요.
IOS에서 Apple 로그인을 설정하기 위해 필요한 모든 것을 나열해 보겠습니다.
-
앱의 기능을 구성하세요.
이 작업을 수행하려면 Xcode를 열고 클릭하세요.
App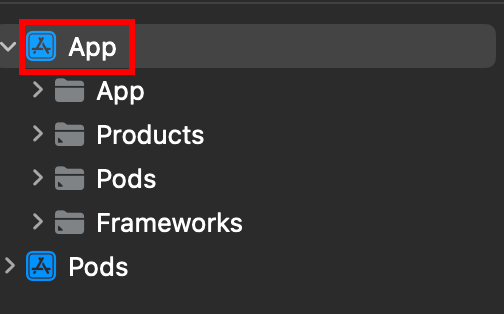
-
정확한 대상이 선택되어 있는지 확인하세요.
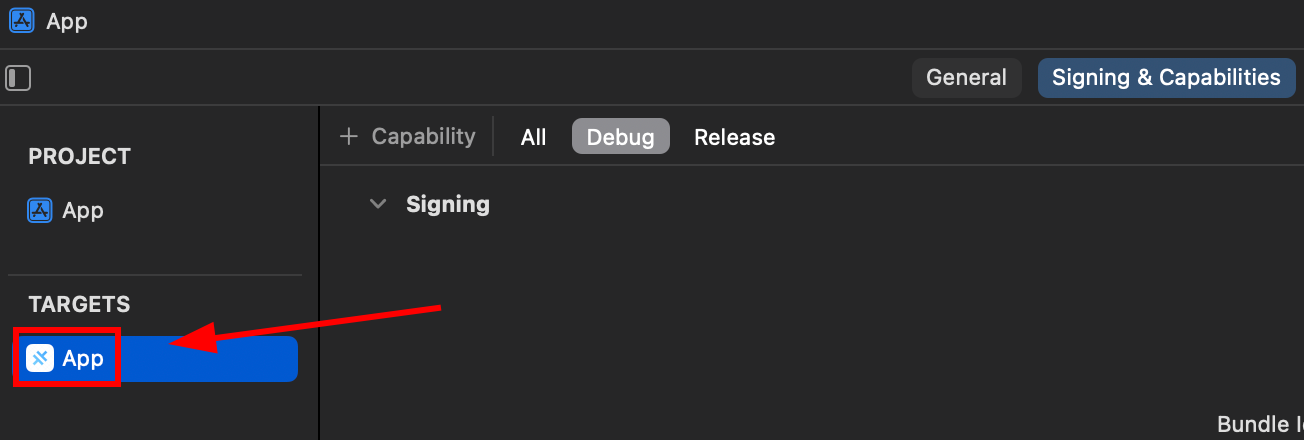
-
capability를 추가하십시오.
Sign in with Applecapability.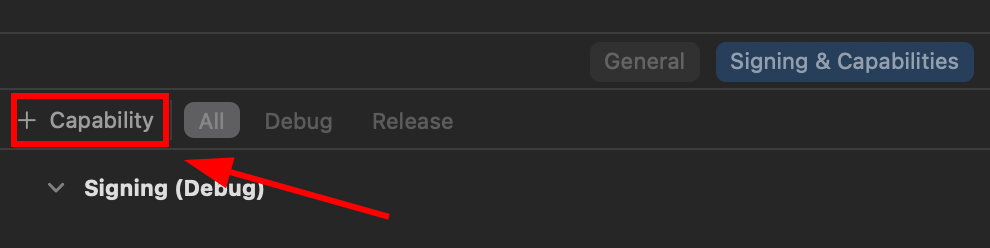
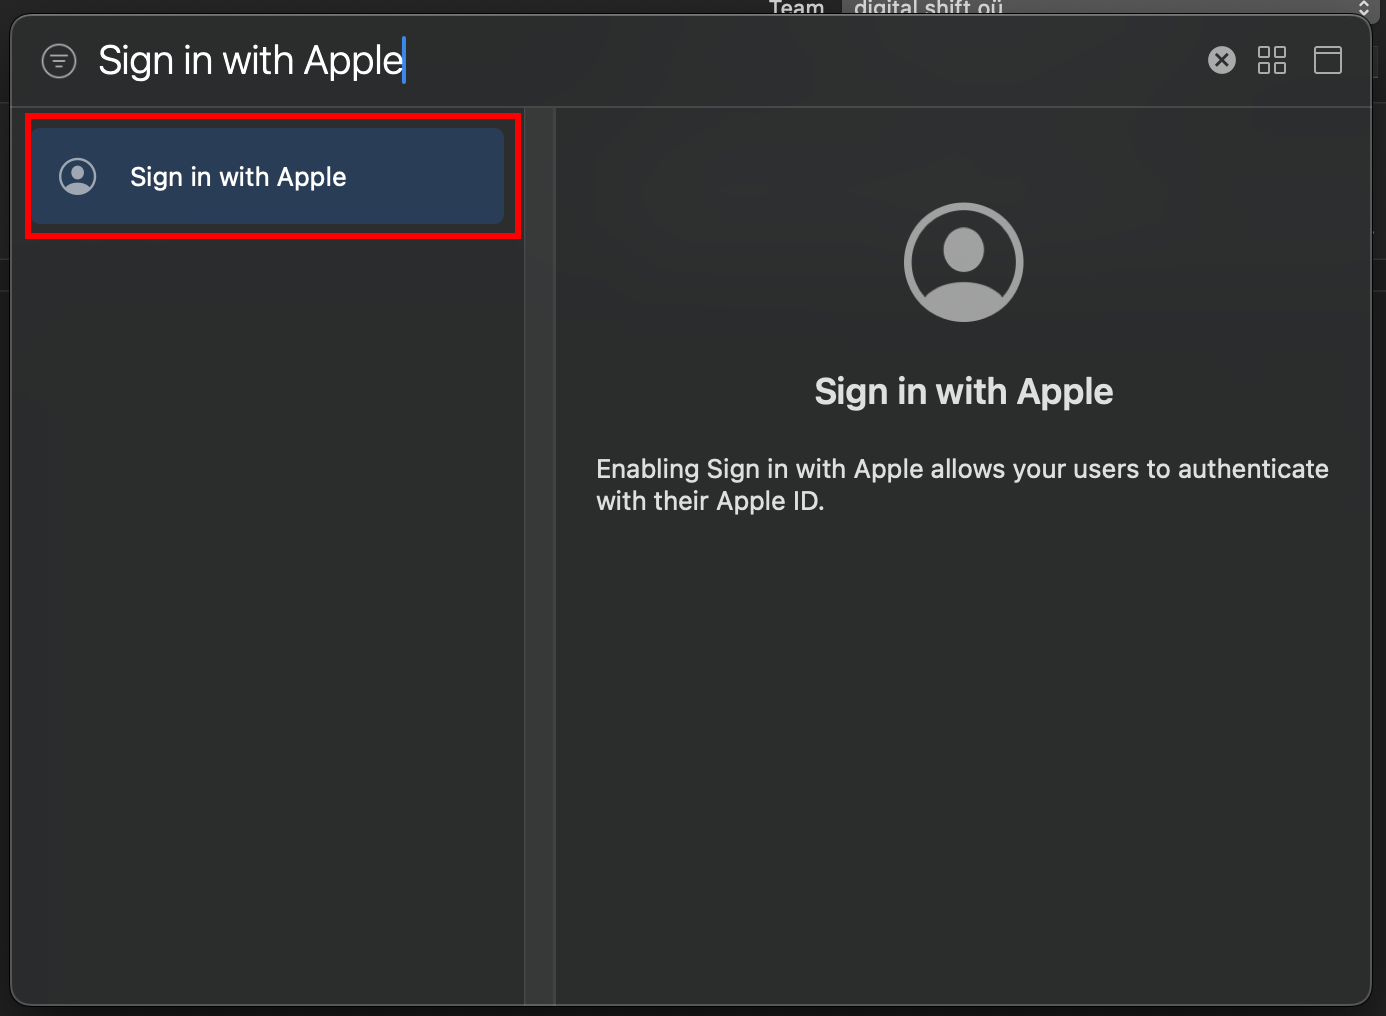
-
애플 로그인을 앱에 초기화하세요.
// onMounted is vue specificonMounted(() => {SocialLogin.initialize({apple: {}})}); -
로그인 프로세스를 시작할 버튼을 만드세요.
버튼이 호출해야 하는 함수는 다음과 같습니다.
async function loginApple() {const res = await SocialLogin.login({provider: 'apple',options: {}}) -
실제 기기에서 앱을 실행하고 테스트하세요. 물리적 장치에서 앱을 실행하고 테스트하세요.
만약에 단계를 잘 따라왔다면 버튼을 클릭한 후에 다음 화면을 볼 수 있을 것입니다.
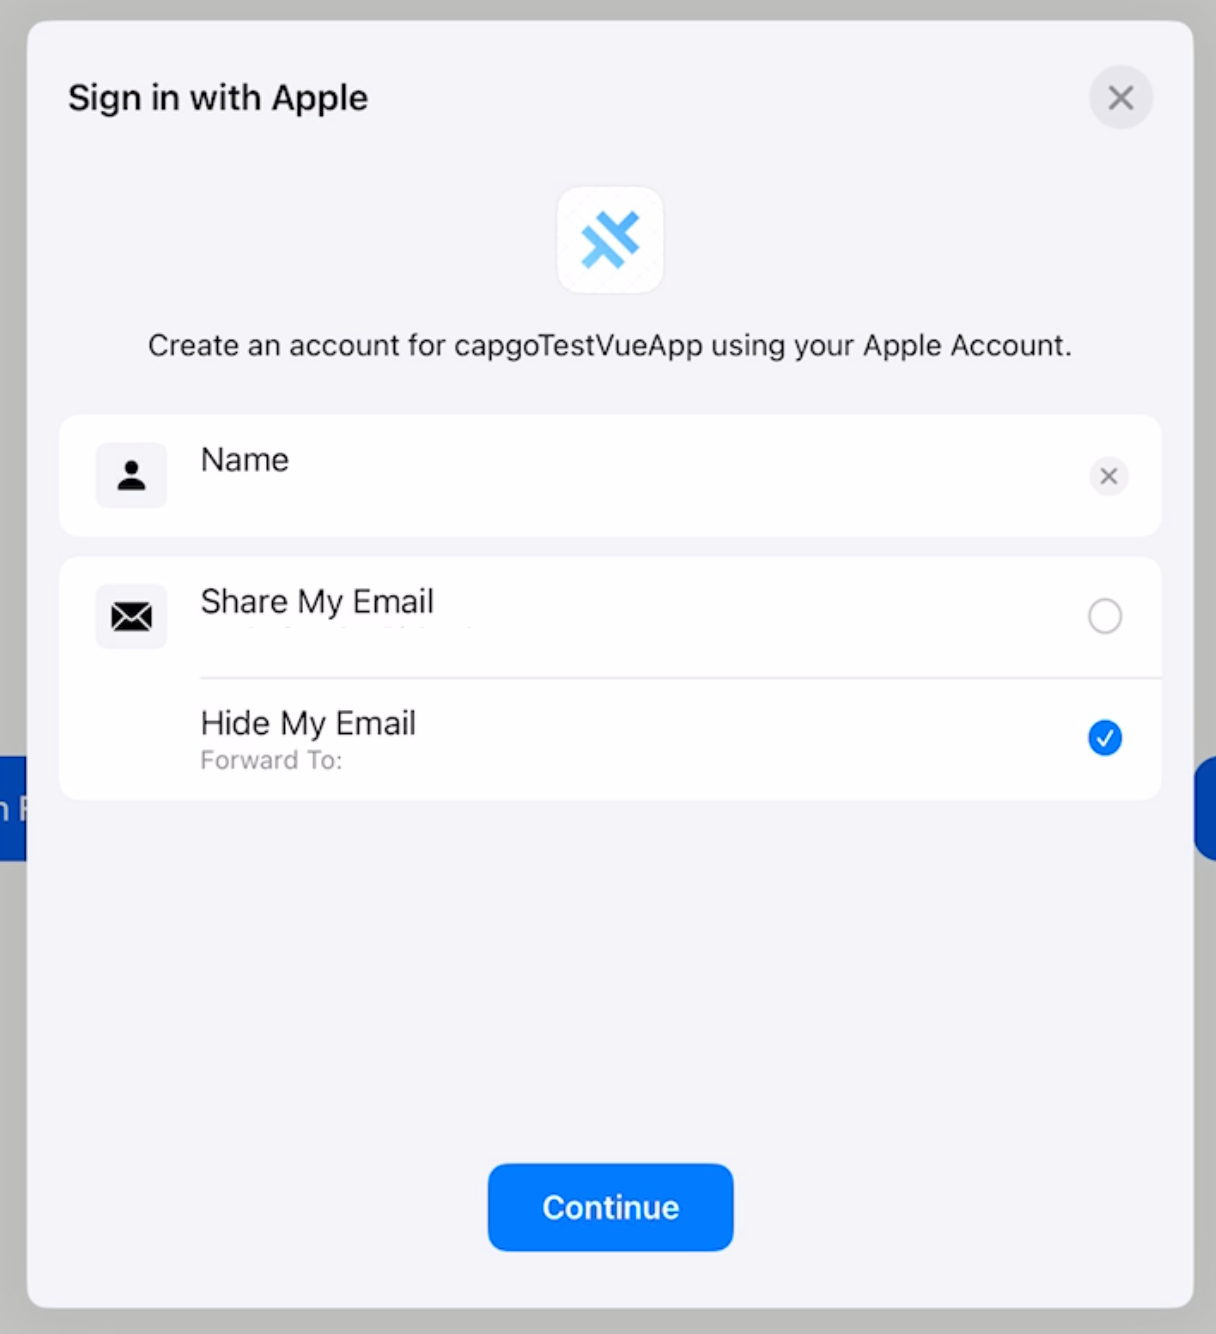
그의 그것! 당신은 모두 준비되었습니다.
Apple 로그인을 초기화하세요
Apple 로그인을 초기화하세요Call initialize with the apple iOS에서 제공자는 운영 체제에 직접 사용되지 않습니다. 플러그인은 제공자를 초기화하는 데 사용합니다. clientId 클립보드에 복사
await SocialLogin.initialize({  apple: {    clientId: 'your-client-id',  },});
const res = await SocialLogin.login({  provider: 'apple',  options: {    scopes: ['email', 'name'],  },});
Apple 로그인에서 계속 진행하세요
Apple 로그인에서 계속 진행하세요iOS에서 Apple 로그인을 사용 중이라면 IOS에서 Apple 로그인 인증 및 계정 흐름을 계획하고 연결하려면 @capgo/capacitor-social-login Using @capgo/capacitor-social-login Using @capgo/capacitor-social-login Using @capgo/capacitor-passkey Using @capgo/capacitor-passkey Using @capgo/capacitor-native-biometric Using @capgo/capacitor-native-biometric for capgo capacitor-native-biometric 구현 세부사항에 대해 두 단계 인증 Two-factor authentication
Capacitor 앱 배포 기다리지 마세요
iOS 및 Android 앱을 Mac 없이 빌드하고, 1분 이내에 사용자에게 수정 사항을 푸시하고, 한 번의 클릭으로 되돌리세요.


기업용이 필요하세요? 우리 팀과 대화하세요