Supabase Google 로그인 - 일반 설정
설치 단계와 이 플러그인의 전체 마크다운 가이드를 포함하는 설정 프롬프트를 복사하세요.
이 가이드는 Capacitor Social Login 플러그인을 사용하여 Supabase 인증과 Google Sign-In을 통합하는 방법을 안내합니다. 이 설정은 모바일 플랫폼에서 네이티브 Google Sign-In을 사용하면서 백엔드 인증을 위해 Supabase Auth를 사용할 수 있도록 해줍니다.
사전 요구 사항
제목이 “사전 요구 사항”인 섹션시작하기 전에 다음을 확인하세요:
-
설정하기 Google 로그인 일반 설정 Google OAuth 인증서를 설정하는 방법에 대한 안내서를 읽었습니다
-
Google OAuth 인증서를 설정하는 방법에 대한 플랫폼별 안내서를 읽었습니다
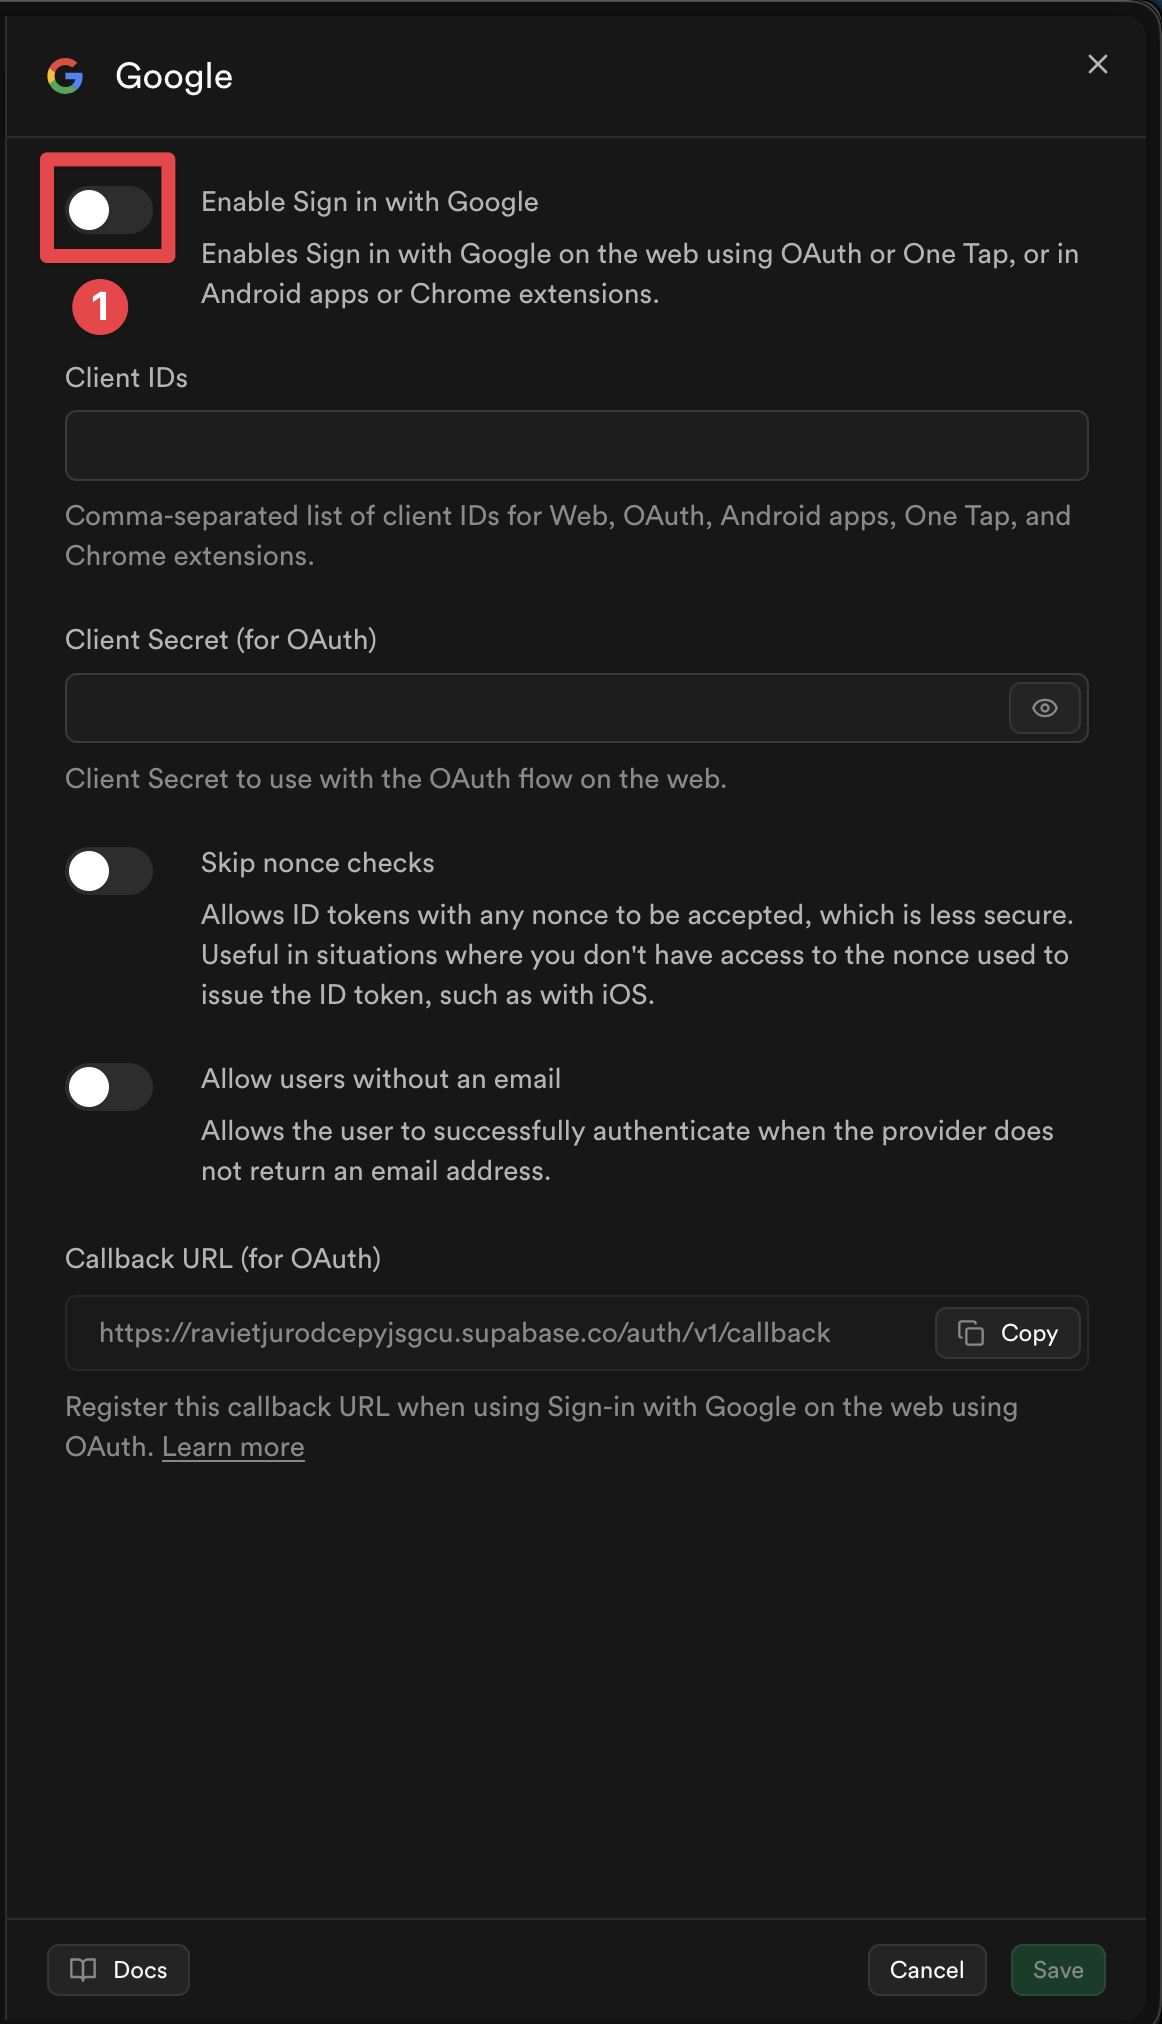
Google OAuth 제공자 활성화
Supabase에서 Google OAuth 제공자를 활성화하는 방법-
Go to your Supabase 대시보드
-
Click on your project
-
Do go to the
Authentication메뉴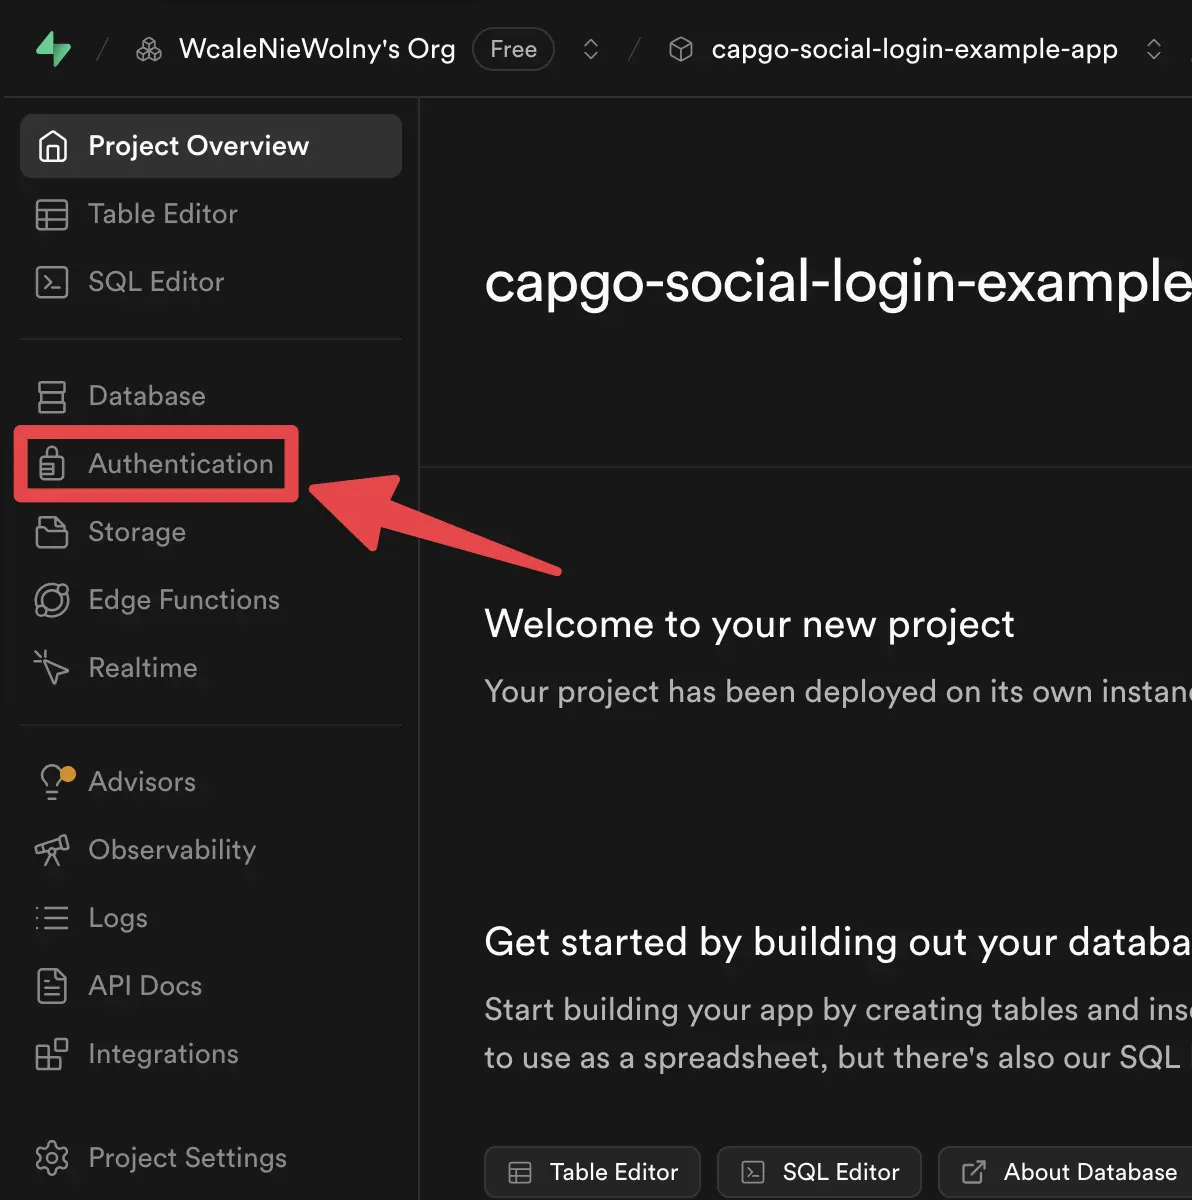
-
Click on the
Providers탭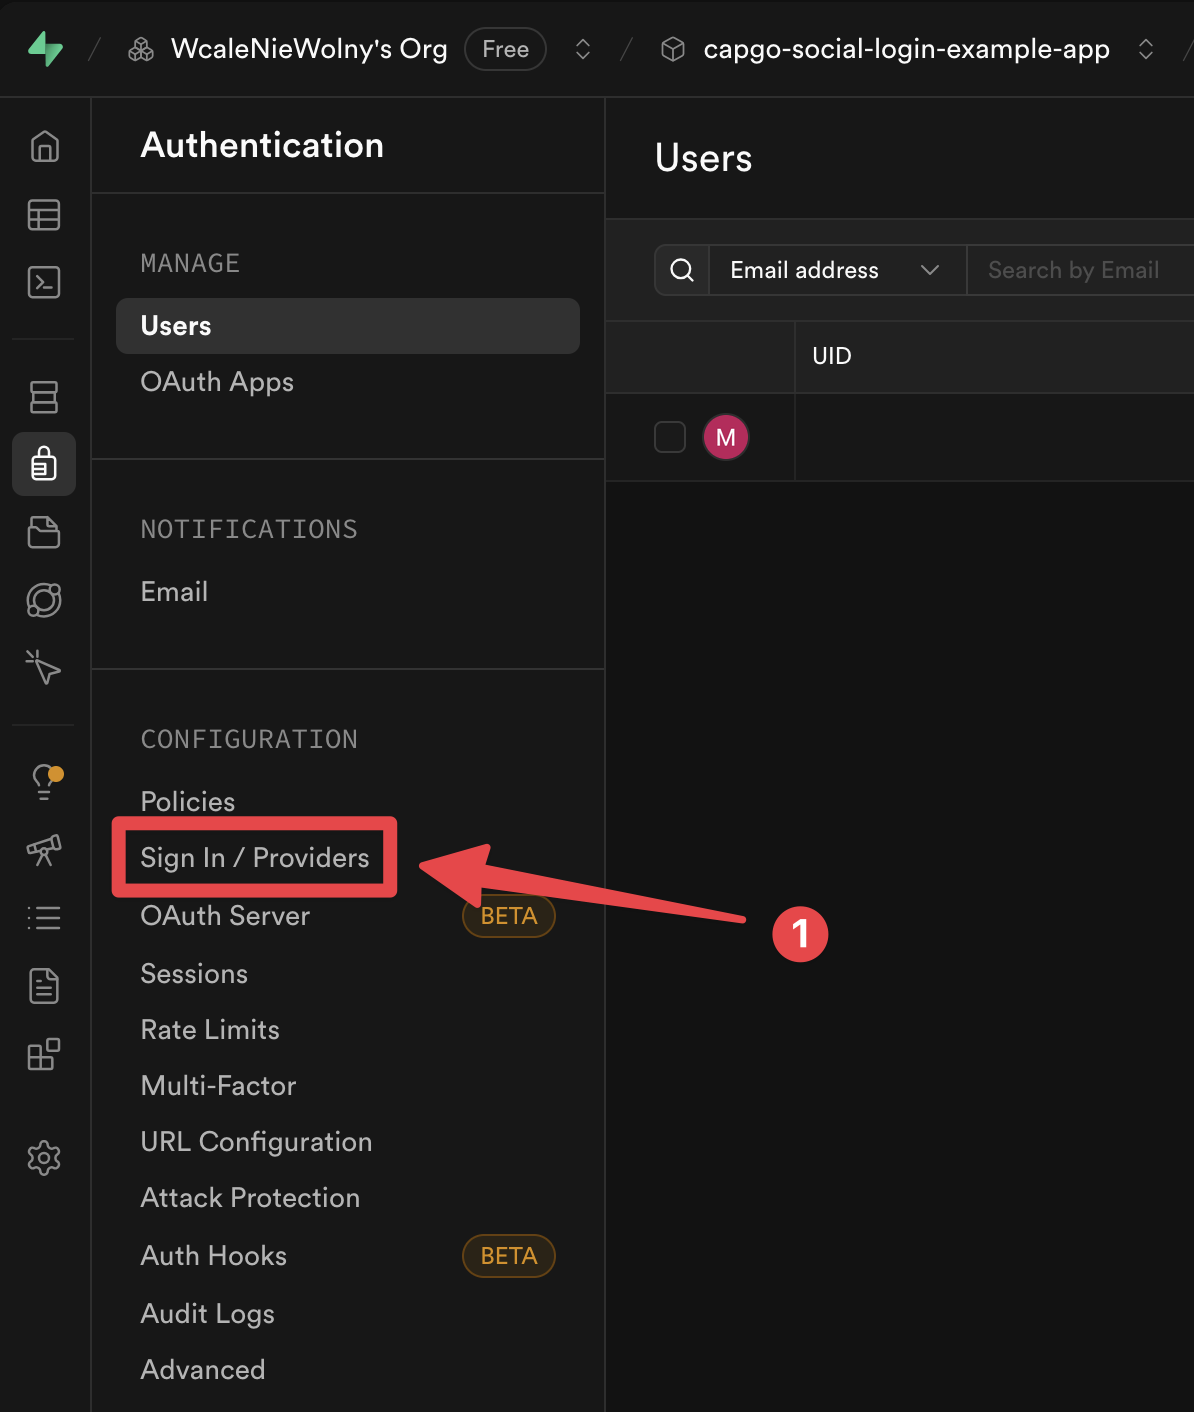
-
서비스를 찾으십시오
Google__CAPGO_KEEP_0__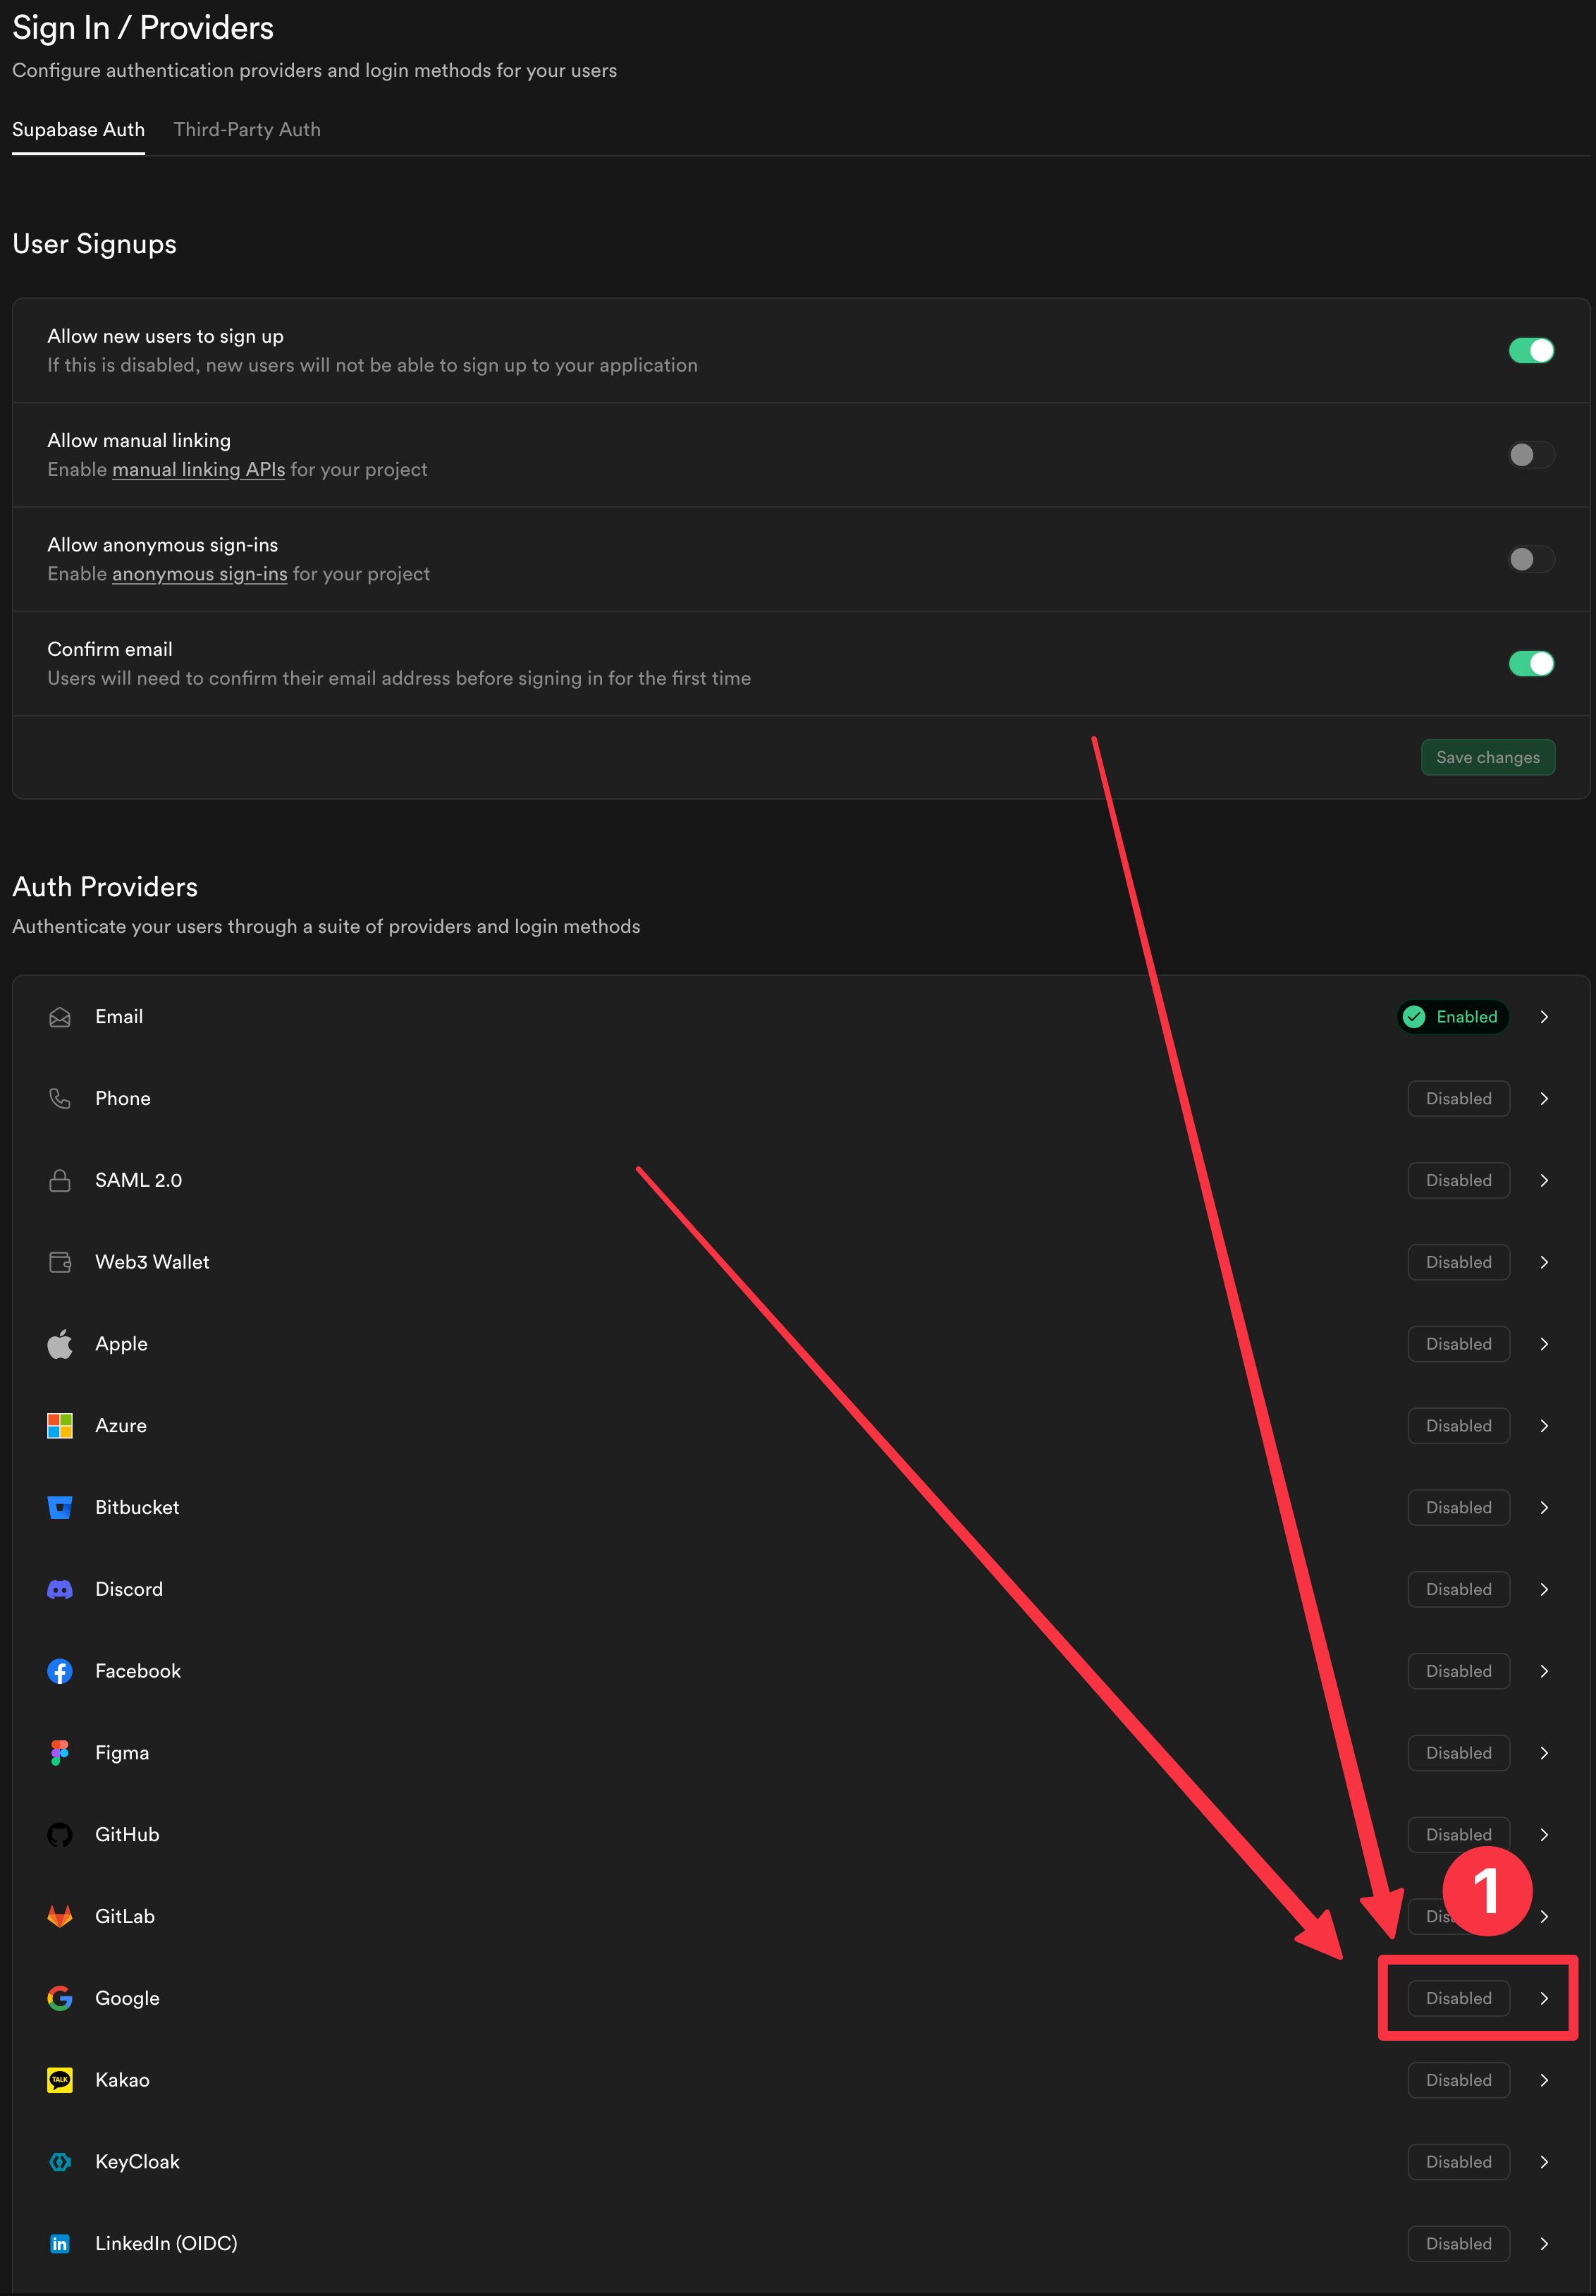
-
__CAPGO_KEEP_1__
-
사용할 플랫폼에 따라 클라이언트 ID를 추가하십시오

-
__CAPGO_KEEP_2__
Save버튼을 클릭하십시오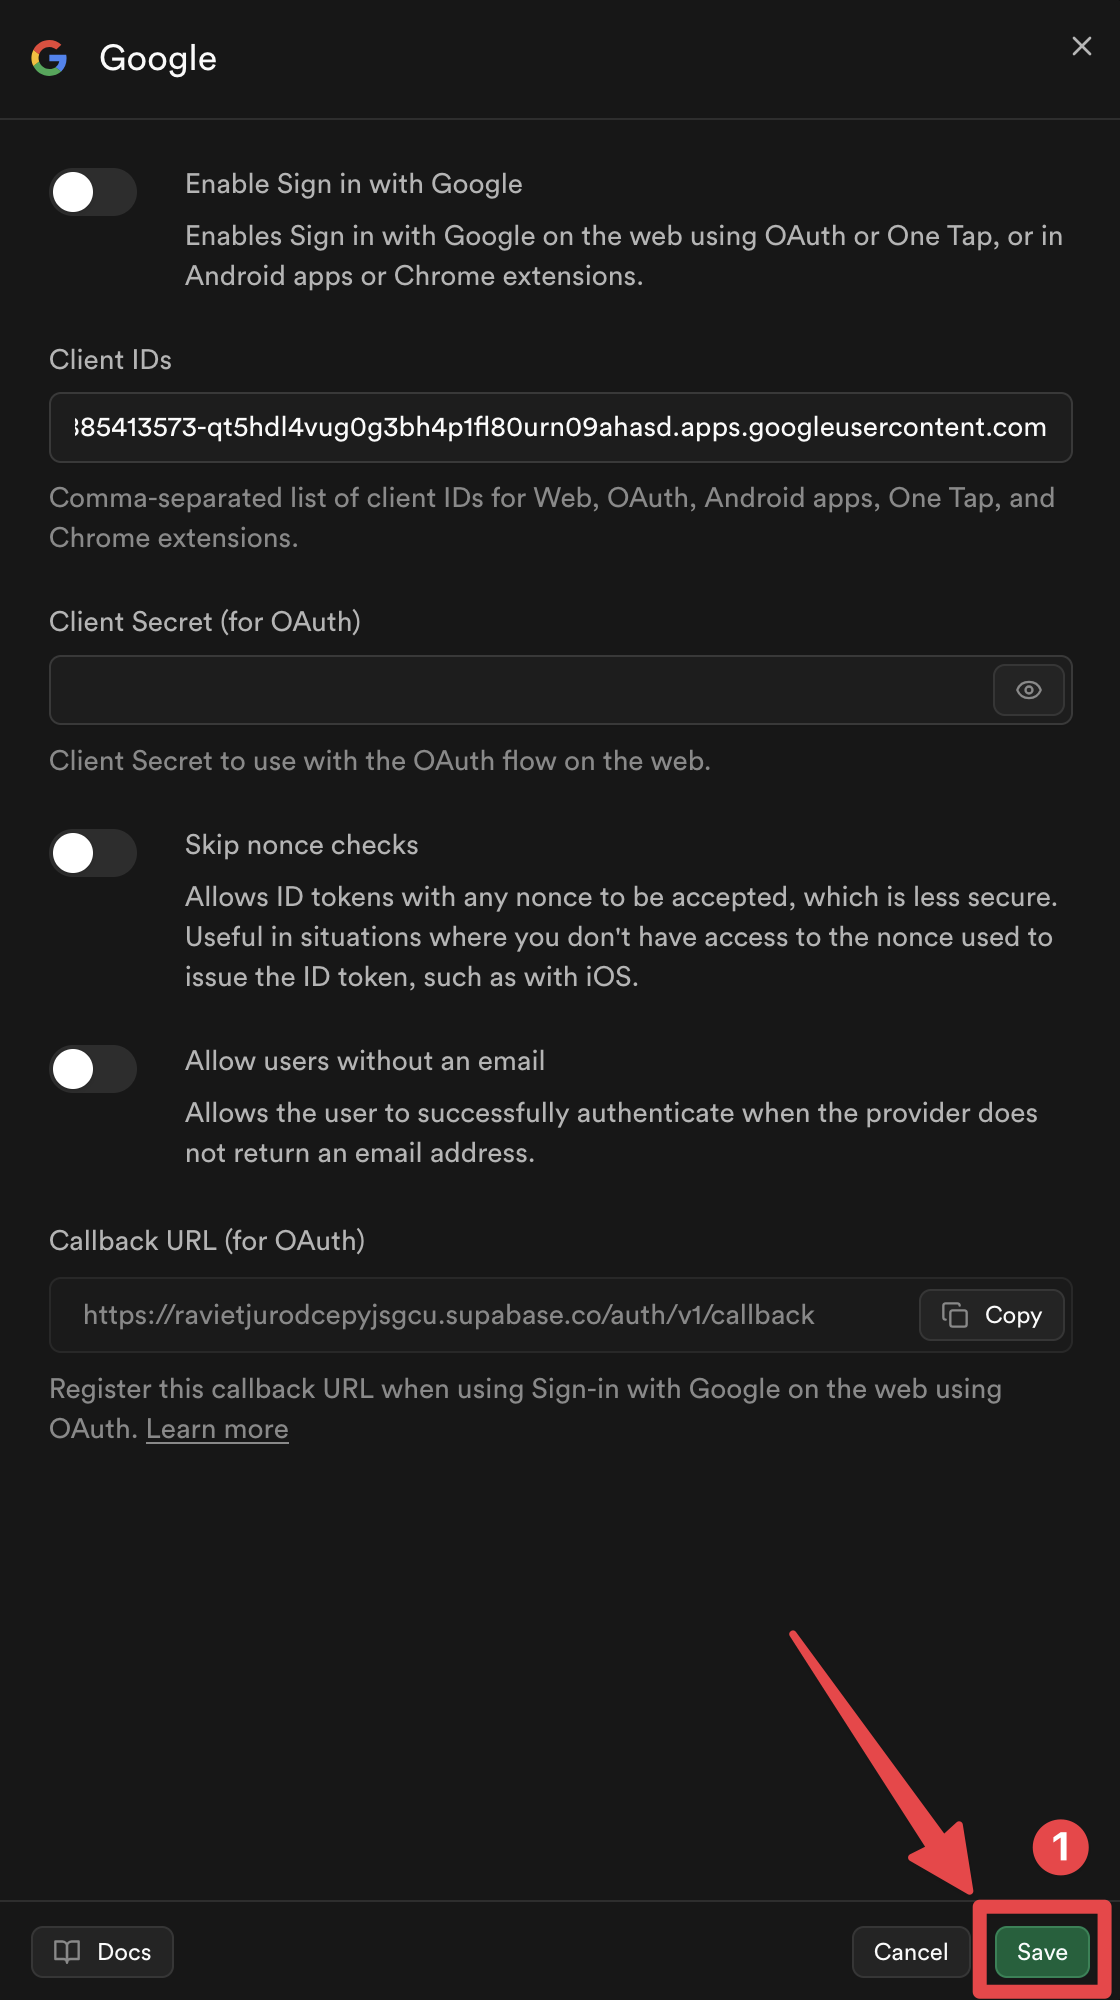
구글 Sign-In과 Supabase 인증 Helper가 어떻게 작동하는지
구글 Sign-In과 Supabase 인증 Helper가 어떻게 작동하는지
구글 Sign-In과 Supabase 인증 Helper가 어떻게 작동하는지이 섹션은 Google Sign-In과 Supabase의 통합이 어떻게 작동하는지 설명합니다. 이 흐름을 이해하면 인증 프로세스를 구현하고 문제를 해결하는 데 도움이 됩니다.
1. Nonce Generation
Nonce Generation구현은 Supabase nonce 요구 사항을 따르는 안전한 nonce pair를 생성합니다. 클립보드에 복사:
// Generate URL-safe random noncefunction getUrlSafeNonce(): string {  const array = new Uint8Array(32);  crypto.getRandomValues(array);  return Array.from(array, (byte) => byte.toString(16).padStart(2, '0')).join('');}
// Hash the nonce with SHA-256async function sha256Hash(message: string): Promise<string> {  const encoder = new TextEncoder();  const data = encoder.encode(message);  const hashBuffer = await crypto.subtle.digest('SHA-256', data);  const hashArray = Array.from(new Uint8Array(hashBuffer));  return hashArray.map((b) => b.toString(16).padStart(2, '0')).join('');}
// Generate nonce pairasync function getNonce(): Promise<{ rawNonce: string; nonceDigest: string }> {  const rawNonce = getUrlSafeNonce();  const nonceDigest = await sha256Hash(rawNonce);  return { rawNonce, nonceDigest };}
Nonce Generation
rawNonce: 64 자리 URL 안정성 난수 문자열nonceDigest: SHA-256 해시rawNonce(16진수 인코딩)nonceDigest은 Google Sign-In 에 전달 → Google 는 ID 토큰에 nonce摘要를 포함rawNonce은 Supabase 에 전달 → Supabase 는 토큰의 nonce와 raw nonce를 해시하고 비교
2. Google Sign-In
구글 Sign-In함수는 플러그인을 초기화하고 Google 로 로그인합니다:
await SocialLogin.initialize({  google: {    webClientId: 'YOUR_WEB_CLIENT_ID.apps.googleusercontent.com',    // iOS only:    iOSClientId: 'YOUR_IOS_CLIENT_ID.apps.googleusercontent.com',    mode: 'online', // Required to get idToken  },});
const response = await SocialLogin.login({  provider: 'google',  options: {    scopes: ['email', 'profile'],    nonce: nonceDigest, // Pass the SHA-256 hashed nonce  },});
3. JWT Validation
JWT 토큰을 Supabase로 보내기 전에 구현은 JWT 토큰을 검증합니다:구글 Sign-In
function validateJWTToken(idToken: string, expectedNonceDigest: string): { valid: boolean; error?: string } {  const decodedToken = decodeJWT(idToken);
  // Check audience matches your Google Client IDs  const audience = decodedToken.aud;  if (!VALID_GOOGLE_CLIENT_IDS.includes(audience)) {    return { valid: false, error: 'Invalid audience' };  }
  // Check nonce matches  const tokenNonce = decodedToken.nonce;  if (tokenNonce && tokenNonce !== expectedNonceDigest) {    return { valid: false, error: 'Nonce mismatch' };  }
  return { valid: true };}
왜 Supabase 이전에 유효성을 검사합니까?
Supabase로 토큰을 전송하기 전에 JWT 토큰의 유효성을 검사하는 것은 여러 중요한 목적을 달성합니다:
-
잘못된 요청 방지: 토큰의 오디오 대상 또는 nonce 일치 오류가 있는 경우, Supabase는 토큰을 거부하더라도. 유효성을 검사하기 전에, 불필요한 API 호출을 피하고 더 명확한 오류 메시지를 제공합니다.
-
토큰 캐싱 문제: iOS와 같은 플랫폼 (특히 iOS)에서 Google Sign-In SDK이 성능을 위해 토큰을 캐싱할 수 있습니다. 캐시된 토큰이 반환될 때, 캐시된 토큰은 다른 nonce (또는 nonce가 없는 경우)로 생성되었을 수 있습니다. Supabase는 nonce 일치 오류로 토큰을 거부합니다. 유효성을 검사하기 전에 Supabase로 토큰을 전송하면, 이 문제를 일찍 감지하고 자동으로 새 토큰으로 다시 시도할 수 있습니다.
-
보안 (iOS): iOS에서 유효성을 검사하면, 토큰이 특정 Google Client ID에 발급된 것을 확인하여, 다른 애플리케이션의 토큰을 사용하는 잠재적인 보안 문제를 방지합니다.
-
오류 처리: Supabase 이전에 유효성을 검사하면, 자동으로 다시 시도 로직을 감지할 수 있습니다. 이는 iOS 캐싱 문제를 투명하게 처리하는 데 필수적입니다.
유효성 검사 실패 시 함수는 자동으로:
- Google 로그아웃 (iOS 에서 캐시된 토큰을 삭제 - 중요)
- 인증을 다시 시도 (정확한 nonce 와 함께 새로운 토큰 생성)
- 재시도도 실패하면 오류 반환
4. Supabase 로그인
제목: 4. Supabase 로그인유효한 토큰이 Supabase 로 전송됩니다.
const { data, error } = await supabase.auth.signInWithIdToken({ provider: 'google', token: googleResponse.idToken, nonce: rawNonce, // Pass the raw (unhashed) nonce});Code 완전한 참조
제목: Code 완전한 참조완전한 implementation 은 예제 앱의 supabaseAuthUtils.ts 파일에 포함되어 있습니다. 이 파일에는 다음과 같은 항목이 포함되어 있습니다:
getUrlSafeNonce()- __CAPGO_KEEP_0__ URL-safe 난수 생성sha256Hash()- SHA-256로 문자열 해시화getNonce()- nonce pair 생성decodeJWT()- JWT 토큰 디코딩validateJWTToken()- JWT audience 및 nonce 유효성 검사authenticateWithGoogleSupabase()- 자동 재시도 포함된 메인 인증 함수
추가 예제 파일
추가 예제 파일 섹션- SupabasePage.tsx - 웹에서 리다이렉트 처리를 포함한 예제 컴포넌트
- SupabaseCreateAccountPage.tsx - 계정 생성 페이지 예제
다음 단계
다음 단계 섹션원하는 플랫폼에 맞는 설정 가이드로 이동하세요:
Supabase Google Login - 일반 설정에서 계속 진행하세요
Supabase Google Login - 일반 설정 섹션인증 및 계정 흐름을 계획하고 계정에 연결하고자 하는 경우 Supabase Google Login - 일반 설정을 사용하여 Using @__CAPGO_KEEP_0__/__CAPGO_KEEP_1__-social-login Using @capgo/capacitor-social-login native 기능을 사용하는 @capgo/capacitor-social-login을 위해 @capgo/capacitor-social-login implementation 세부 정보를 위한 @capgo/capacitor-social-login @capgo/capacitor-passkey implementation 세부 정보를 위한 @capgo/capacitor-passkey @capgo/capacitor-native-biometric implementation 세부 정보를 위한 @capgo/capacitor-native-biometric, 그리고 두 단계 인증 implementation 세부 정보를 위한 두 단계 인증