
시작하기
설치 단계와 이 플러그인의 전체 마크다운 가이드를 포함한 설정 프롬프트를 복사하세요.
        Set up this Capacitor plugin in the project.

Use the package manager already used by the project.
Install these package(s): `@capgo/capacitor-updater`
Run the required Capacitor sync/update step after installation.
Read this markdown guide for the full setup steps: https://raw.githubusercontent.com/Cap-go/website/refs/heads/main/apps/docs/src/content/docs/docs/plugins/updater/local-dev/getting-started.mdx
Use that guide for platform-specific steps, native file edits, permissions, config changes, imports, and usage setup.
If that guide references other docs pages, read them too.
이 튜토리얼이 다루는 내용은 무엇입니까?
이 튜토리얼이 다루는 내용이 튜토리얼은 Supabase를 처음부터 시작하는 방법과 Edge Functions를 시작하는 방법을 보여줍니다.
필요 조건
필요 조건시작하기
시작하기시작하기하려면
supabase start다음에 다음과 같은 것을 볼 수 있습니다.
Started supabase local development setup.
         API URL: http://localhost:54321     GraphQL URL: http://localhost:54321/graphql/v1          DB URL: postgresql://postgres:postgres@localhost:54322/postgres      Studio URL: http://localhost:54323    Inbucket URL: http://localhost:54324      JWT secret: [truncated]        anon key: supa_key_anonservice_role key: supa_key_admin
다음으로 열기 configs.json 다음 열기
{ "base_domain": { "prod": "console.capgo.app", "development": "development.console.capgo.app", "local": "localhost:3332" }, "supa_anon": { "prod": "supa_key_anon", "development": "supa_key_anon", "local": "supa_key_anon" }, "supa_url": { "prod": "http://localhost:54321", "development": "http://localhost:54321", "local": "http://localhost:54321" }}where supa_key_anon 그리고 다음 값을 설정하세요:
localhost:54323으로 이동할 수 있는지 그리고 테이블이 다음과 같은 형태로 보이는지 users 사용자 테이블을 보여주는 Supabase 대시보드
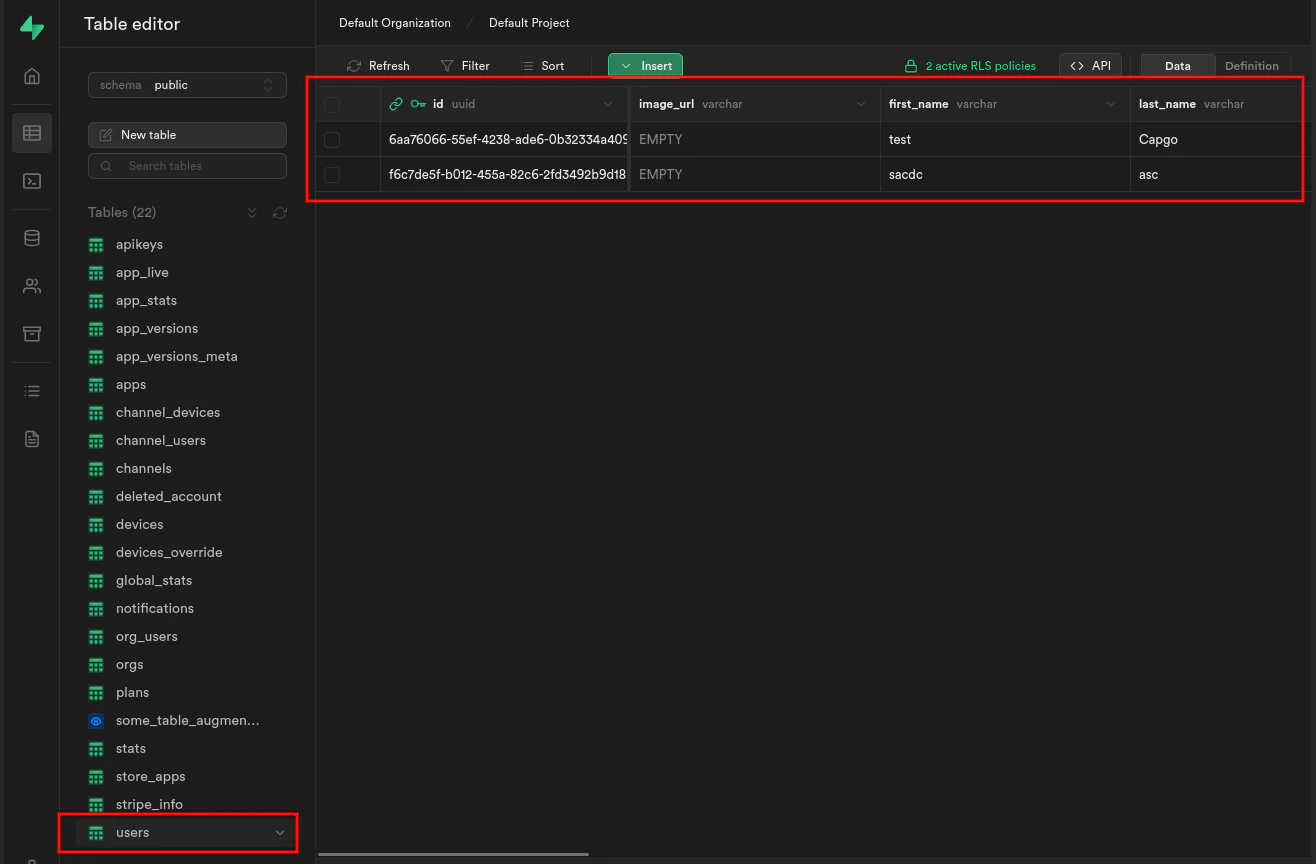
터미널 창
supabase functions serve그리고 프론트엔드 시작을 위해 실행하세요:
bun run serveGetting started에서 계속
Getting started에서 계속하기이러한 경우 시작하기 Getting started를 사용하여 native plugin 작업을 계획하고 @capgo/capacitor-updater와 연결하세요 Using @capgo/capacitor-updater를 사용하여 native capability Capgo 플러그인 디렉토리 Capgo Plugin Directory를 사용하여 product workflow Capacitor 플러그인들에 의해 Capgo Capacitor 플러그인들에 의해 Capgo의 구현 세부 사항 플러그인 추가 또는 업데이트 플러그인 추가 또는 업데이트, 그리고 아이오닉 엔터프라이즈 플러그인 대체품 아이오닉 엔터프라이즈 플러그인 대체품의 제품 워크플로우
Capacitor 앱을 배포하세요 context: Capgo 마케팅 웹사이트. 역할: 짧은 UI 레이블 또는 네비게이션 아이템. Seen in: 컴포넌트 Hero.astro. Message key `hero_title_line1` (Hero Title Line1).
wait하지 마세요


기업용 제품이 필요합니까? 우리 팀과 대화하세요