
开始
复制一个包含安装步骤和本插件的完整 Markdown 指南的设置提示。
        Set up this Capacitor plugin in the project.

Use the package manager already used by the project.
Install these package(s): `@capgo/capacitor-updater`
Run the required Capacitor sync/update step after installation.
Read this markdown guide for the full setup steps: https://raw.githubusercontent.com/Cap-go/website/refs/heads/main/apps/docs/src/content/docs/docs/plugins/updater/local-dev/getting-started.mdx
Use that guide for platform-specific steps, native file edits, permissions, config changes, imports, and usage setup.
If that guide references other docs pages, read them too.
包括安装、同步和源码 Markdown 指南。
本教程将涵盖什么?标题:本教程将涵盖什么?
Requirements
需求开始使用
开始使用开始使用
supabase start下一步应该看到如下内容:
Started supabase local development setup.
         API URL: http://localhost:54321     GraphQL URL: http://localhost:54321/graphql/v1          DB URL: postgresql://postgres:postgres@localhost:54322/postgres      Studio URL: http://localhost:54323    Inbucket URL: http://localhost:54324      JWT secret: [truncated]        anon key: supa_key_anonservice_role key: supa_key_admin
下一步打开 configs.json 继续设置以下值:
{ "base_domain": { "prod": "console.capgo.app", "development": "development.console.capgo.app", "local": "localhost:3332" }, "supa_anon": { "prod": "supa_key_anon", "development": "supa_key_anon", "local": "supa_key_anon" }, "supa_url": { "prod": "http://localhost:54321", "development": "http://localhost:54321", "local": "http://localhost:54321" }}在哪里 supa_key_anon 是上一步的值。
接下来,验证您可以访问 localhost:54323 并且表格 users 看起来像这样
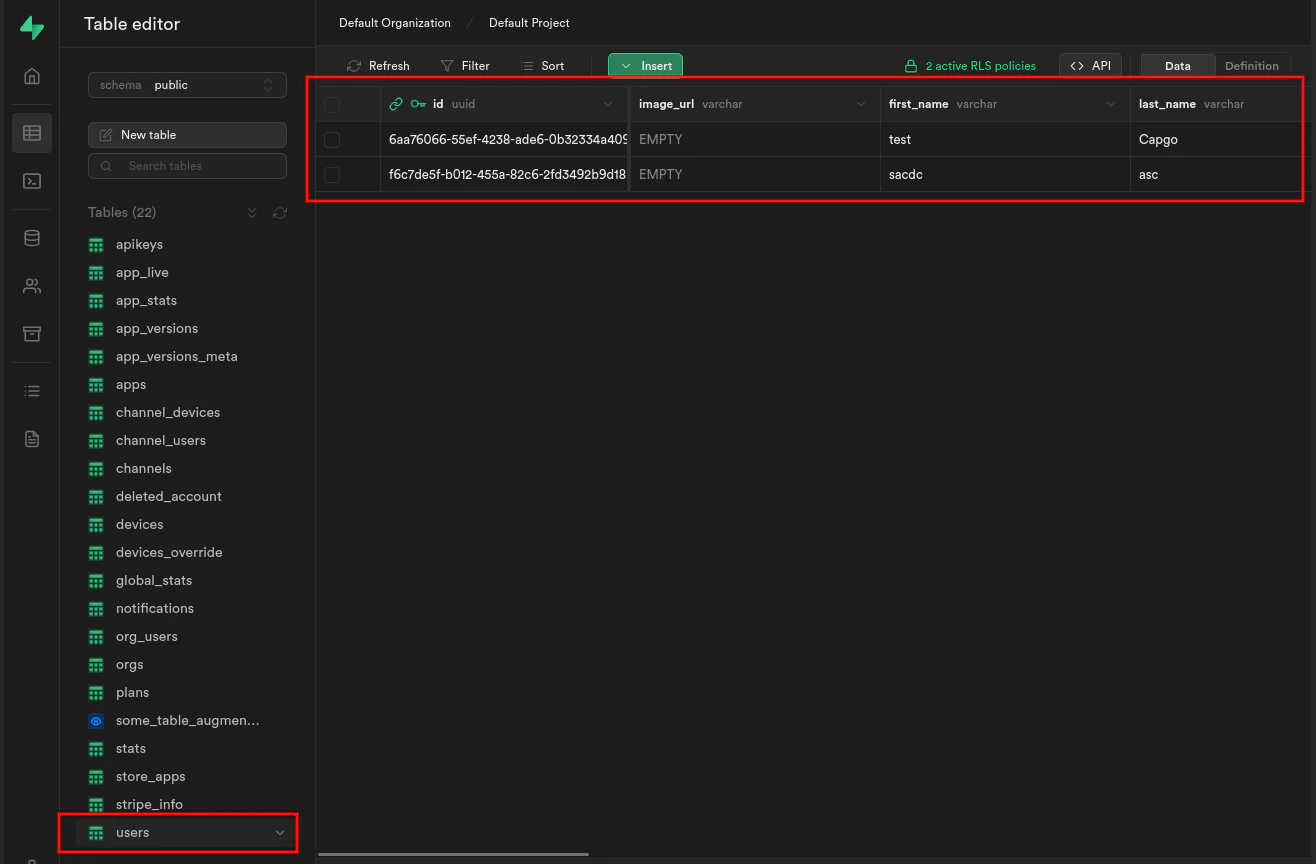
如果它开始,请通过运行:
supabase functions serve并从以下开始
bun run serve继续从开始
如果您正在使用开始 与 使用 @__CAPGO_KEEP_0__/__CAPGO_KEEP_1__-updater 为在使用 @capgo/capacitor-updater 中的原生能力 为使用@capgo/capacitor-updater的原生能力 Capgo 插件目录 为 Capgo 产品工作流程在 Capgo 插件目录中 Capacitor 插件由 Capgo 提供 为 Capacitor 插件的实现细节在 Capacitor 插件由 Capgo 提供 添加或更新插件 为添加或更新插件的实现细节, 和 Ionic 企业插件替代品 为 Ionic 企业插件替代品的产品工作流程在
发布Capacitor应用 使用您的 AI 编码代理,推送修复到用户分钟内,构建签名的 iOS 和 Android 应用程序无需 Mac,且在一键回滚
免费开始


企业需求? 联系我们的团队