Google登录设置
复制一个设置提示,包含安装步骤和该插件的完整Markdown指南。
In this guide, you will learn how to setup Google Login with Capgo Social Login. You will need the following in order to setup Google Login:
- 一个Google账户
一般设置
基本设置在本部分中,您将设置由 Google 展示的登录屏幕。
- 请访问 console.cloud.google.com
- 点击项目选择器
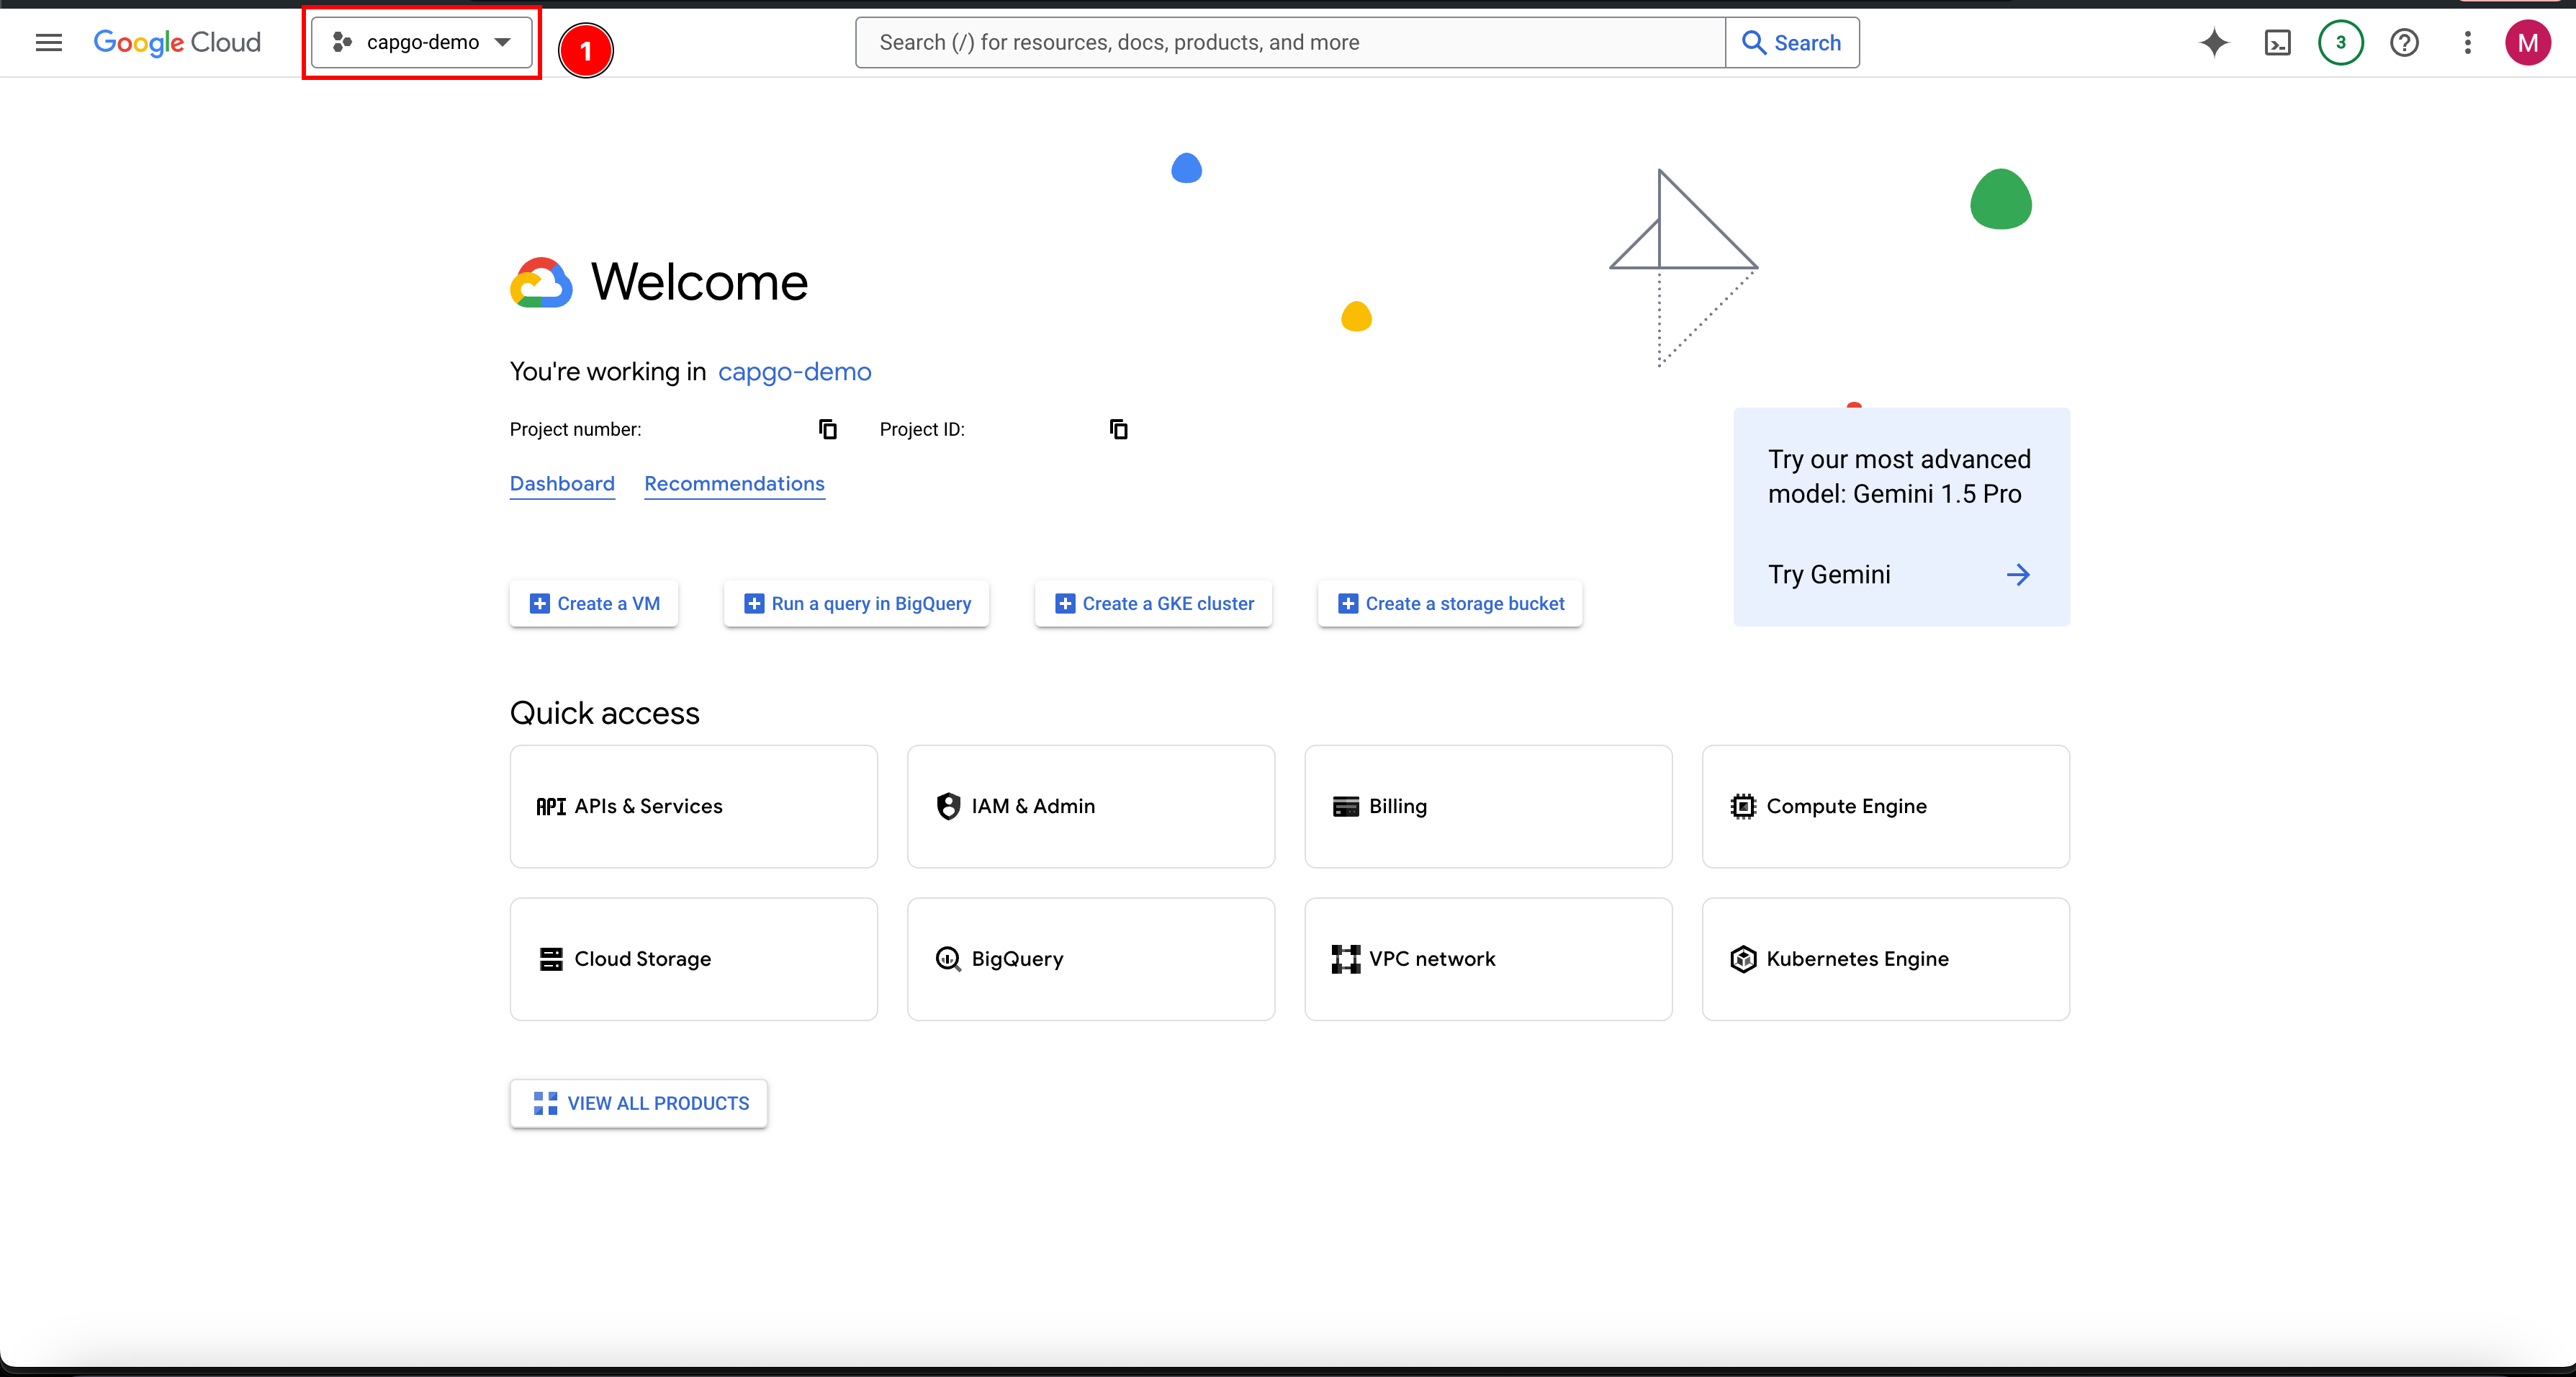
- 如果您尚未创建项目,请 创建新项目.
- 点击
New project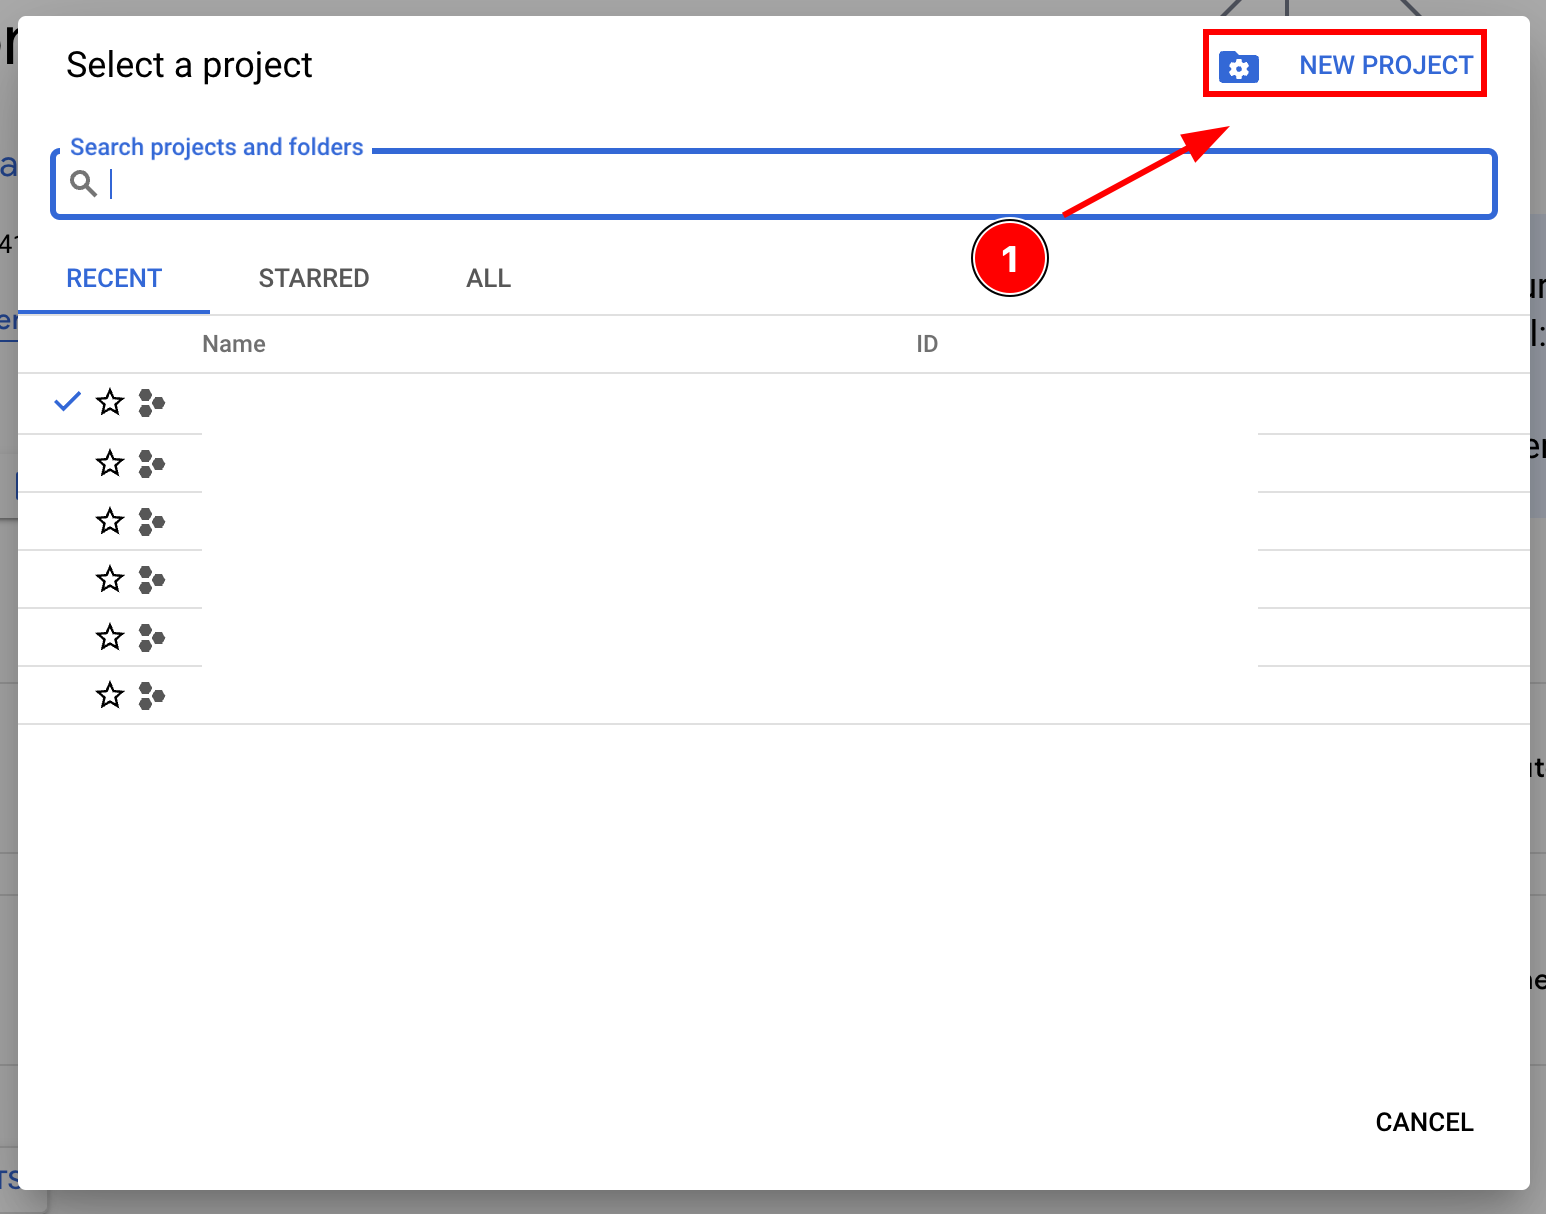
- 输入项目名称并点击
Create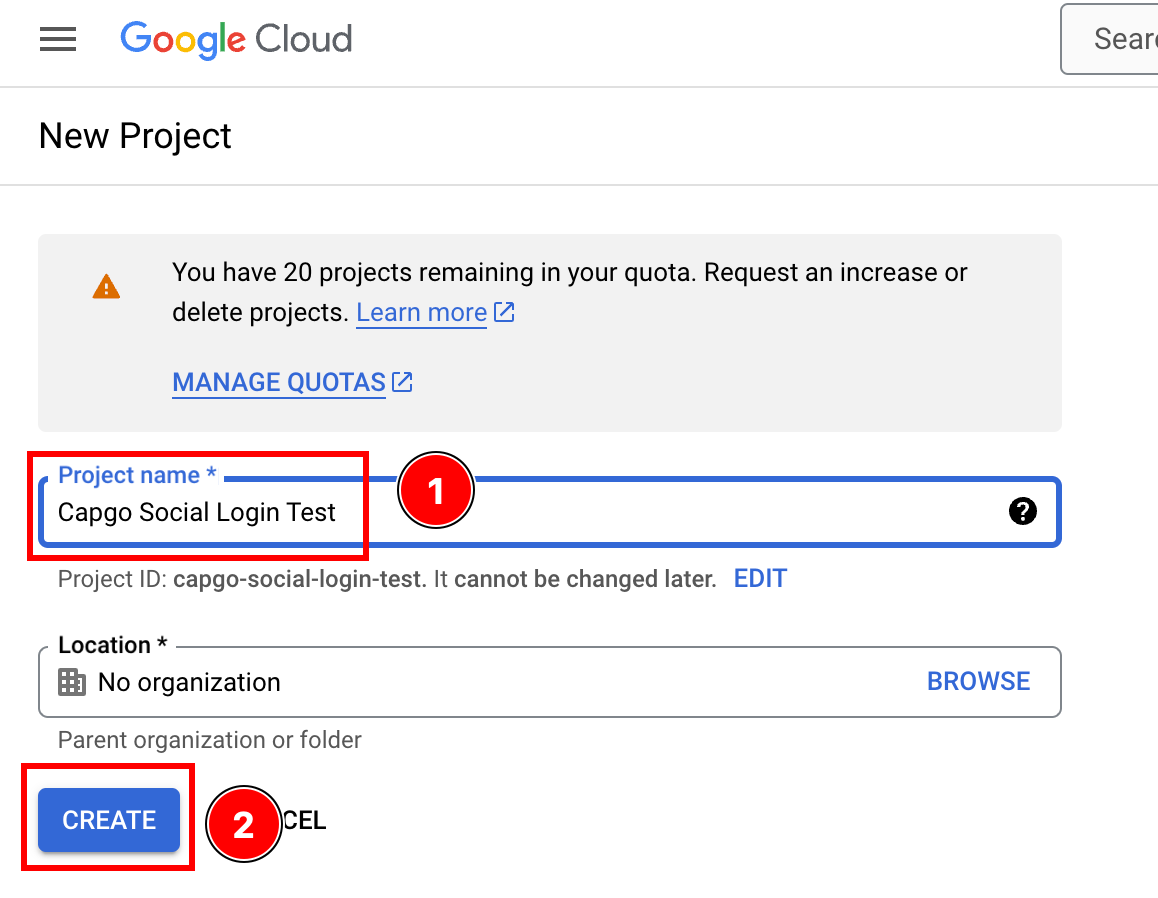
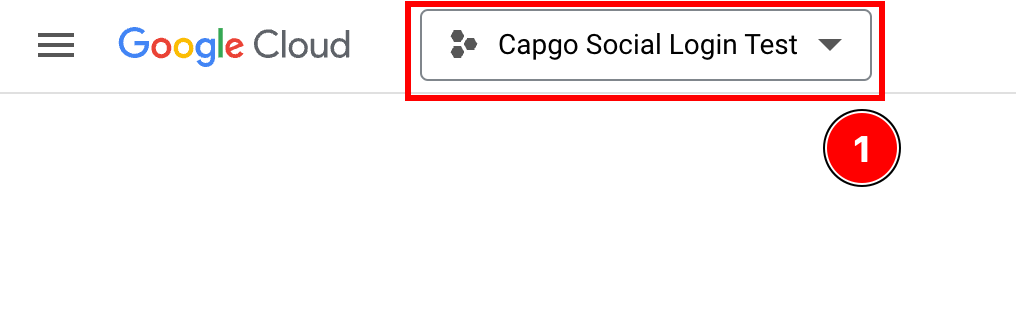
- 确保您在正确的项目中
- 点击
- 开始配置
OAuth consent screen-
点击搜索栏

-
搜索
OAuth consent screen并点击它
-
配置同意屏幕
点击
create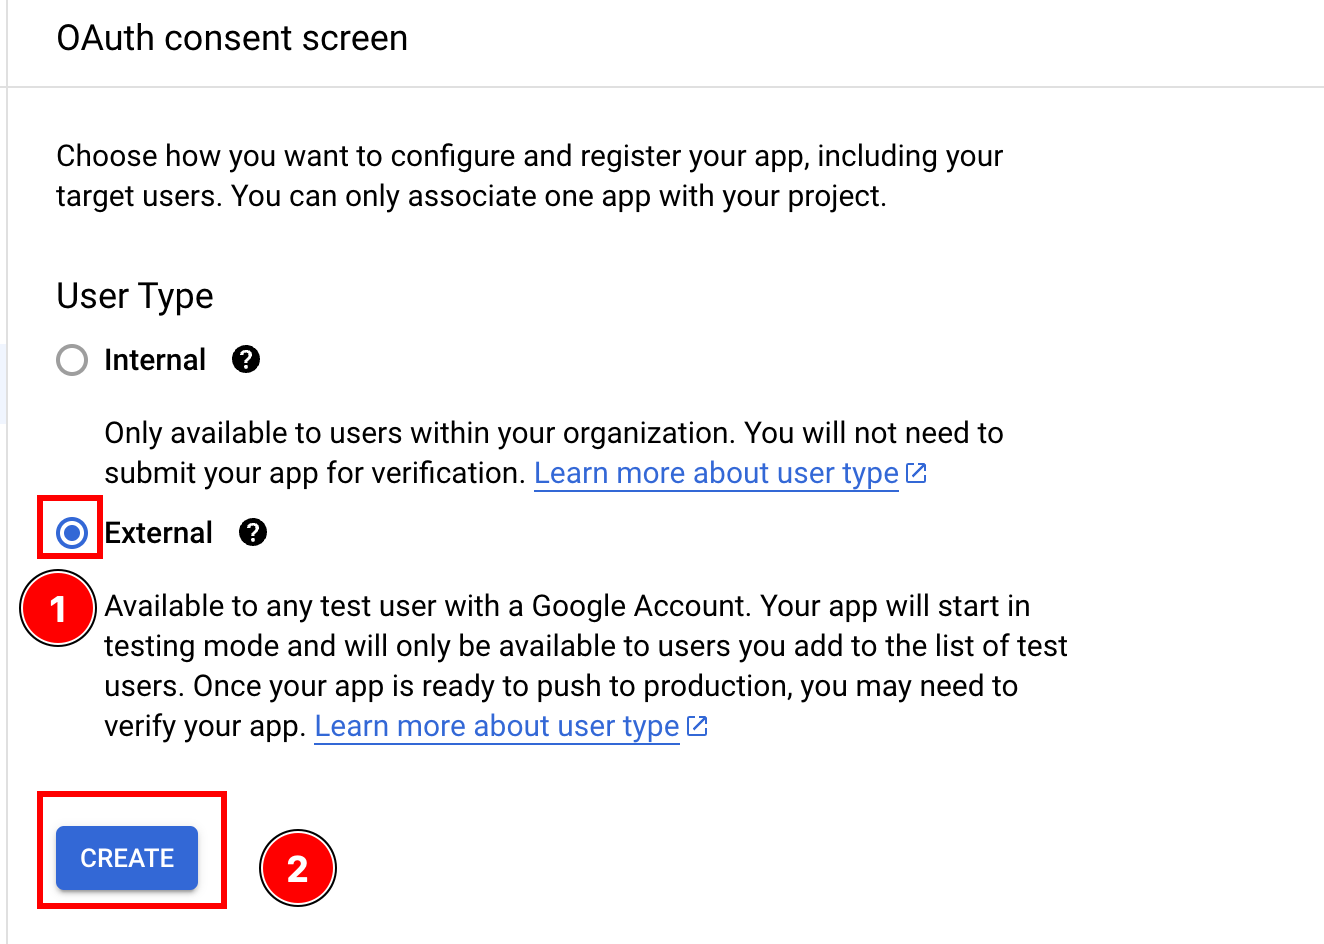
-
- 填写关于您的应用的信息
-
让我们从
App Information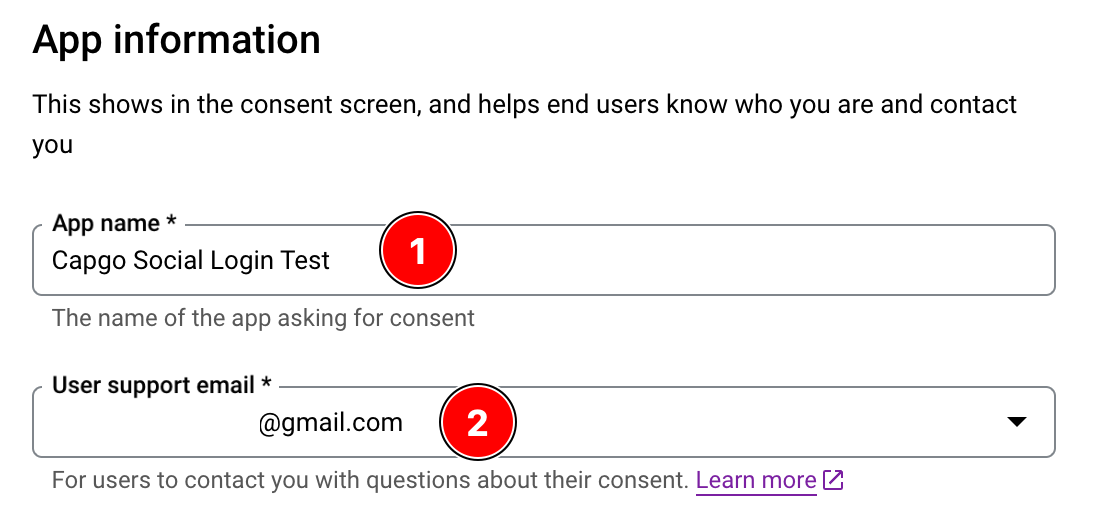
- 请输入您的
App Name - 输入
user support email
-
您 可以 添加应用程序Logo
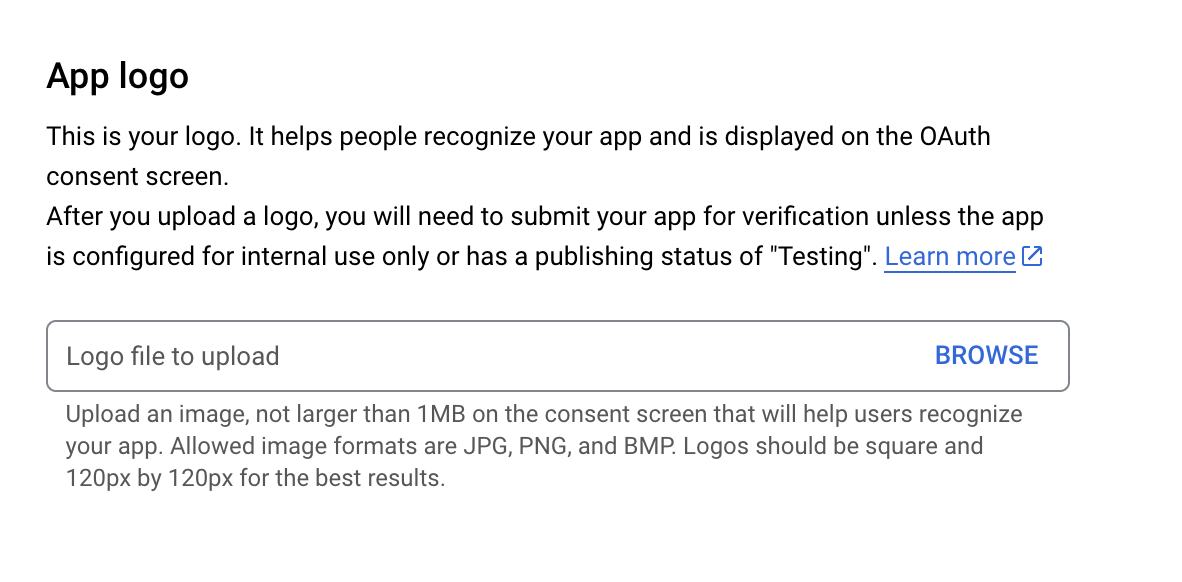
-
您 必须 配置
App domain
-
必须 __CAPGO_KEEP_0__ 提供开发者邮箱
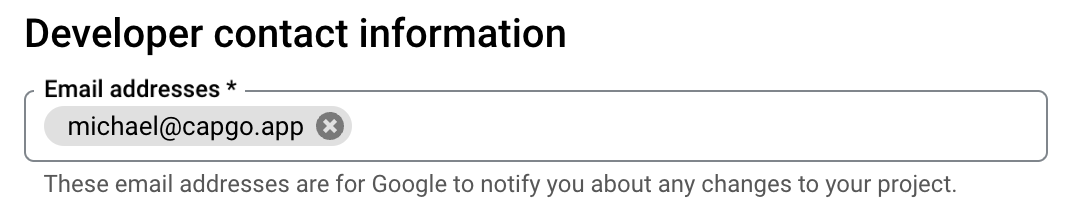
-
点击
save and continue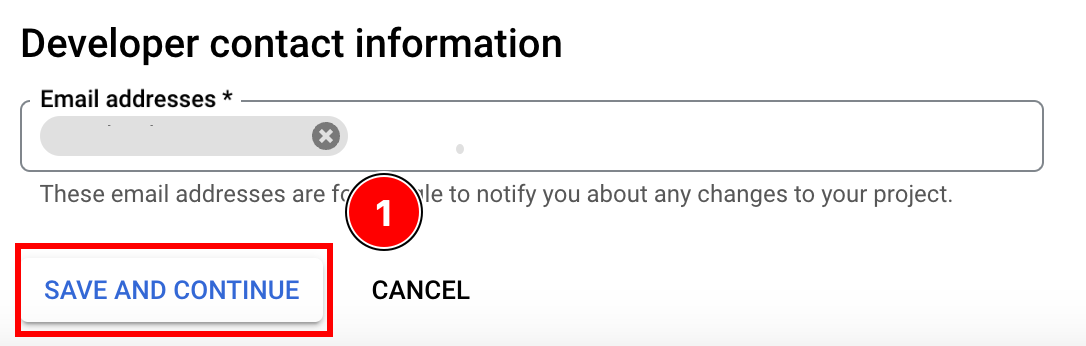
- 请输入您的
-
- 配置权限范围
-
点击
add or remove scopes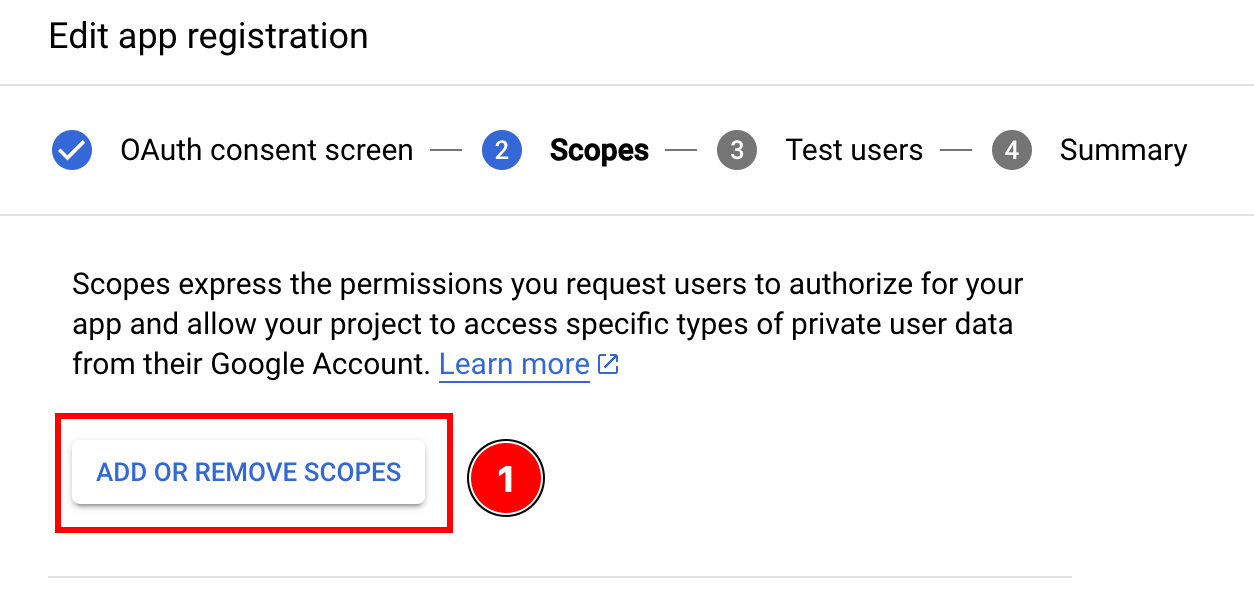
-
选择以下权限范围并点击
update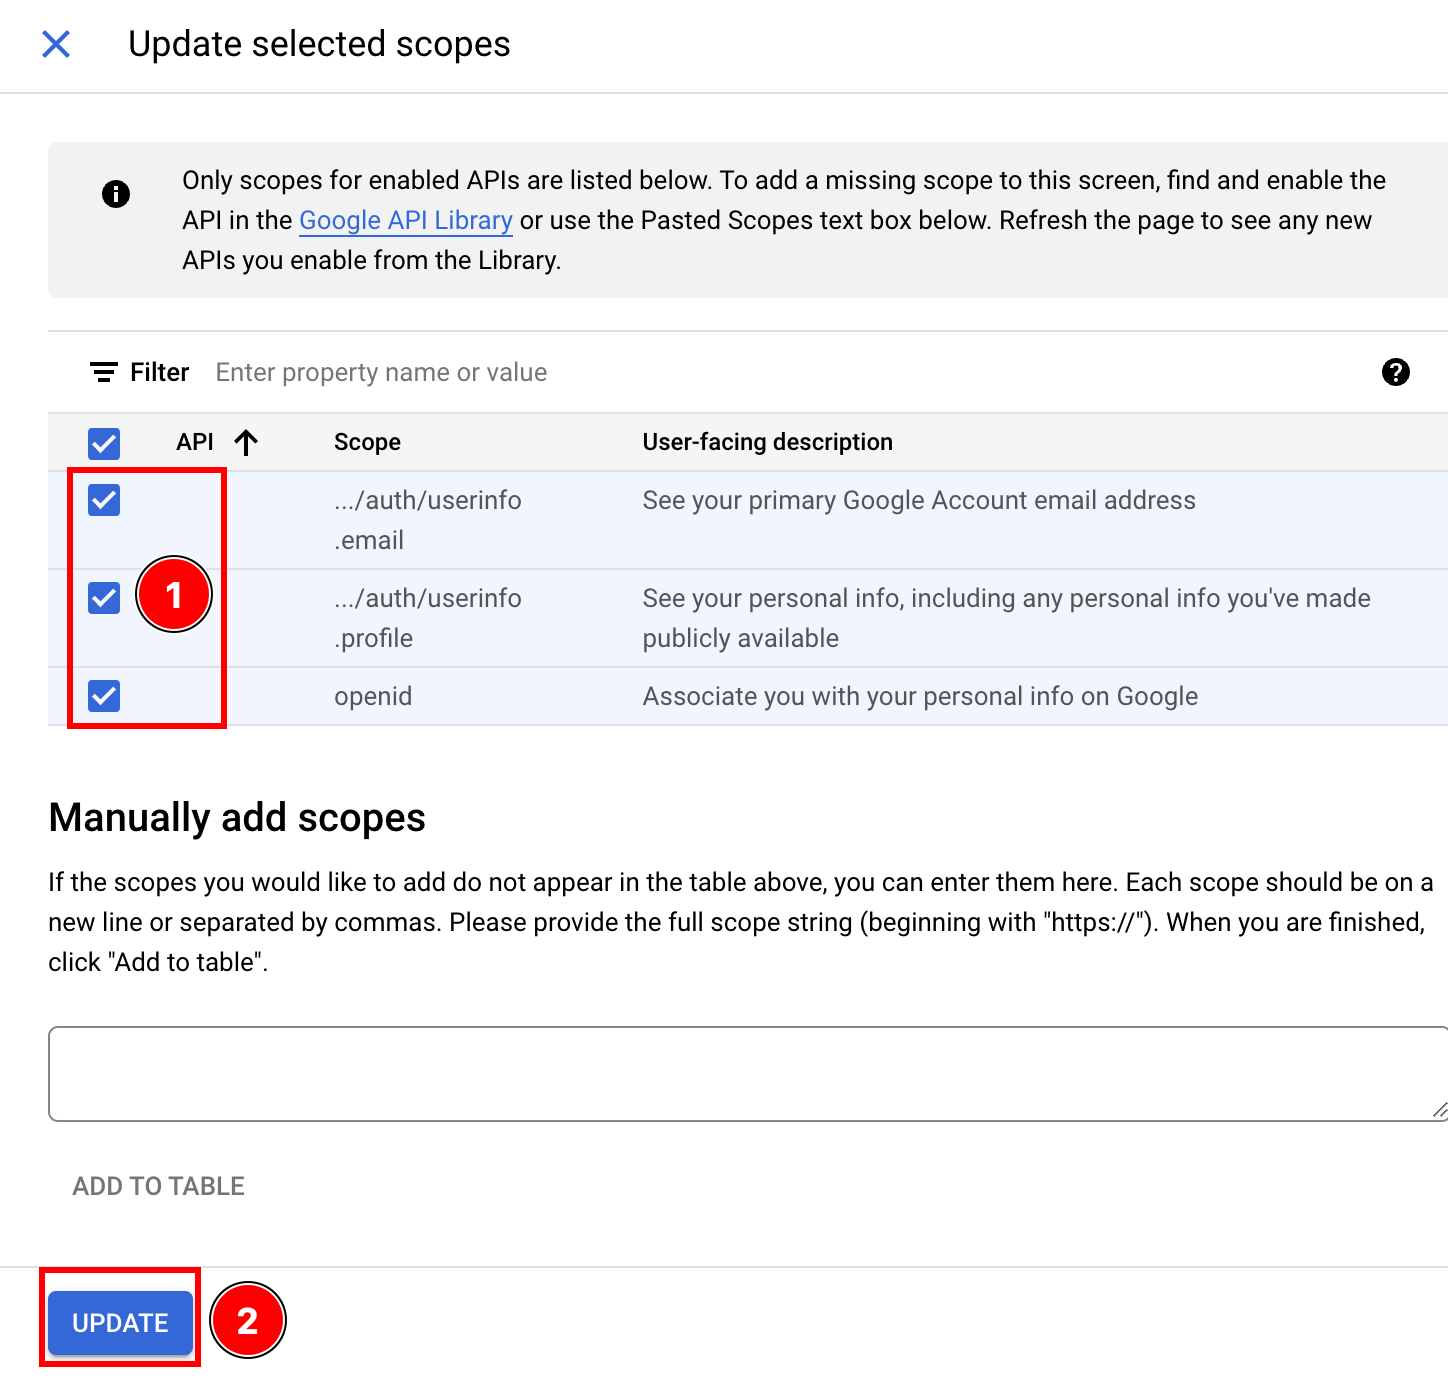
-
点击
save and continue
-
- 添加测试用户
- 点击
add users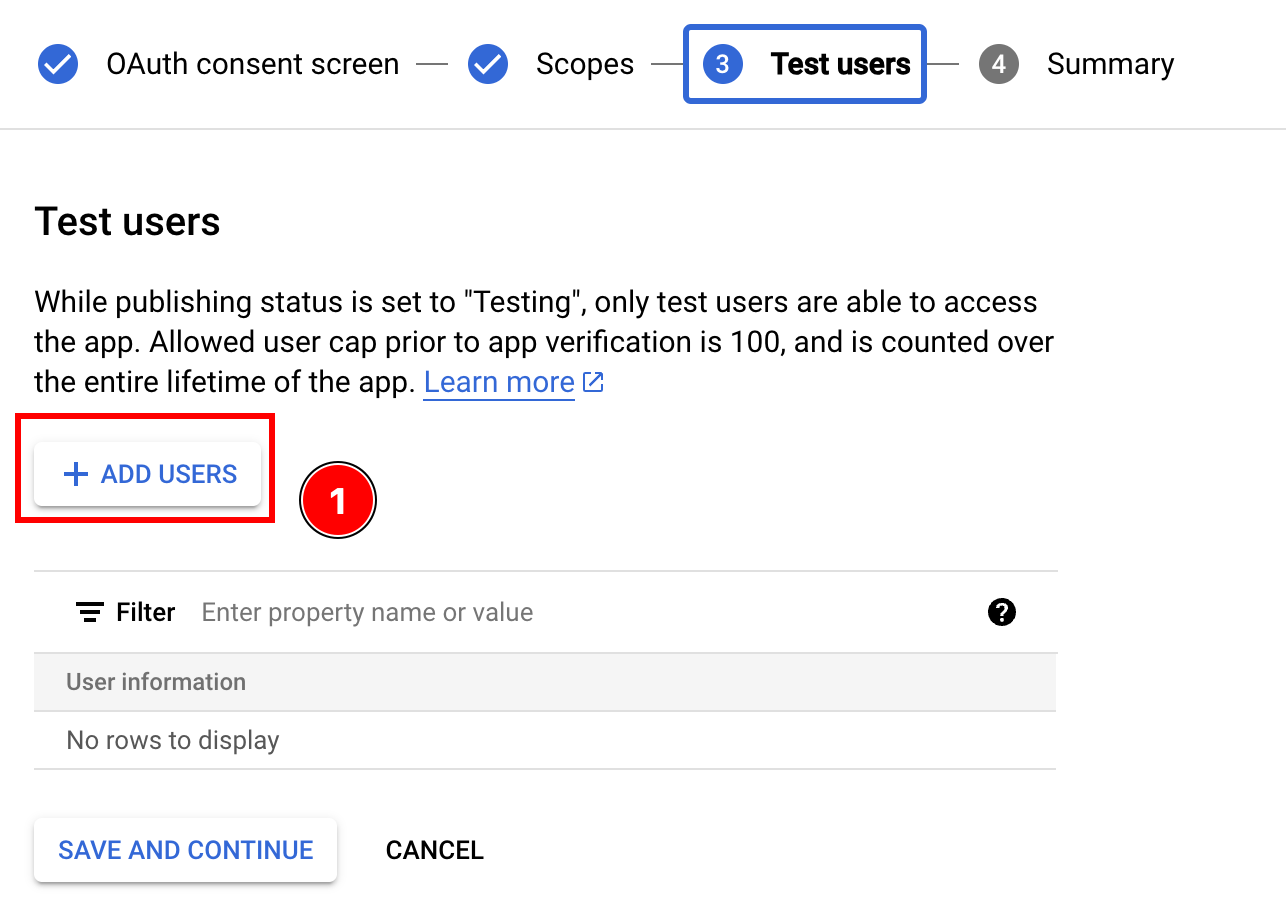
- 输入您的Google邮箱,按回车,然后点击
add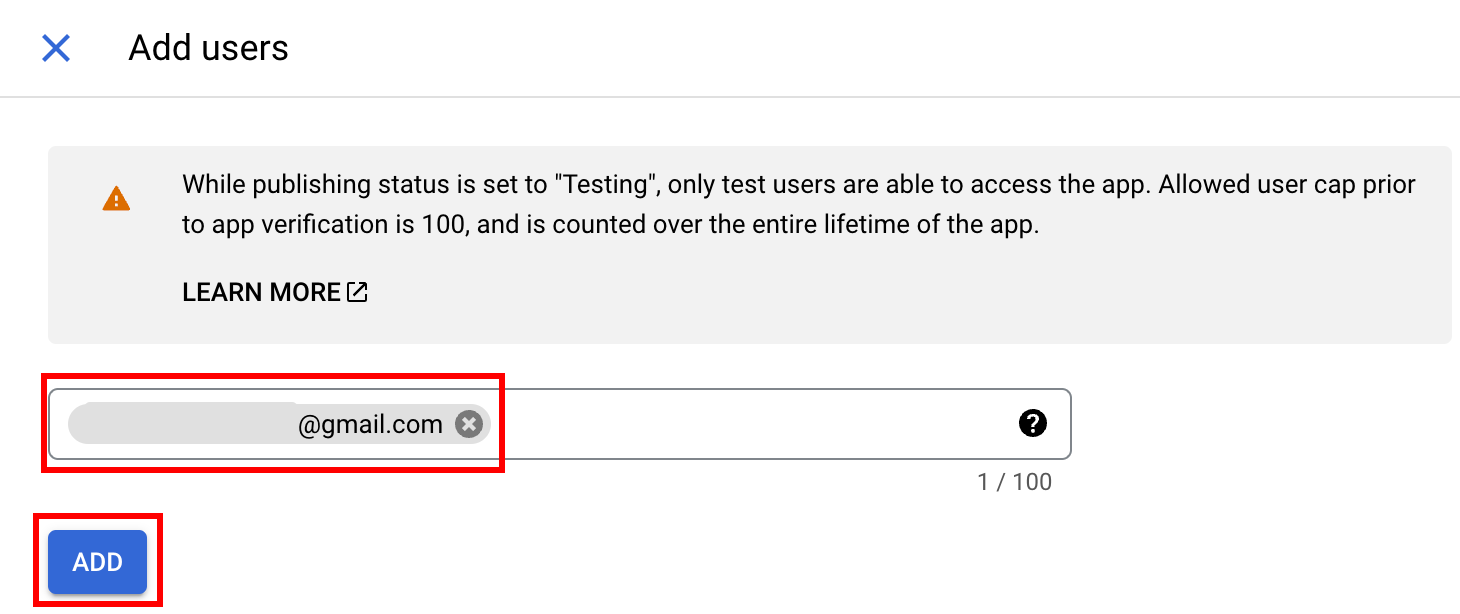
- 点击
save and continue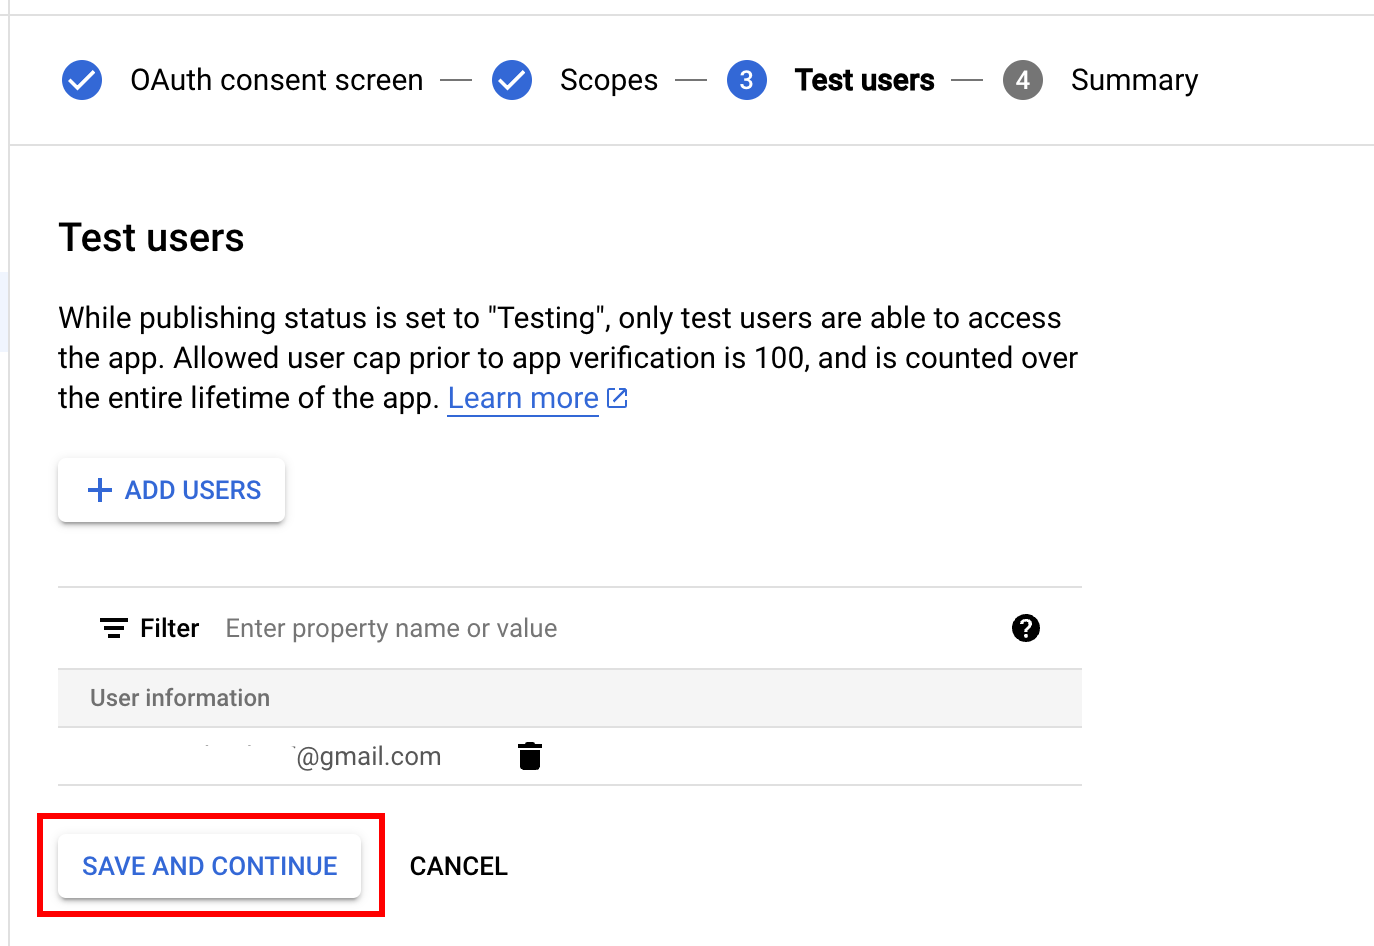
- 点击
- 点击
back to dashboard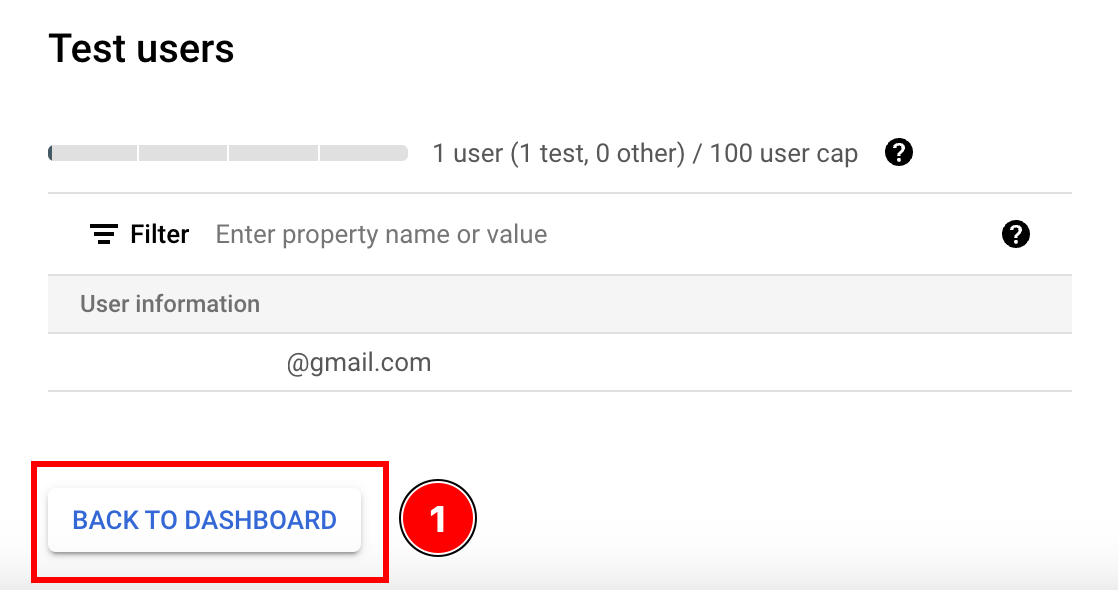
- 提交您的应用程序进行验证
在线访问与离线访问的区别
标题:在线访问与离线访问的区别There are multiple ways to use Google Login with Capacitor. Here is a table that summarizes the differences between the two:
| 在线访问 | 离线访问 | |
|---|---|---|
| 需要后端 | ❌ | ✅ |
| 长期有效的访问令牌 | ❌ | ✅ |
| 易于设置 | ✅ | ❌ |
如果您仍然不知道应该选择哪一个,请考虑以下场景:
-
您希望用户登录,立即为其颁发一个自定义 JWT。您的应用程序不会调用 Google API
在这种情况下,请选择在线访问。
-
您的应用程序将在客户端从 Google API 调用某些 API,但永远不会从后端调用
在这种情况下,请选择在线访问
-
您的应用程序将在后端从 Google API 调用某些 API,但仅在用户正在积极使用应用程序时
在这种情况下,请选择在线访问
-
您的应用程序将定期检查用户的日历,即使用户不在使用应用程序
在这种情况下,请选择离线访问
在线访问示例后端
标题:在线访问示例后端在本教程的这一部分,我将展示如何在您的后端验证用户。
这个例子将非常简单,并且将基于以下技术:
您可以在这里找到本例的code 如您所见:
VS __CAPGO_KEEP_0__ 展示了 Google 认证 __CAPGO_KEEP_1__,用于验证令牌
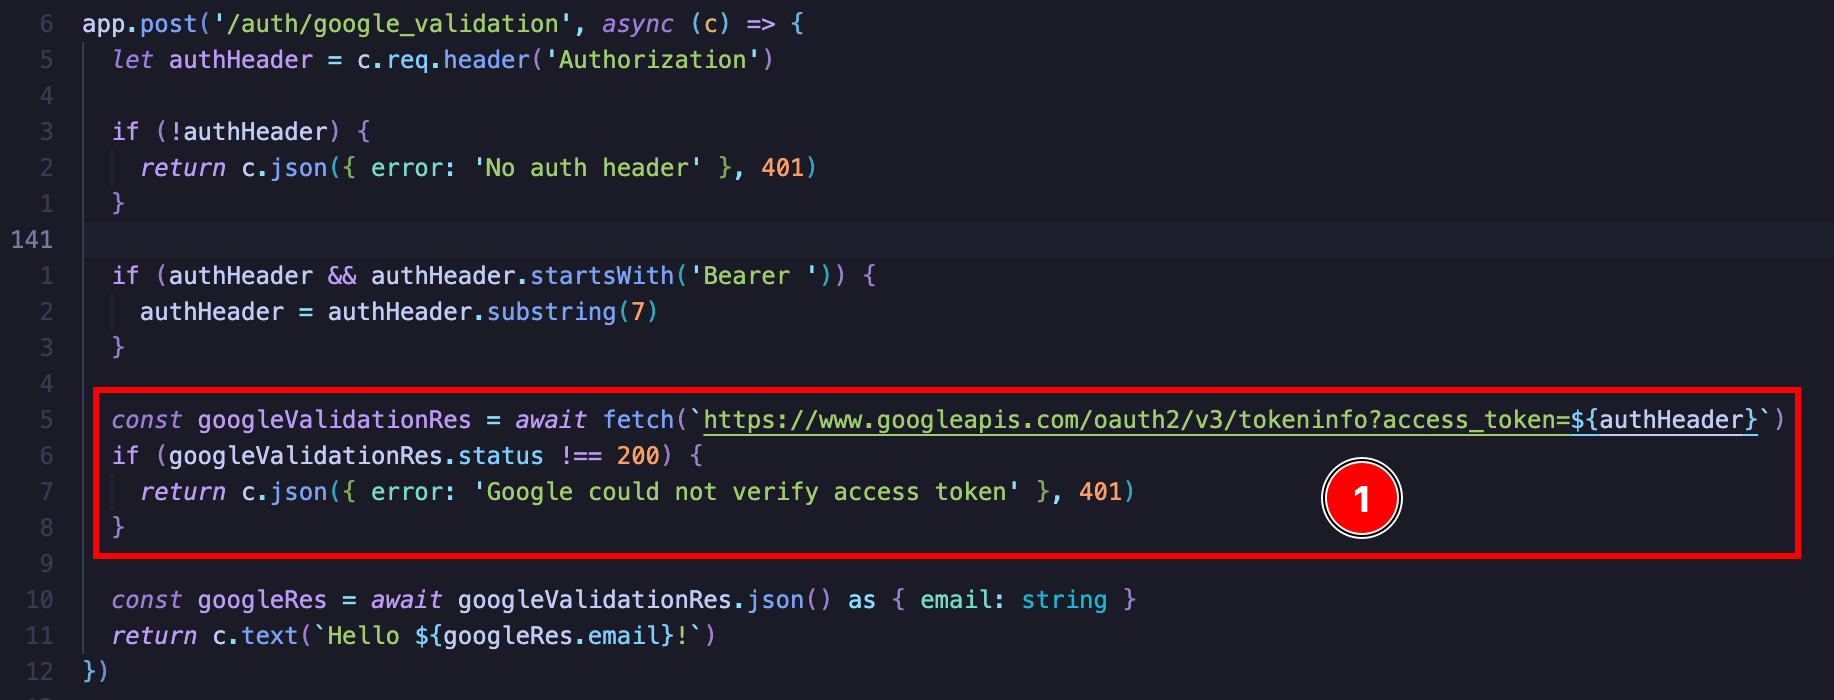
并且它会返回令牌是否有效以及令牌有效时会给您用户的电子邮件地址以及令牌的其他信息 GET __CAPGO_KEEP_0__ https://www.googleapis.com/oauth2/v3/tokeninfo __CAPGO_KEEP_1__

从那里,您可以向用户颁发自己的 JWT 或颁发会话 cookie。实现最终认证的可能性是无穷尽的。
如果您想调用 Google API,我强烈建议您查看 Google OAuth 2.0 Playground从那里您可以轻松看到可以调用的 API。
使用离线访问与您的后端
标题:使用离线访问与您的后端要使用离线访问,您需要以下内容:
- HTTP 服务器
在本例中,我将使用以下技术来为我的应用提供离线访问:
-
LowDb (一个简单的数据库)
本示例的code可以在这里找到 客户端__CAPGO_KEEP_0__看起来像这样:
As for the client code, it looks like this:
import { Capacitor } from '@capacitor/core';import { GoogleLoginOfflineResponse, SocialLogin } from '@capgo/capacitor-social-login';import { usePopoutStore } from '@/popoutStore'; // <-- specific to my app
const baseURL = "[redacted]";
async function fullLogin() {  await SocialLogin.initialize({    google: {      webClientId: '[redacted]',      iOSClientId: '[redacted]',      iOSServerClientId: 'The same value as webClientId',      mode: 'offline' // <-- important    }  })  const response = await SocialLogin.login({    provider: 'google',    options: {      forceRefreshToken: true // <-- important    }  })
  if (response.provider === 'google') {    const result = response.result as GoogleLoginOfflineResponse    const res = await fetch(`${baseURL}/auth/google_offline`, {      headers: {        "Content-Type": "application/json"      },      body: JSON.stringify({        serverAuthCode: result.serverAuthCode,        platform: Capacitor.getPlatform()      }),      method: "POST"    })
    if (res.status !== 200) {      popoutStore.popout("Full google login failed", "check console");      return    }
    const { jwt } = await res.json();    const userinfo = await fetch(`${baseURL}/auth/get_google_user`, {      headers: {        Authorization: `Bearer ${jwt}`      }    })    if (userinfo.status !== 200) {      popoutStore.popout("Full google (userinfo) login failed", "check console");      return    }    popoutStore.popout("userinfo res", await userinfo.text());  }}
继续从 Google 登录设置 SocialLogin.refresh() 客户端__CAPGO_KEEP_0__看起来像这样: serverAuthCode 复制到剪贴板
注意这里什么都没有:没有在应用中调用。Google 离线模式下,刷新发生在您的后端交换和安全存储刷新令牌之后。
继续从 Google 登录设置如果您正在使用 Google 登录设置 来规划身份验证和帐户流程,连接它 使用 @capgo/capacitor-social-login 为使用 @capgo/capacitor-social-login 的本机功能 @capgo/capacitor-social-login 为 @capgo/capacitor-social-login 的实现细节 @capgo/capacitor-passkey 为 @capgo/capacitor-passkey 的实现细节 @capgo/capacitor-native-biometric 为 @capgo/capacitor-native-biometric 的实现细节 双重认证 双重认证实现细节。