Firebase Google Login on Android
复制一个包含安装步骤和本插件的完整 Markdown 指南的配置提示。
介绍
标题为“介绍”本指南将帮助您在 Android 上将 Google Sign-In 与 Firebase Authentication 集成。假设您已经完成了 通用 Firebase Google 设置
Setup Steps
Section titled “Setup Steps”-
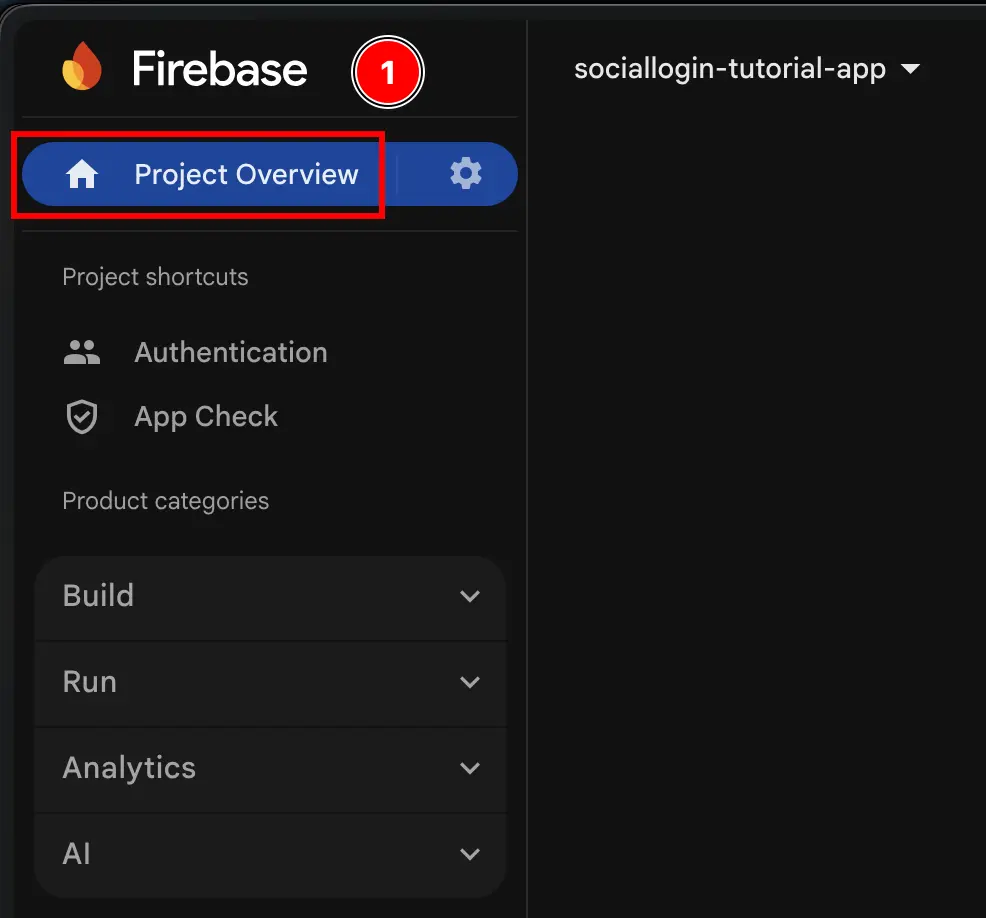
前往您的项目概览页面(console.cloud.google.com) console.cloud.google.com
-
点击
Add app按钮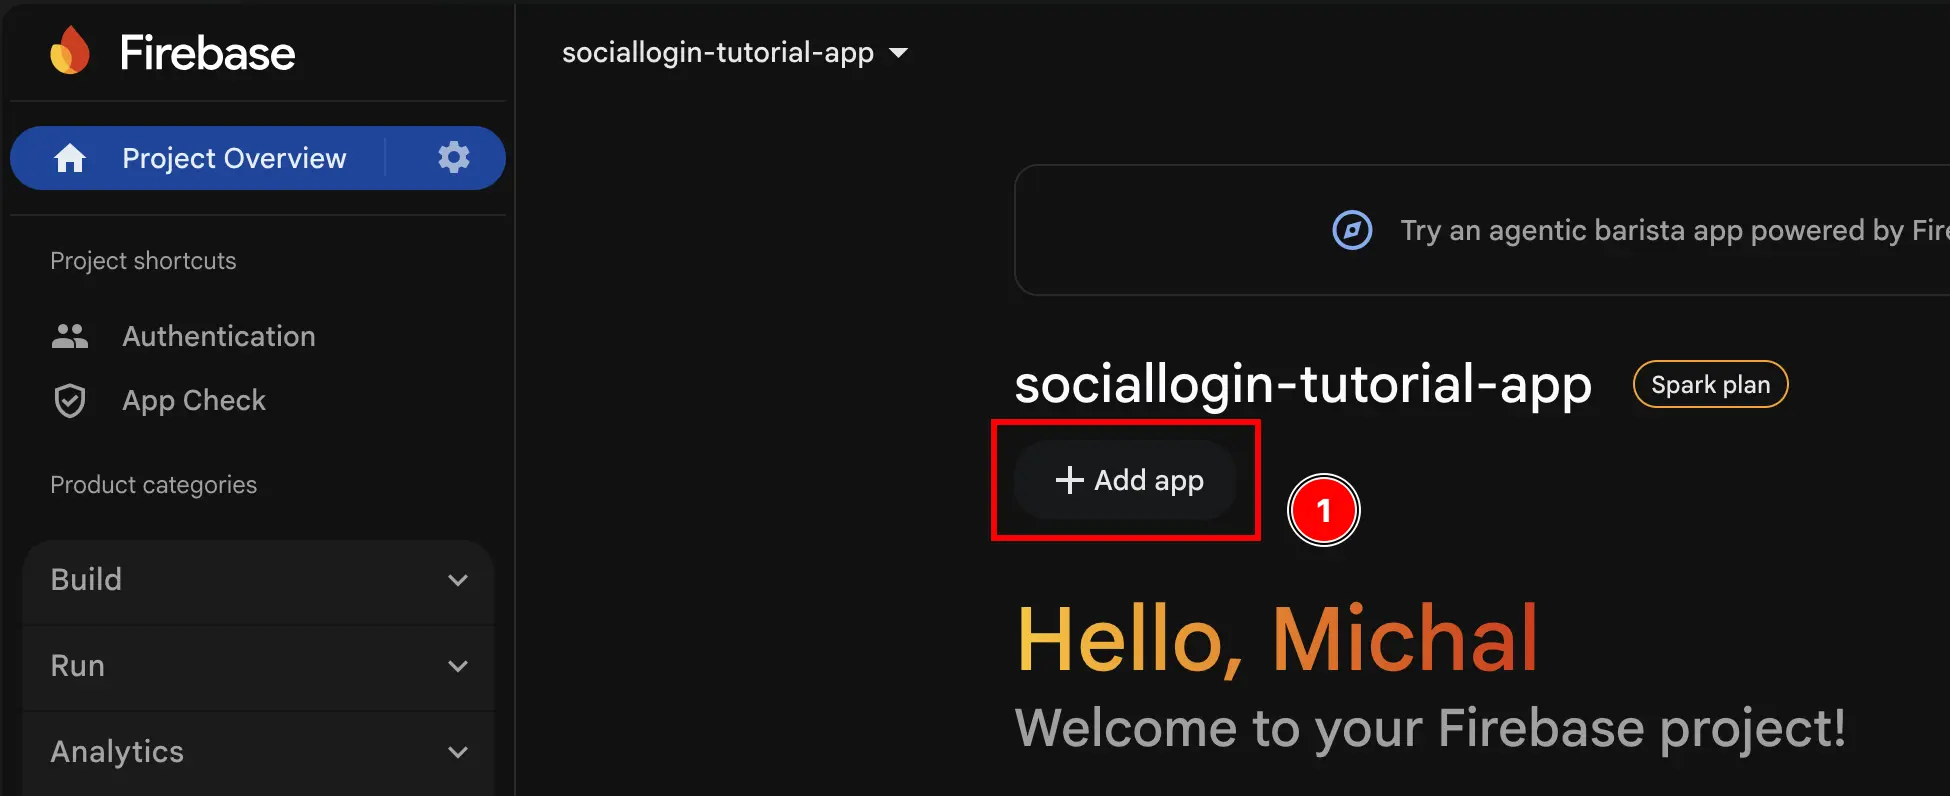
-
选择
Android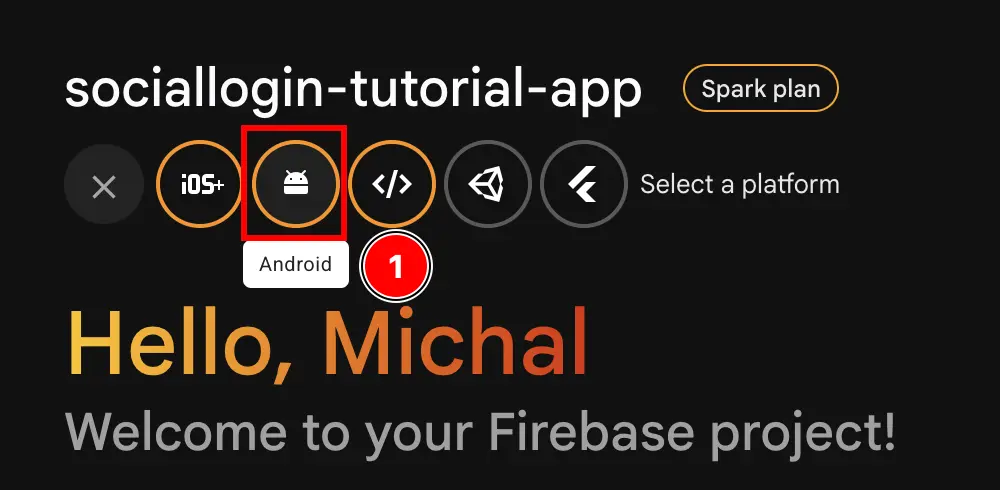
-
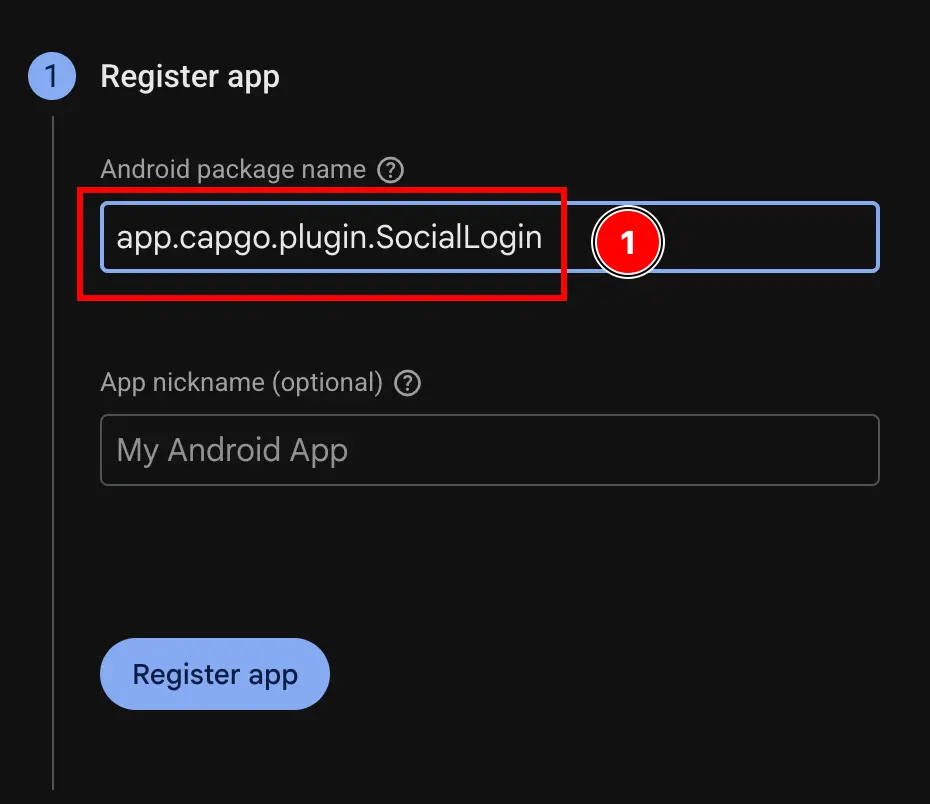
填写表单的第一部分
- 填写
Android package name- 打开使用 App 的 Android Studio
npx cap open android - 在导航器的最底部找到
Gradle Scripts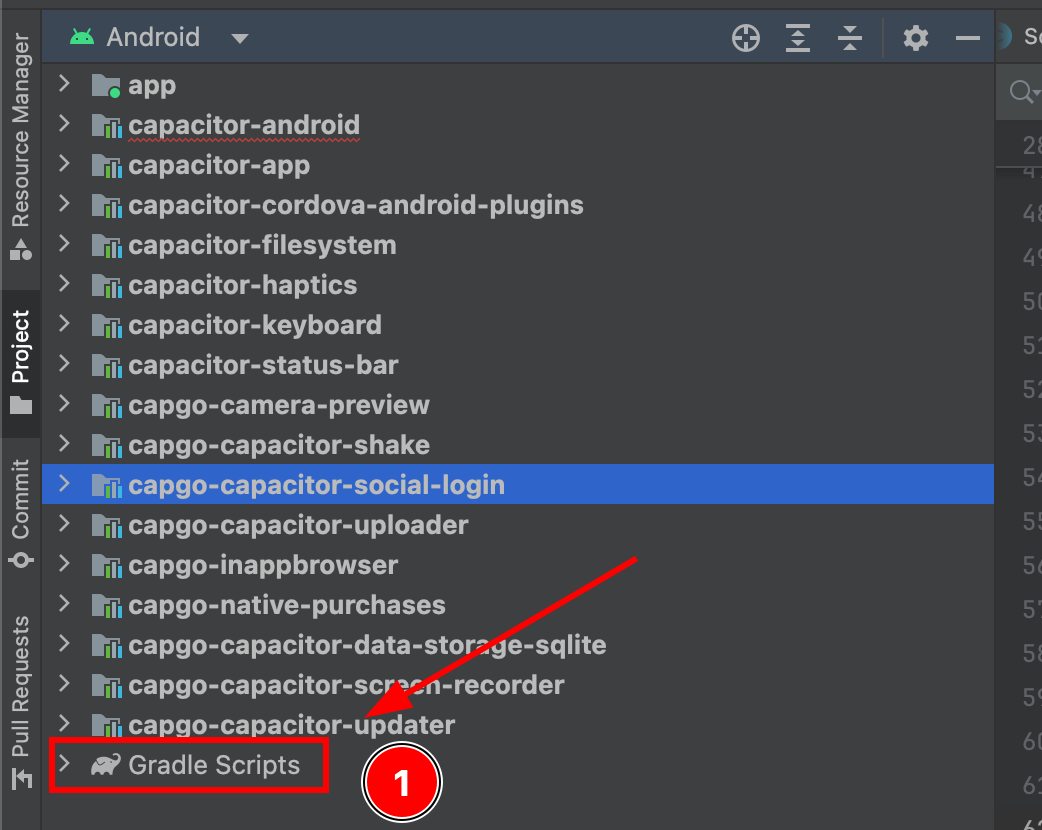
- 找到
build.gradle为模块app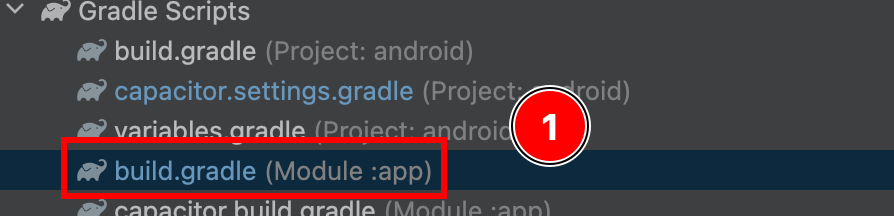
- 复制
android.defaultConfig.applicationId. 这将是你的package name在 Firebase 控制台中
- 将其粘贴到 Firebase 控制台中
- 打开使用 App 的 Android Studio
- 点击
Register app按钮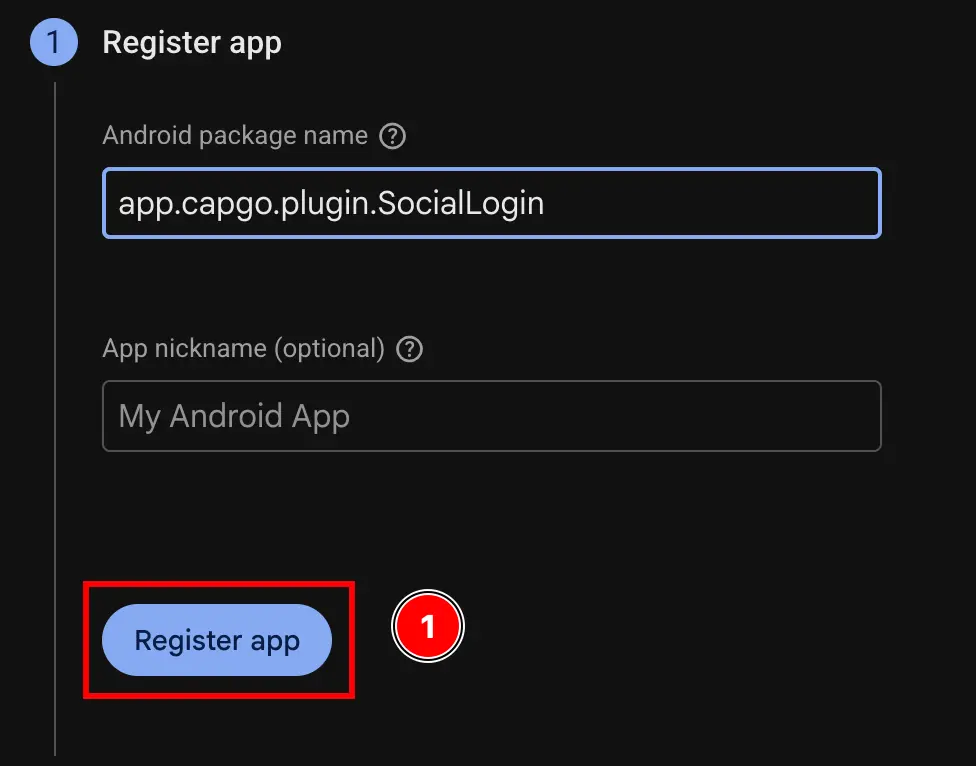
- 填写
-
跳过
Download and then add config file步骤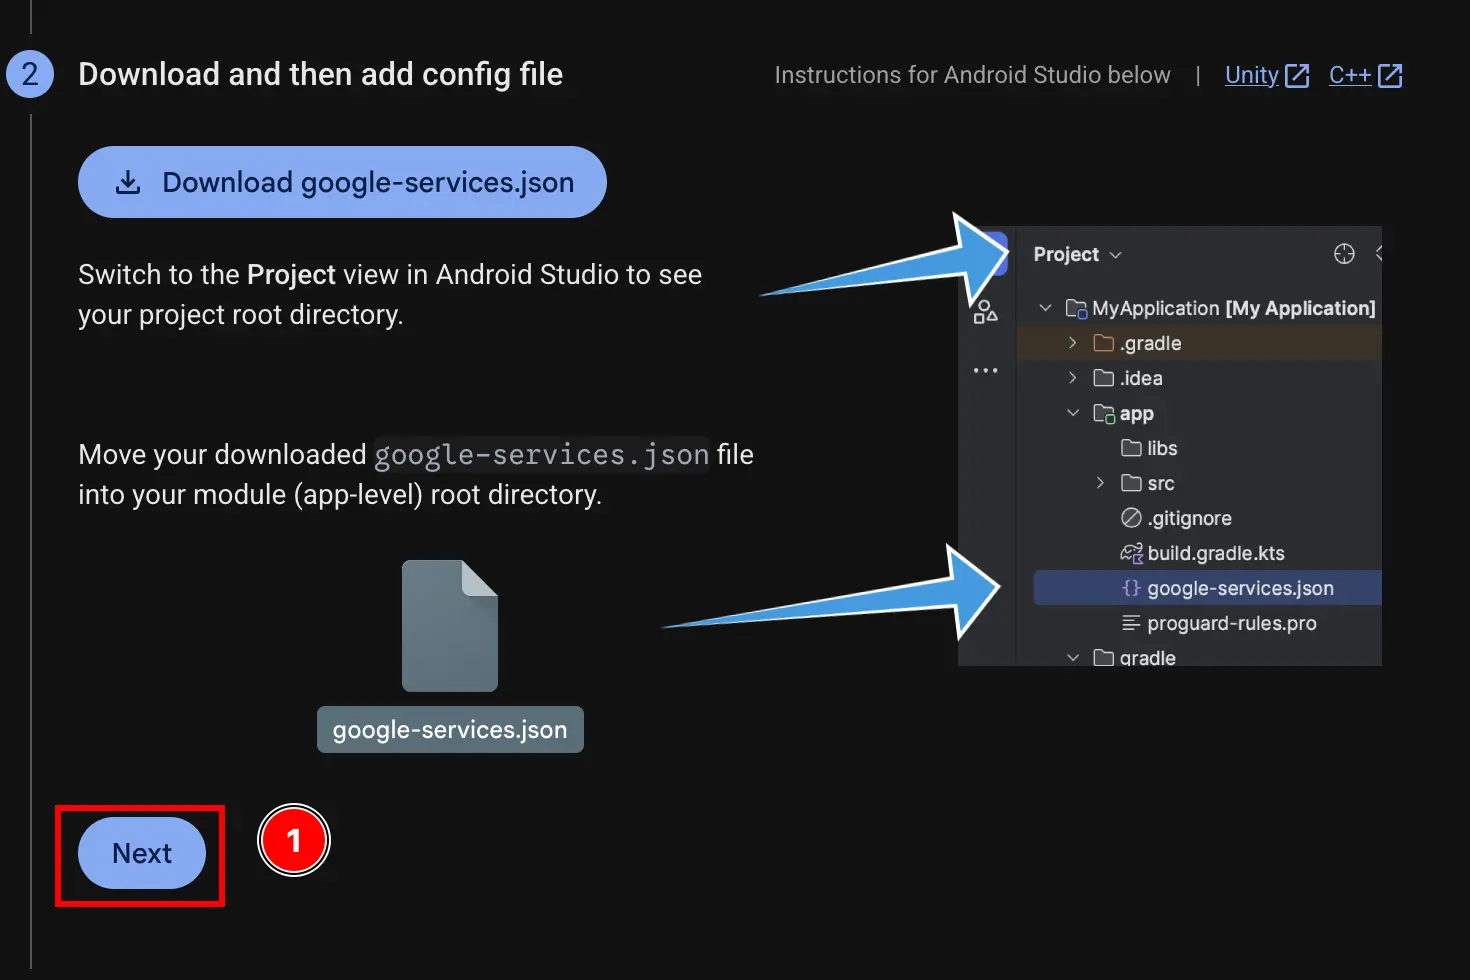
-
跳过
Add firebase SDK步骤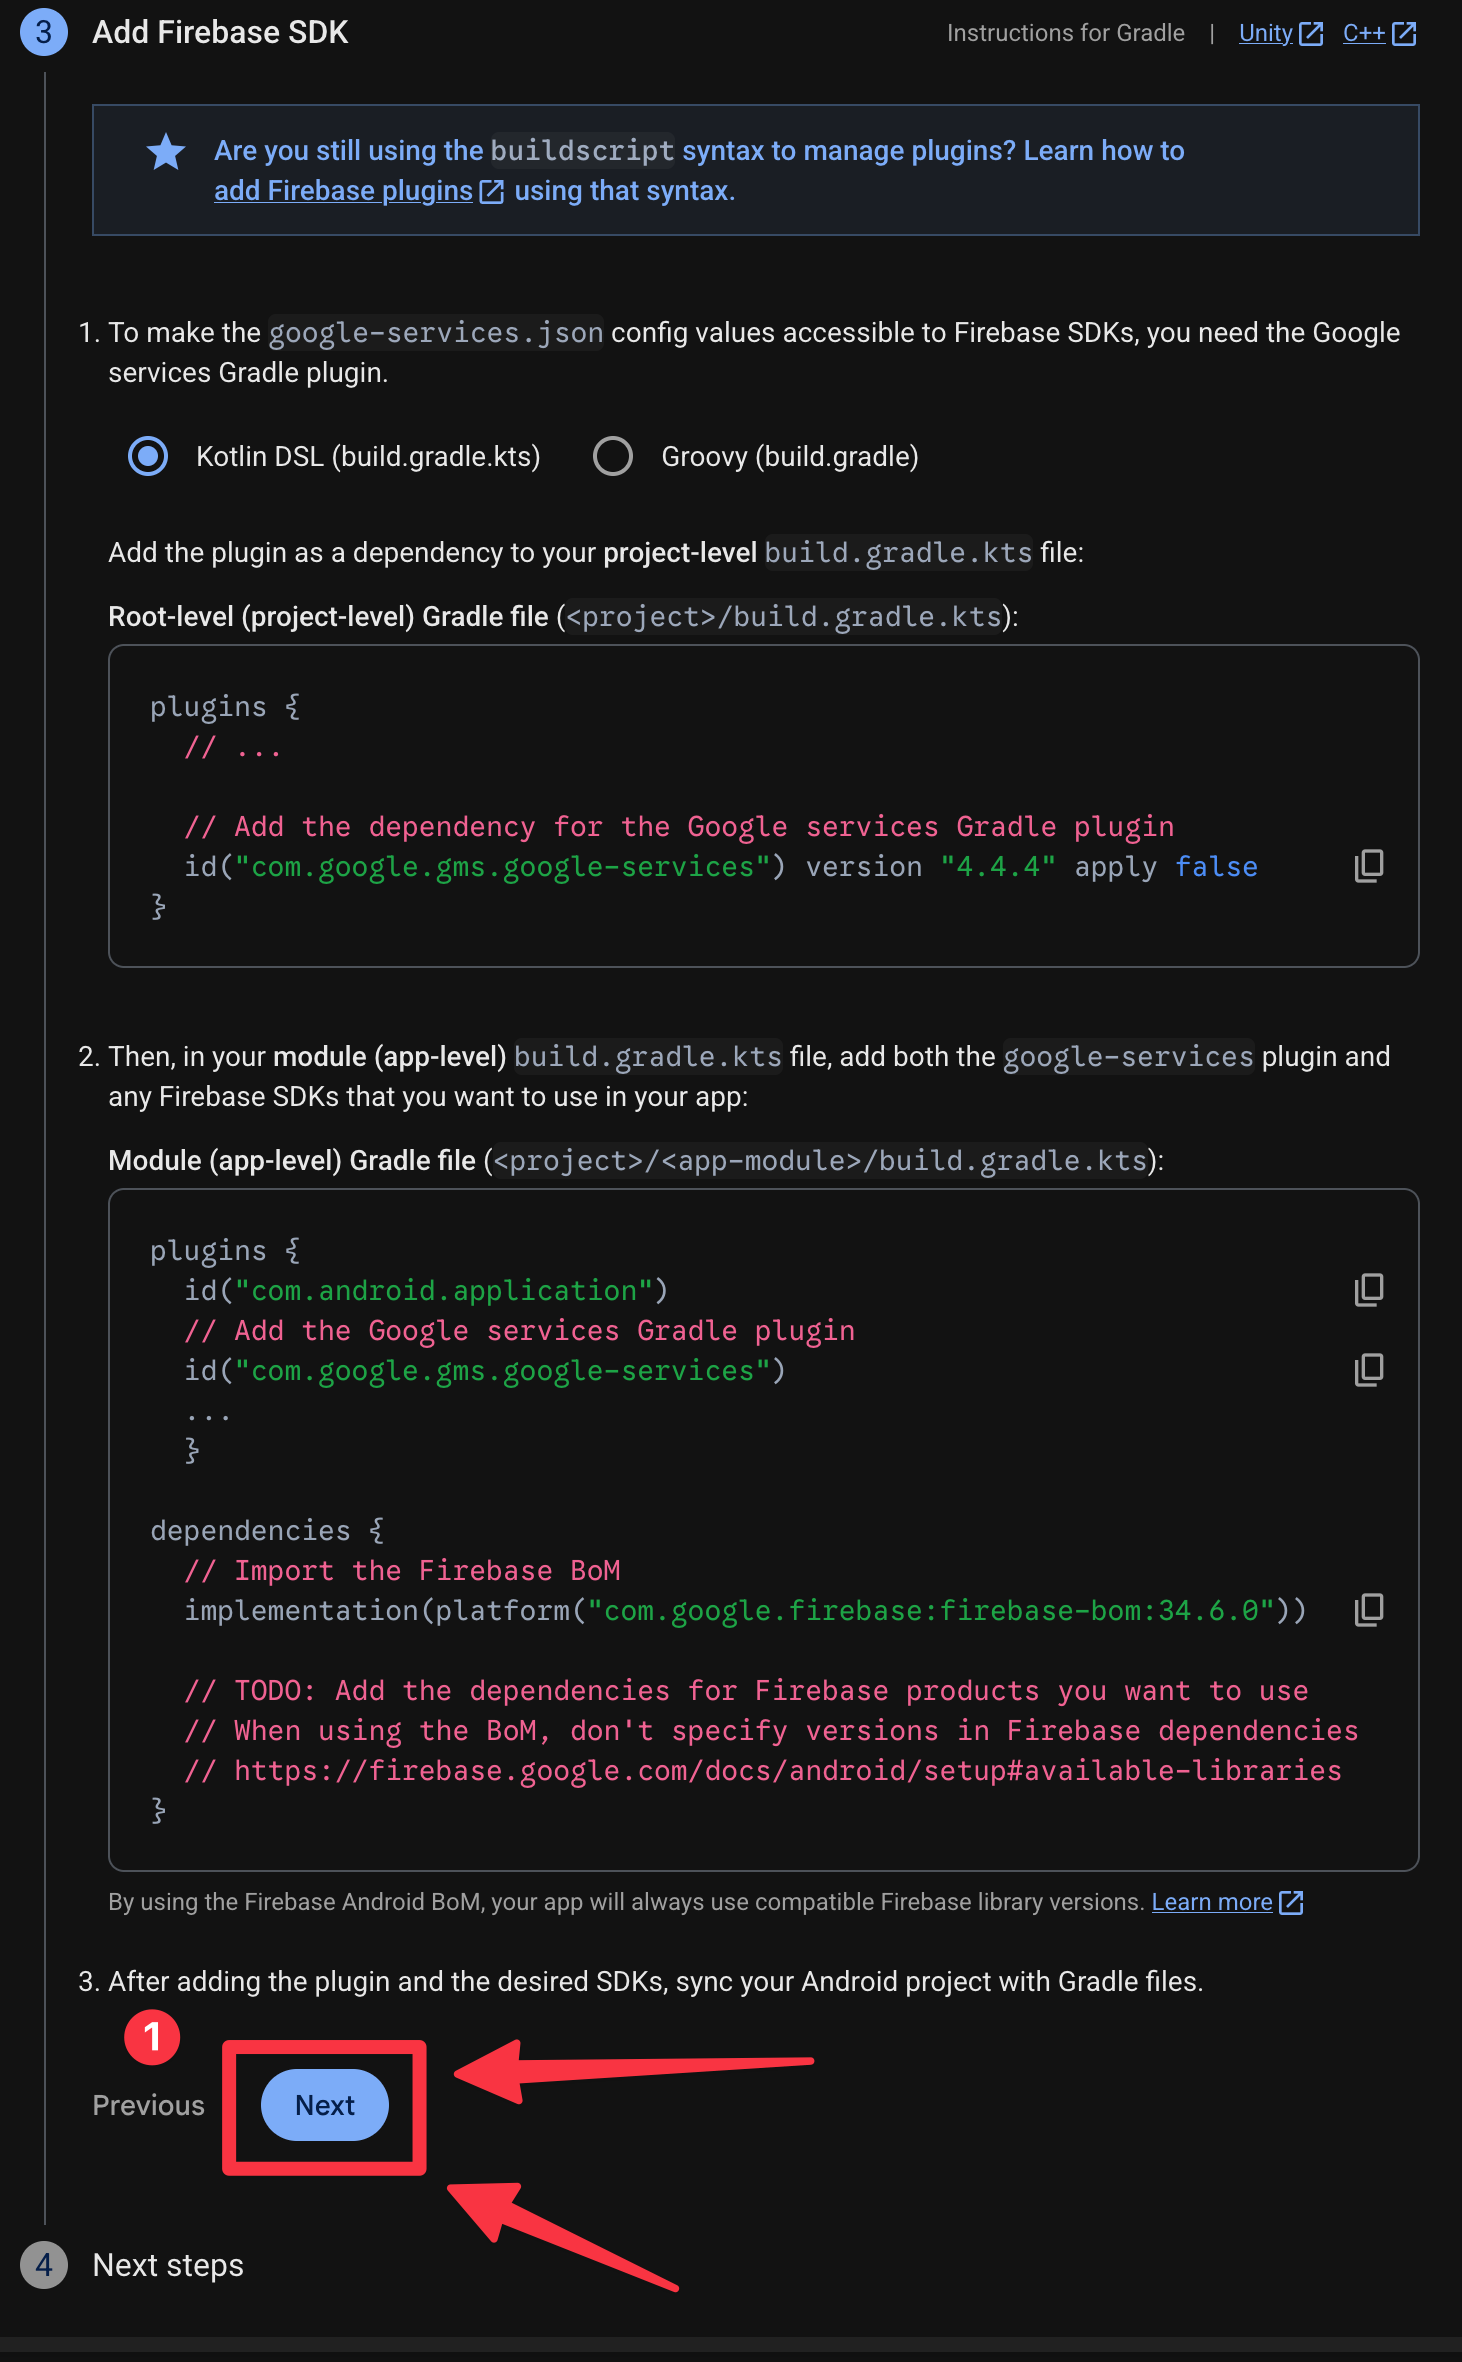
-
点击
Continue to console按钮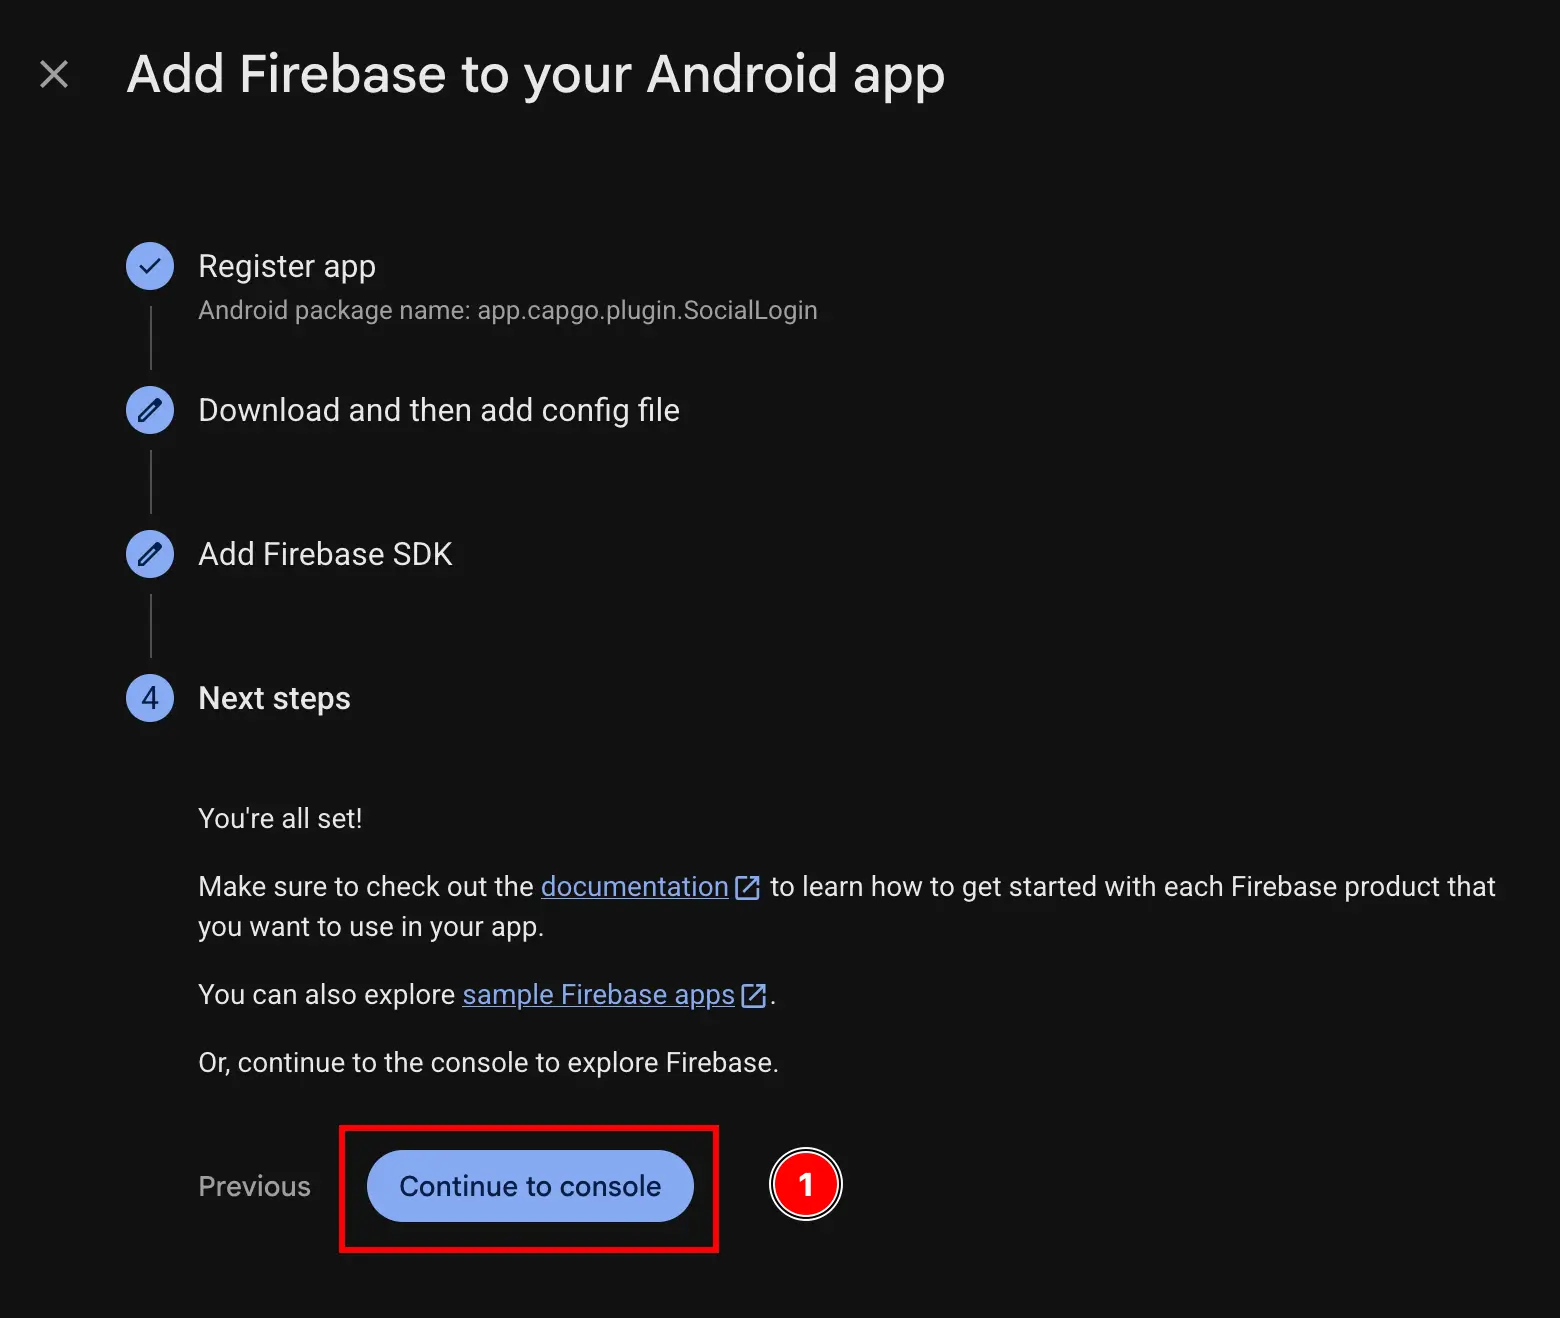
-
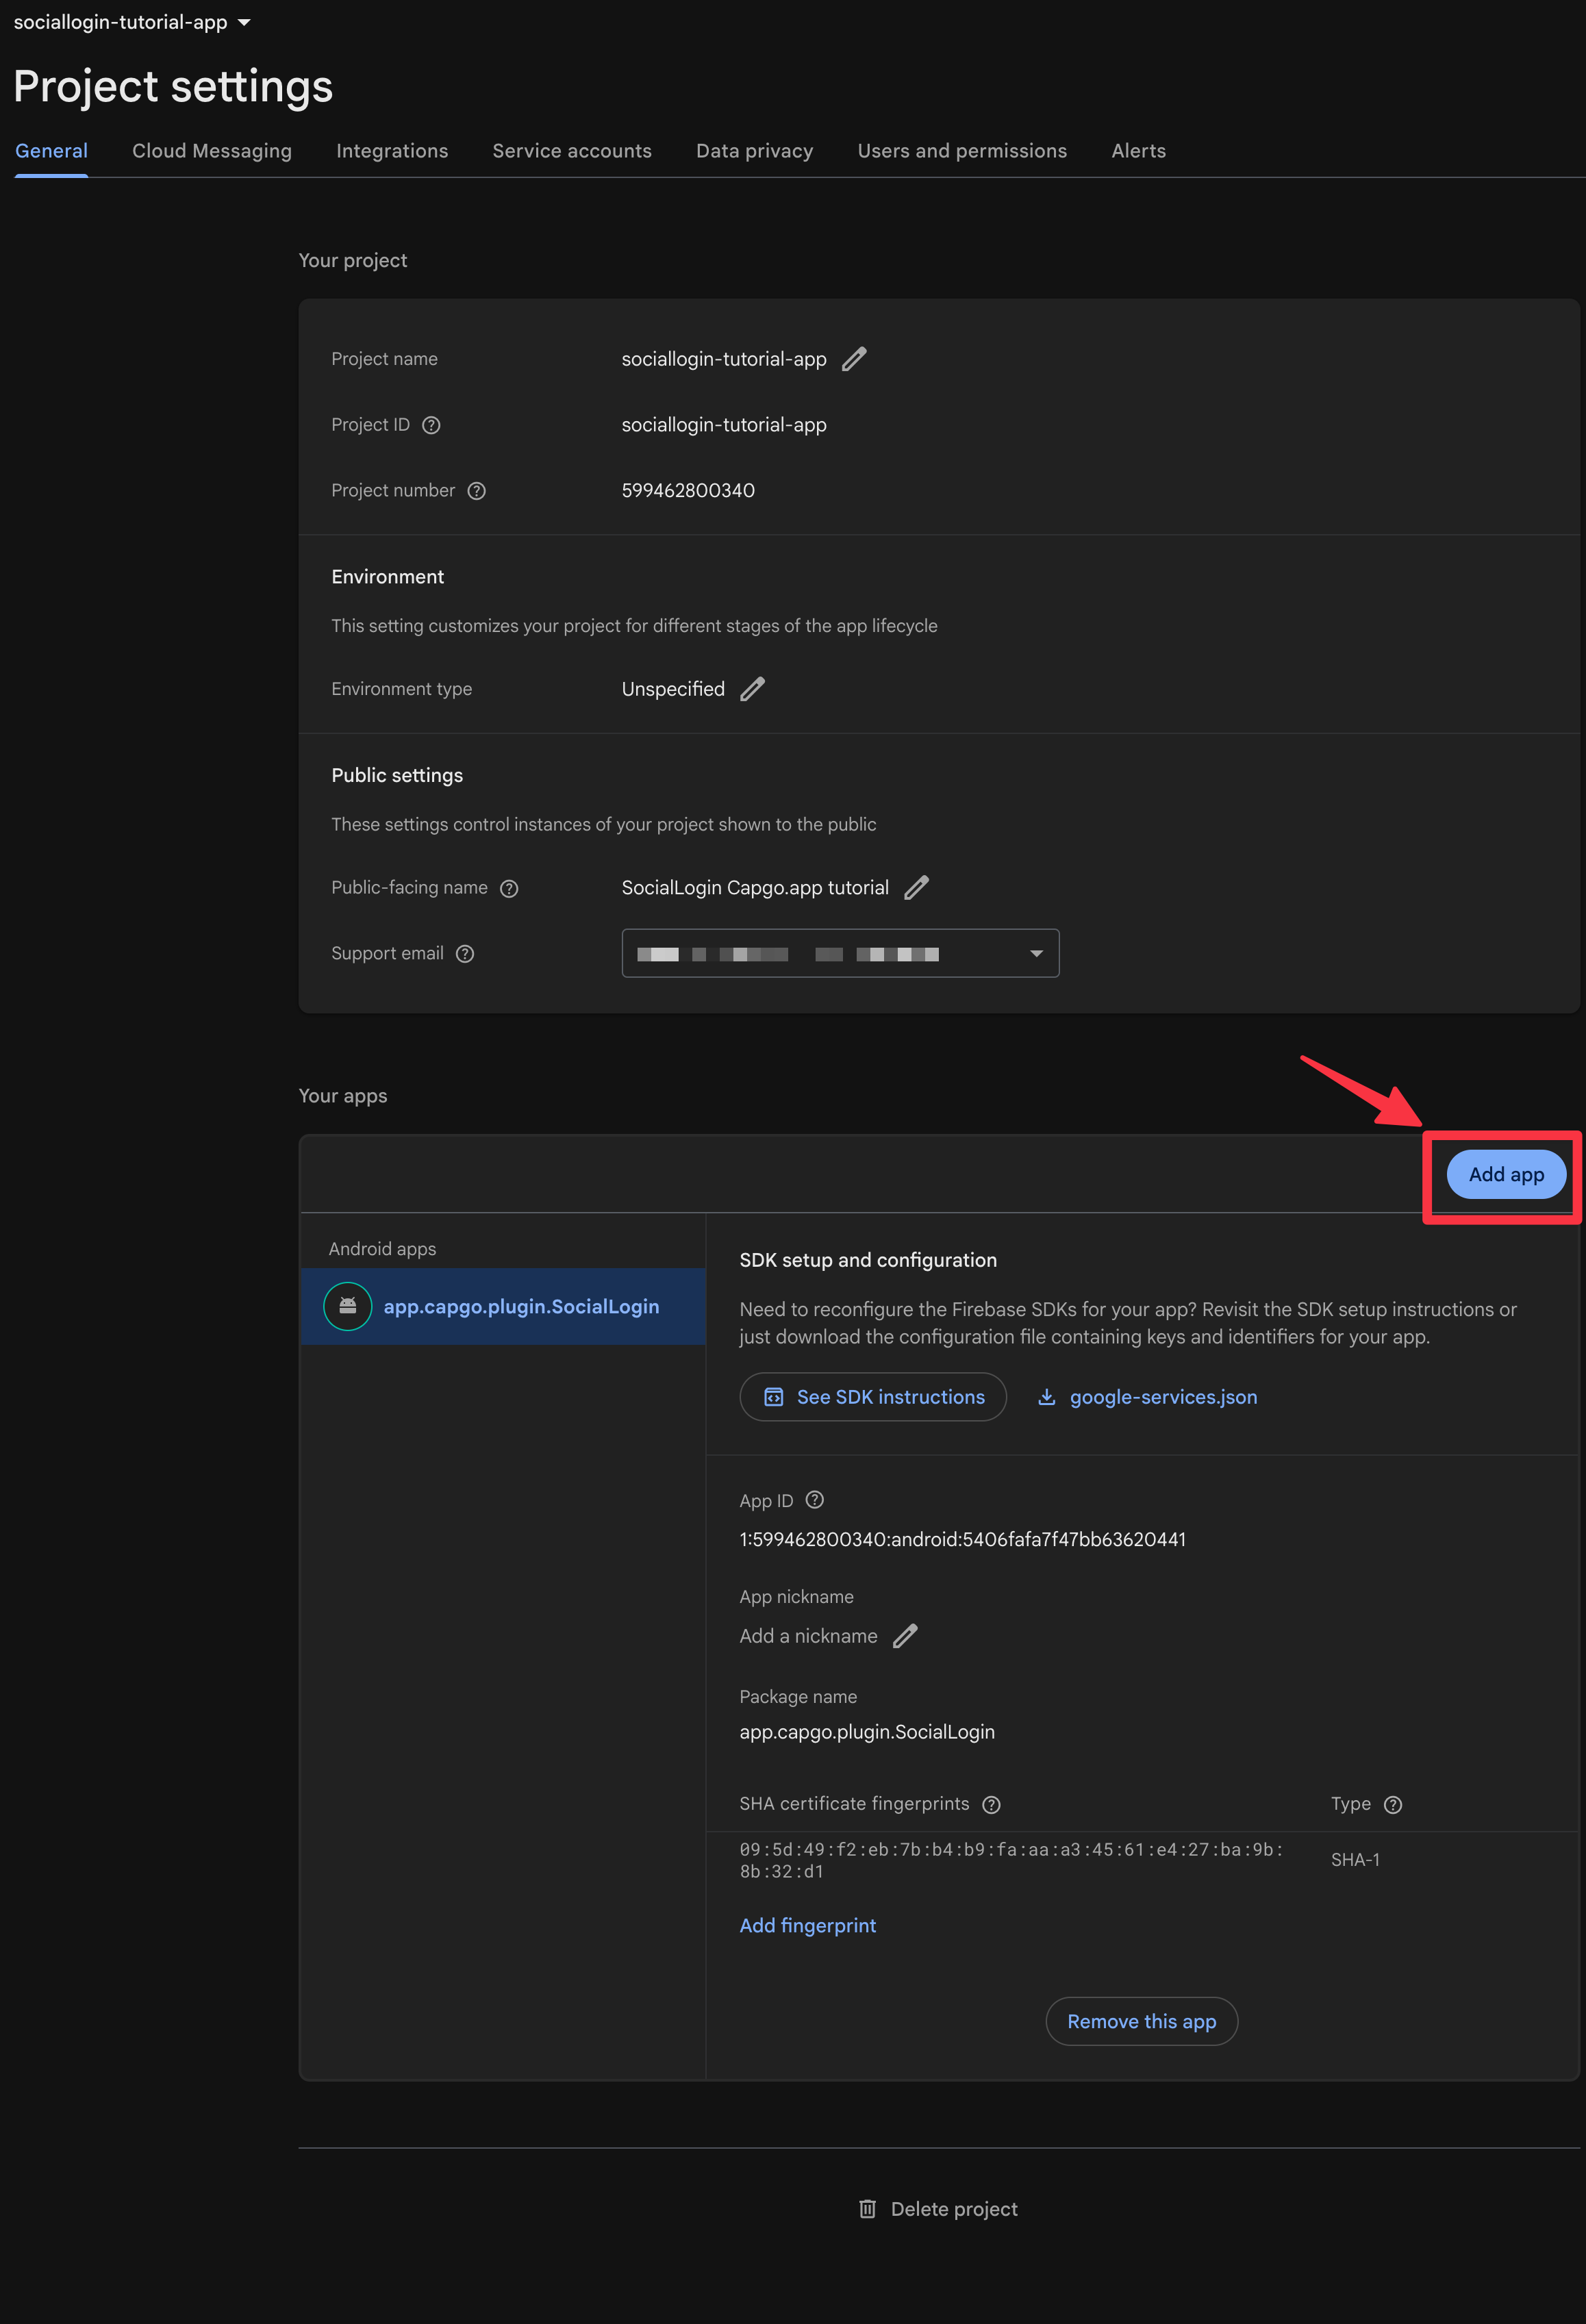
如果您没有自动登录,请前往
settings->general->your apps-> 在 Android 应用程序中找到并点击它
-
获取您的 SHA1 指纹
按照第 10-11 步执行 Google 登录 Android 设置指南 现在,打开终端。确保您在应用程序的文件夹中并运行:
-
终端显示 gradlew signInReport 命令
android滚动到此命令的顶部。您应该看到以下内容。复制./gradlew signInReport
-
注意
SHA1.
-
-
将SHA1添加到Firebase项目
- 点击
Add fingerprintFirebase添加AppAndroid添加指纹按钮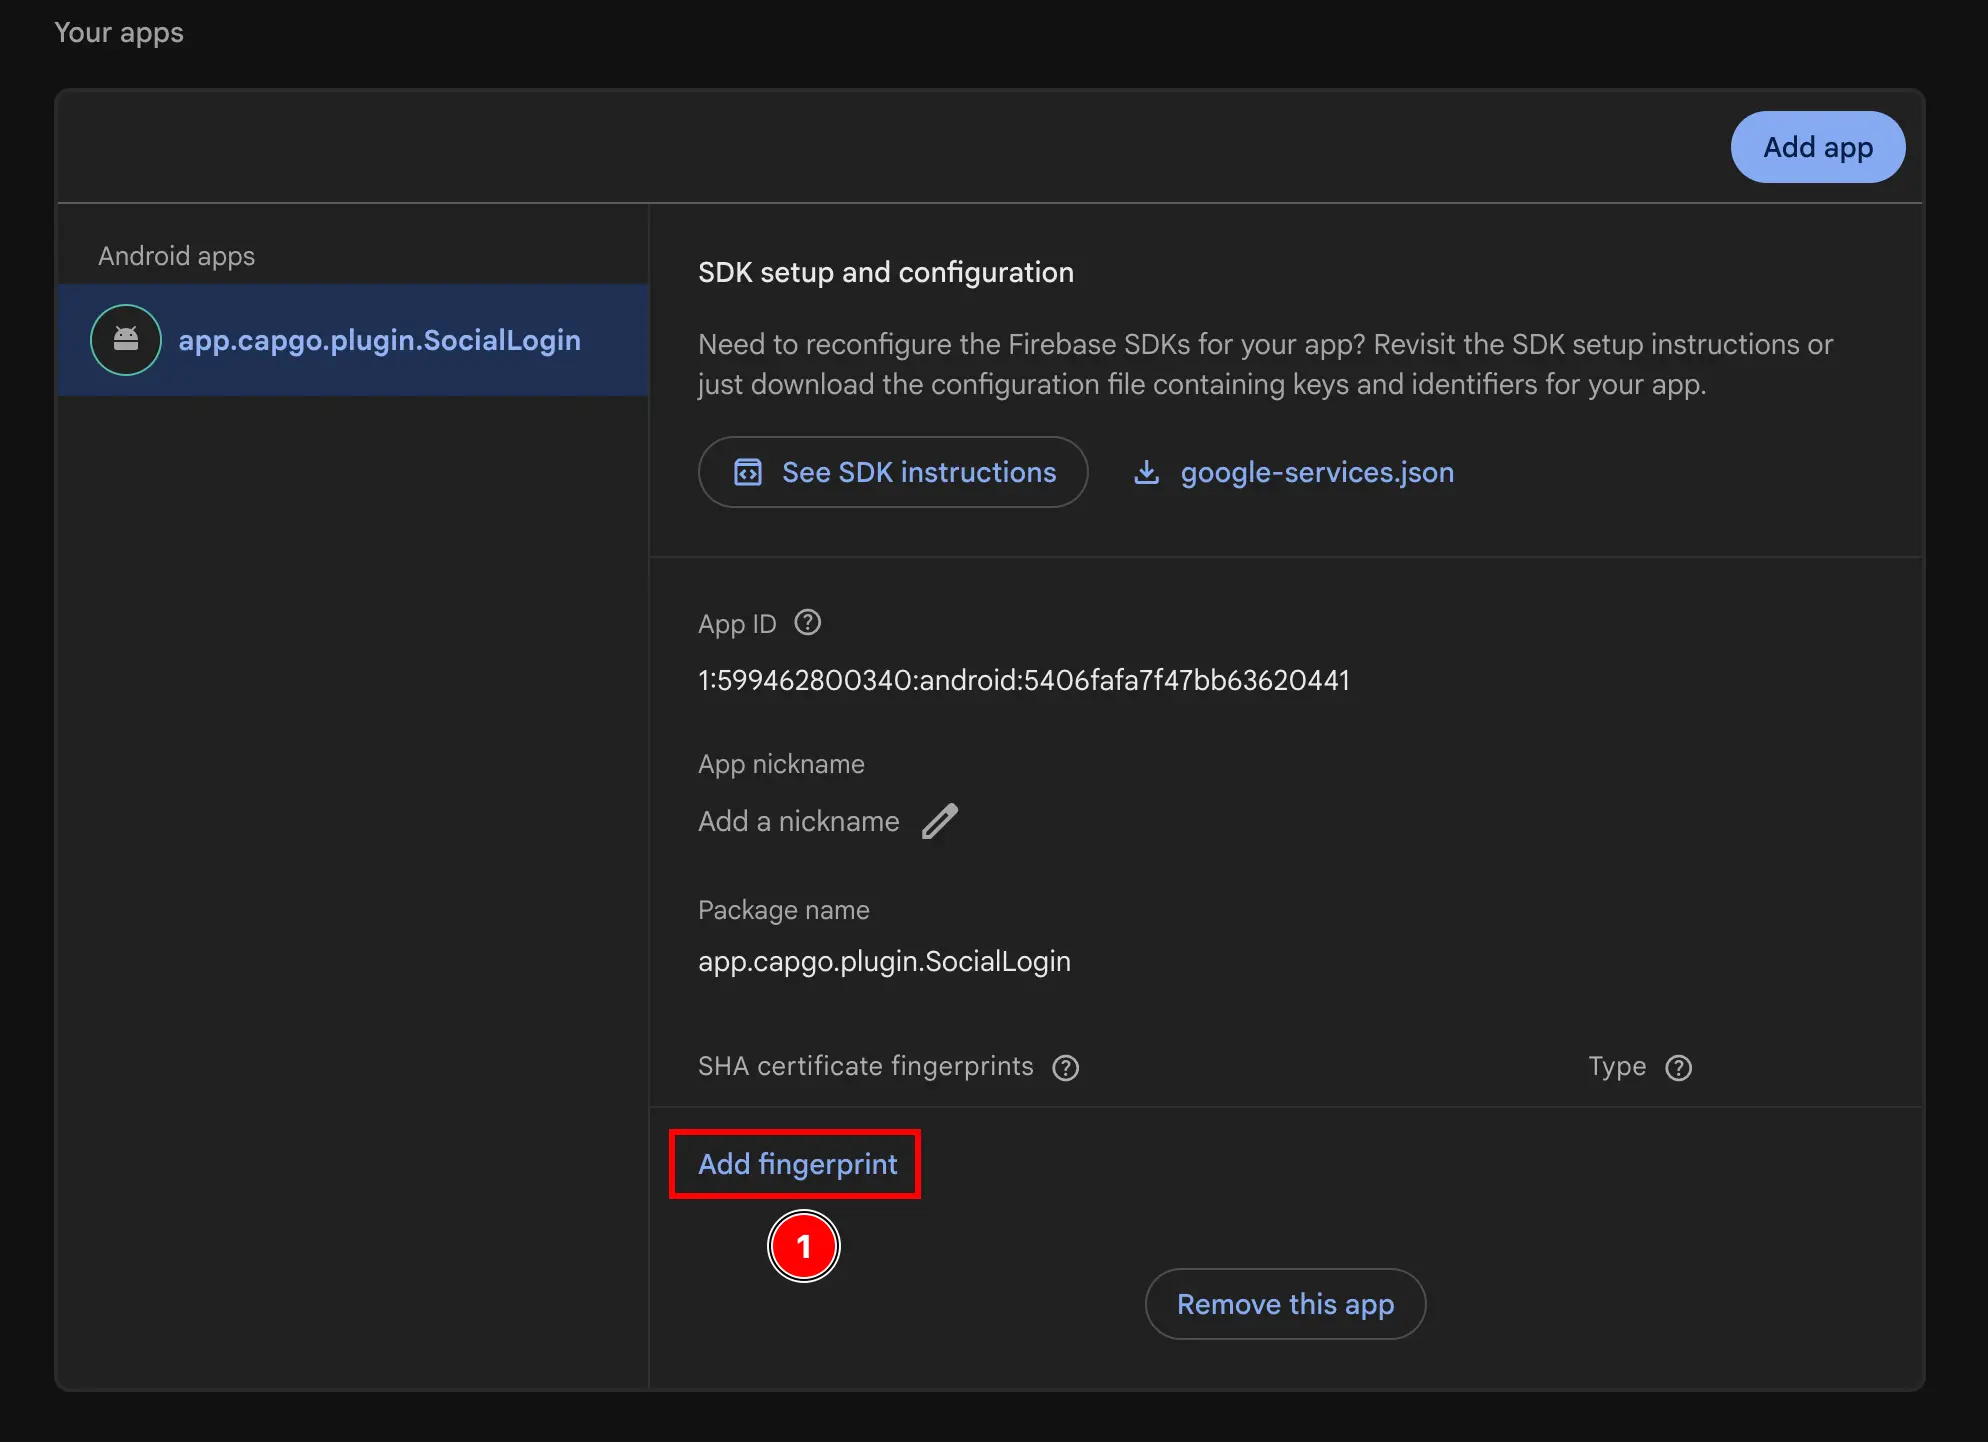
- Firebase添加AppAndroid添加指纹SHA1字段
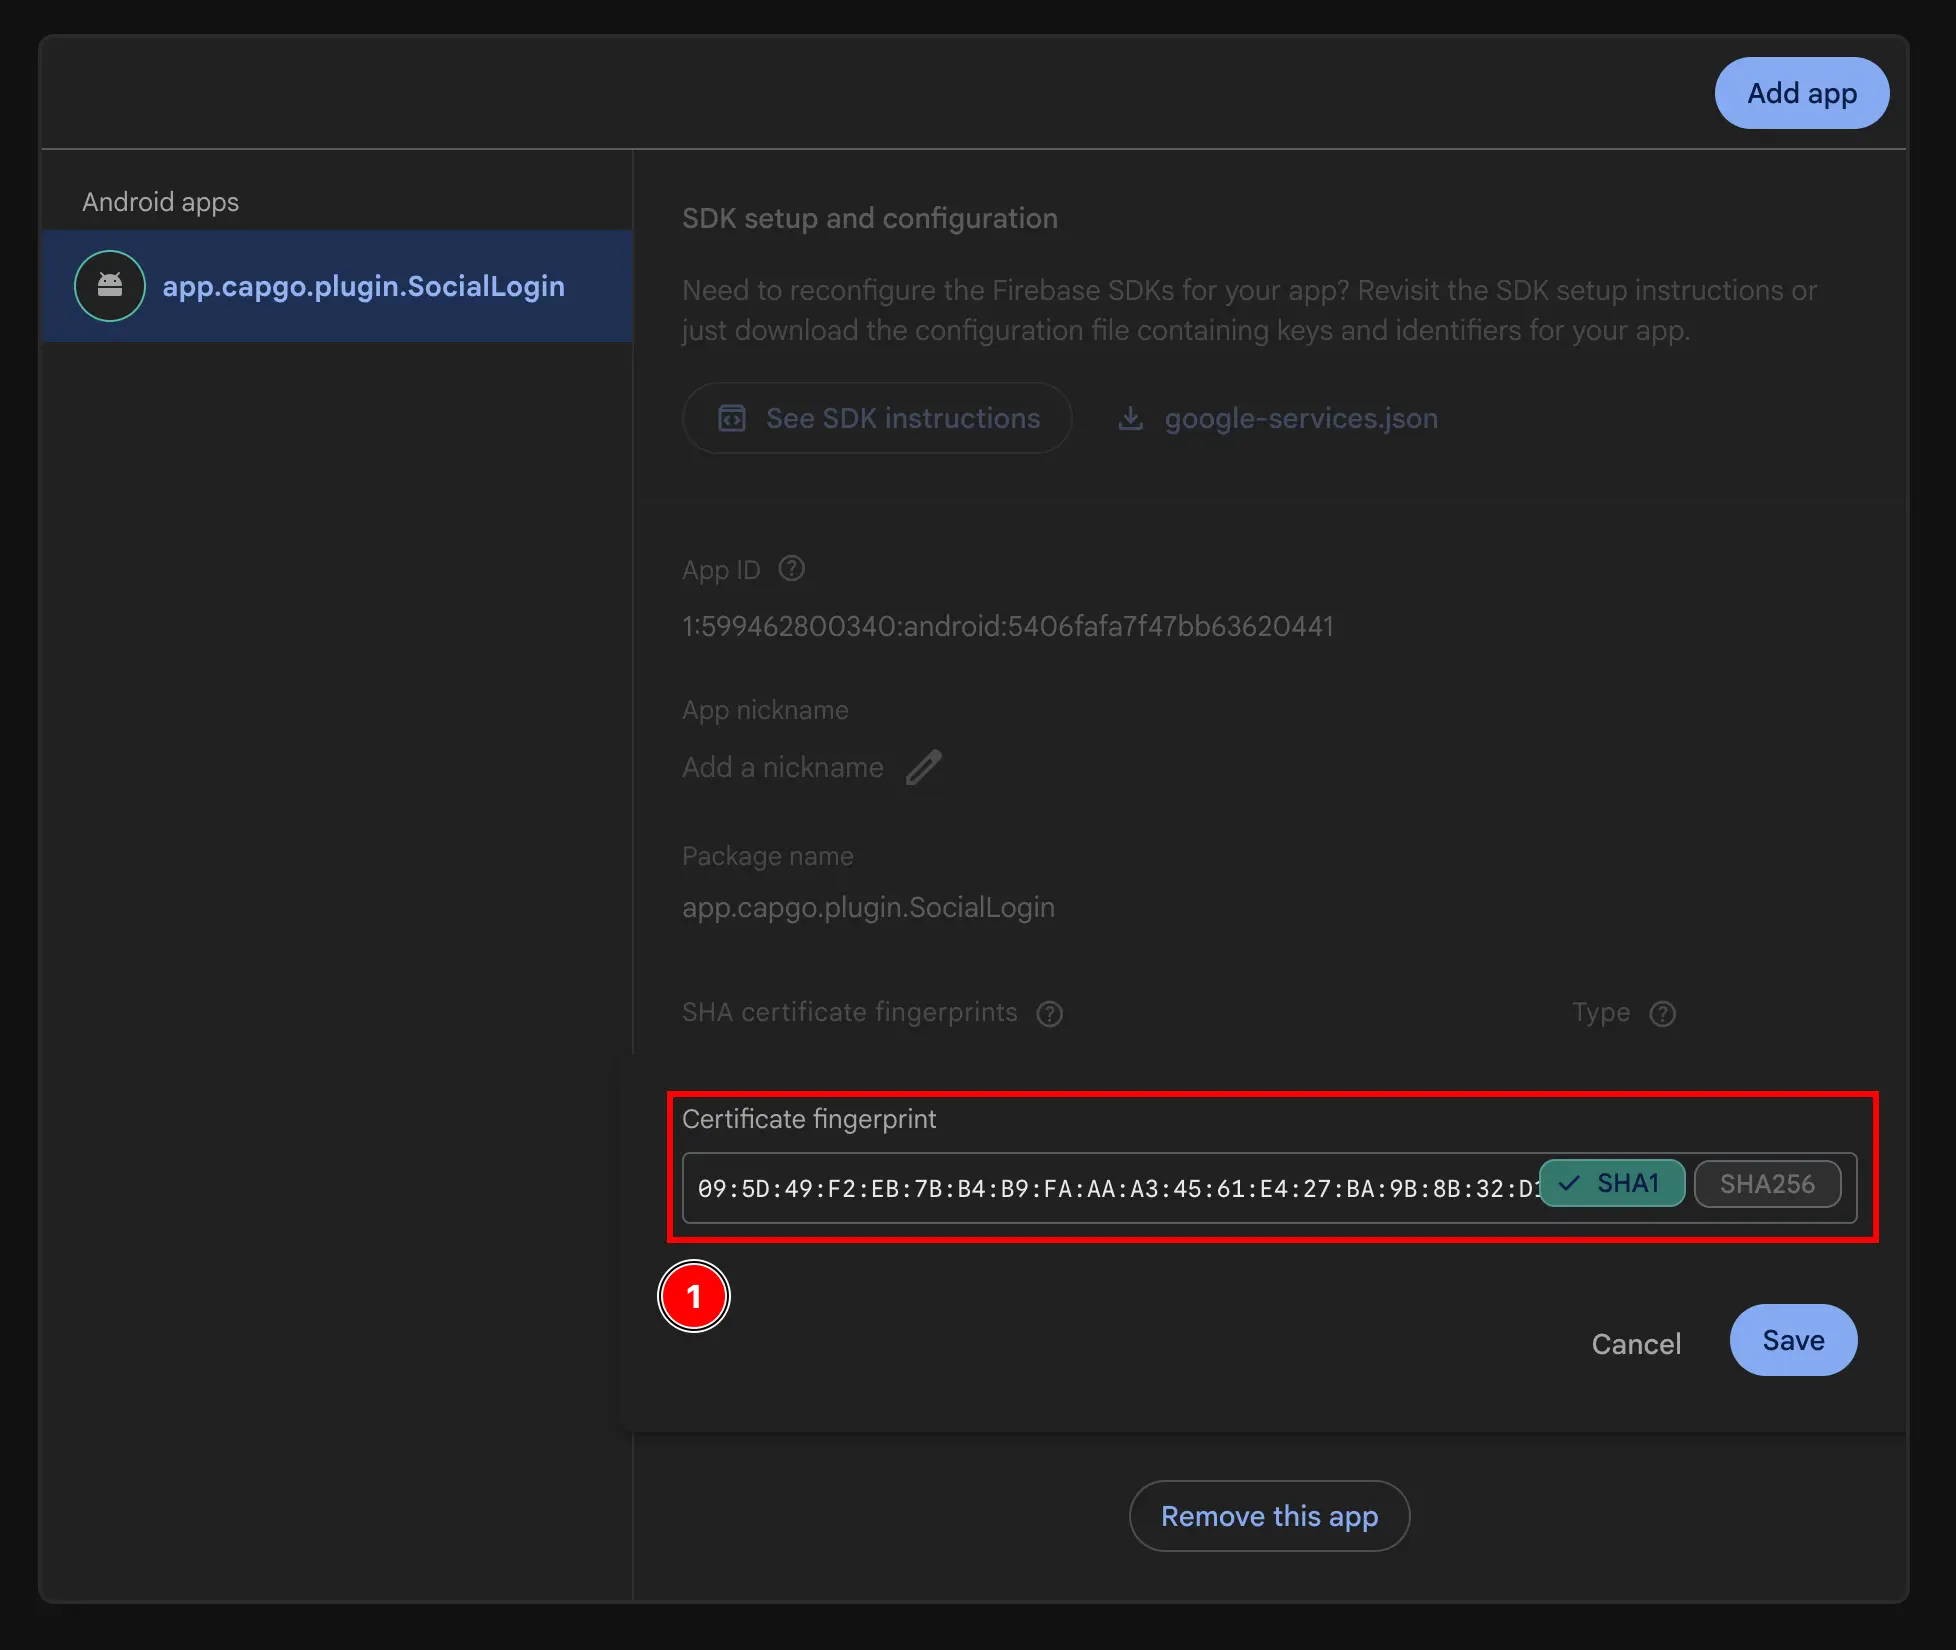
- Firebase添加AppAndroid添加指纹保存按钮
SavetargetLanguage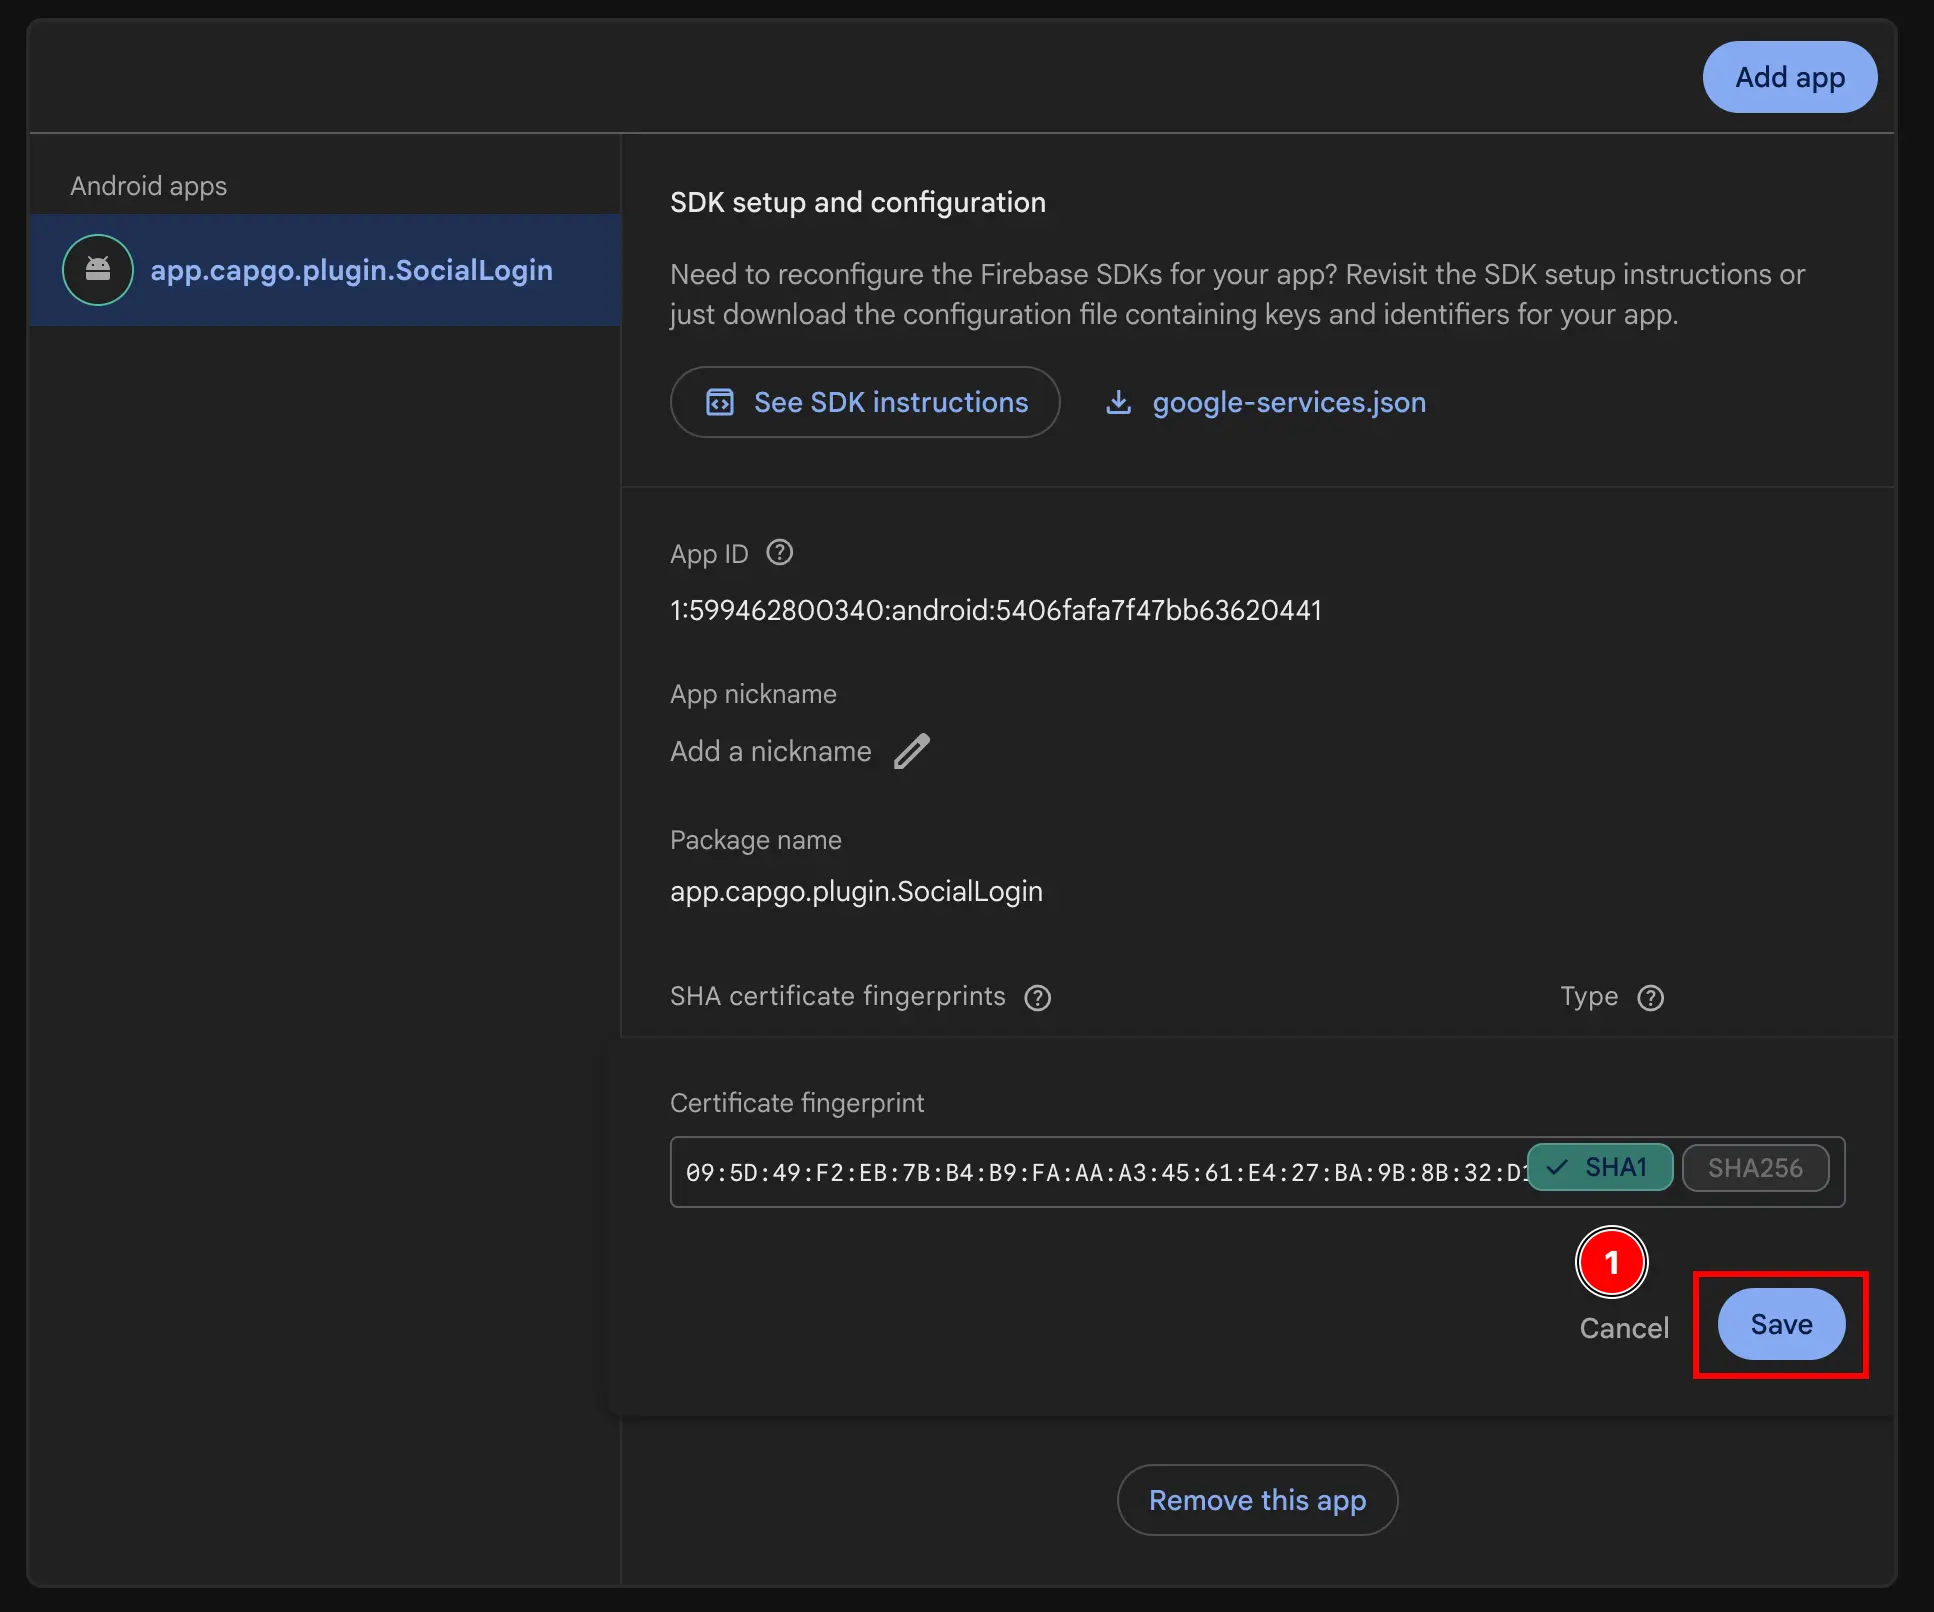
- 点击
-
获取您的 Web 客户端 ID
- 前往
Build->Authentication
- 点击
Sign-in method按钮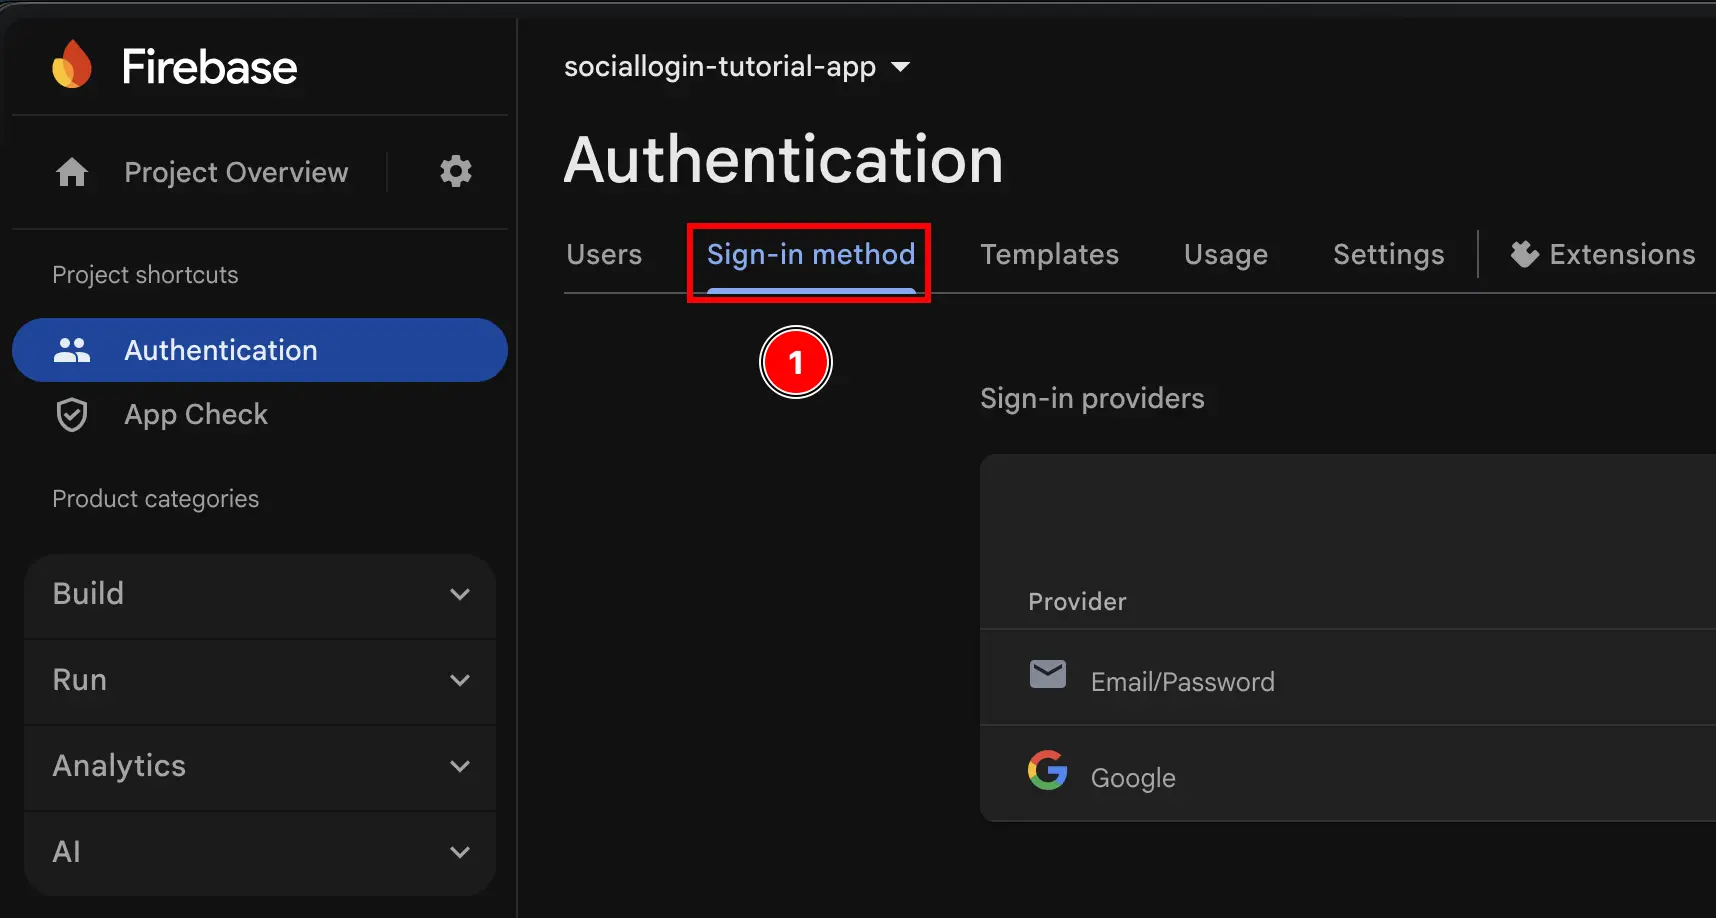
- 点击
Google提供者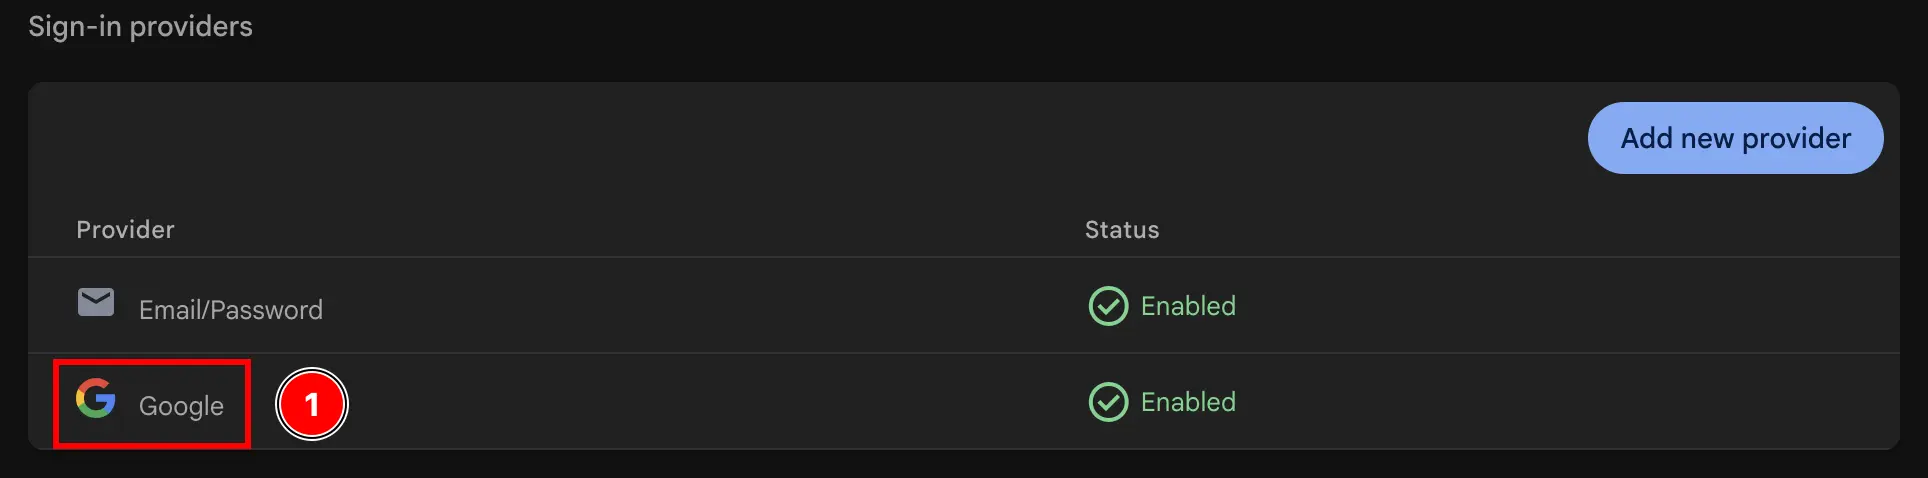
- 点击
Web SDK configuration按钮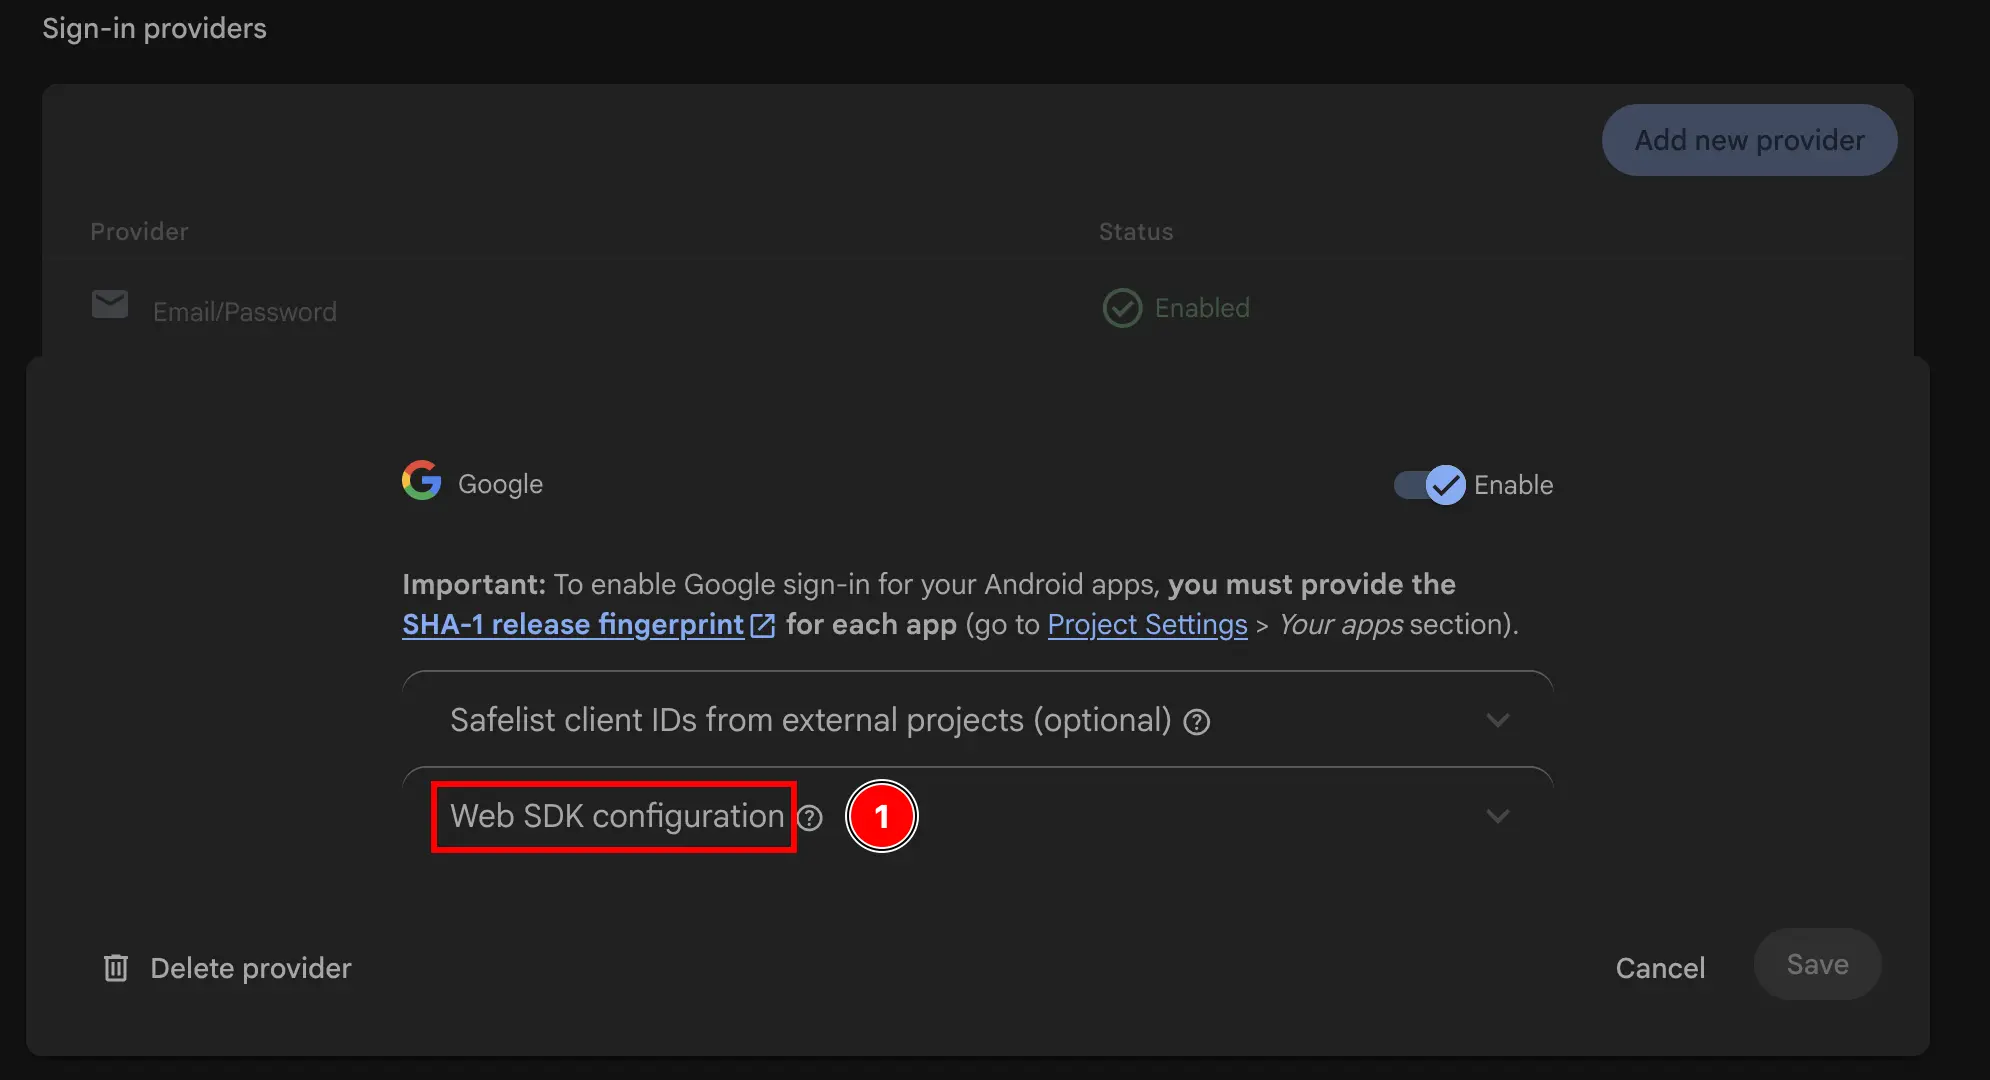
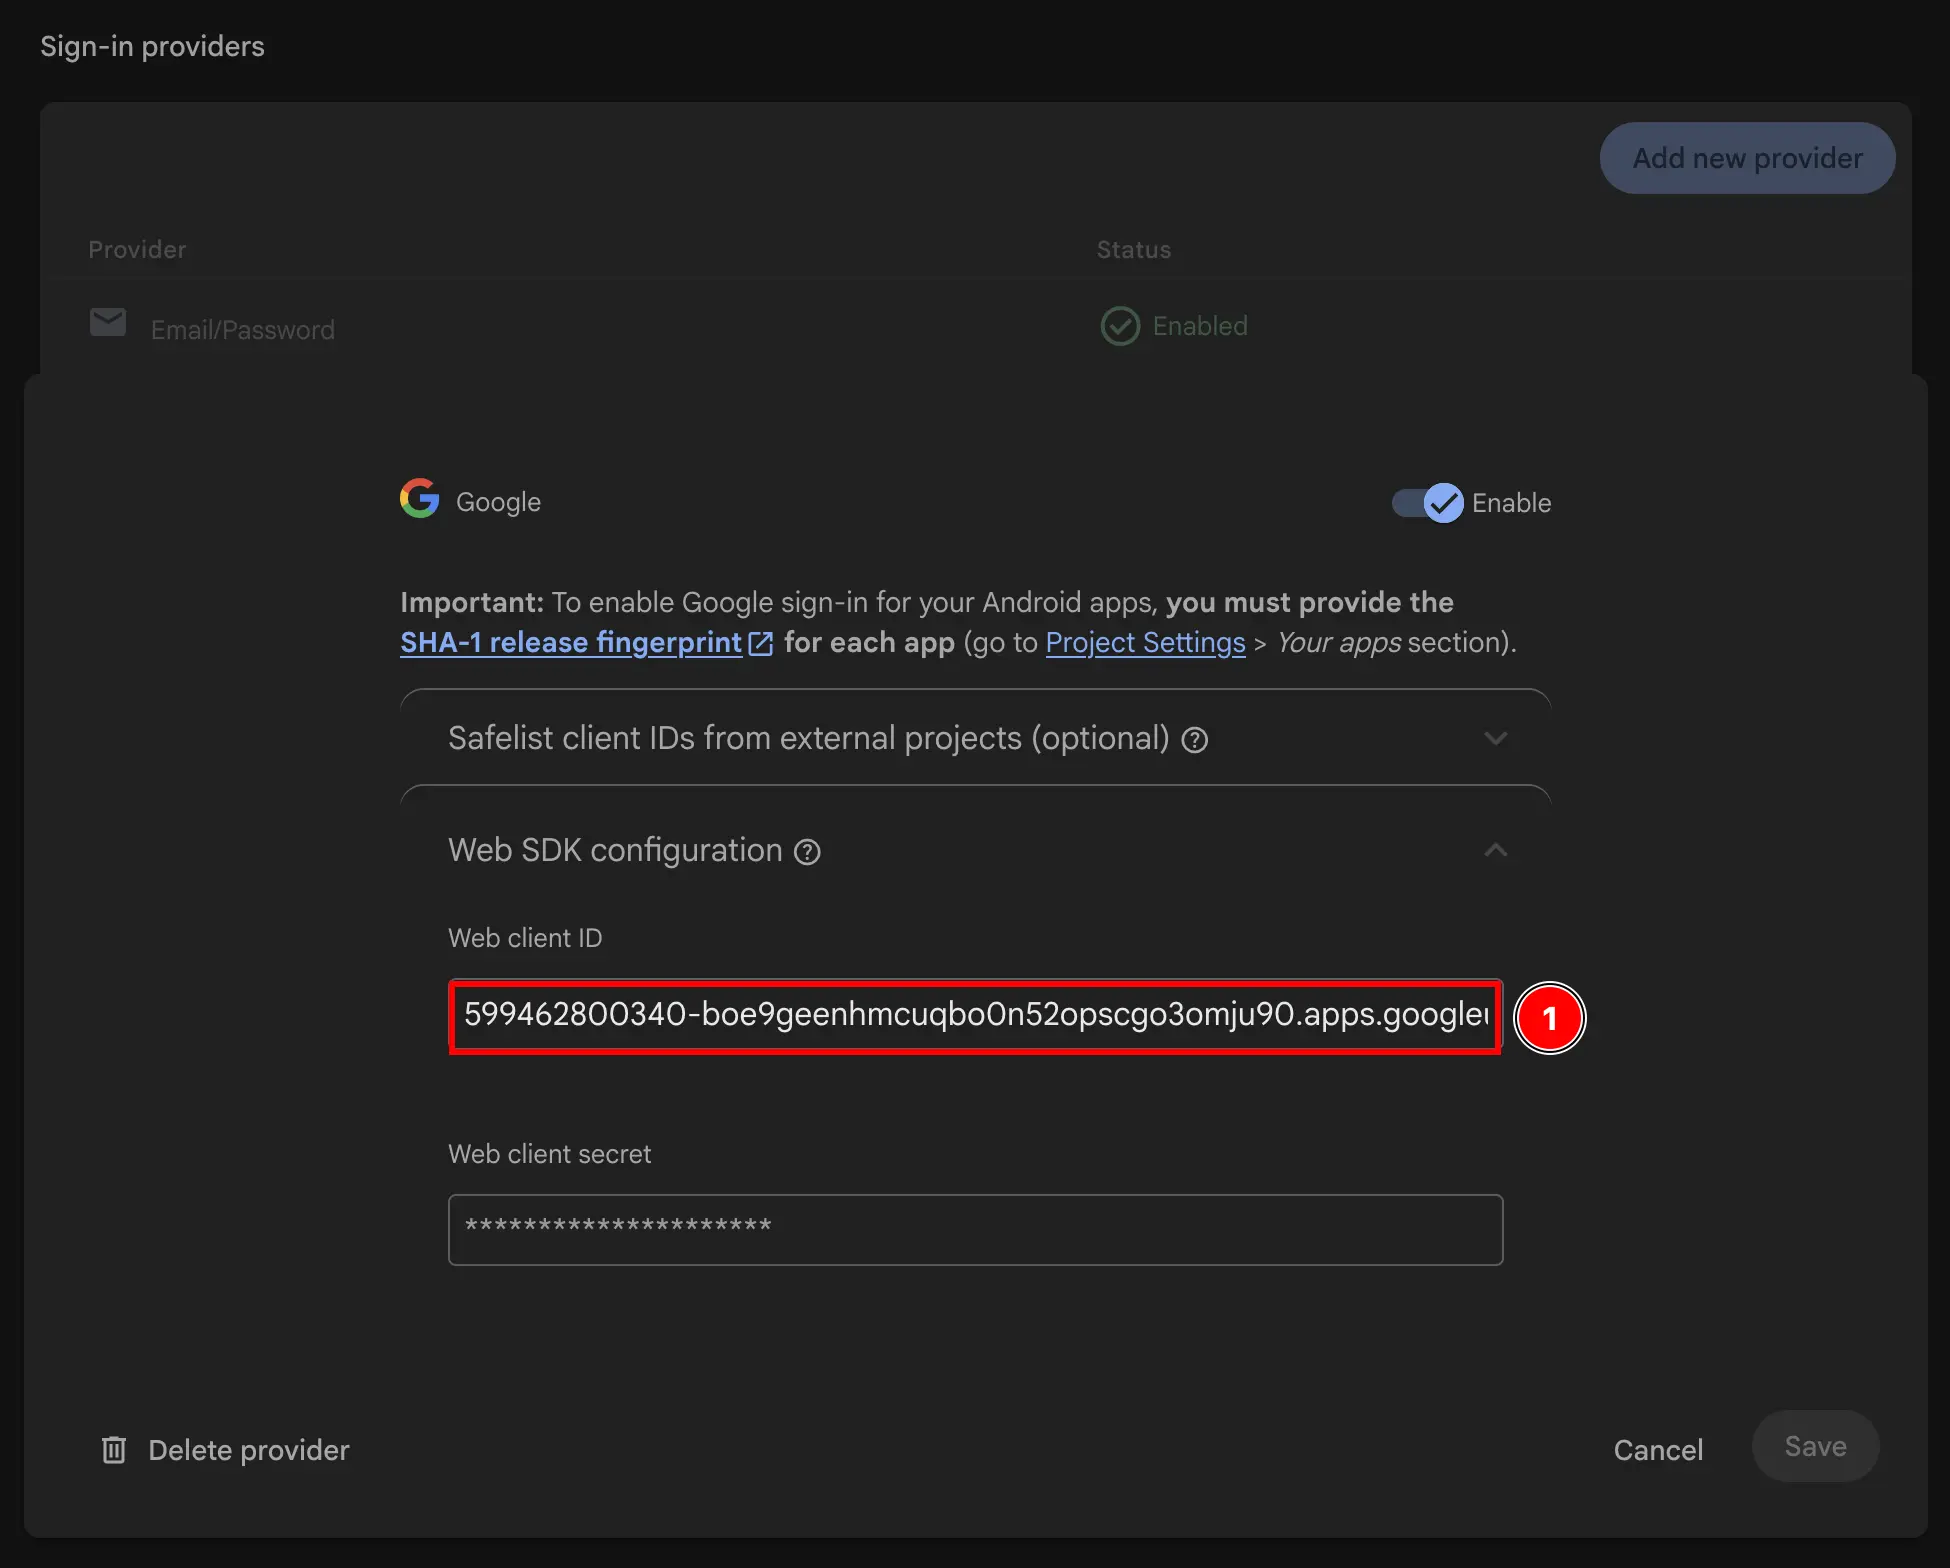
- 复制
Web client ID。 这将是你的webClientId在initialize插件的
- 前往
-
使用 Web Client ID 在 JS 中
在这个阶段,您已经 TECHNICALLY 准备好使用 Google Sign-In 与 Firebase 身份验证在 Android 上使用。但是,我建议在下一步中解释的 Google Cloud 控制台中双重检查设置。
双重检查 Google Cloud 控制台中的设置
标题为“双重检查 Google Cloud 控制台中的设置”为了确保设置正确,您应该在 Google Cloud 控制台中双重检查设置。
-
找到您的项目
- 点击项目选择器
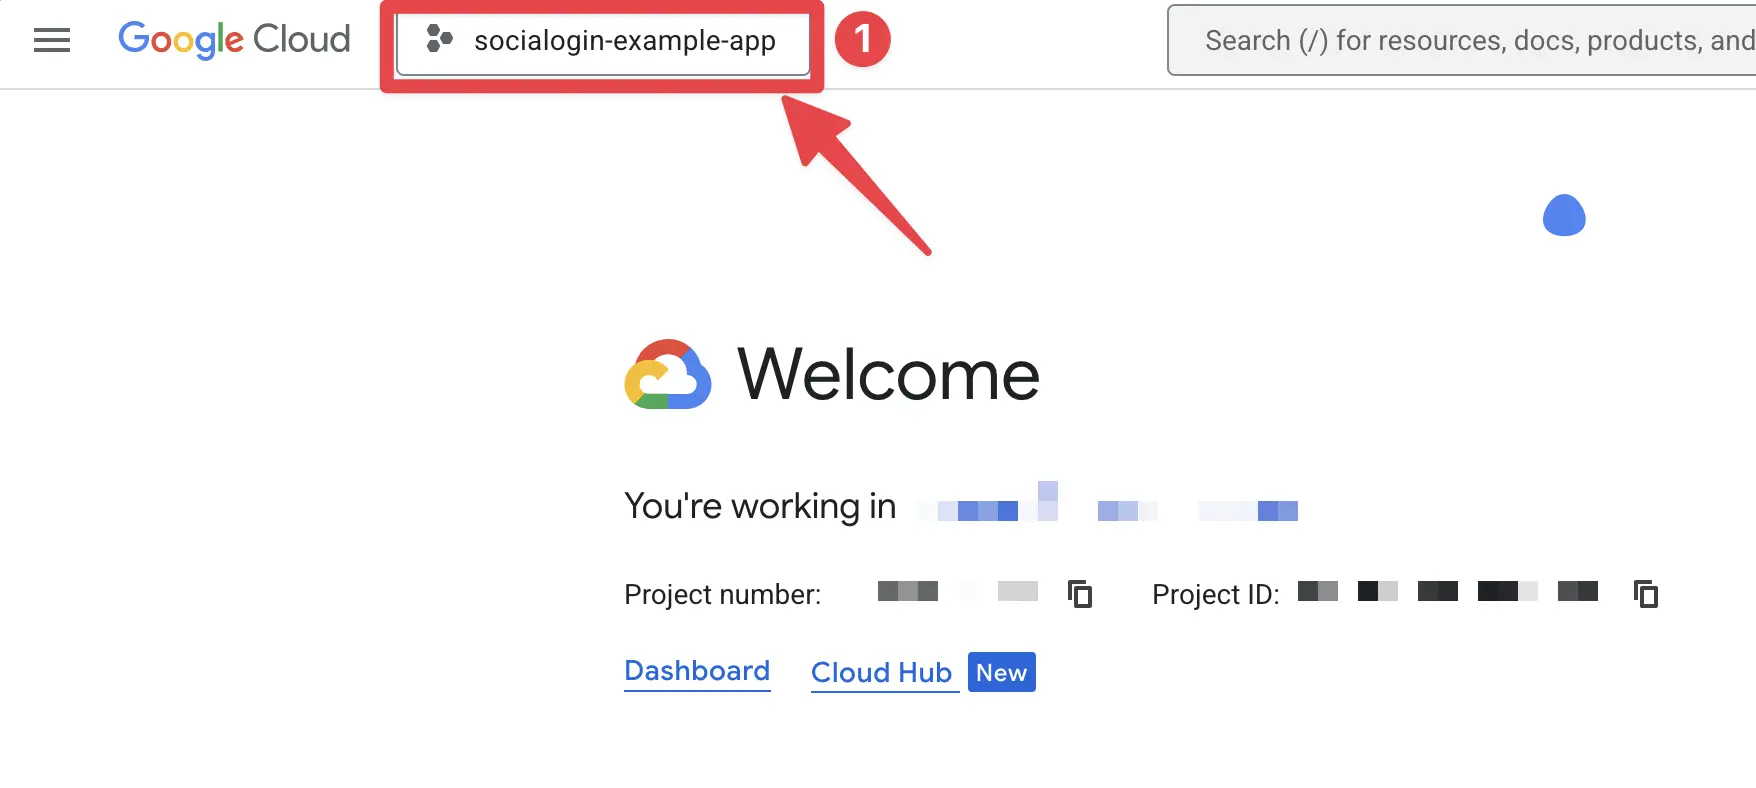
- 通过您的 Firebase 项目的准确名称搜索您的项目并点击它。在我的情况下,它是
sociallogin-tutorial-app.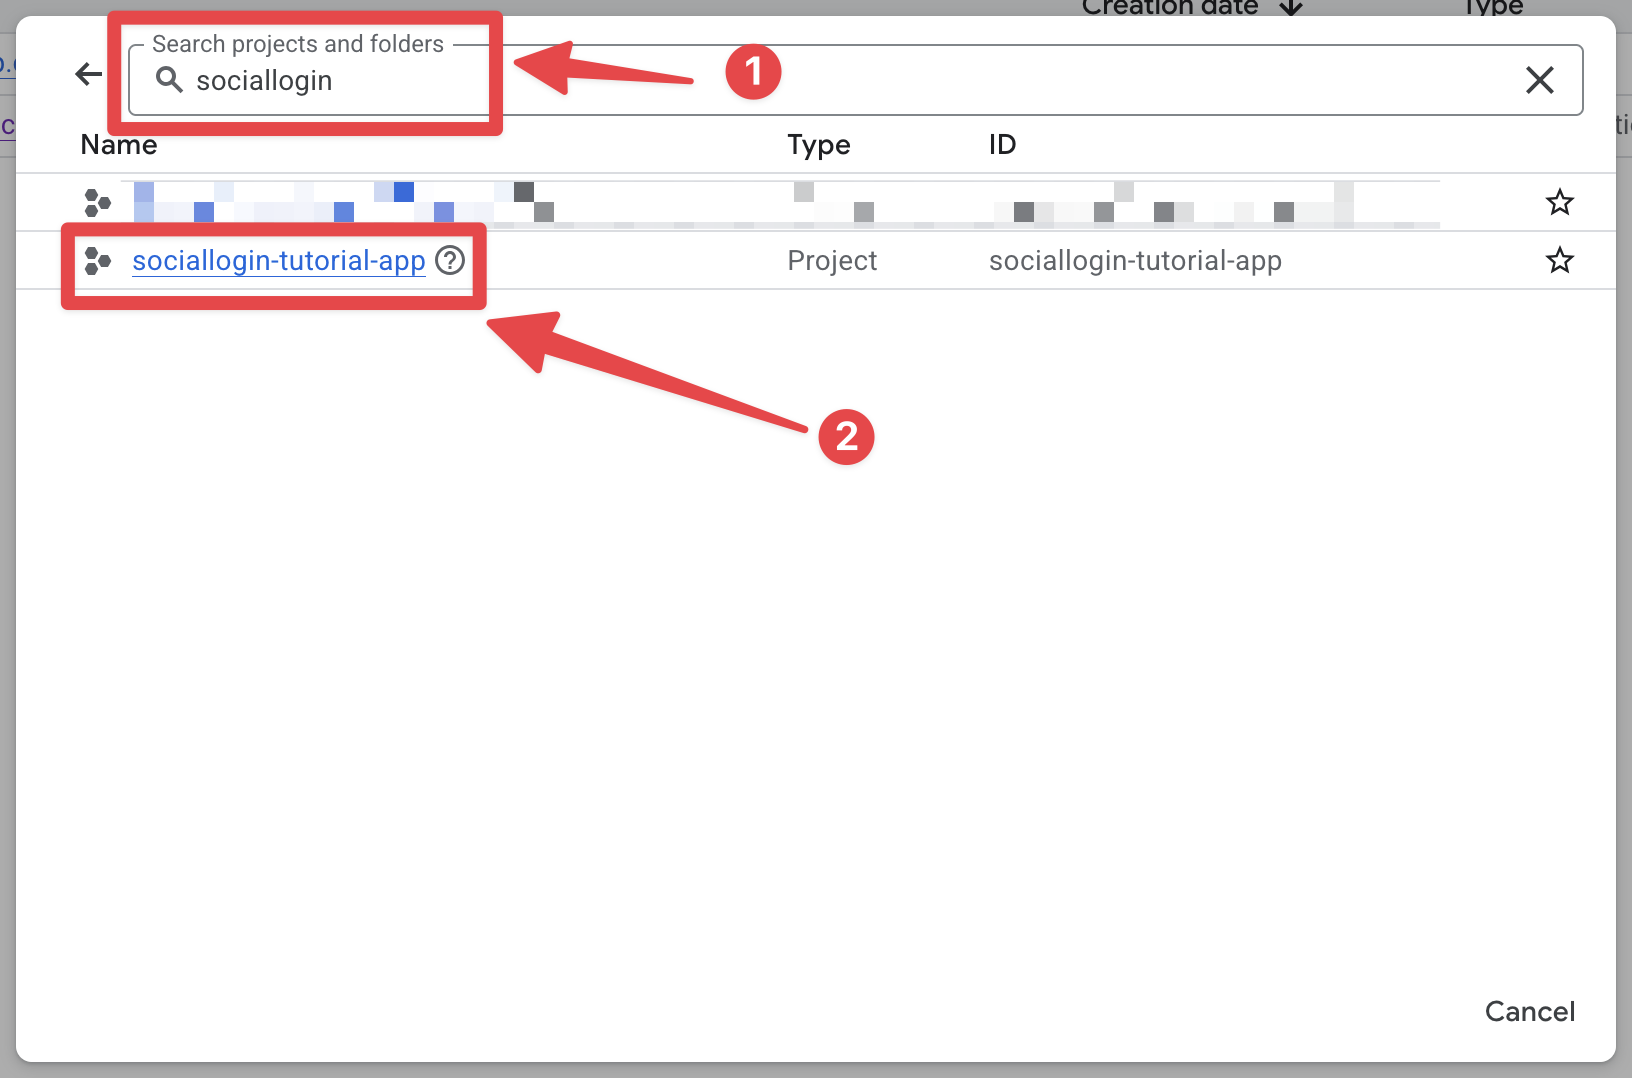
- 点击项目选择器
-
打开搜索栏并打开
credentials- 打开搜索栏
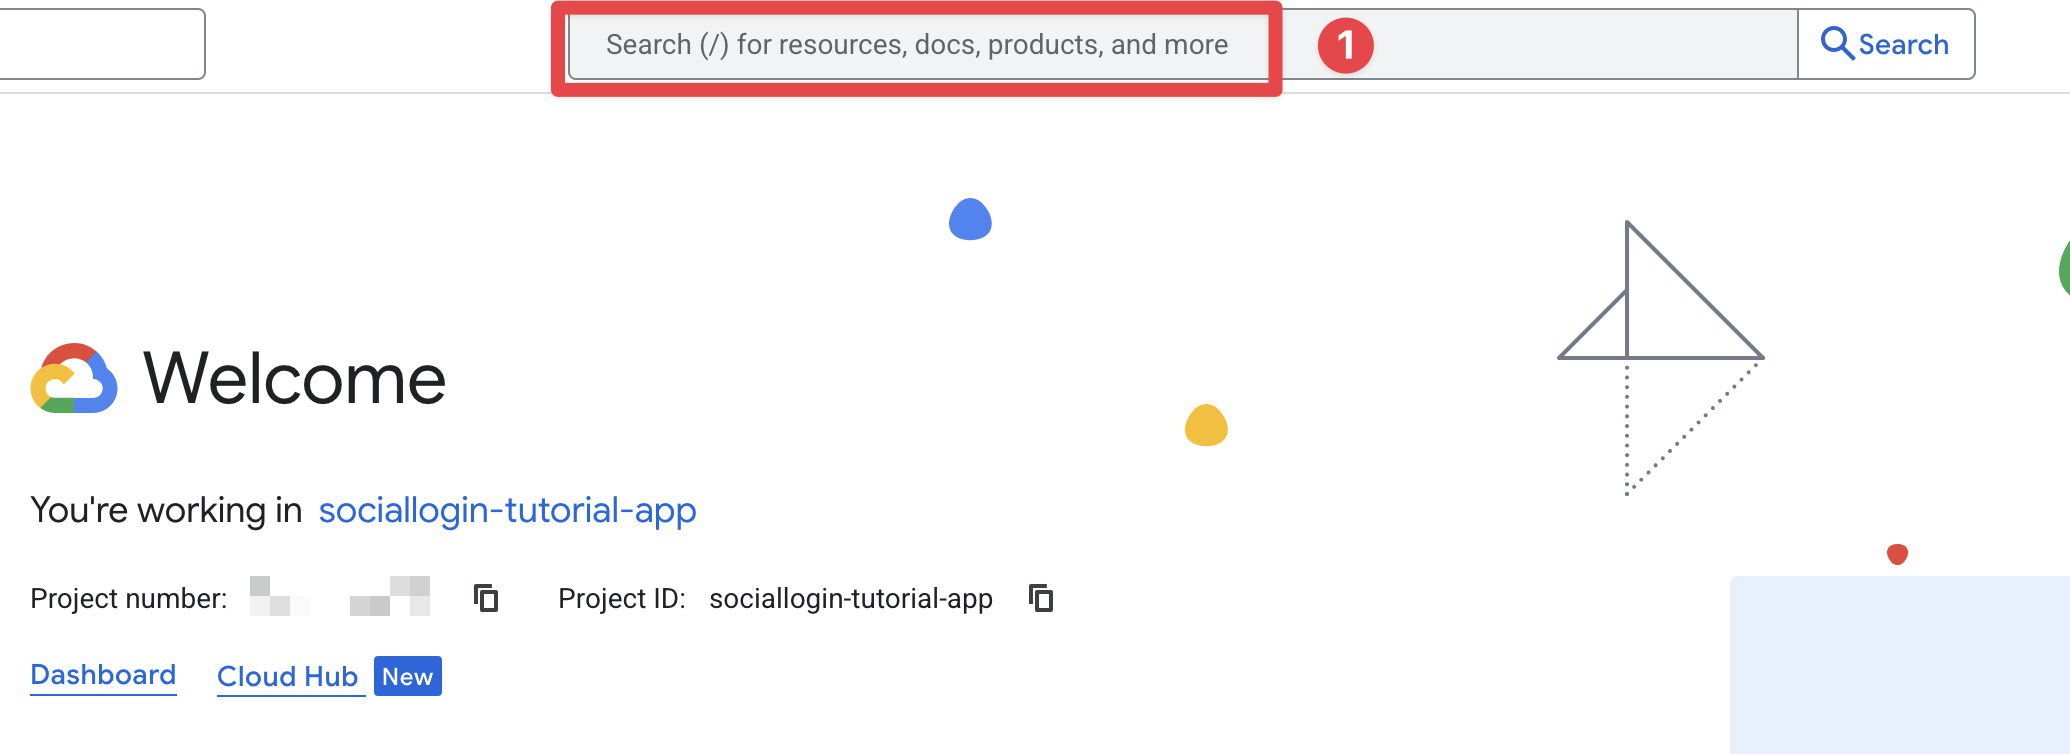
- 搜索
credentials并点击APIs and Services第一个(截图中的第 2 个)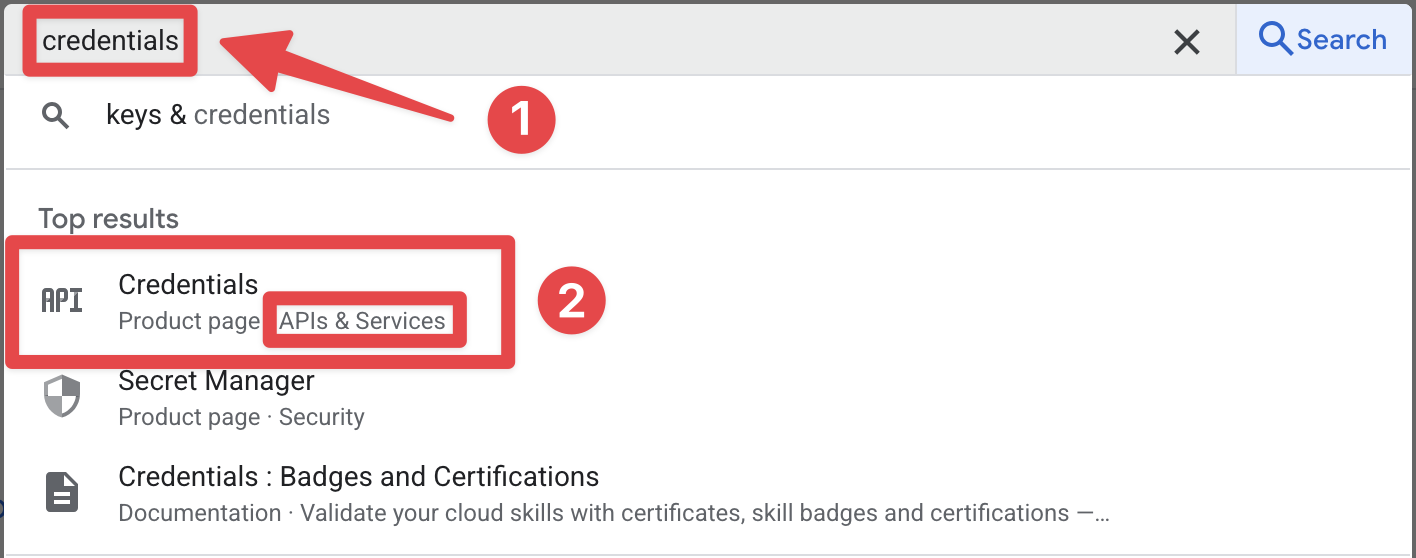
- 打开搜索栏
-
确认您在列表中看到 Android 和 Web 客户端 ID。
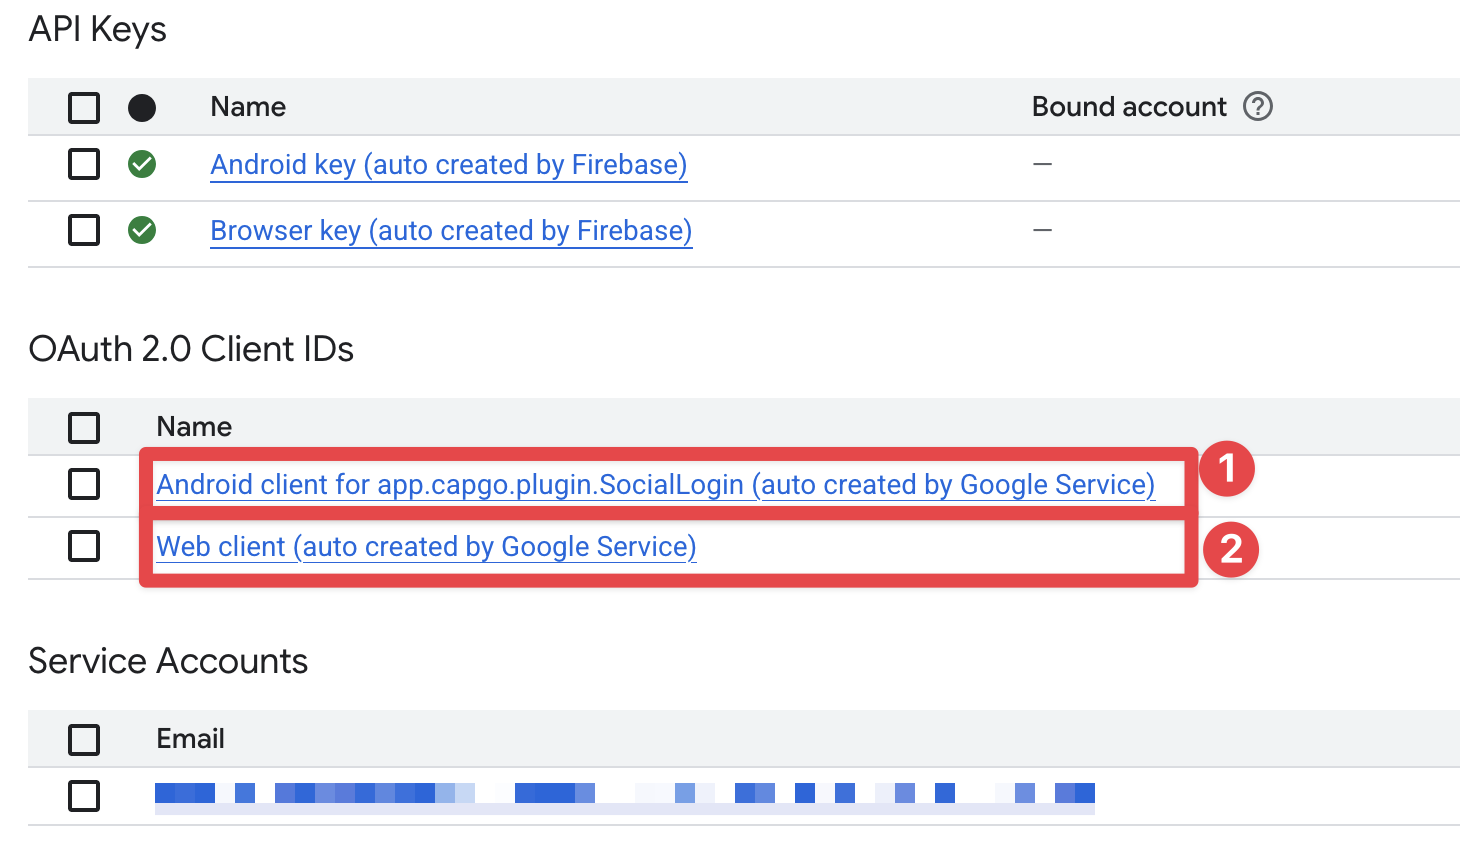
-
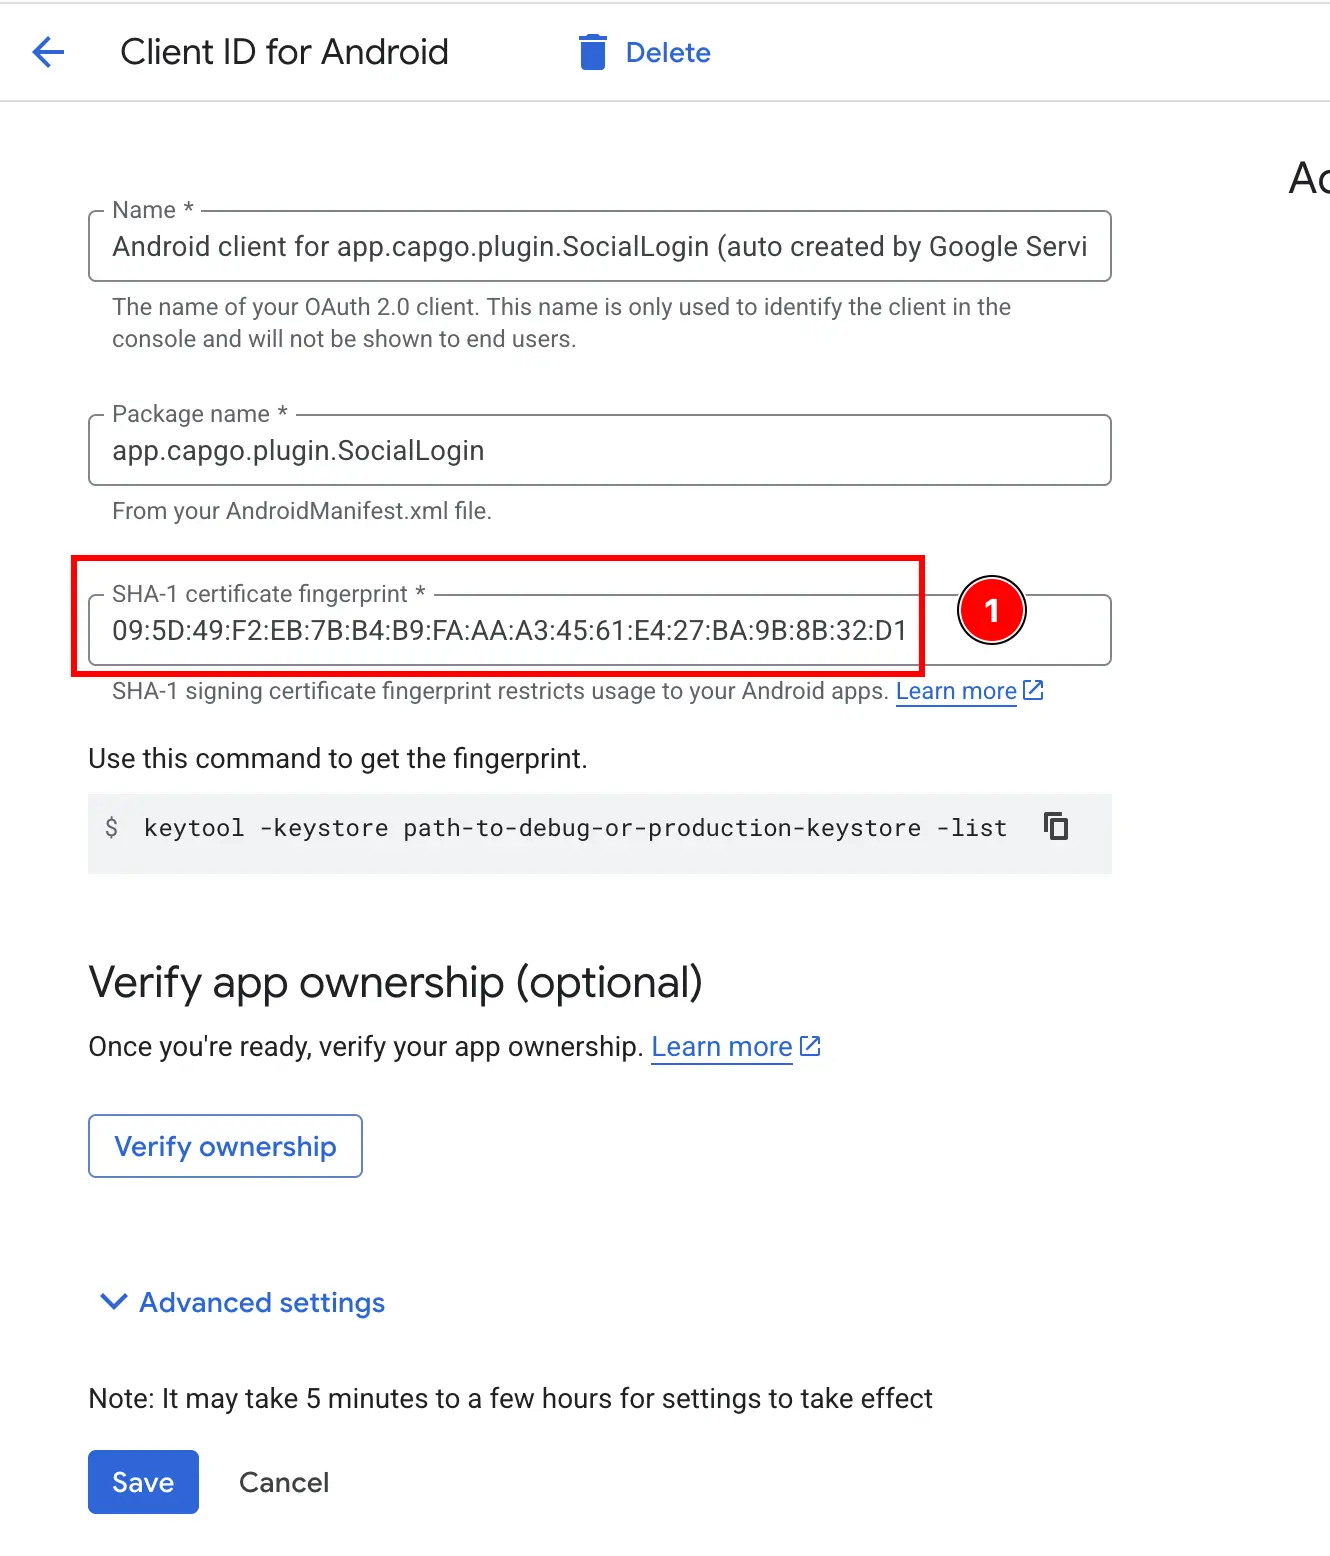
确保 Android 客户端 ID 在 Firebase 控制台中正确配置。
- 点击
Android应用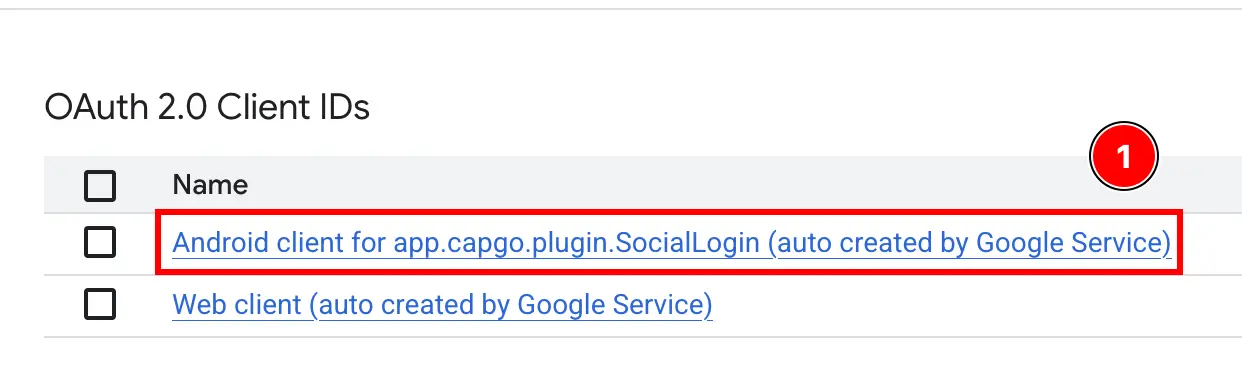
- 确认 SHA1 散列值正确配置并且与您在前一步骤中复制的值匹配。
- 点击
-
确保 Web 客户端 ID 在 Firebase 控制台中正确配置。
- 点击
Web应用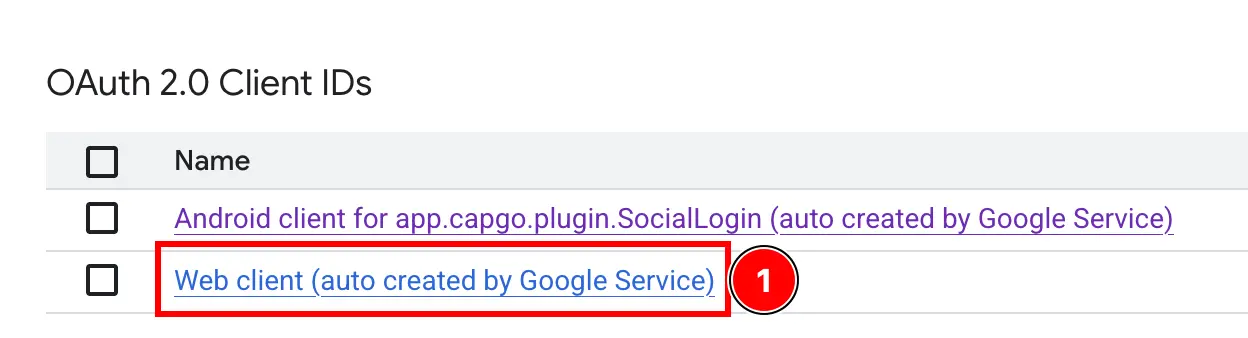
- 确认客户端 ID 与前一步骤中复制的 ID 匹配。
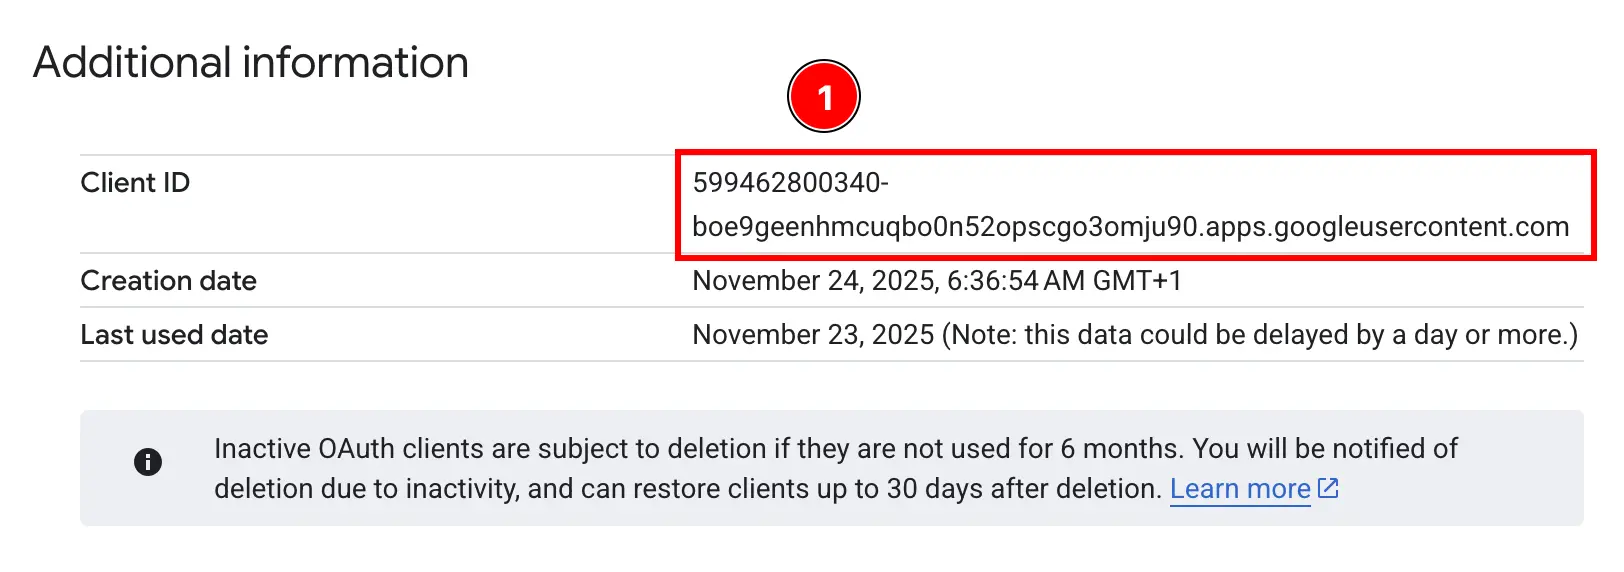
- 点击
哇!您现在已经准备好使用 Firebase 身份验证和 Google Sign-In 在 Android 上。
故障排除
标题为“故障排除”如果身份验证卡住或失败:
- 验证
idToken受众与 Firebase Web 客户端 ID 匹配 - 检查 Google Sign-In 是否在 Firebase 控制台中启用
- 确保 SHA-1 指纹正确配置
- Review the 查看示例应用 code 以此为参考
继续使用 Firebase Google Login on Android
标题:继续使用 Firebase Google Login on Android如果您正在使用 Firebase Google Login on Android 来规划身份验证和帐户流程,连接它到 使用 @capgo/capacitor-social-login 来使用 @capgo/capacitor-social-login 的原生能力 @capgo/capacitor-social-login 了解@capgo/capacitor-social-login的实现细节 @capgo/capacitor-passkey 了解@capgo/capacitor-passkey的实现细节 @capgo/capacitor-native-biometric 了解@capgo/capacitor-native-biometric的实现细节 双因素认证 了解双因素认证的实现细节