Google 登录 iOS
复制一个包含安装步骤和本插件的完整 Markdown 指南的配置提示。
介绍
标题为“介绍”在本指南中,您将学习如何设置 Capgo iOS 中的 Google 登录。 我假设您已经阅读了.
使用 Google 登录在 iOS
标题为“在 iOS 中使用 Google 登录”在本部分中,您将学习如何在 iOS 中设置 Google 登录。
-
在 Google 控制台中创建一个 iOS 客户端 ID
-
点击搜索栏

-
在搜索栏中输入
credentials并点击APIs and Services截图中的第 2 项(数字 2)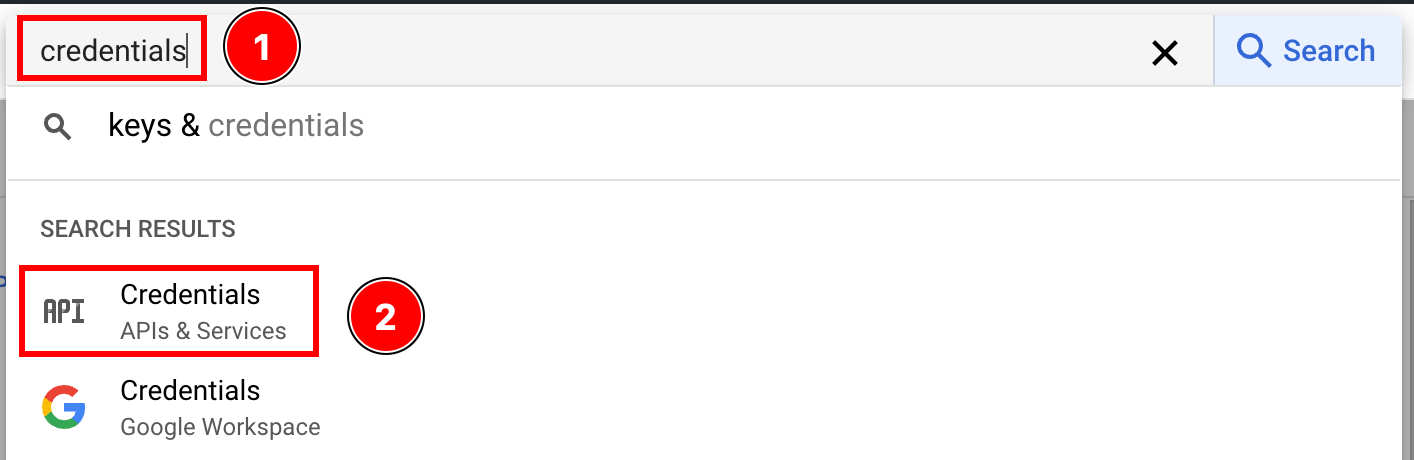
-
点击
create credentials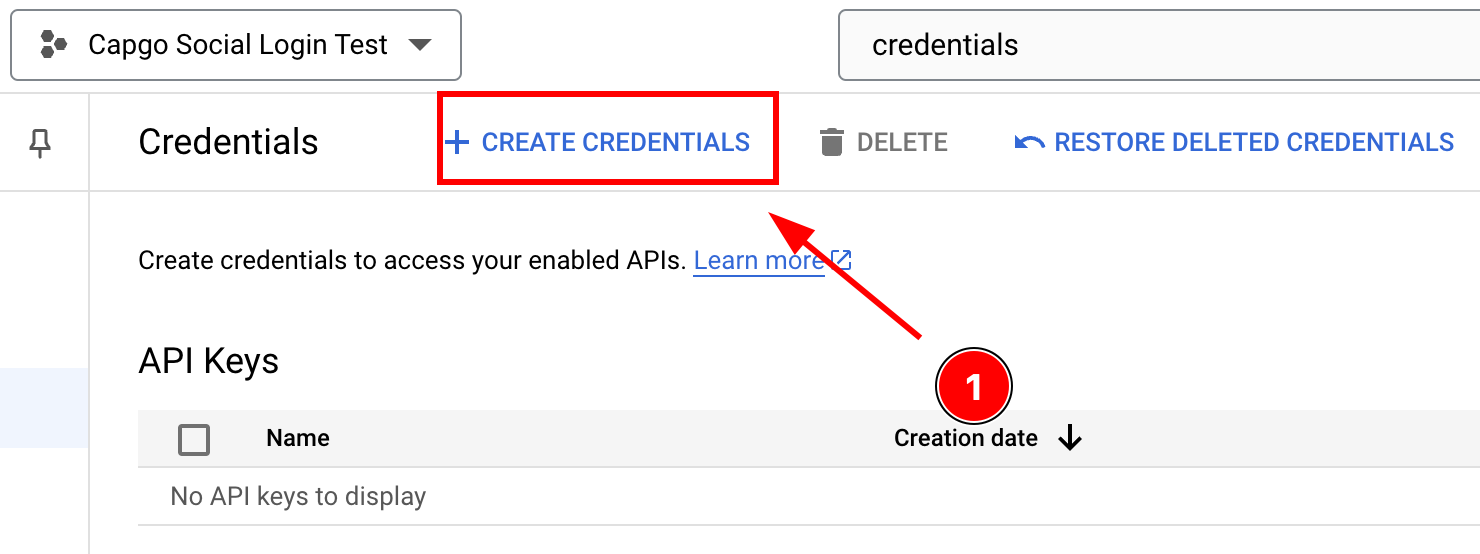
-
选择
OAuth client ID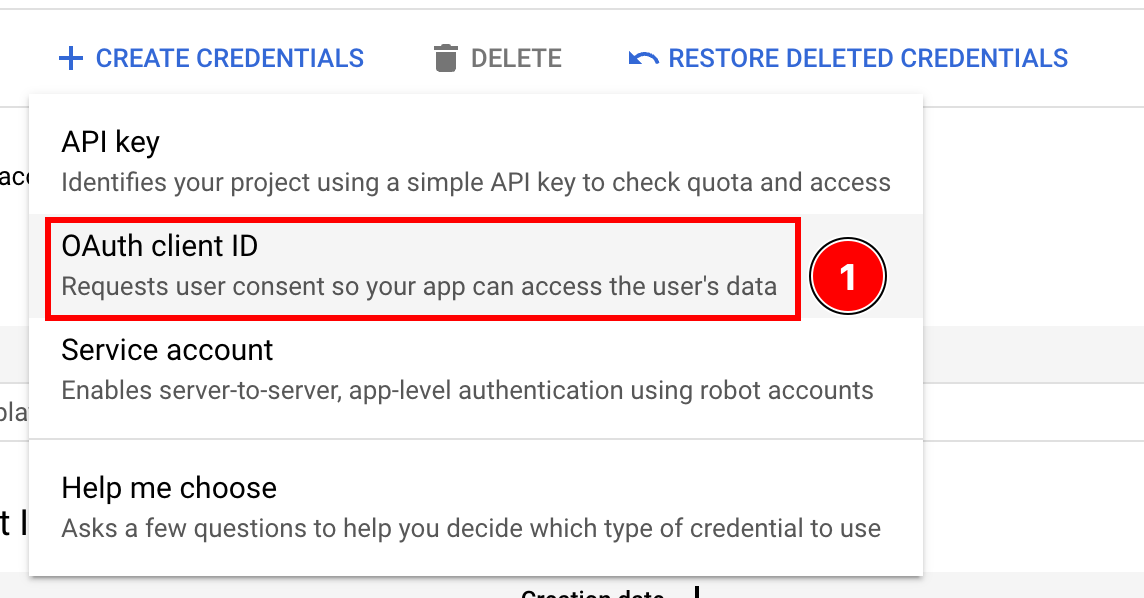
-
选择
Application typetoiOS
-
在 Xcode 中找到 Bundle ID
-
在 Xcode 中打开
-
双击
App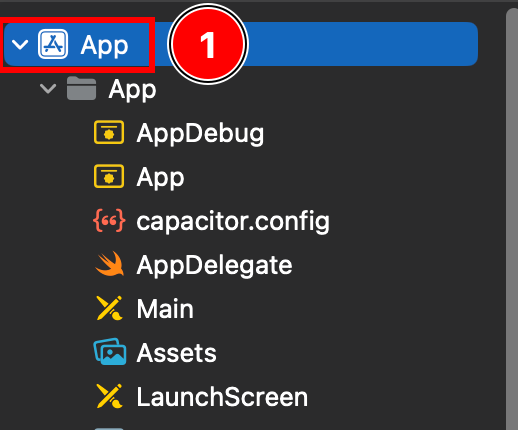
-
确保您在 Xcode 中的 Targets 部分选择了 App
Targets -> App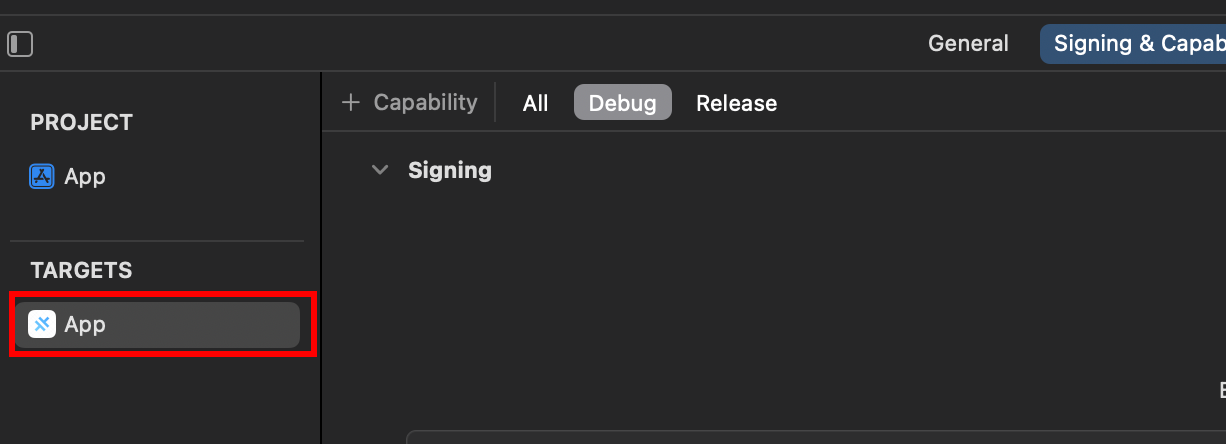
-
Bundle Identifier 字段
Bundle Identifier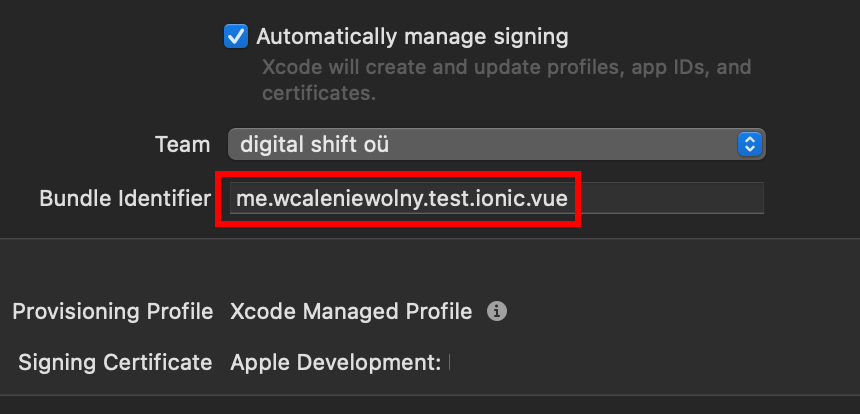
-
到
Bundle Identifier__CAPGO_KEEP_0__Bundle ID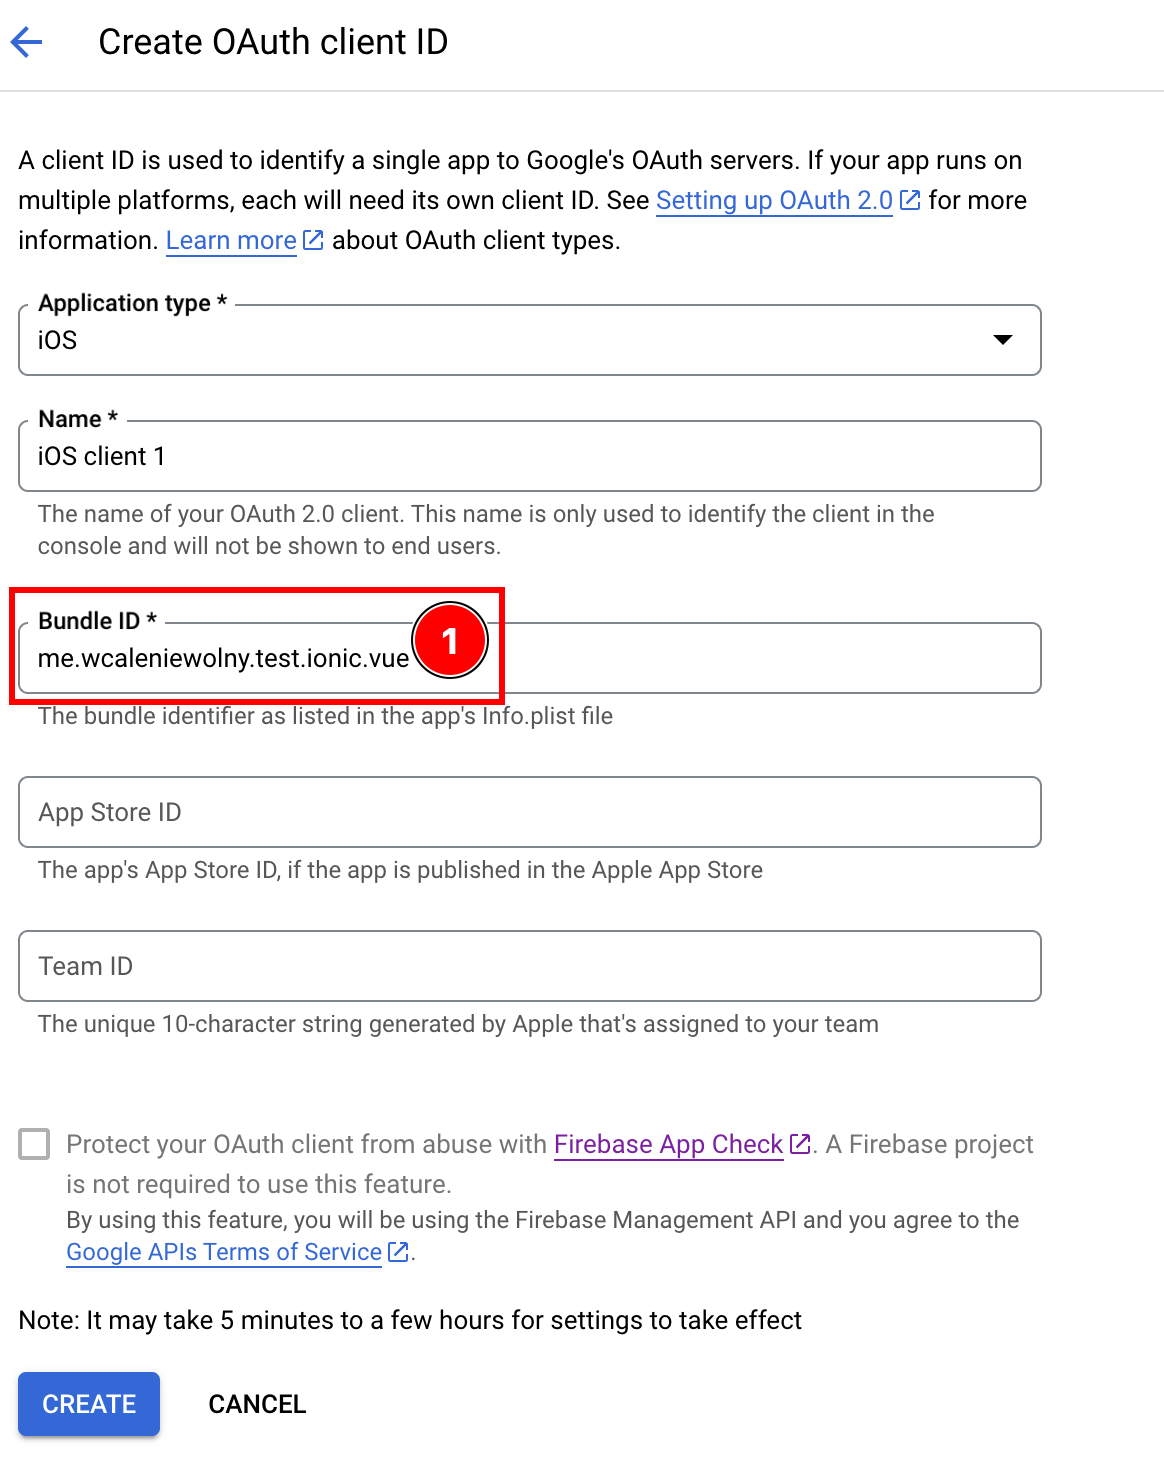
-
-
如果您已经将应用程序发布到 App Store,则可选地添加
App Store ID或Team ID到客户端 ID,如果您已经将应用程序发布到 App Store -
填写所有详细信息后,点击
create
-
点击
OK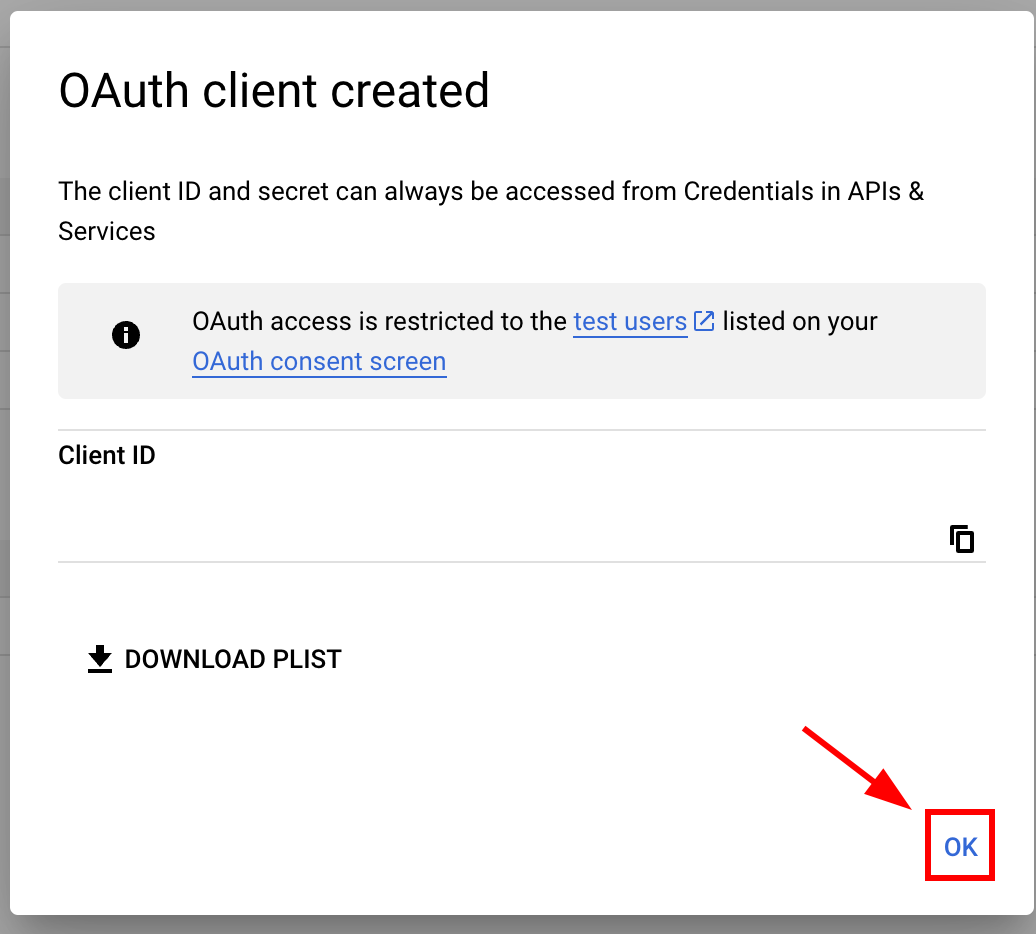
-
打开新创建的 iOS 应用程序

-
复制以下数据

-
-
打开 Xcode 并找到
-
文件
Info.plistInfo.plist 文件在 Xcode 项目导航器中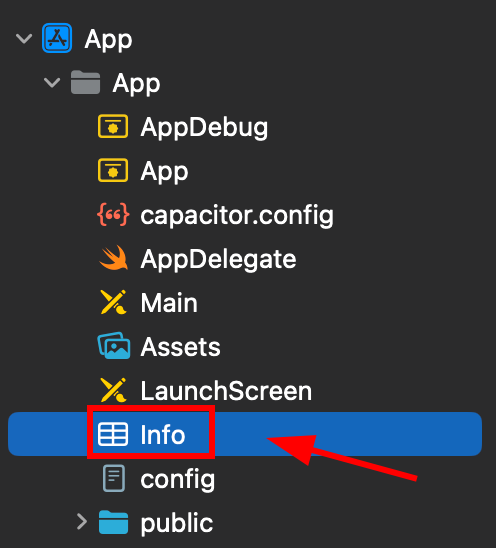
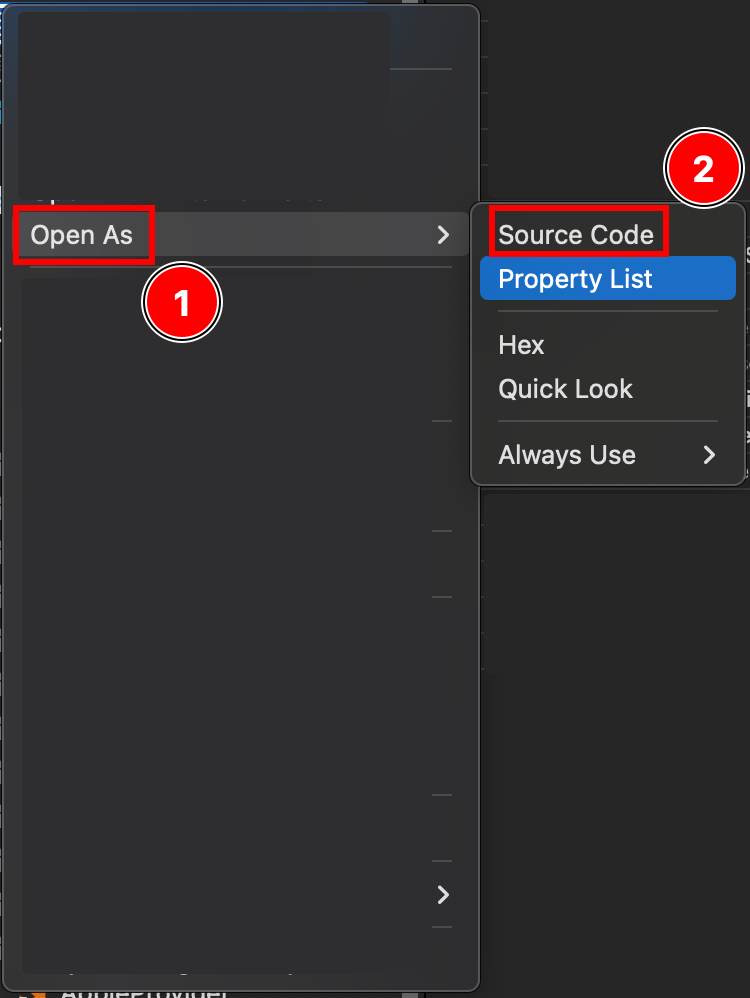
-
右键点击这个文件并以源码形式打开 code
-
在你的
Plist文件底部,你会看到一个</dict>标签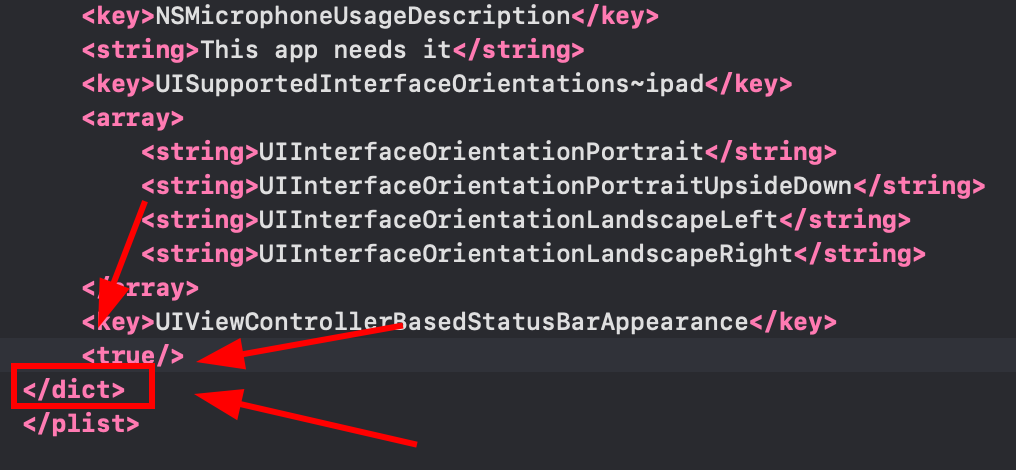
-
在字典关闭标签之前,插入以下片段
</dict>Info.plist 文件中包含 URL 方案 __CAPGO_KEEP_0__,在字典关闭标签之前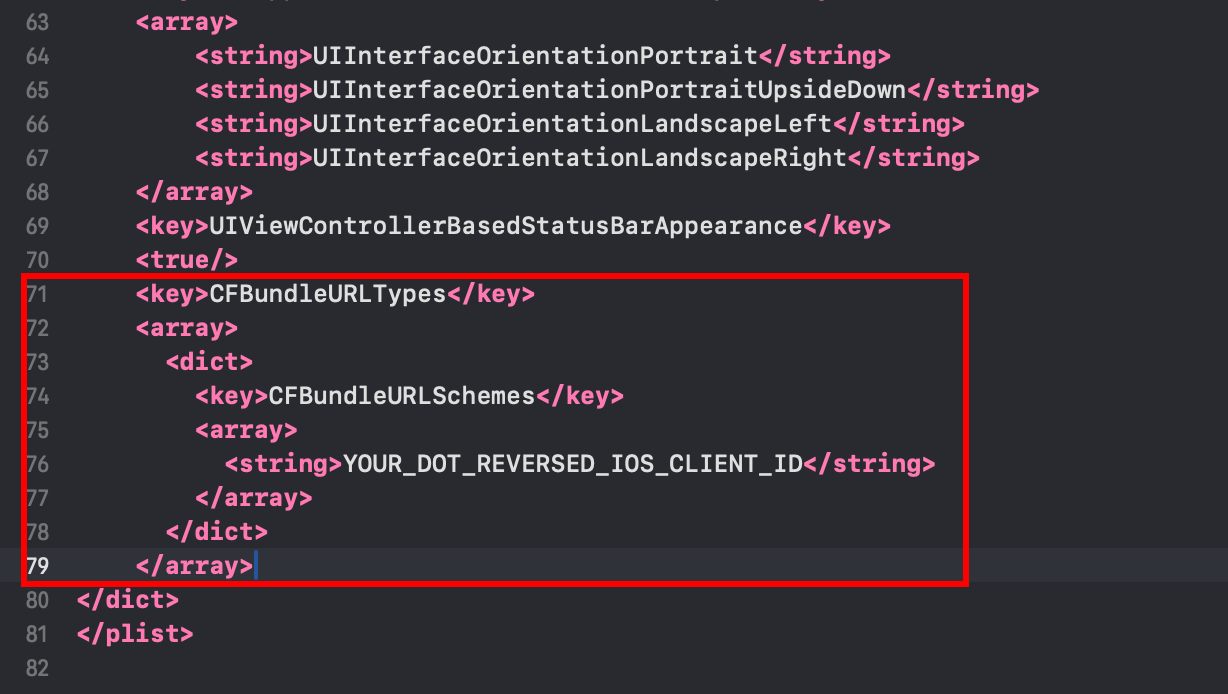 <key>CFBundleURLTypes</key><array><dict><key>CFBundleURLSchemes</key><array><string>YOUR_DOT_REVERSED_IOS_CLIENT_ID</string></array></dict></array>
 -
的值修改为上一步复制的值
YOUR_DOT_REVERSED_IOS_CLIENT_ID在 Info.plist 文件中添加 URL 方案 __CAPGO_KEEP_0__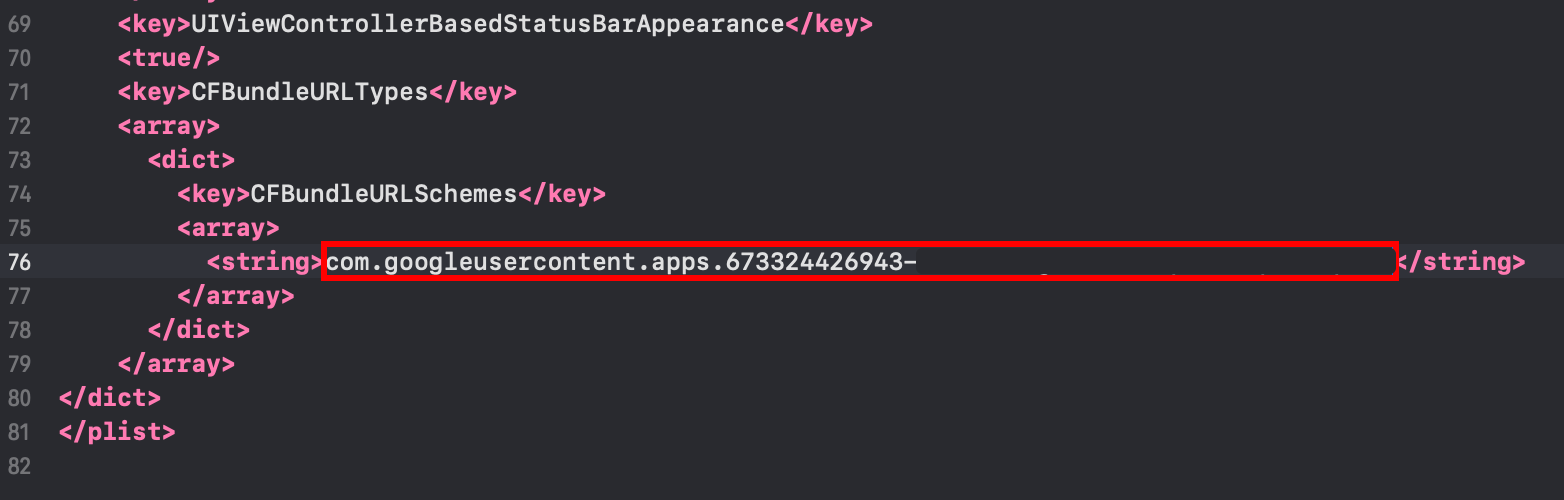
-
修改
Command + S
-
-
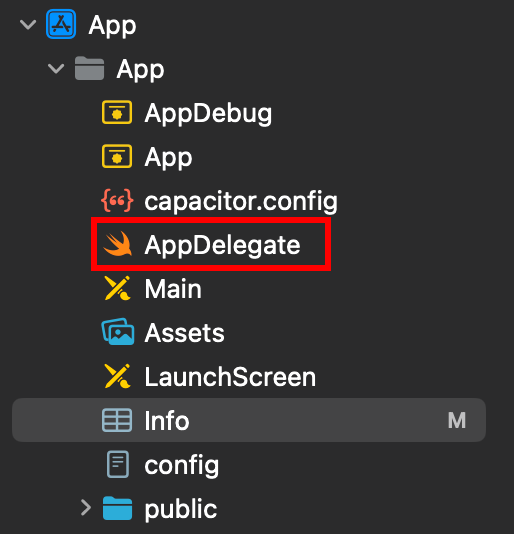
打开AppDelegate
AppDelegate.swift-
AppDelegate.swift文件在Xcode项目导航器中
-
at the top of the file
import GoogleSignInInfo.plist中包含实际的反转客户端 ID,已在 URL 方案中插入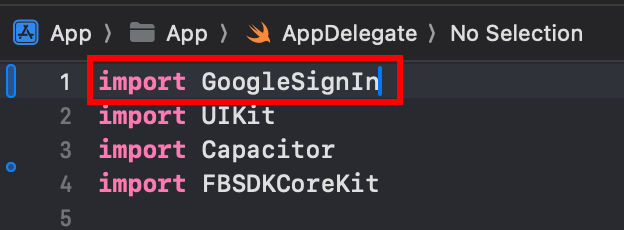
-
找到
func application(_ app: UIApplication, open url: URL, options: [UIApplication.OpenURLOptionsKey: Any] = [:])函数
-
修改函数使其类似于此
func application(_ app: UIApplication, open url: URL, options: [UIApplication.OpenURLOptionsKey: Any] = [:]) -> Bool {// Called when the app was launched with a url. Feel free to add additional processing here,// but if you want the App API to support tracking app url opens, make sure to keep this callvar handled: Boolhandled = GIDSignIn.sharedInstance.handle(url)if handled {return true}return ApplicationDelegateProxy.shared.application(app, open: url, options: options)}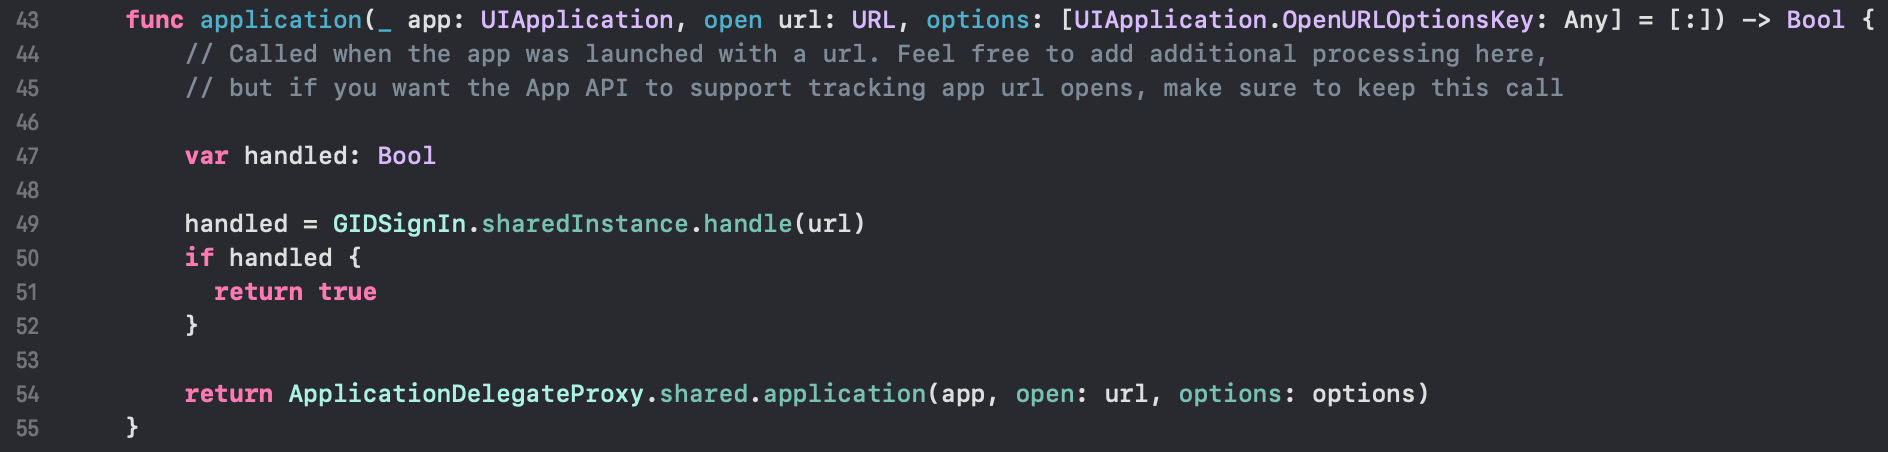
-
保存文件为
Command + S
-
-
Setup Google login in your JavaScript/TypeScript code
-
导入
SocialLogin和Capacitorimport { SocialLogin } from '@capgo/capacitor-social-login';import { Capacitor } from '@capacitor/core'; -
调用初始化方法(只需调用一次)
基本设置(在线模式 - 大多数应用程序推荐):
// onMounted is Vue specificonMounted(() => {SocialLogin.initialize({google: {iOSClientId: '673324426943-redacted.apps.googleusercontent.com',mode: 'online' // Default mode}})})高级设置(使用额外的客户端 ID):
onMounted(() => {SocialLogin.initialize({google: {webClientId: 'YOUR_WEB_CLIENT_ID', // Optional: for web platform supportiOSClientId: 'YOUR_IOS_CLIENT_ID', // Required: from step 1iOSServerClientId: 'YOUR_WEB_CLIENT_ID', // Optional: same as webClientId, needed for some advanced featuresmode: 'online' // 'online' or 'offline'}})}) -
Implement the login function. Create a button and run the following code on click
实现登录功能。创建一个按钮并在点击时运行以下__CAPGO_KEEP_0__
const res = await SocialLogin.login({provider: 'google',options: {}})// handle the response - contains user dataconsole.log(JSON.stringify(res))复制到剪贴板
const res = await SocialLogin.login({provider: 'google',options: {forceRefreshToken: true // Recommended for offline mode}})// res contains serverAuthCode, not user data// Send serverAuthCode to your backend to get user information// Do not call SocialLogin.refresh() in offline modeconsole.log('Server auth code:', res.result.serverAuthCode)
-
-
复制到剪贴板
-
Build your app and run
cap sync -
If you’ve done everything correctly, you should see the Google login flow working properly
-
已知问题
已知问题Google登录插件与
@__CAPGO_KEEP_0__/privacy-screen@__CAPGO_KEEP_0__/privacy-screen @capacitor/privacy-screen. 使用两者同时时,Google登录webview会被隐私屏幕打断。
解决方法: 在调用登录函数之前调用 await PrivacyScreen.disable(); 复制到剪贴板
import { PrivacyScreen } from '@capacitor/privacy-screen';import { SocialLogin } from '@capgo/capacitor-social-login';
await PrivacyScreen.disable();await SocialLogin.login({  provider: 'google',  options: {}});
标题:从iOS的Google登录继续
如果您正在使用iOS上的Google登录 来规划身份验证和帐户流程,连接它到 使用@__CAPGO_KEEP_0__/__CAPGO_KEEP_1__-social-login 来使用@capgo/capacitor-social-login for the native capability in Using @capgo/capacitor-social-login, @capgo/capacitor-social-login 在 @capgo/capacitor-social-login 中的实现细节 @capgo/capacitor-passkey 在 @capgo/capacitor-passkey 中的实现细节 @capgo/capacitor-native-biometric 在 @capgo/capacitor-native-biometric 中的实现细节,以及 双因素认证 在双因素认证中的实现细节