iOS上のGoogleログイン
インストール手順とこのプラグインの全マークダウンガイドを含む設定プロンプトをコピーします。
このガイドでは、Capgo iOS用のソーシャルログインでGoogleログインを設定する方法を学びます。 既に一般的なセットアップガイドを読んだと想定しています。 一般的なセットアップガイド.
iOSでGoogleログインを使用する
「iOSでGoogleログインを使用する」のセクションこのセクションでは、iOSでGoogleログインを設定する方法を学びます。
-
GoogleコンソールでiOSクライアントIDを作成
-
検索バーをクリック

-
で検索
credentialsAPIとサービスが強調表示されたクレデンシャルオプションを表示する検索結果APIs and ServicesGoogleコンソールの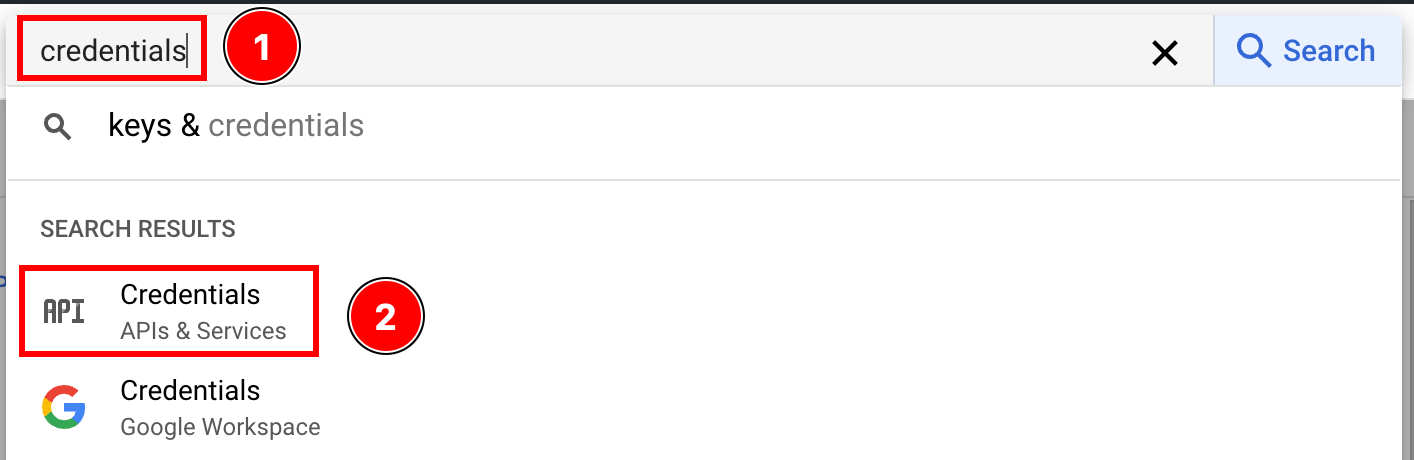
-
クレデンシャル作成メニューの
create credentials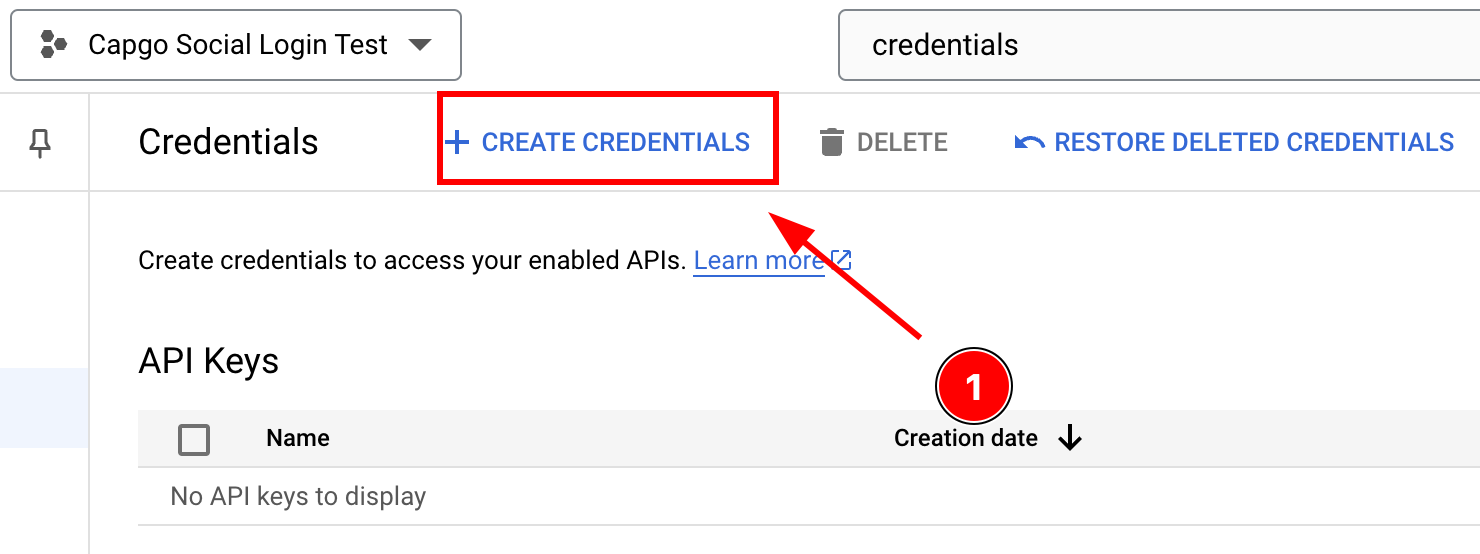
-
クレデンシャル作成メニューの
OAuth client ID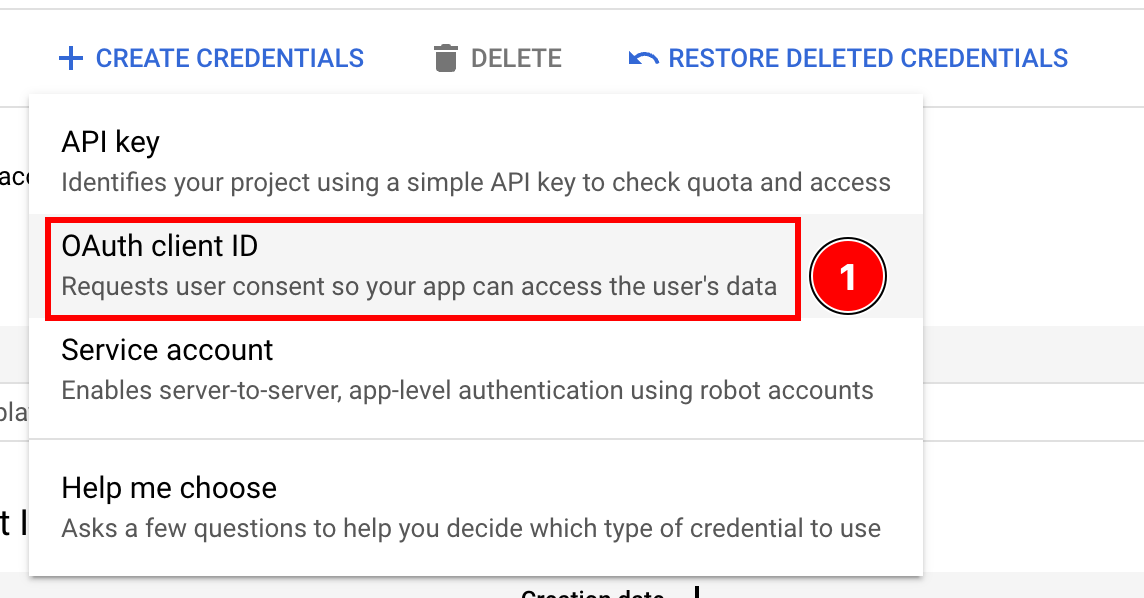
-
クライアントIDの種類を選択
Application typeToiOS
-
バンドルIDを探す
-
Xcodeを開く
-
ダブルクリックして
App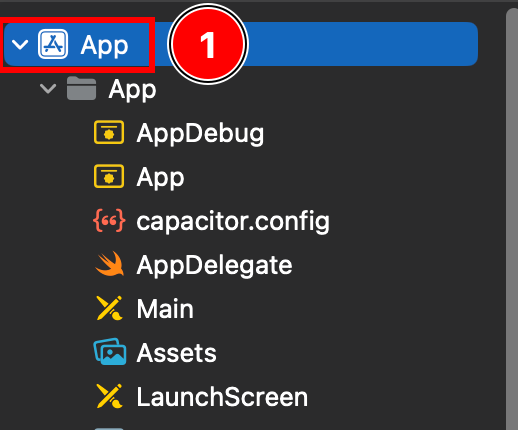
-
ターゲットセクションに移動して
Targets -> App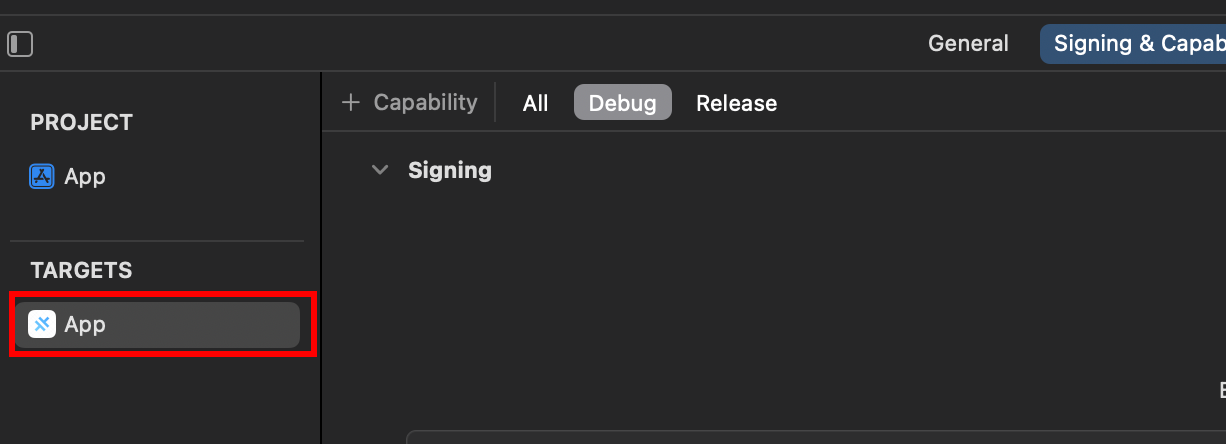
-
バンドルIDを探す
Bundle Identifier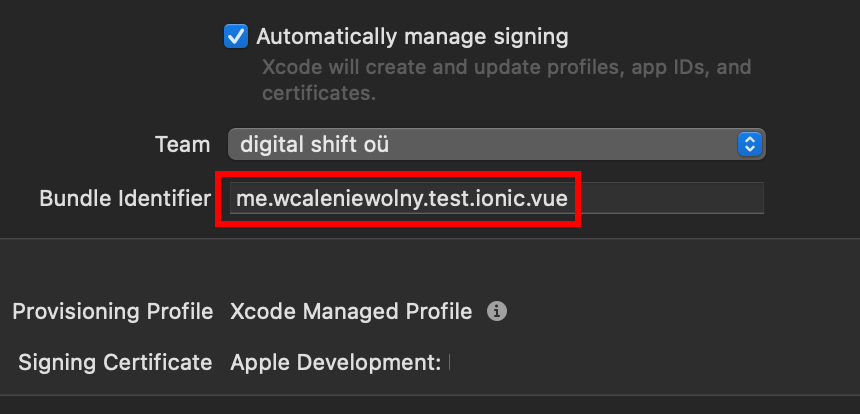
-
Googleコンソールに戻って、
Bundle IdentifierをペーストするBundle ID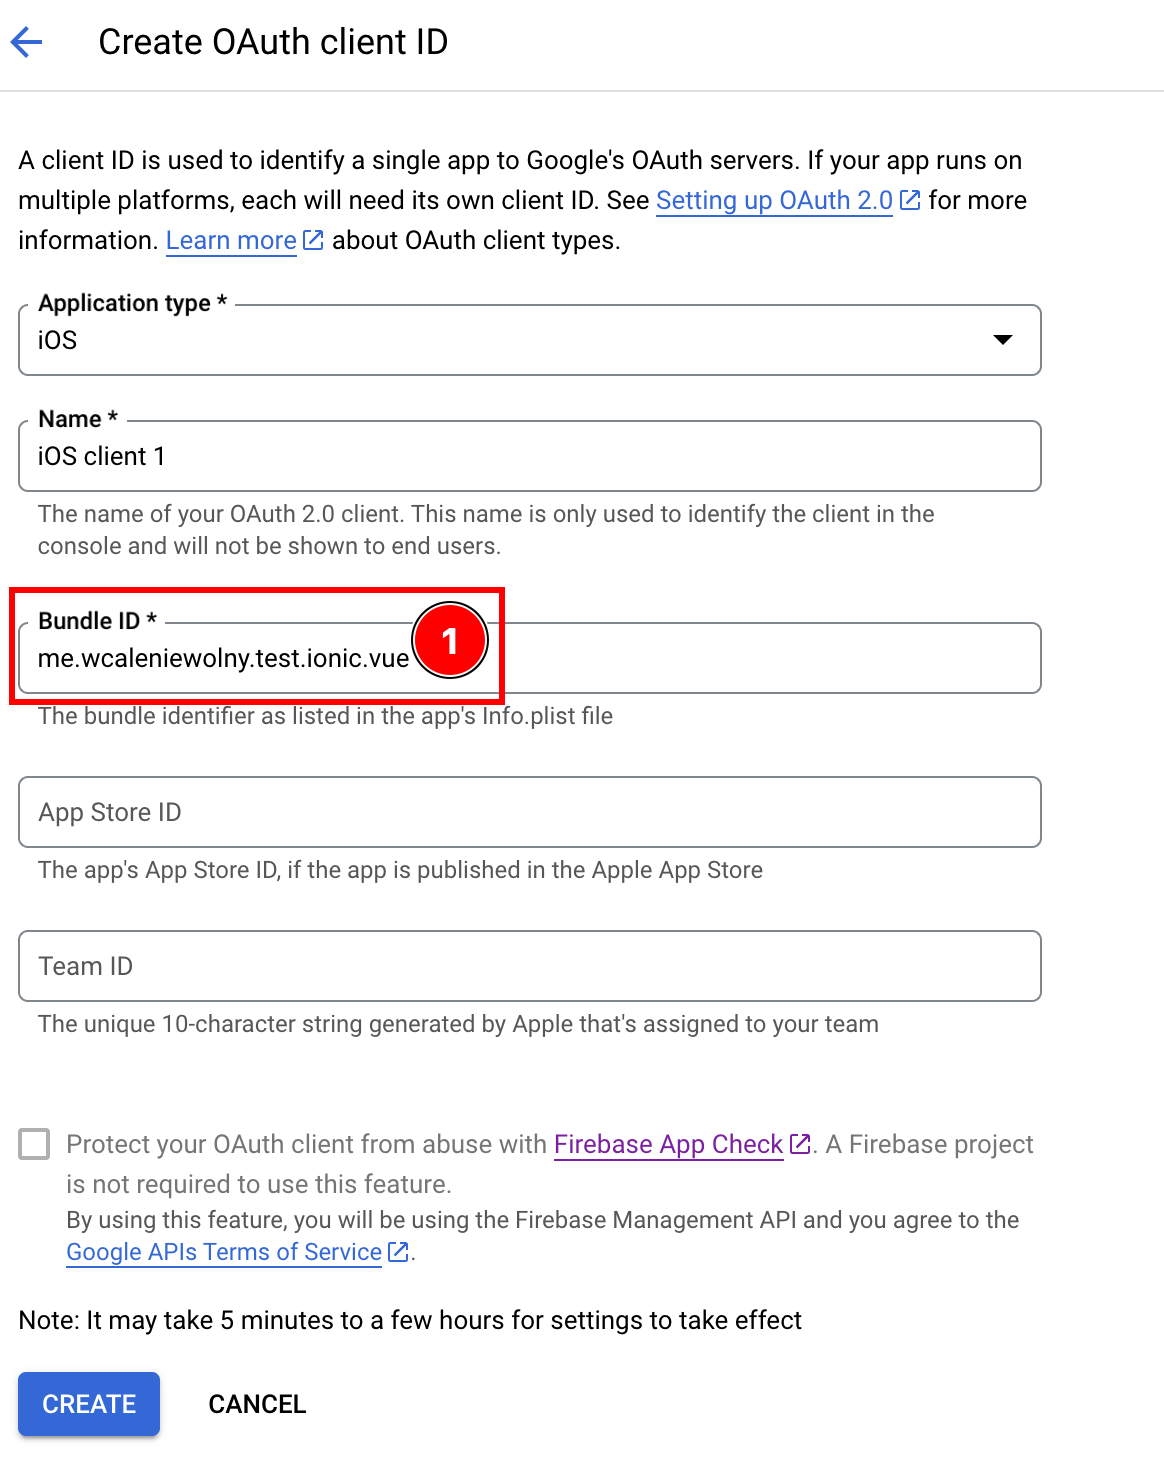
-
-
App Storeにアプリを公開している場合は、
App Store IDにTeam IDをクライアントIDに追加することもできます -
すべての詳細を入力したら、
create
-
Create
OK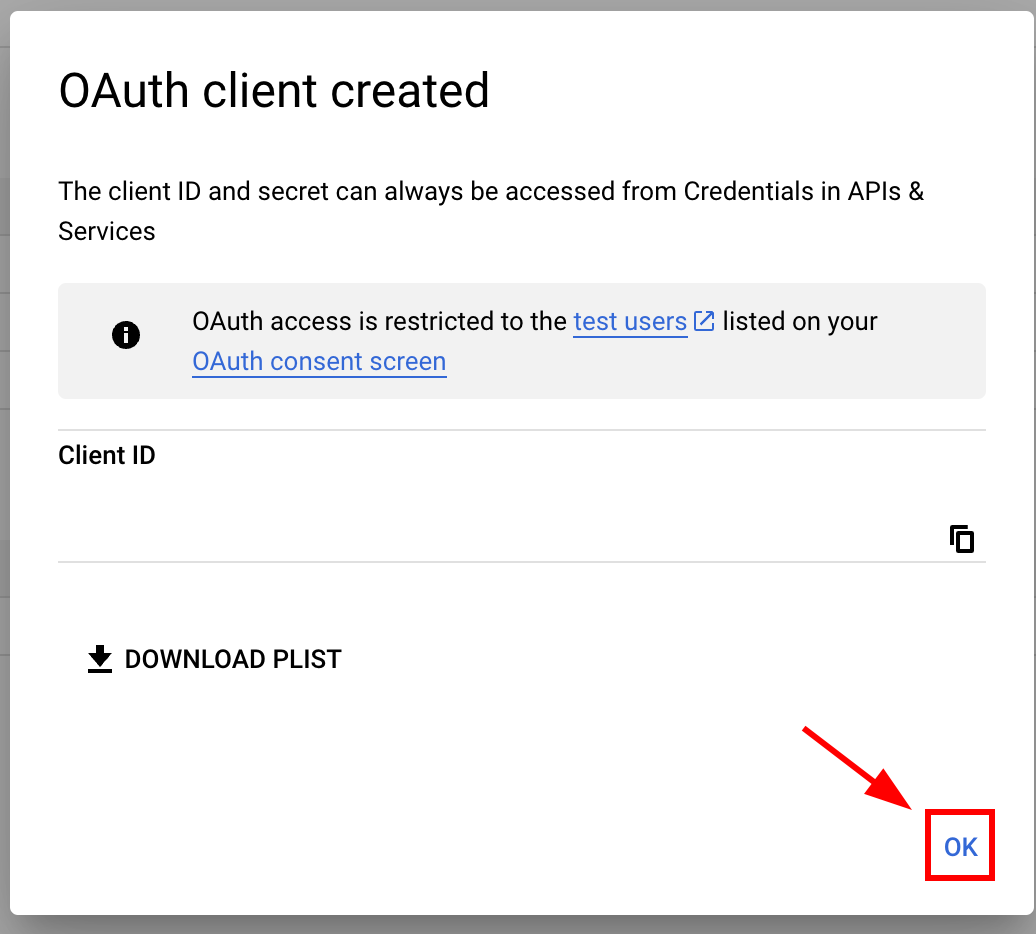
-
新しく作成したiOS clientを開く

-
以下のデータをコピーする

-
-
アプリの Info.plist を変更する
-
Xcode を開いてプロジェクト ナビゲーターで
Info.plistファイル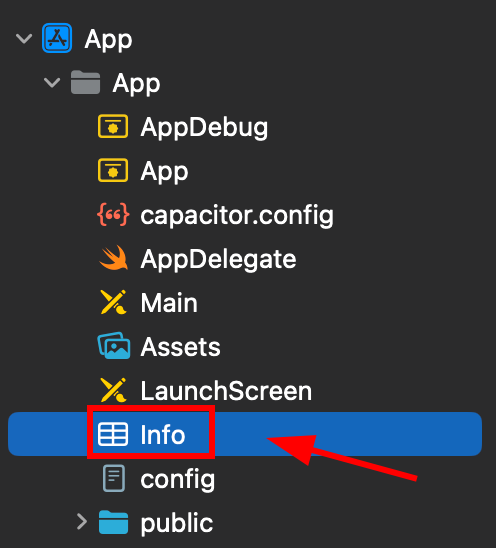
-
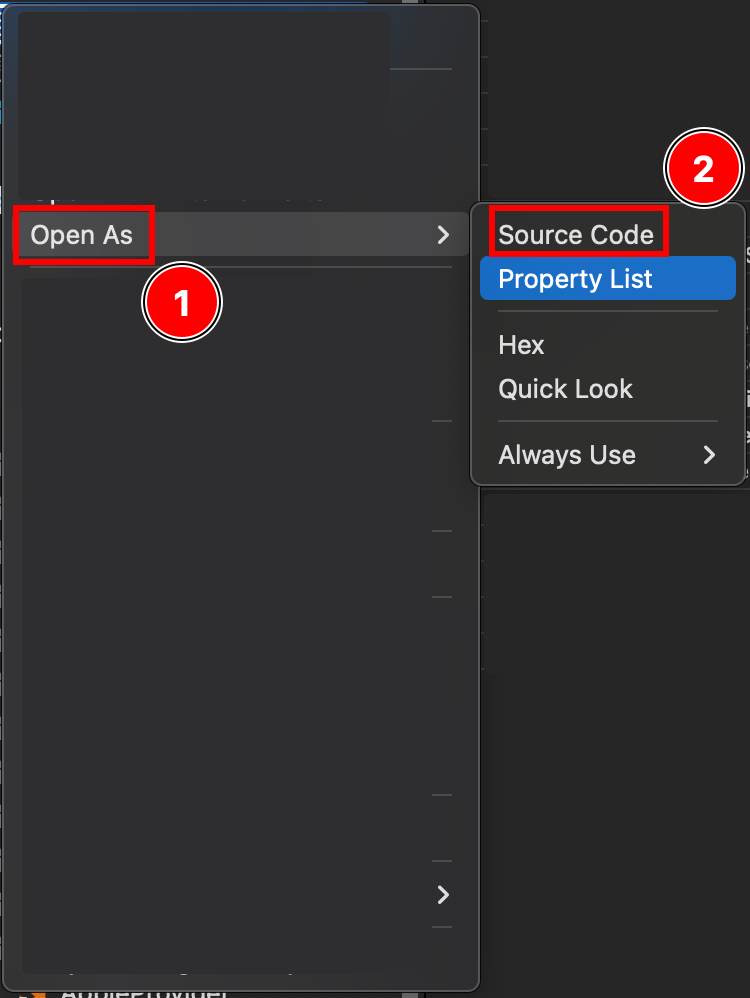
右クリックしてこのファイルを開く code
-
ファイルの下部に
Plistタグが表示されます</dict>Info.plistファイル内のdictタグ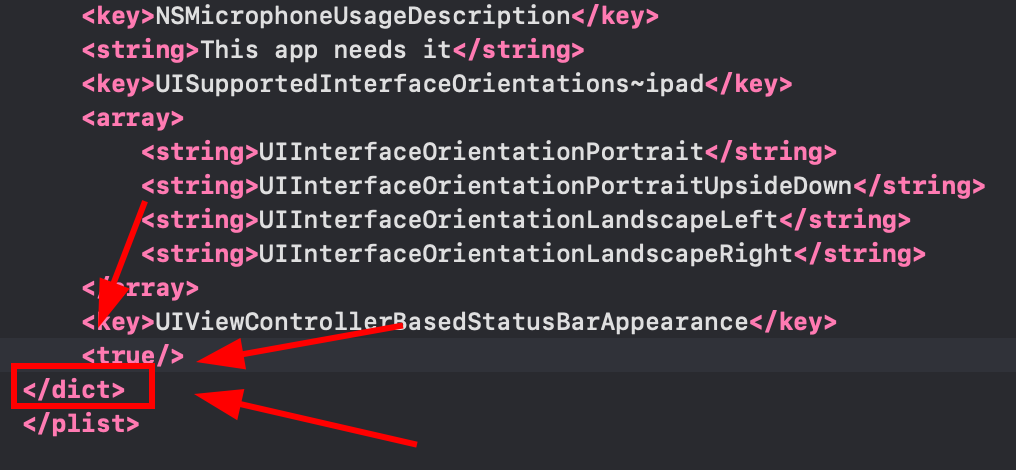
-
Info.plistファイルにURLスキーム __CAPGO_KEEP_0__ を挿入したもの
</dict>クリップボードにコピー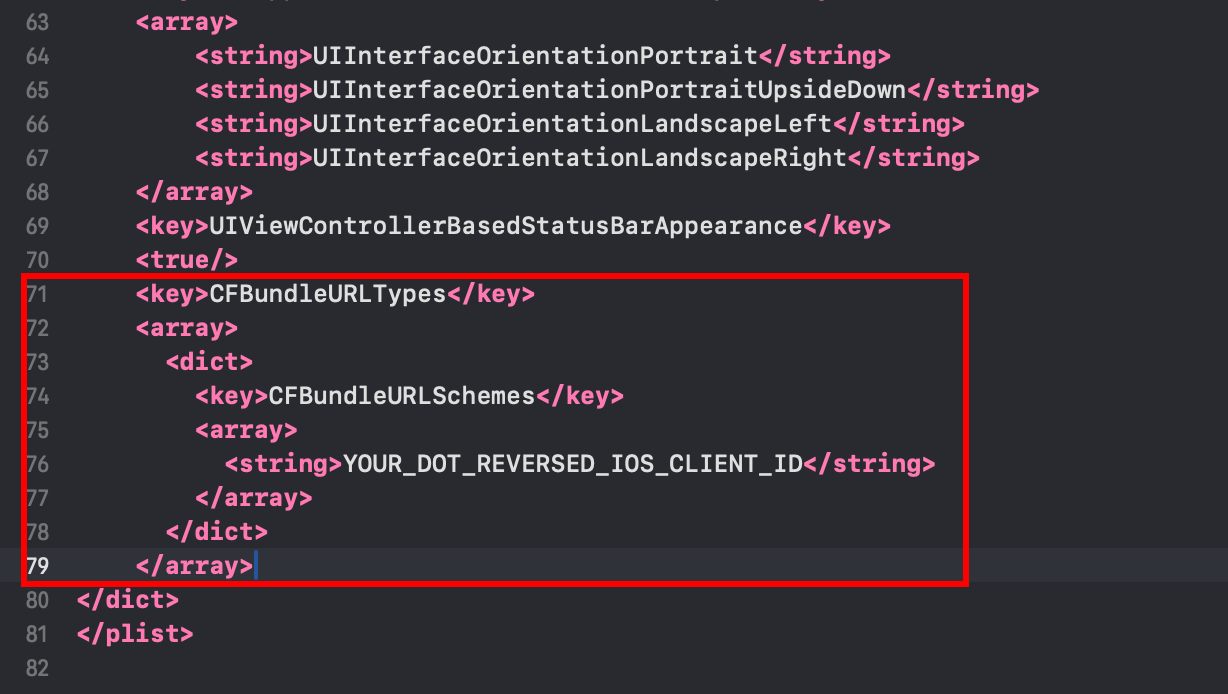 <key>CFBundleURLTypes</key><array><dict><key>CFBundleURLSchemes</key><array><string>YOUR_DOT_REVERSED_IOS_CLIENT_ID</string></array></dict></array>
 -
前のステップでコピーした値
YOUR_DOT_REVERSED_IOS_CLIENT_ID前のステップでコピーした値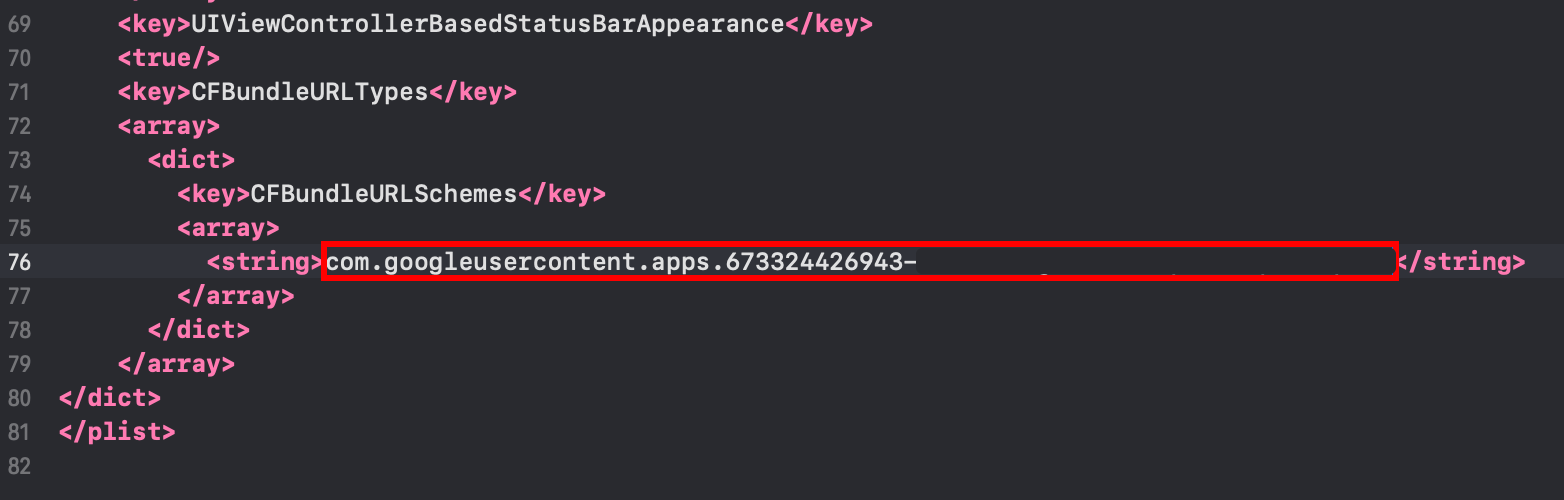
-
ファイルを保存する
Command + S
-
-
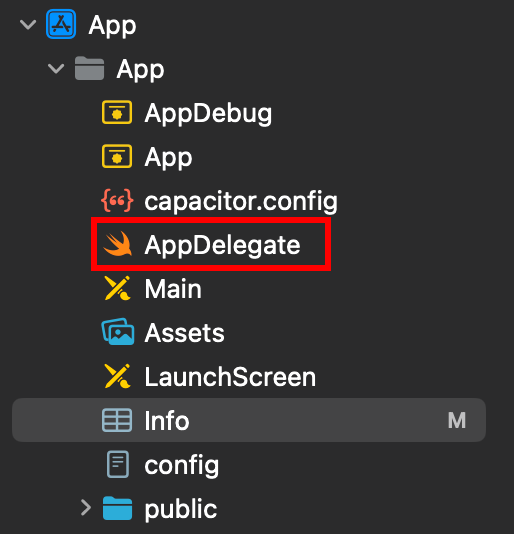
変更する
AppDelegate.swift-
XcodeプロジェクトナビゲータでAppDelegate.swiftファイルを開く
-
上部に
import GoogleSignIn__CAPGO_KEEP_0__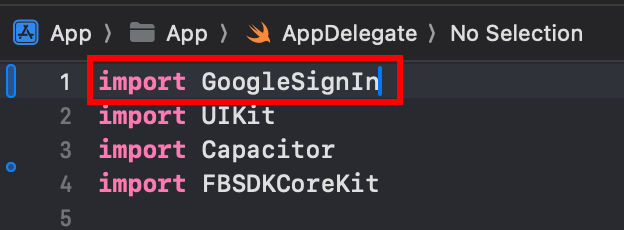
-
Find the
func application(_ app: UIApplication, open url: URL, options: [UIApplication.OpenURLOptionsKey: Any] = [:])function
-
Modify the function to look like this
func application(_ app: UIApplication, open url: URL, options: [UIApplication.OpenURLOptionsKey: Any] = [:]) -> Bool {// Called when the app was launched with a url. Feel free to add additional processing here,// but if you want the App API to support tracking app url opens, make sure to keep this callvar handled: Boolhandled = GIDSignIn.sharedInstance.handle(url)if handled {return true}return ApplicationDelegateProxy.shared.application(app, open: url, options: options)}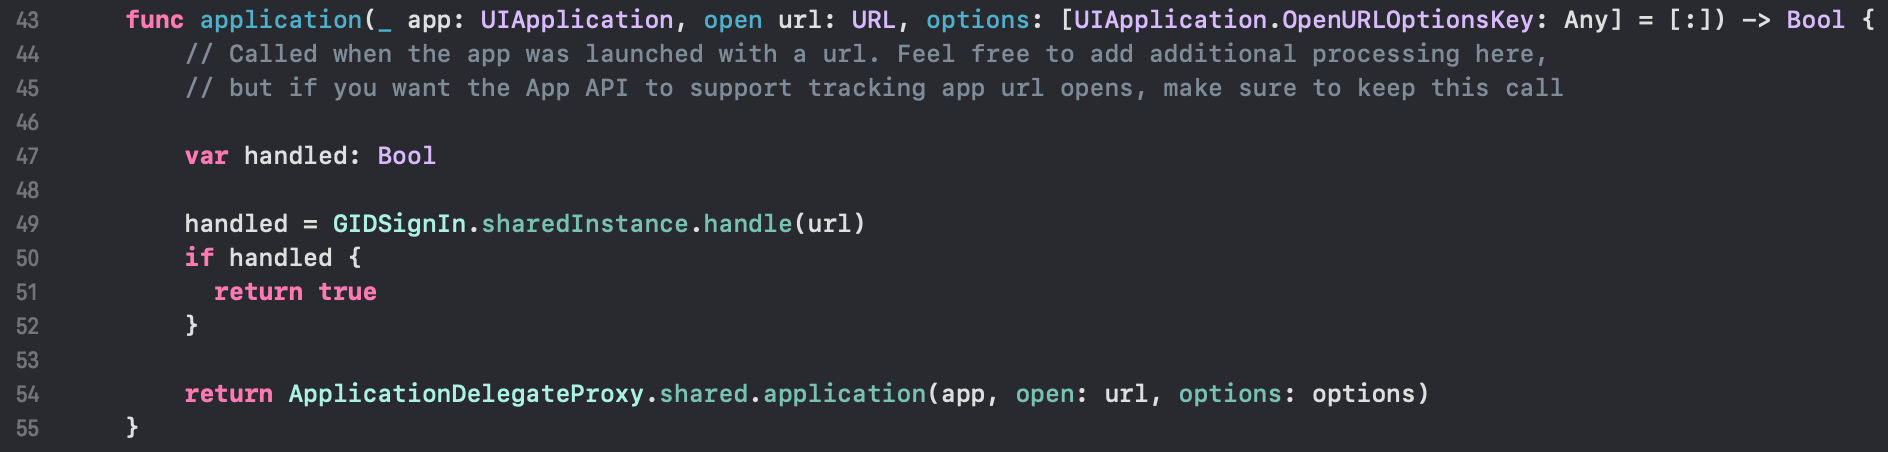
-
Save the file with
Command + S
-
-
Google loginをJavaScript/TypeScriptのcodeにセットアップ
-
Import
SocialLoginandCapacitorimport { SocialLogin } from '@capgo/capacitor-social-login';import { Capacitor } from '@capacitor/core'; -
初期化メソッドを呼び出してください (これは、1回だけ呼び出してください)
基本設定 (オンラインモード - 最も多くのアプリケーション向けに推奨):
// onMounted is Vue specificonMounted(() => {SocialLogin.initialize({google: {iOSClientId: '673324426943-redacted.apps.googleusercontent.com',mode: 'online' // Default mode}})})追加のクライアントIDを使用した高度な設定:
onMounted(() => {SocialLogin.initialize({google: {webClientId: 'YOUR_WEB_CLIENT_ID', // Optional: for web platform supportiOSClientId: 'YOUR_IOS_CLIENT_ID', // Required: from step 1iOSServerClientId: 'YOUR_WEB_CLIENT_ID', // Optional: same as webClientId, needed for some advanced featuresmode: 'online' // 'online' or 'offline'}})}) -
ログイン機能を実装するには、ログイン関数を作成し、次のcodeをクリック時に実行してください。
オンラインモード:
const res = await SocialLogin.login({provider: 'google',options: {}})// handle the response - contains user dataconsole.log(JSON.stringify(res))オフラインモード:
const res = await SocialLogin.login({provider: 'google',options: {forceRefreshToken: true // Recommended for offline mode}})// res contains serverAuthCode, not user data// Send serverAuthCode to your backend to get user information// Do not call SocialLogin.refresh() in offline modeconsole.log('Server auth code:', res.result.serverAuthCode)
-
-
アプリケーションをテストしてください
-
アプリをビルドして実行
cap sync -
あなたがすべて正しく行ったら、Google ログインフローが正常に動作しているはずです
-
知られている問題
「知られている問題」のセクションプライバシースクリーン プラグインの不互換性
「プライバシースクリーン プラグインの不互換性」のセクションGoogle ログイン プラグインは @capacitor/privacy-screen. Google のログイン ウェブビューはプライバシー画面によって中断されます。
対策: 呼び出す await PrivacyScreen.disable(); ログイン関数を呼び出す前に
import { PrivacyScreen } from '@capacitor/privacy-screen';import { SocialLogin } from '@capgo/capacitor-social-login';
await PrivacyScreen.disable();await SocialLogin.login({  provider: 'google',  options: {}});
iOS の Google ログインから続けて
「iOS の Google ログインから続けて」Capacitor の @__CAPGO_KEEP_0__/__CAPGO_KEEP_1__-social-login を使用している場合、 Capacitor の @__CAPGO_KEEP_0__/__CAPGO_KEEP_1__-social-login を使用している場合、 Capacitor の @__CAPGO_KEEP_0__/__CAPGO_KEEP_1__-social-login を使用している場合、 Using @capgo/capacitor-social-login Capacitor の @capgo/capacitor-social-login を使用している場合、 @capgo/capacitor-social-login 実装詳細については @capgo/capacitor-social-login を参照してください。 @capgo/capacitor-passkey 実装詳細については @capgo/capacitor-passkey を参照してください。 @capgo/capacitor-native-biometric 実装詳細については @capgo/capacitor-native-biometric を参照してください。 Two-factor authentication Two-factor authentication の実装詳細については参照してください。