Firebase Google Login - General Setup
__CAPGO_KEEP_0__
このガイドでは、Capacitor Social Login プラグインを使用して、Google Sign-In を Firebase Authentication に統合する方法を説明します。この設定では、モバイルプラットフォームでネイティブの Google Sign-In を使用しながら、バックエンドの認証に Firebase Auth を活用できます。
セットアップ手順
「セットアップ手順」のタイトルが付いたセクション- 以下の手順に従ってください。 https://console.cloud.google.com
- 使用するプロジェクトを選択してください。
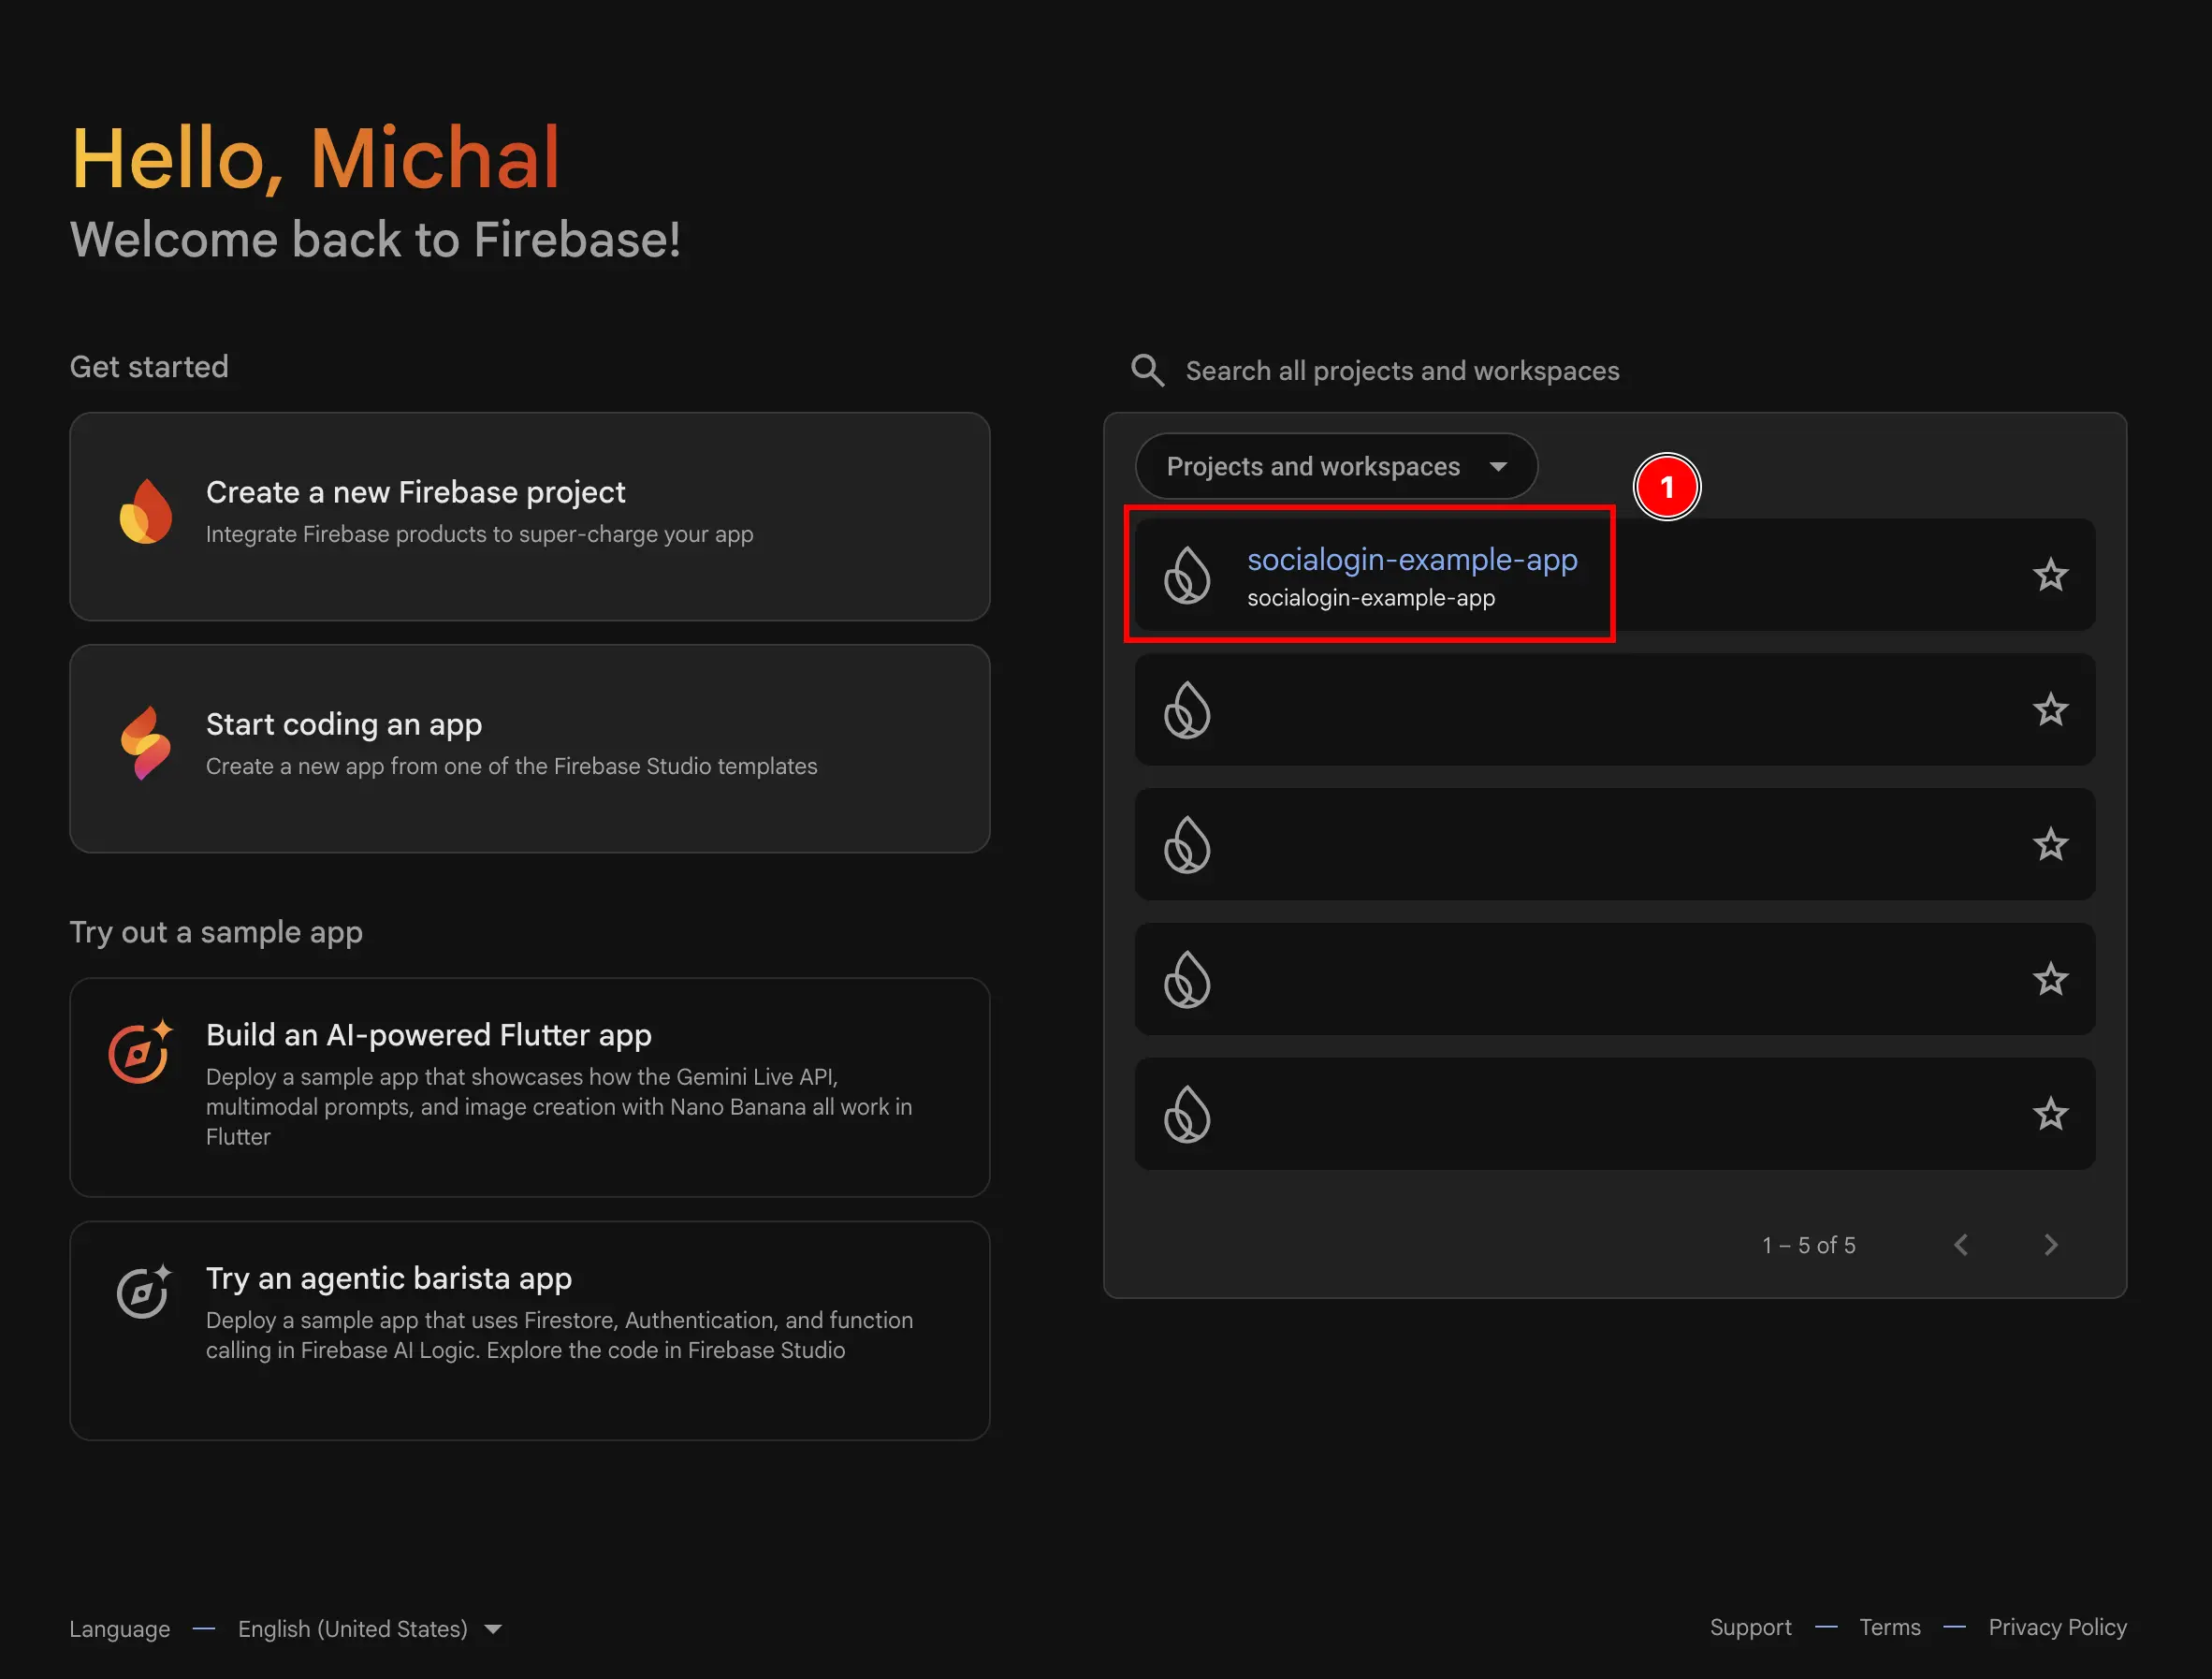
- 以下のメニューに移動してください。
Authenticationメニュー- クリックしてください
build - クリックしてください
Authentication

- クリックしてください
- クリックしてください
Get startedボタン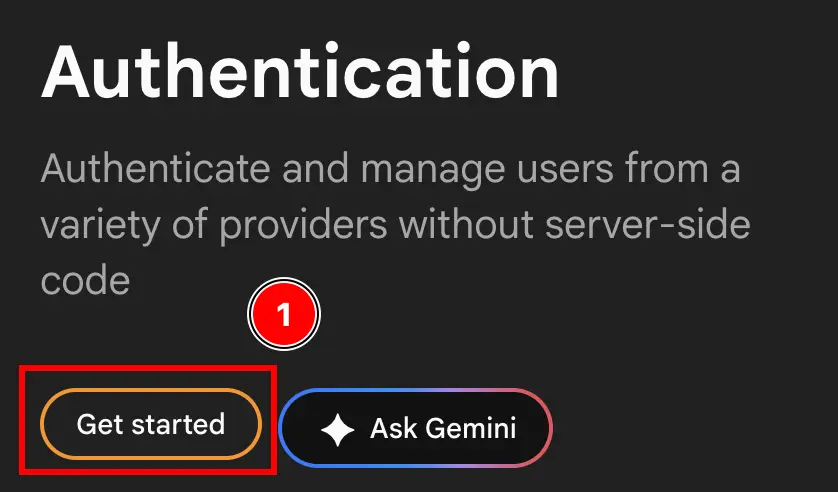
- どちらかを選択してください
Email/PasswordかつGoogleまたはGoogleただし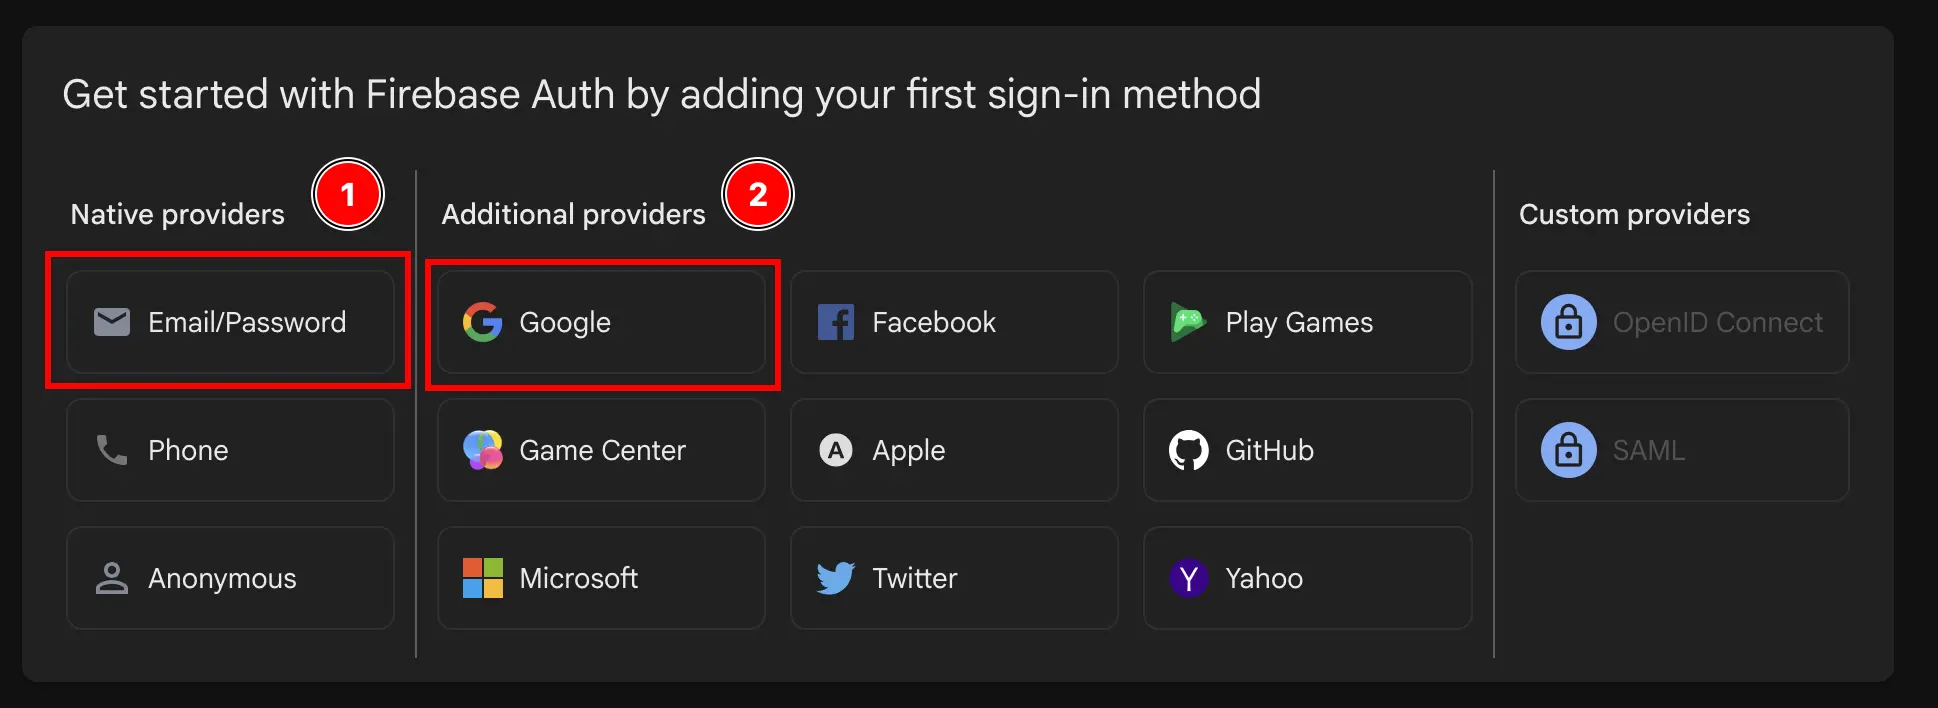
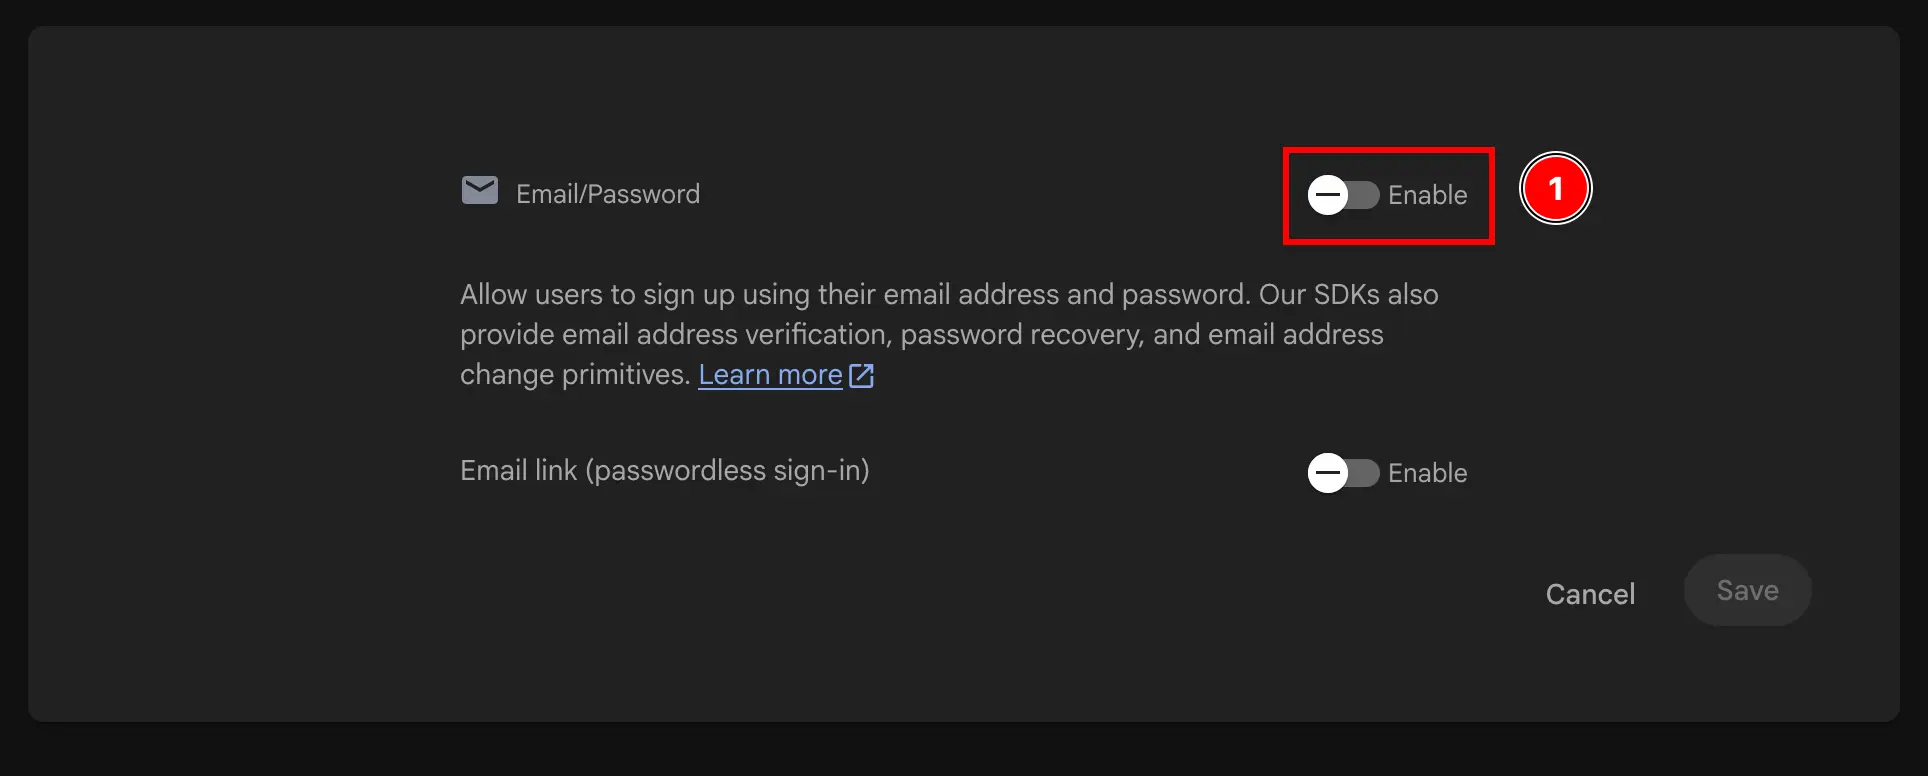
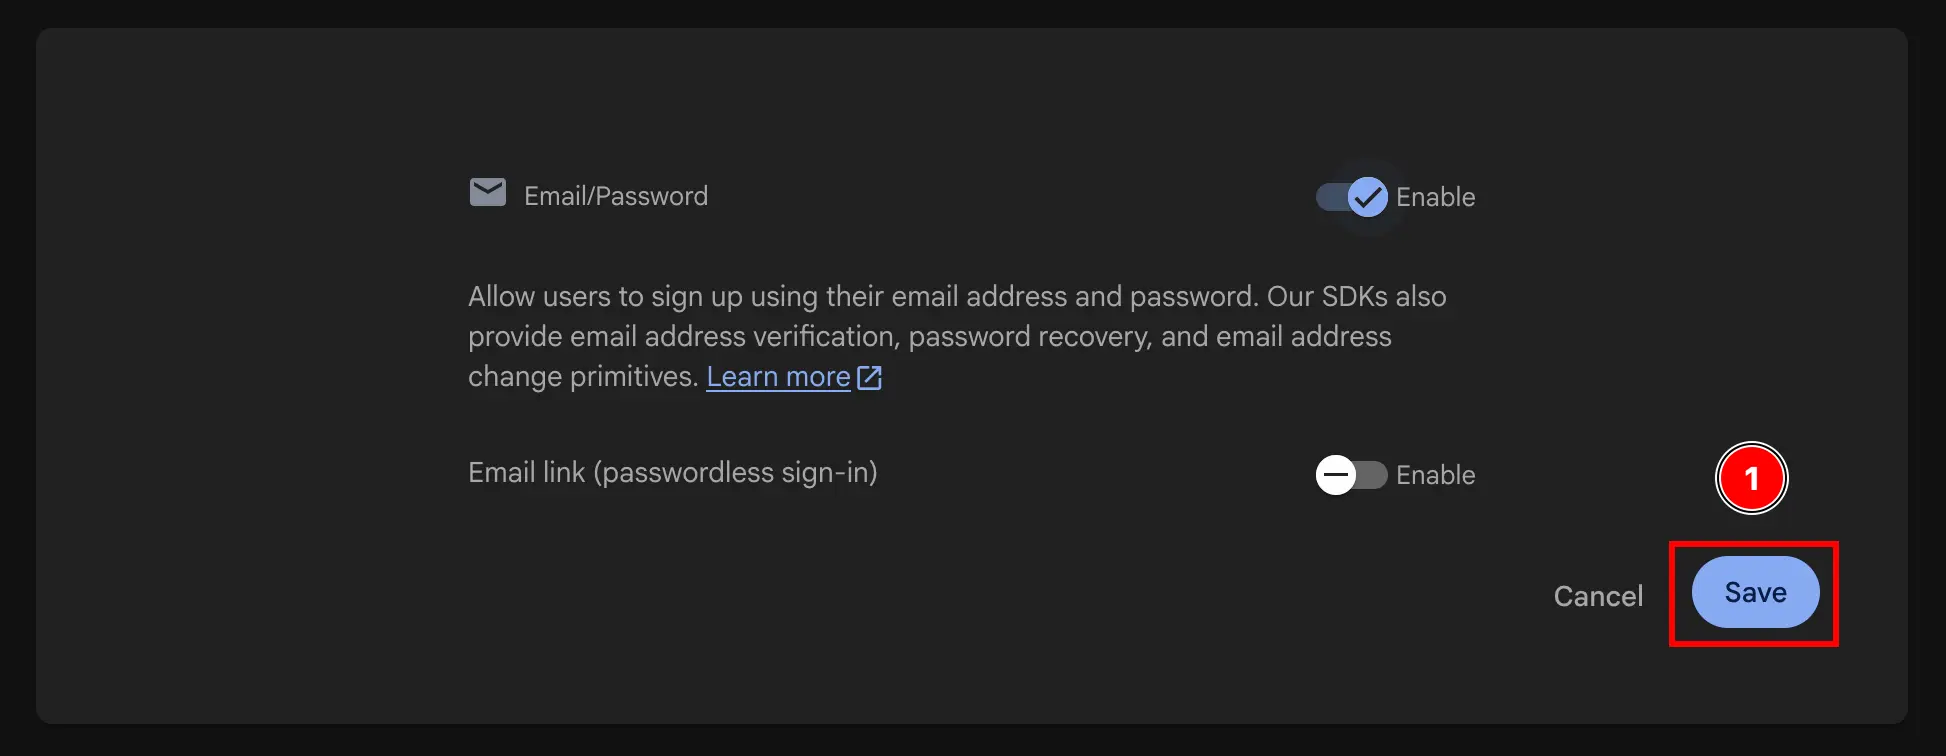

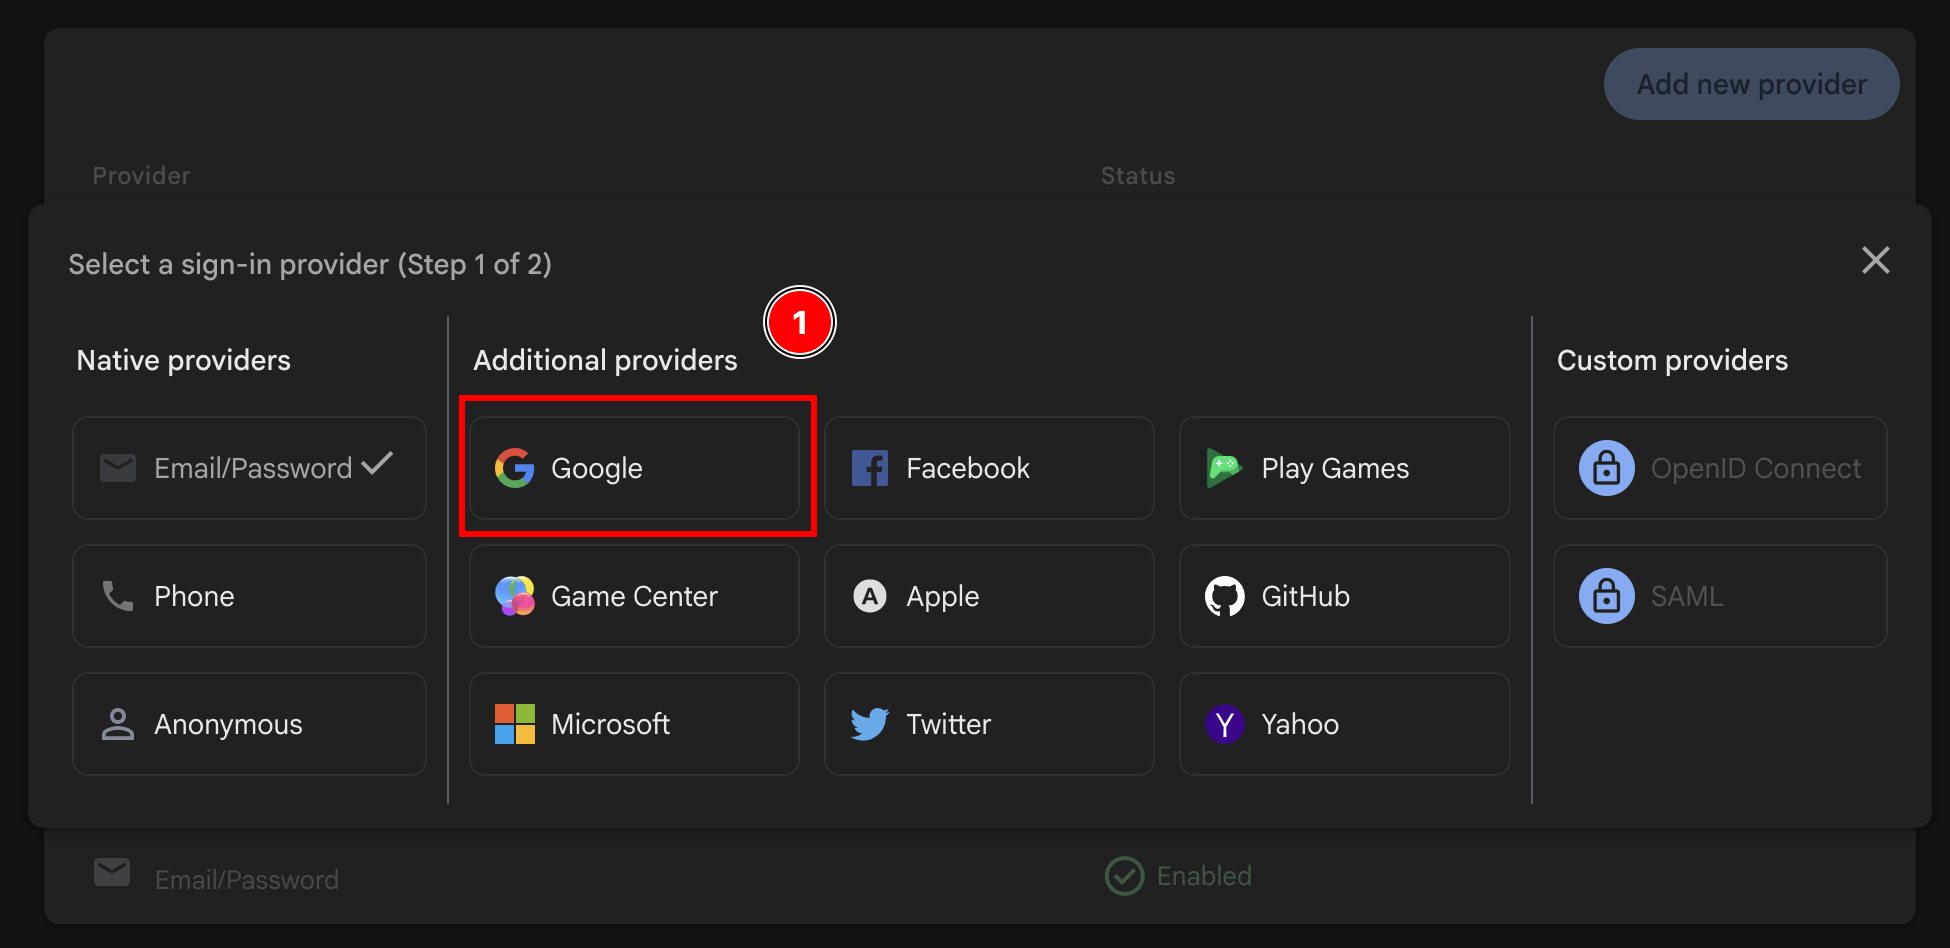
- Enable the
Googleprovider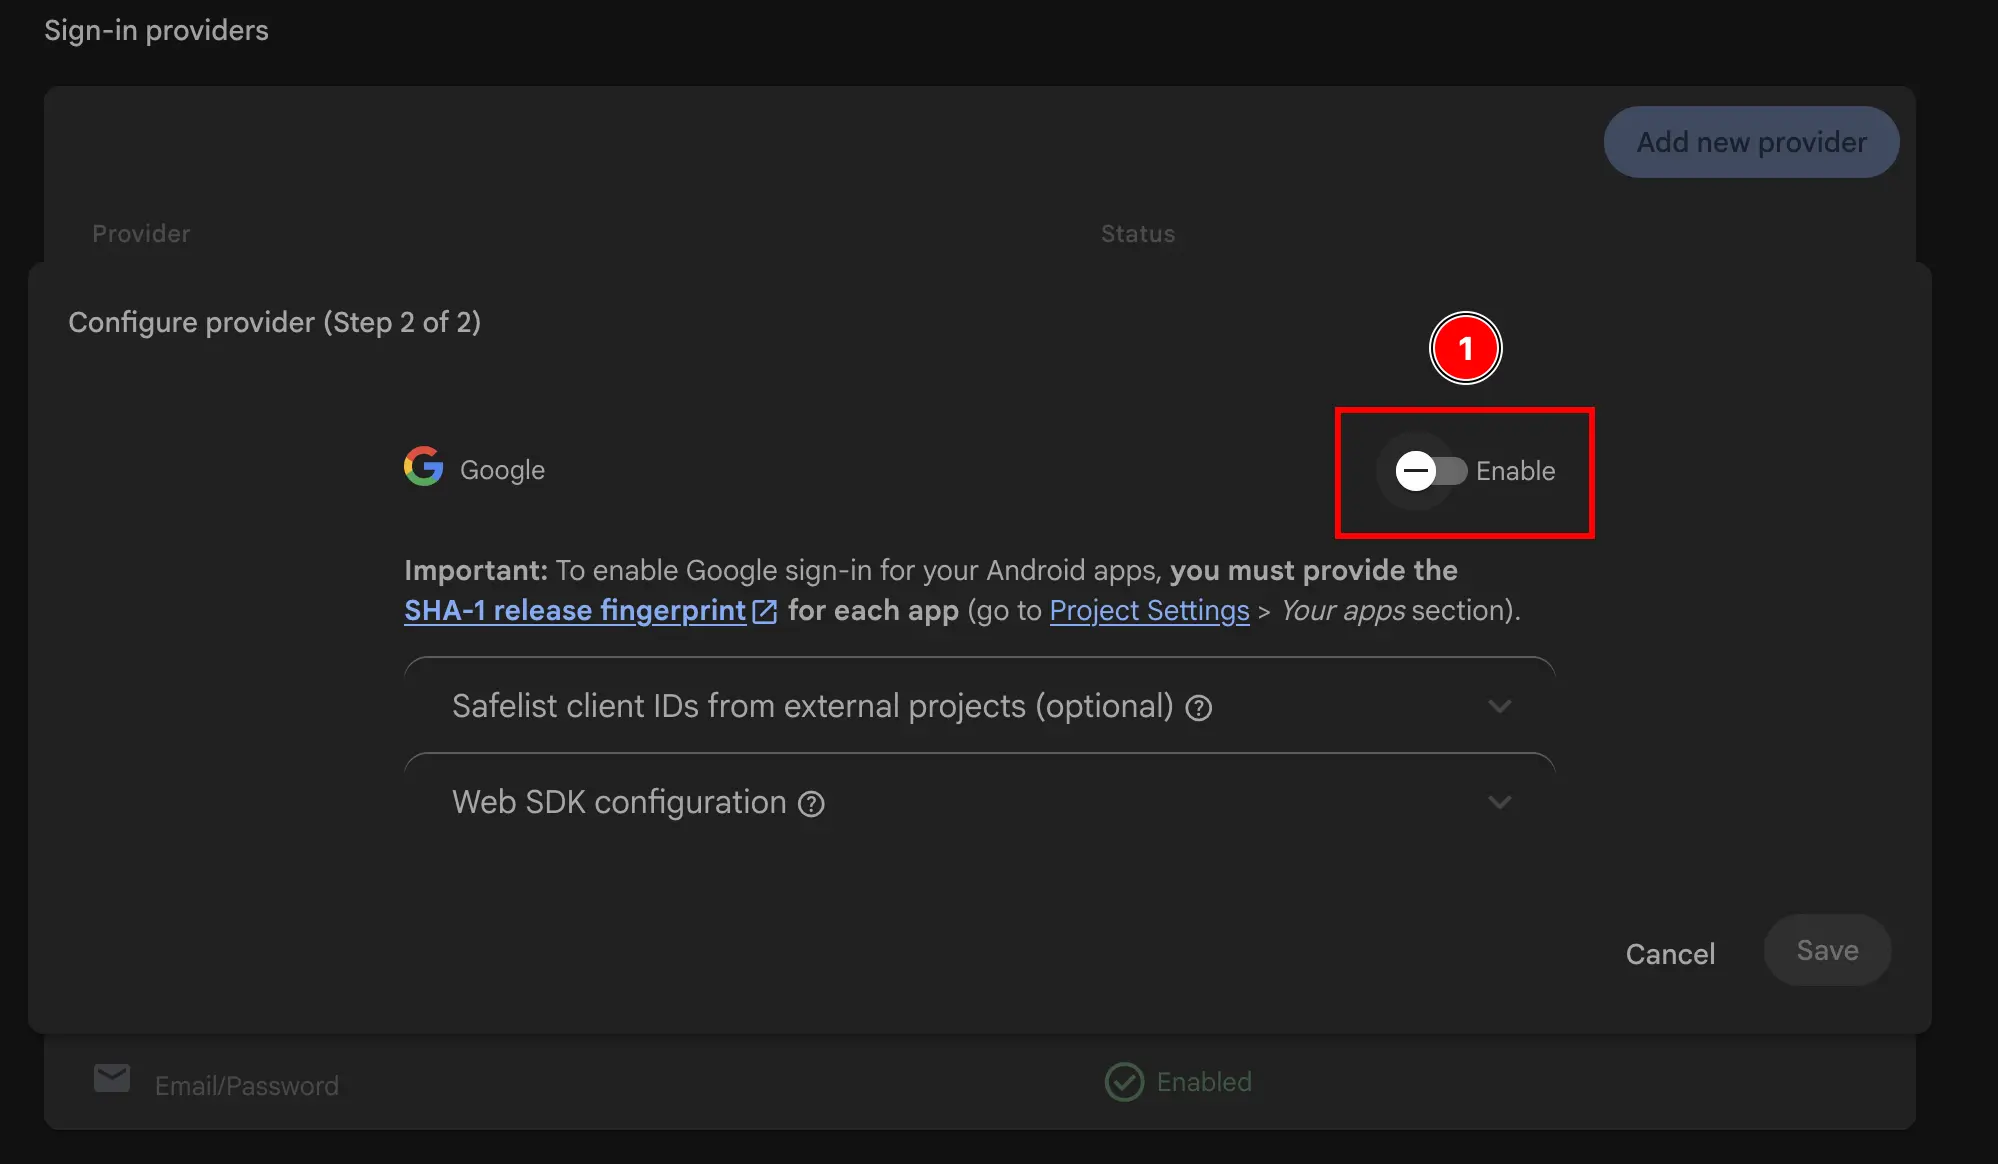
- サポートメールを追加

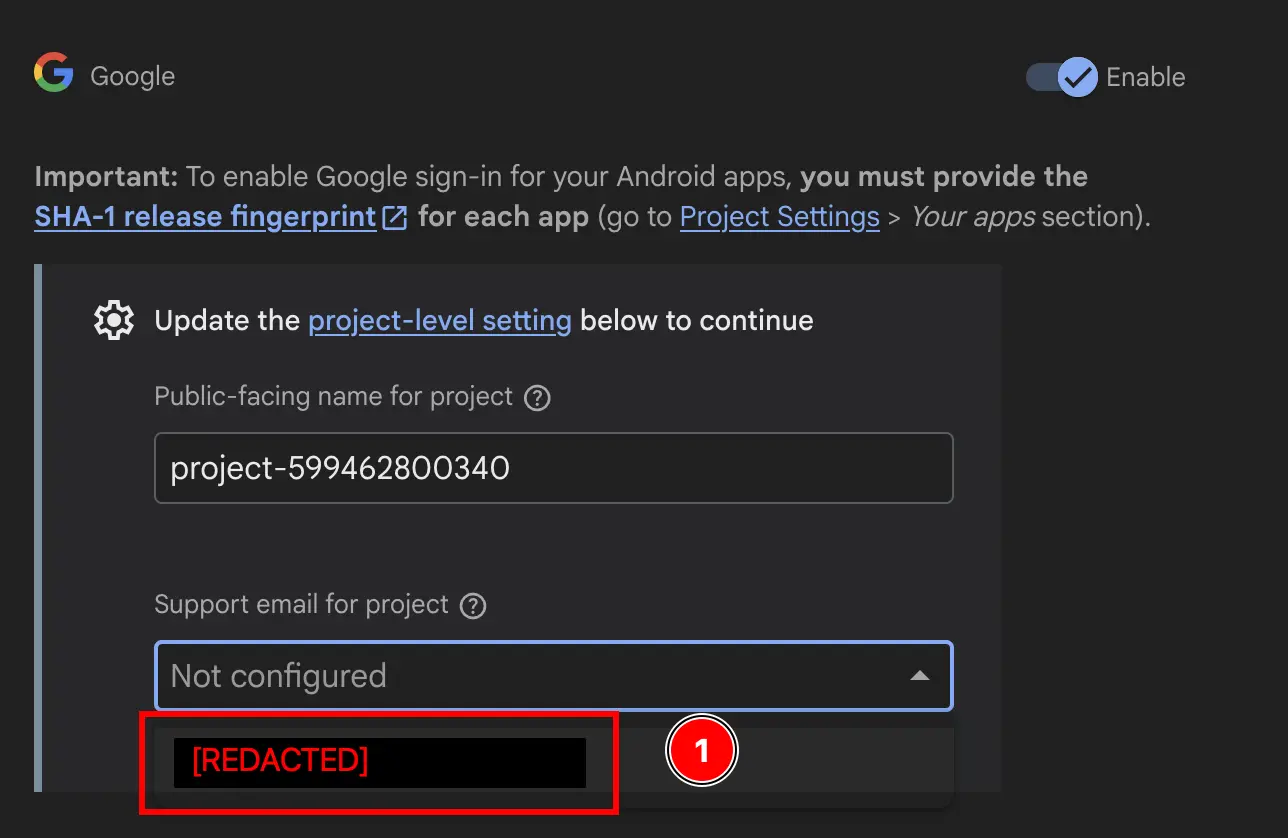
- 変更する
Public-facing name for project.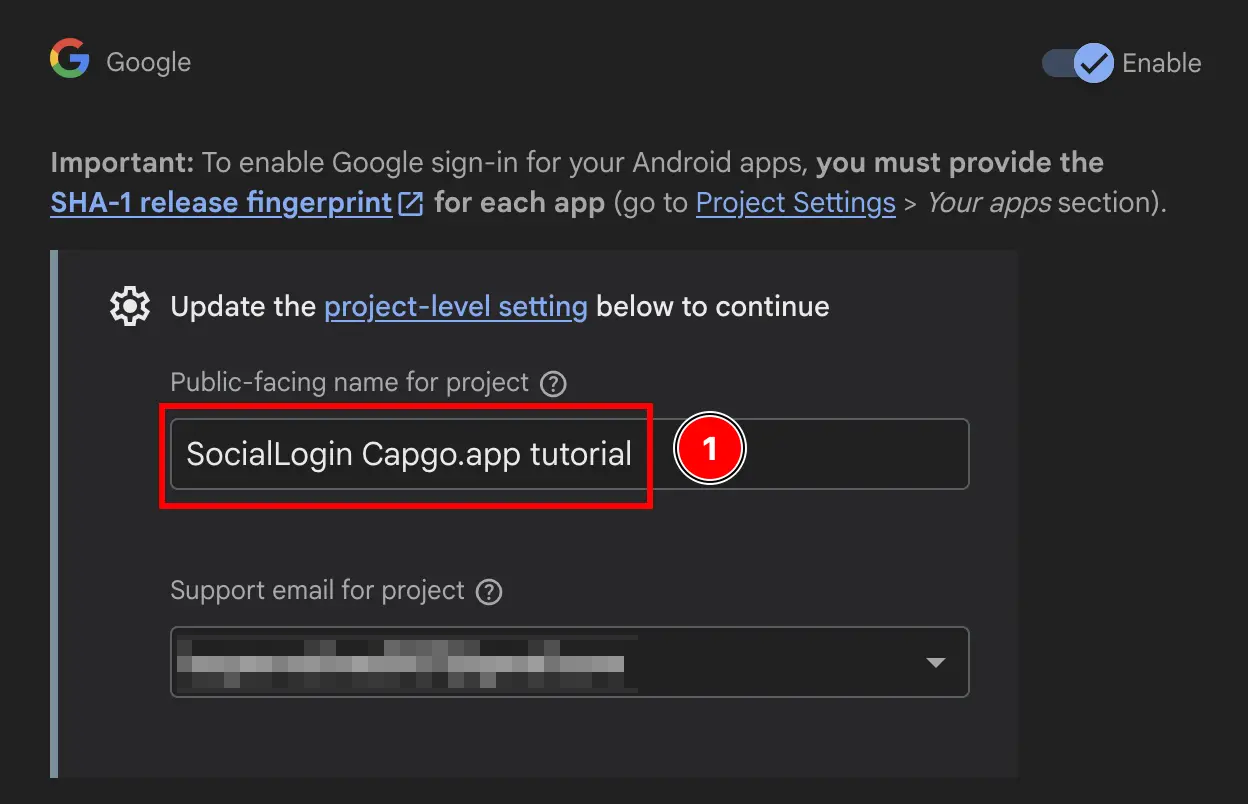
- ボタンをクリック
Saveボタン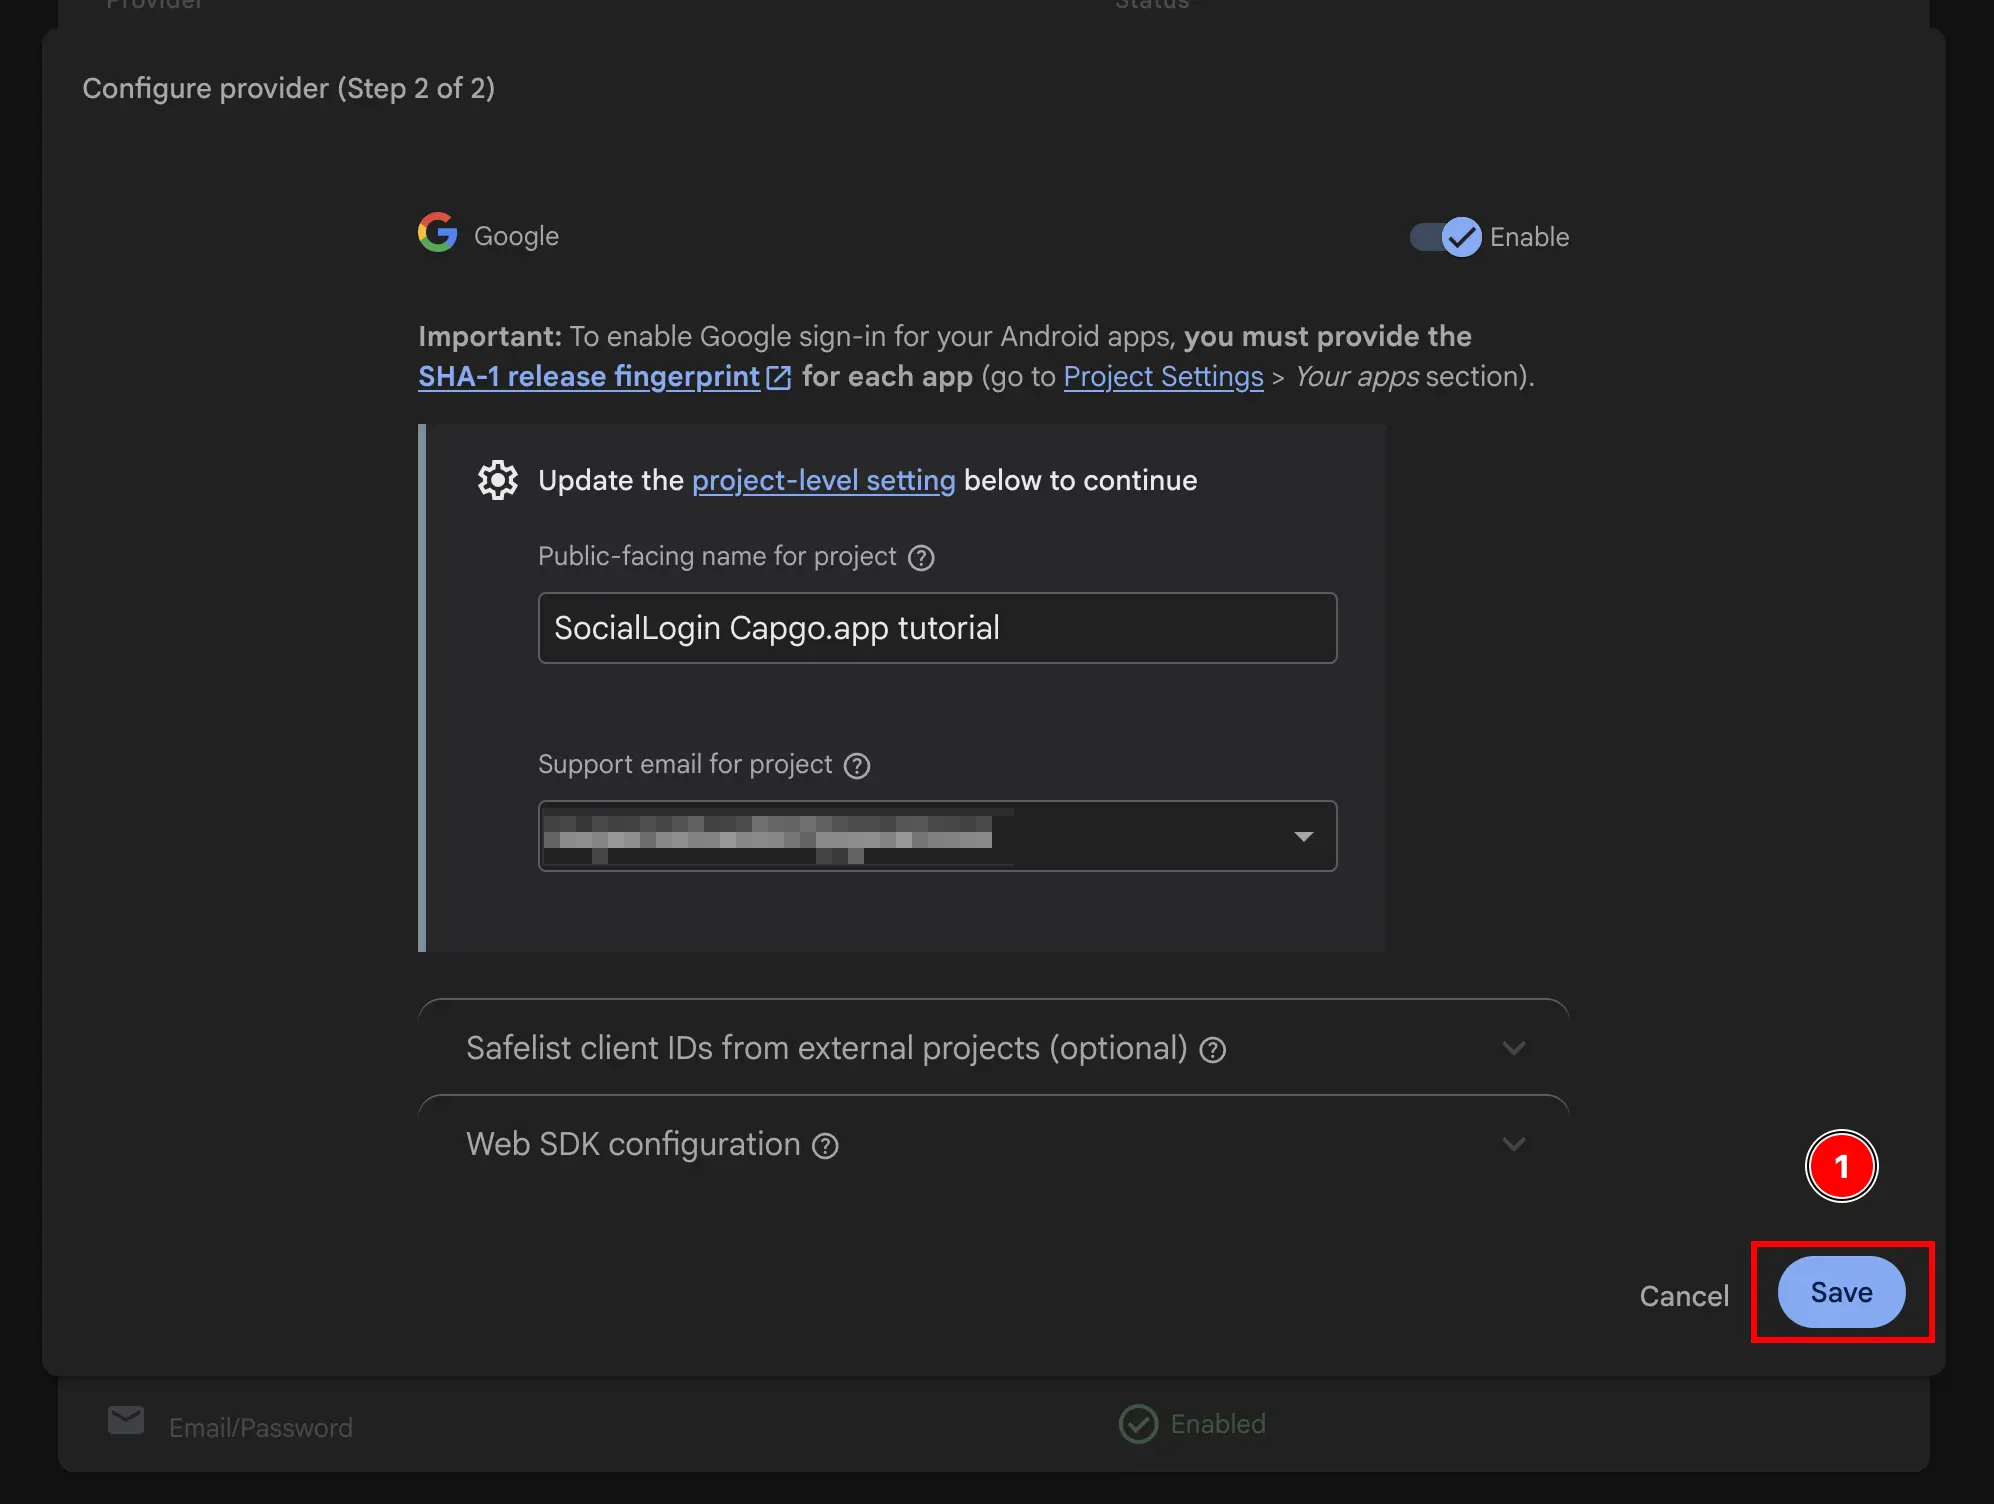
はい、Google Sign-InとFirebase Authenticationを有効にしました 🎉
Firebase Google ログイン - 一般設定から続ける
「Firebase Google ログイン - 一般設定から続ける」セクションFirebase Google ログイン - 一般設定から続けるを使用している場合 Firebase Google ログイン - 一般設定から続ける 認証とアカウントフローの計画と、Firebase Google ログイン - 一般設定から続けるを接続する Firebase Google ログイン - 一般設定から続けるを使用して、@capgo/capacitor-social-loginのネイティブ機能 Firebase Google ログイン - 一般設定から続けるを使用して、@capgo/capacitor-social-loginの実装詳細 Firebase Google ログイン - 一般設定から続けるを使用して、@capgo/capacitor-social-login Firebase Google ログイン - 一般設定から続けるを使用して、@capgo/capacitor-passkeyの実装詳細 Firebase Google ログイン - 一般設定から続けるを使用して、@capgo/capacitor-passkey Firebase Google ログイン - 一般設定から続けるを使用して、@capgo/capacitor-native-biometric Firebase Google ログイン - 一般設定から続けるを使用して、@capgo/capacitor-native-biometric 実装詳細については @capgo/capacitor-native-biometric に参照してください。 2要素認証 実装詳細については 2要素認証 に参照してください。