Firebase Google Login on iOS
このプラグインのインストール手順と全マークダウンガイドを含むセットアップ用の質問をコピーできます。
このガイドでは、iOSでGoogle Sign-InをFirebase Authenticationに統合する方法を説明します。Google Sign-InとFirebase Authenticationの一般的なセットアップをすでに完了していることを前提としています。 注意.
セットアップ手順
セットアップ手順のセクション-
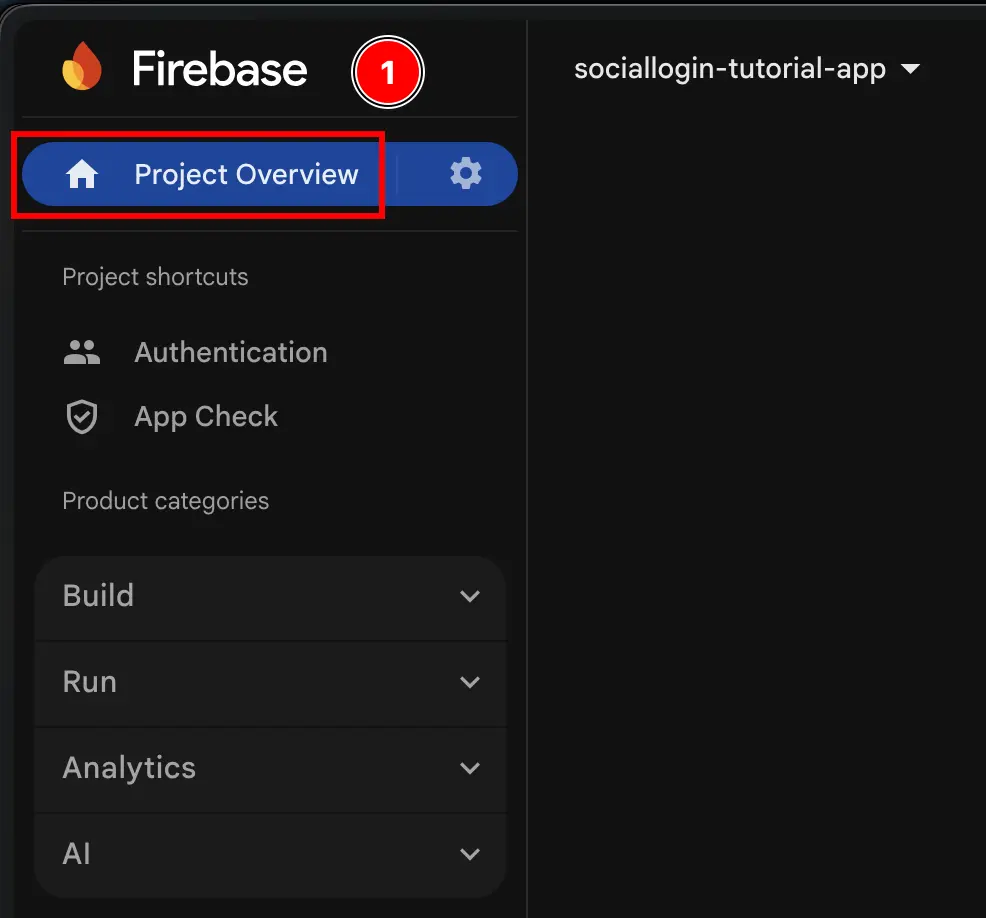
Firebase Consoleのプロジェクト概要ページに移動してください。 console.cloud.google.com
-
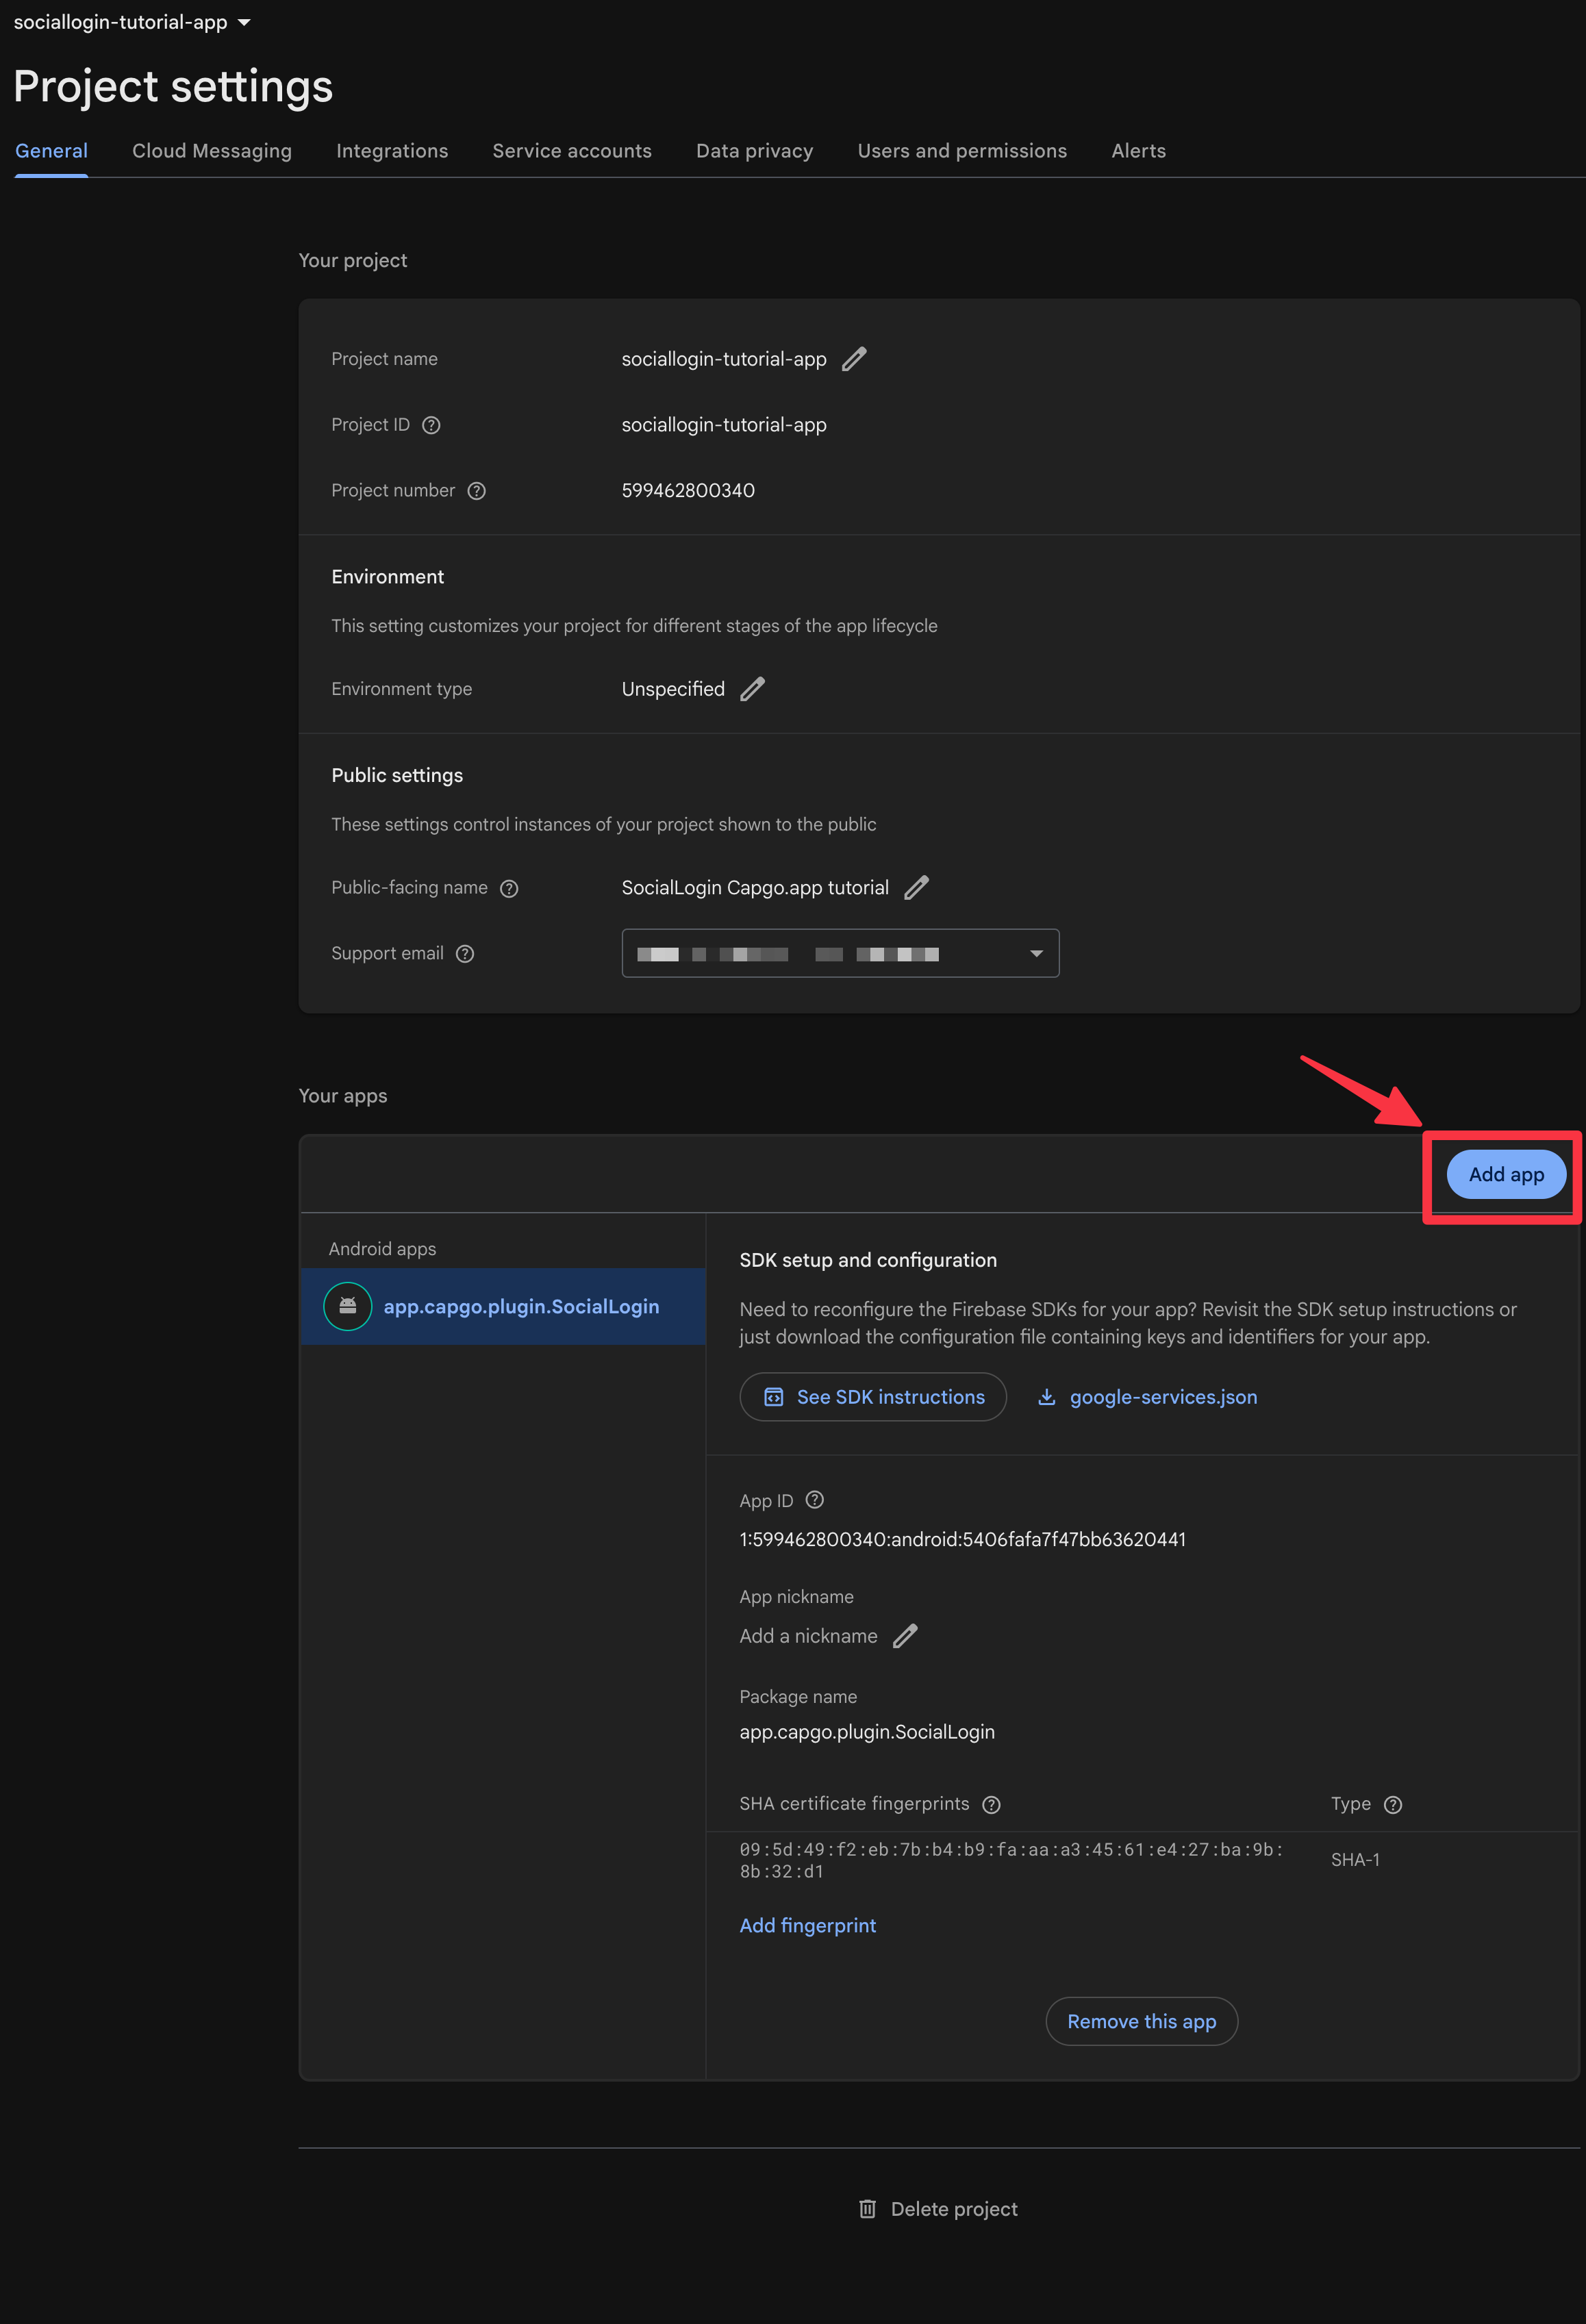
この
Add appbutton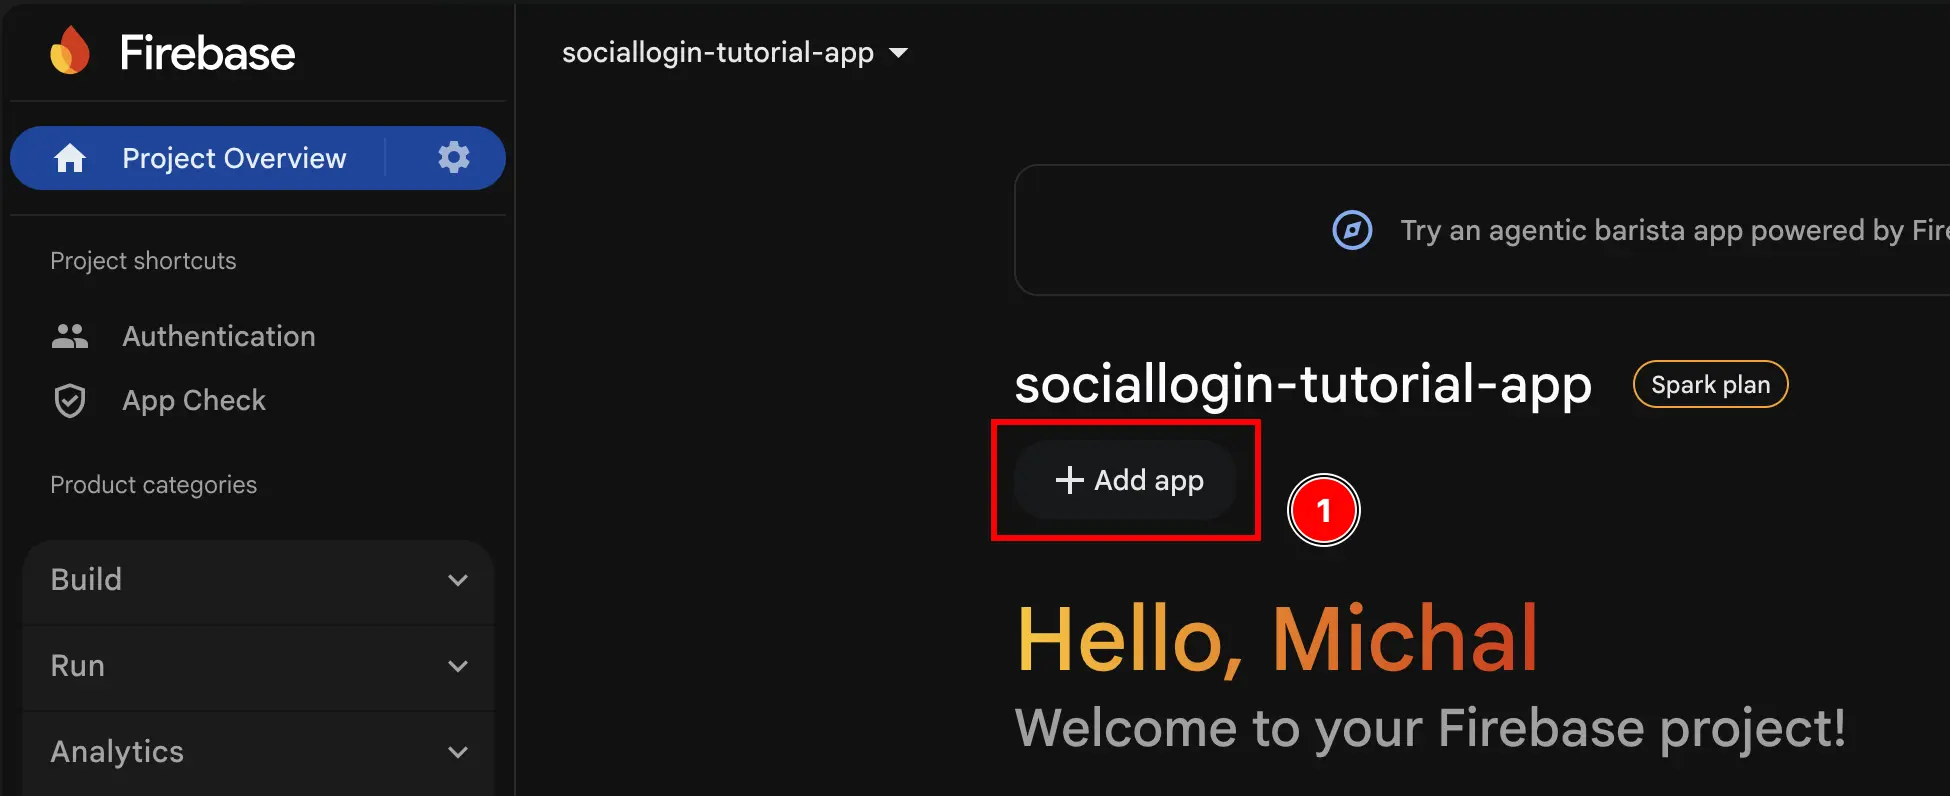
-
Select
iOS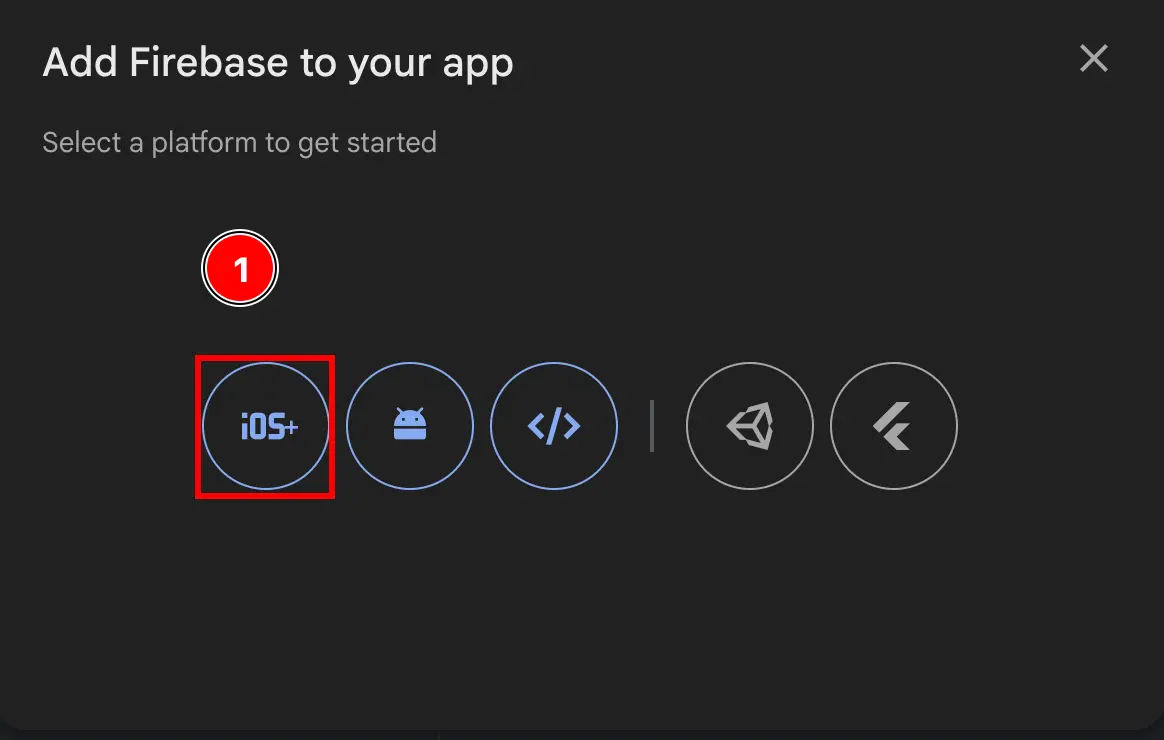
-
Fill the first part of the form
- Fill the first part of the form
Apple bundle ID- Fill
npx cap open ios - Open Xcode at your app using
App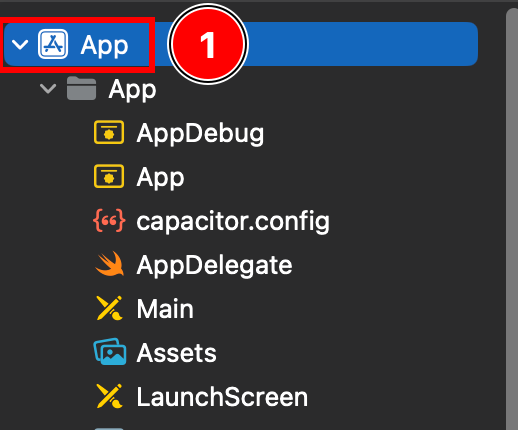
- App target in Xcode project navigator
Targets -> App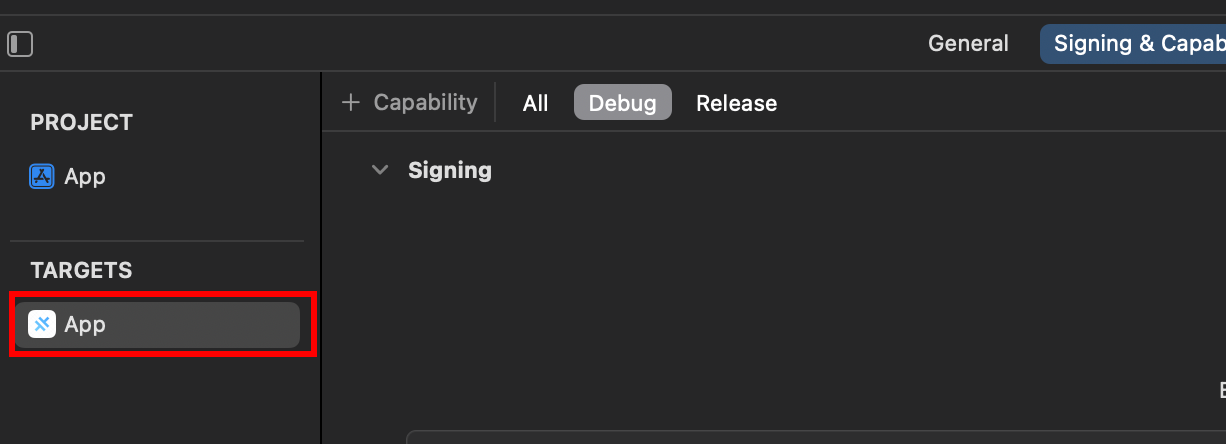
- Targets section in Xcode with App selected
Bundle Identifier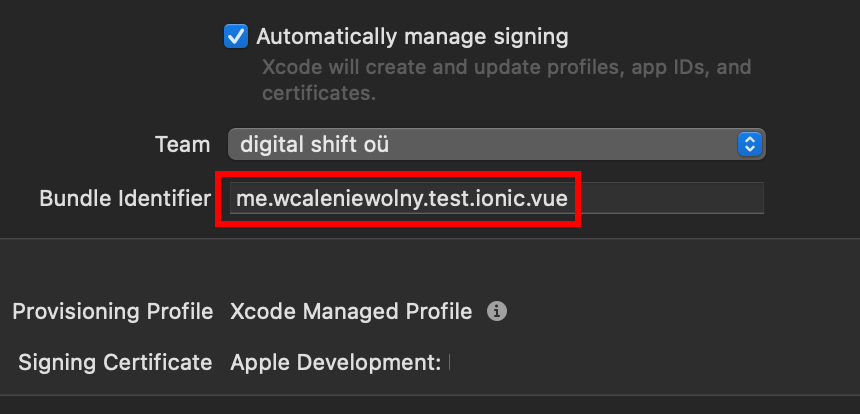
- Copy the
Bundle Identifierをコピーし、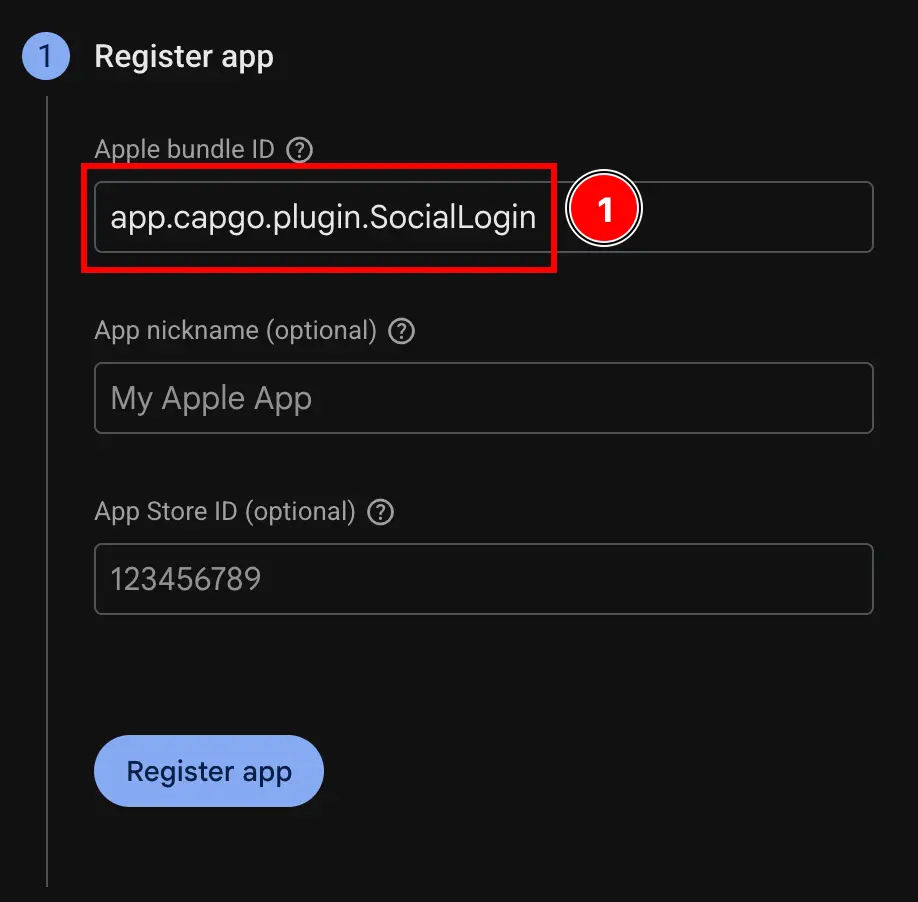
- Fill
- Click on the
Register appbutton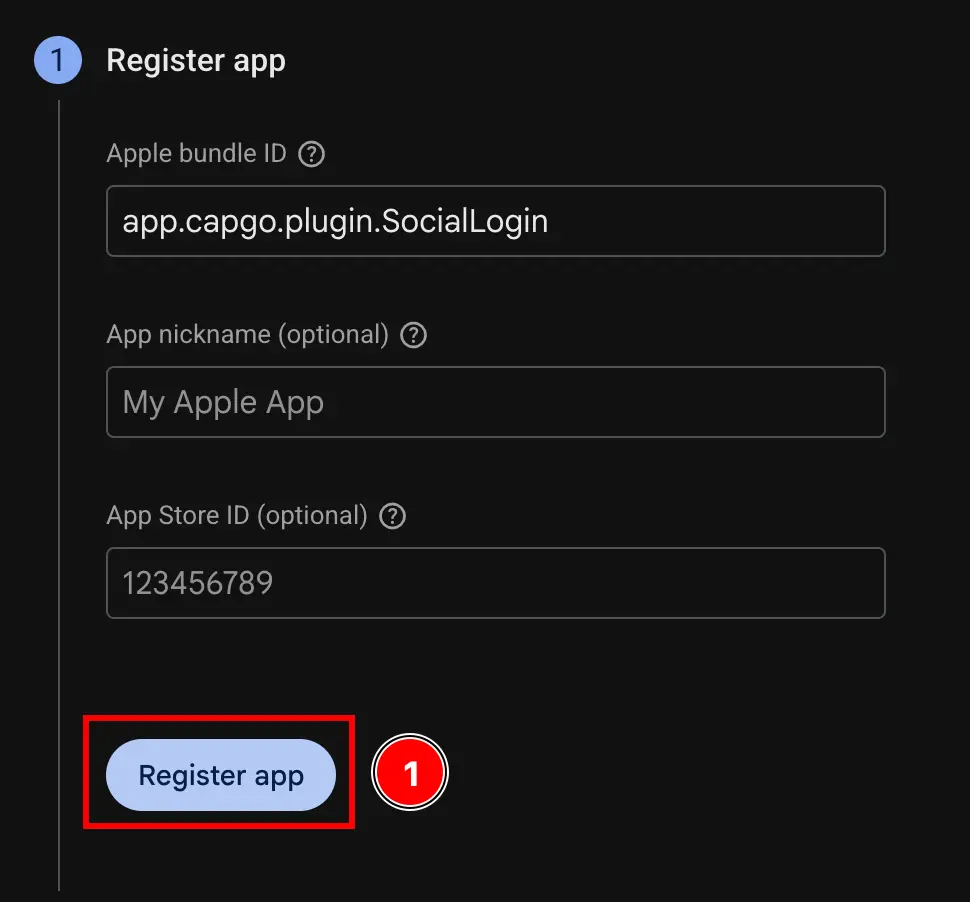
- Fill the first part of the form
-
Skip the
Download config filestep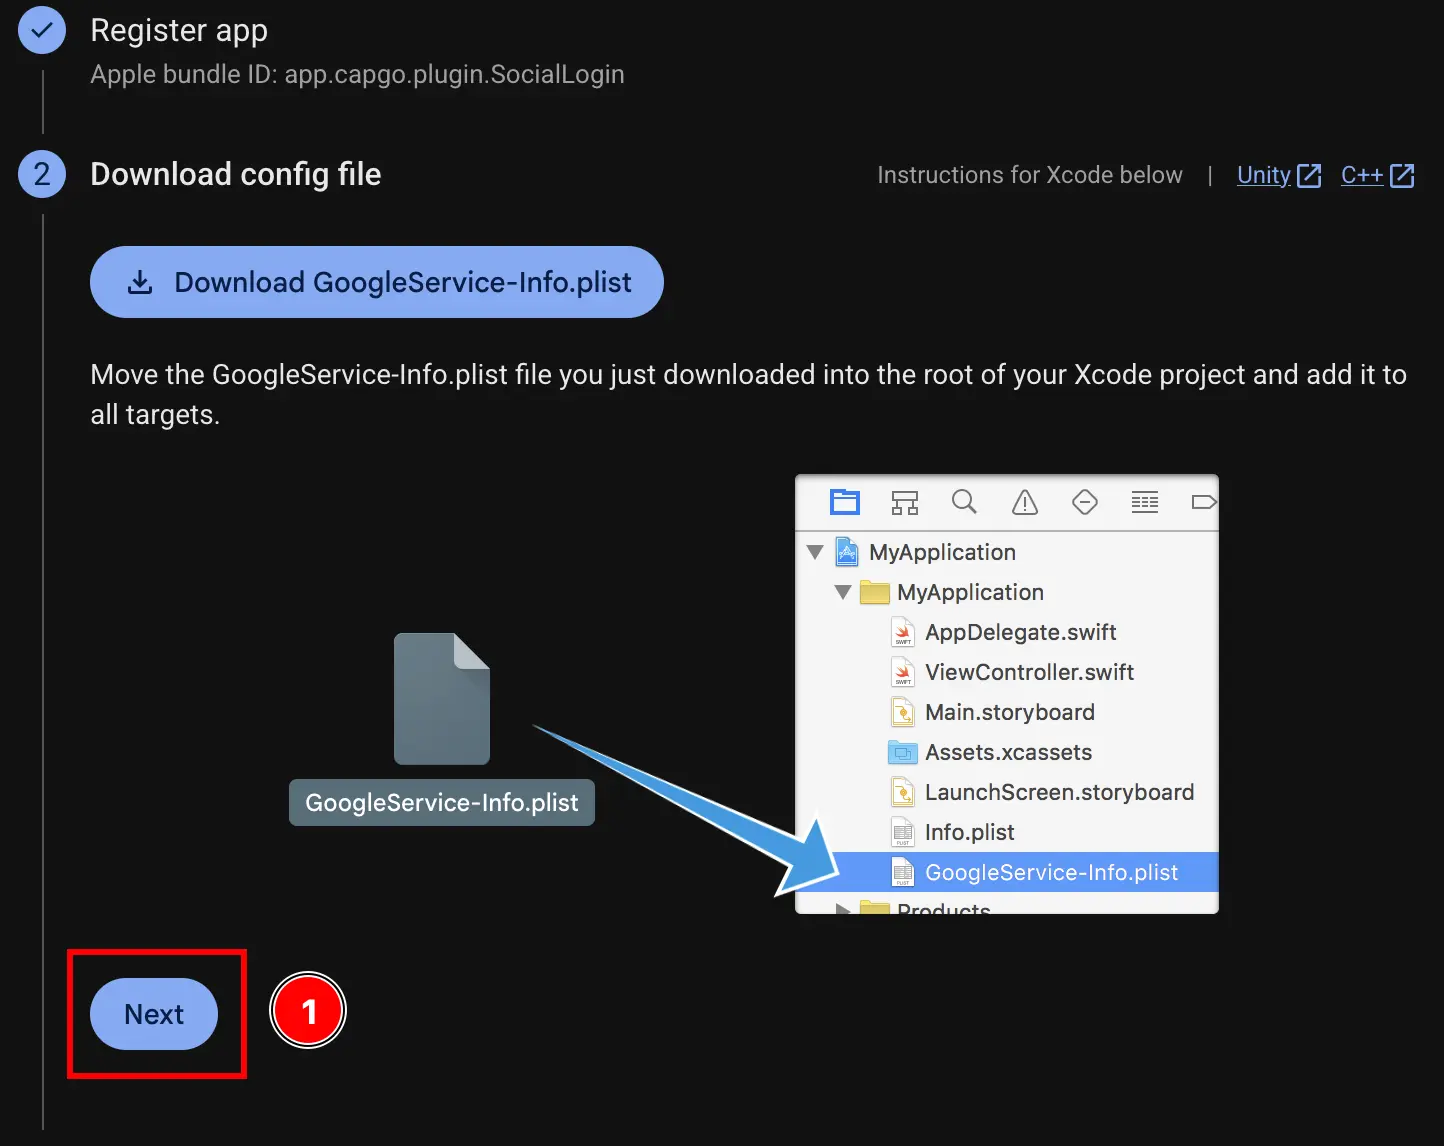
-
ダウンロードをスキップする
Add firebase SDKステップ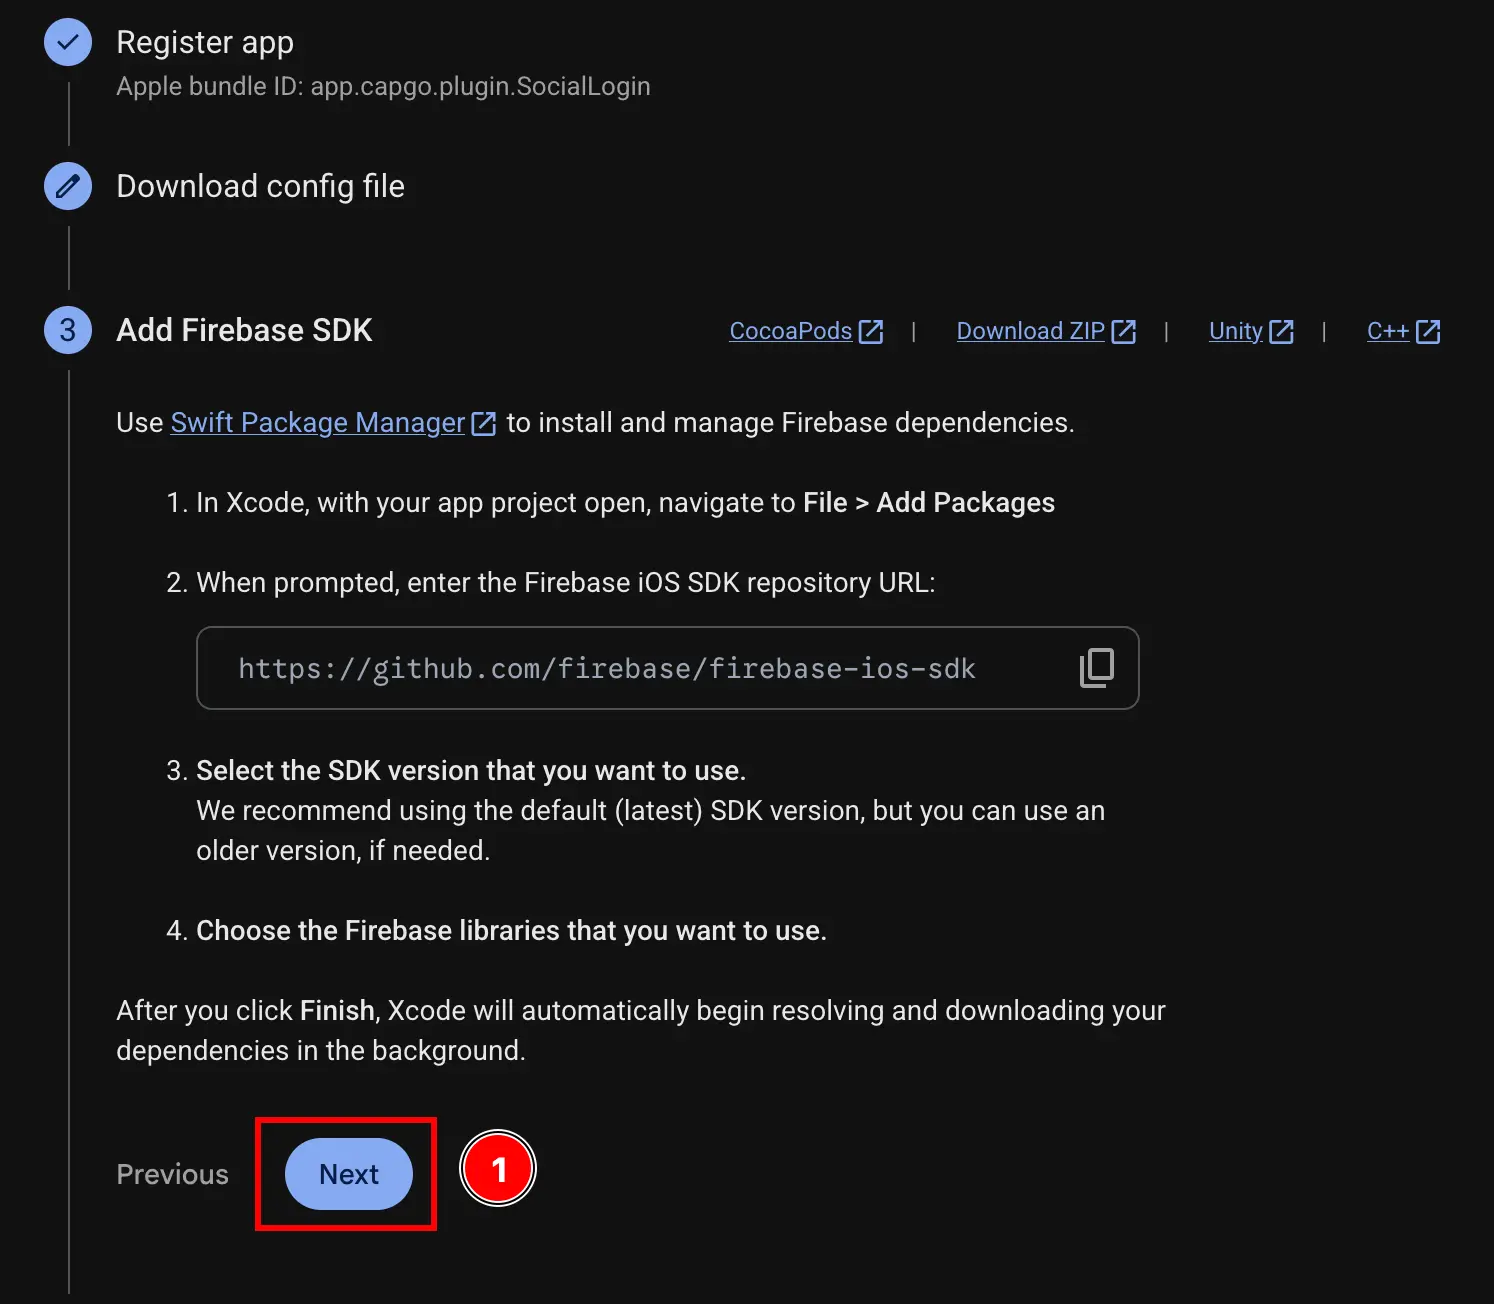
-
ダウンロードをスキップする
Add initialization codeFirebase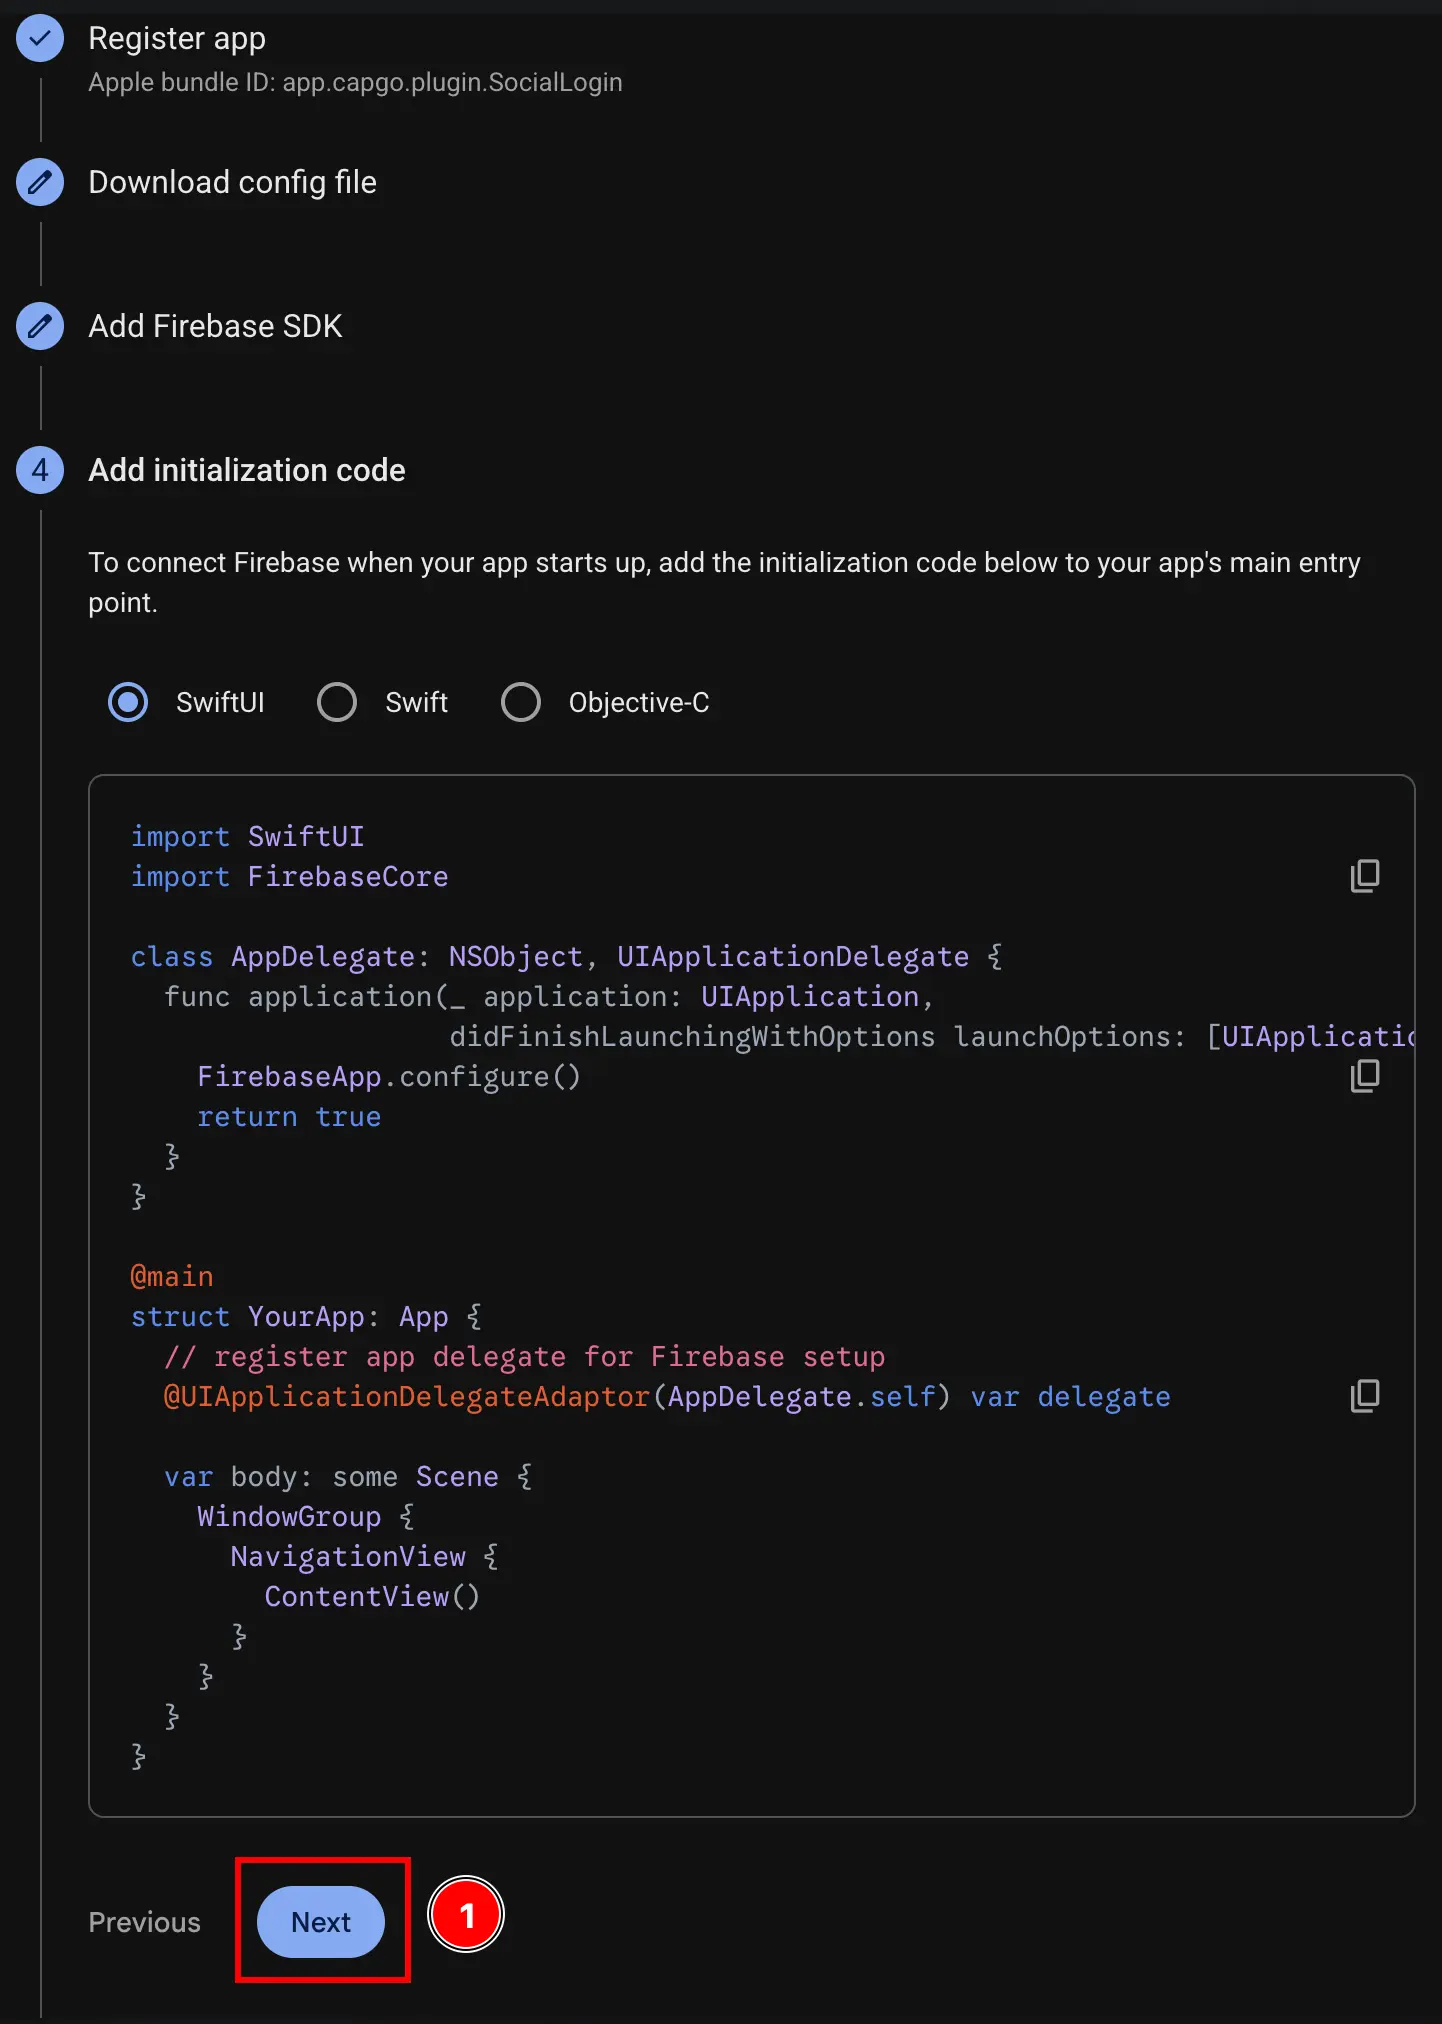
-
ステップ
Continue to consoleiOSアプリにFirebaseを追加する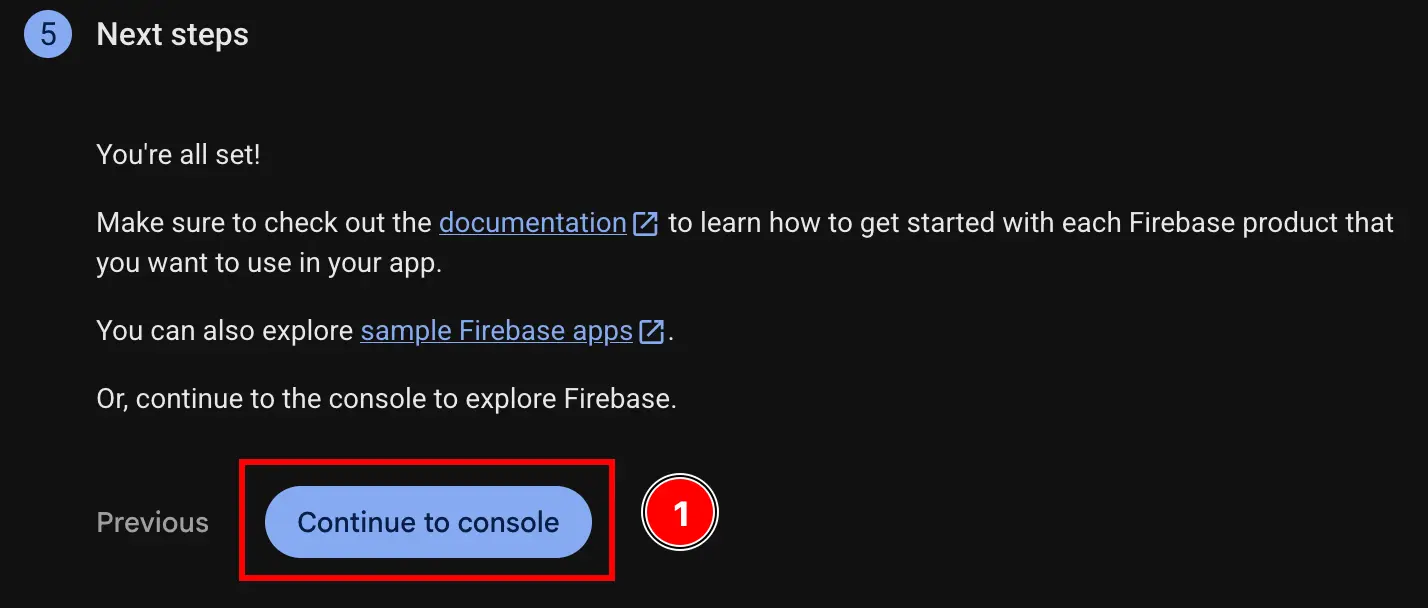
-
__CAPGO_KEEP_0__
YOUR_DOT_REVERSED_IOS_CLIENT_ID-
ボタンをクリックする console.cloud.google.com
-
プロジェクトを探す
- プロジェクトセレクターをクリック
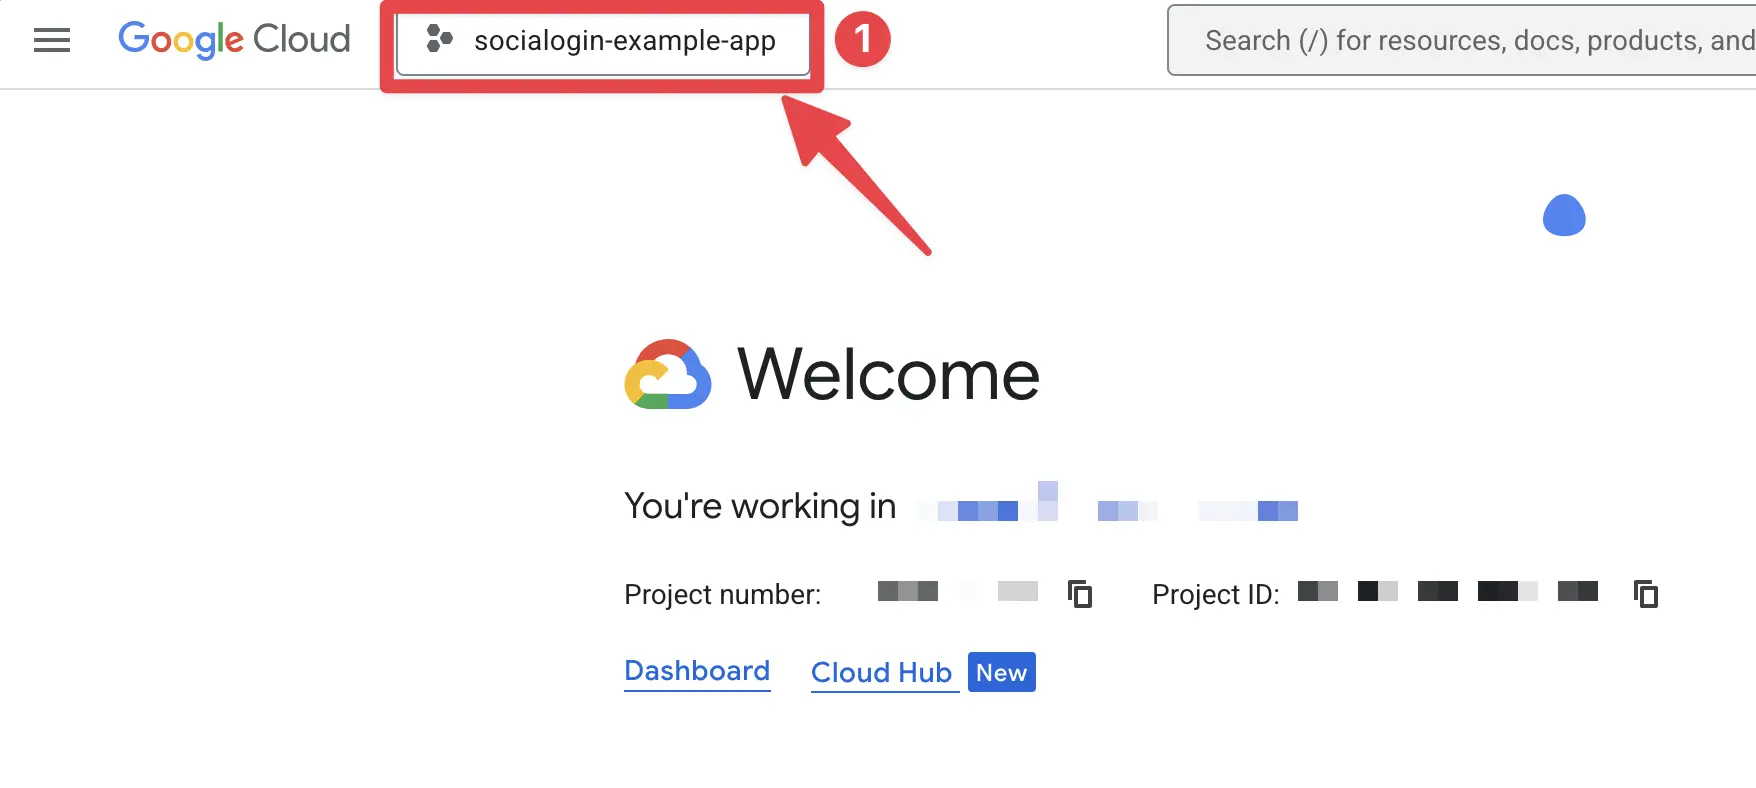
- Firebase プロジェクトの完全な名前でプロジェクトを検索し、クリックしてください。私の場合は
sociallogin-tutorial-app.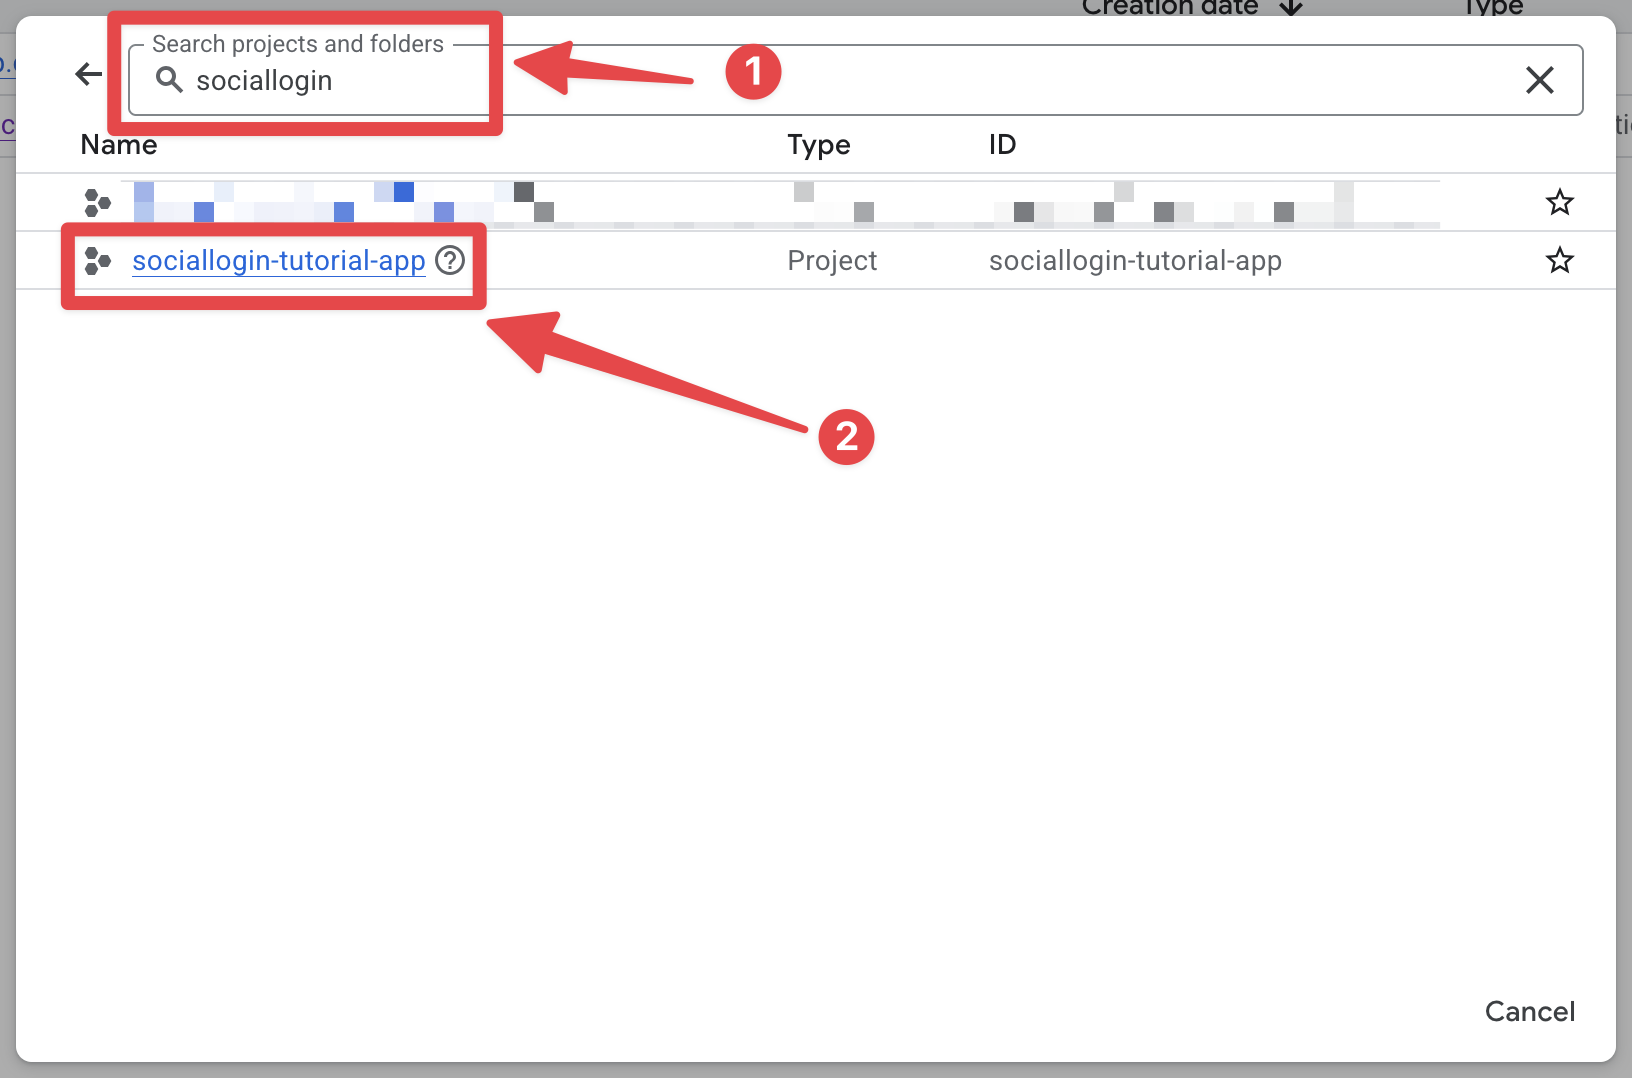
- プロジェクトセレクターをクリック
-
検索バーを開き
credentials- 検索バーを開き
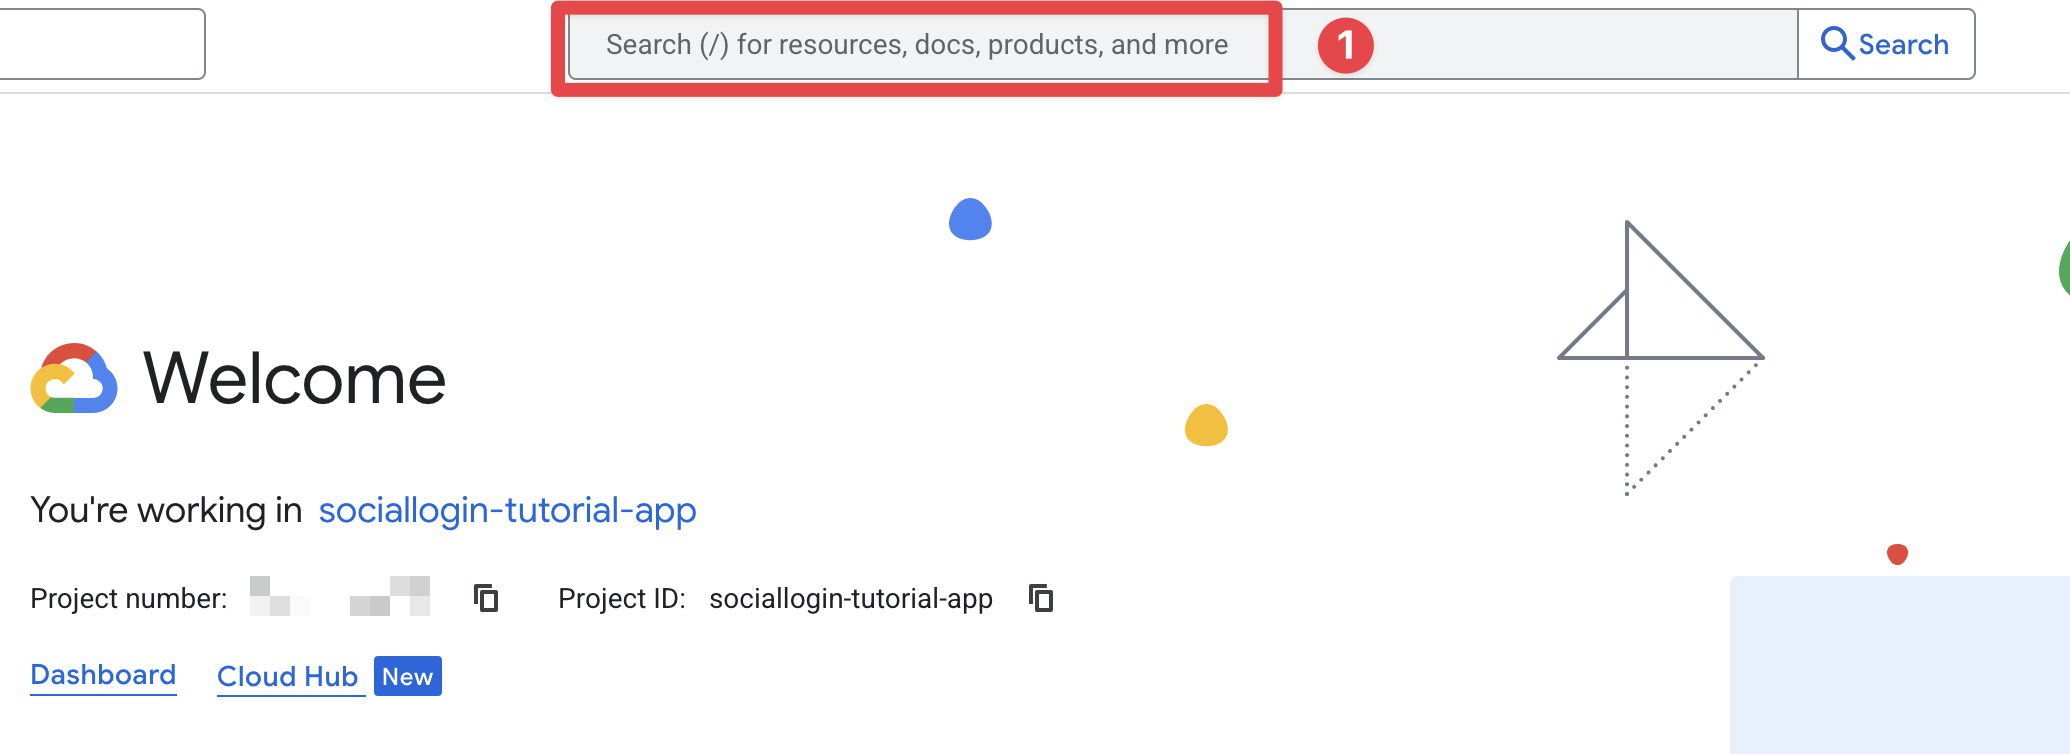
- 検索して
credentialsとクリックしてくださいAPIs and Services2 番目の (スクリーンショットの 2 番目)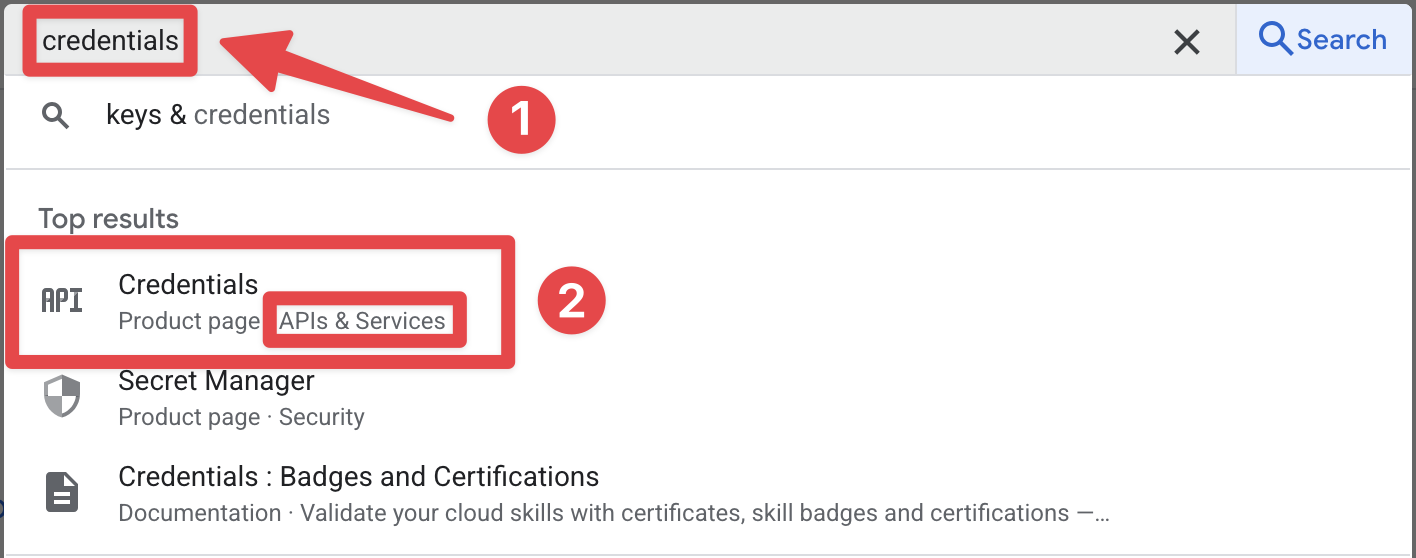
- 検索バーを開き
-
Click on the
iOS client for [YOUR_APP_ID] (auto created by Google Service)1. 私の場合はsociallogin-tutorial-app.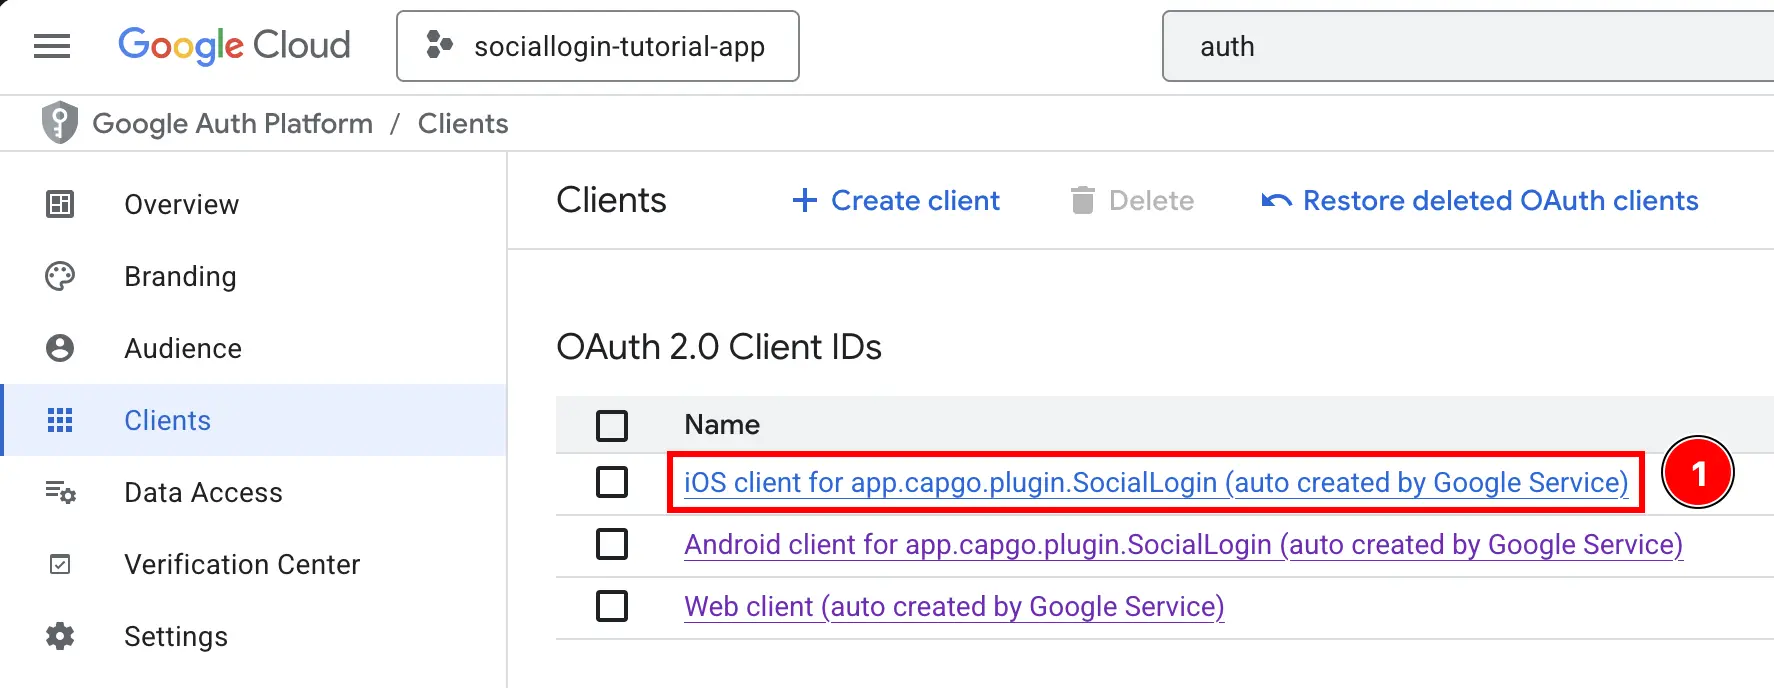
-
資格情報の
Client ID資格情報のiOS URL scheme資格情報のコピーをします。iOSClientIdとYOUR_DOT_REVERSED_IOS_CLIENT_ID.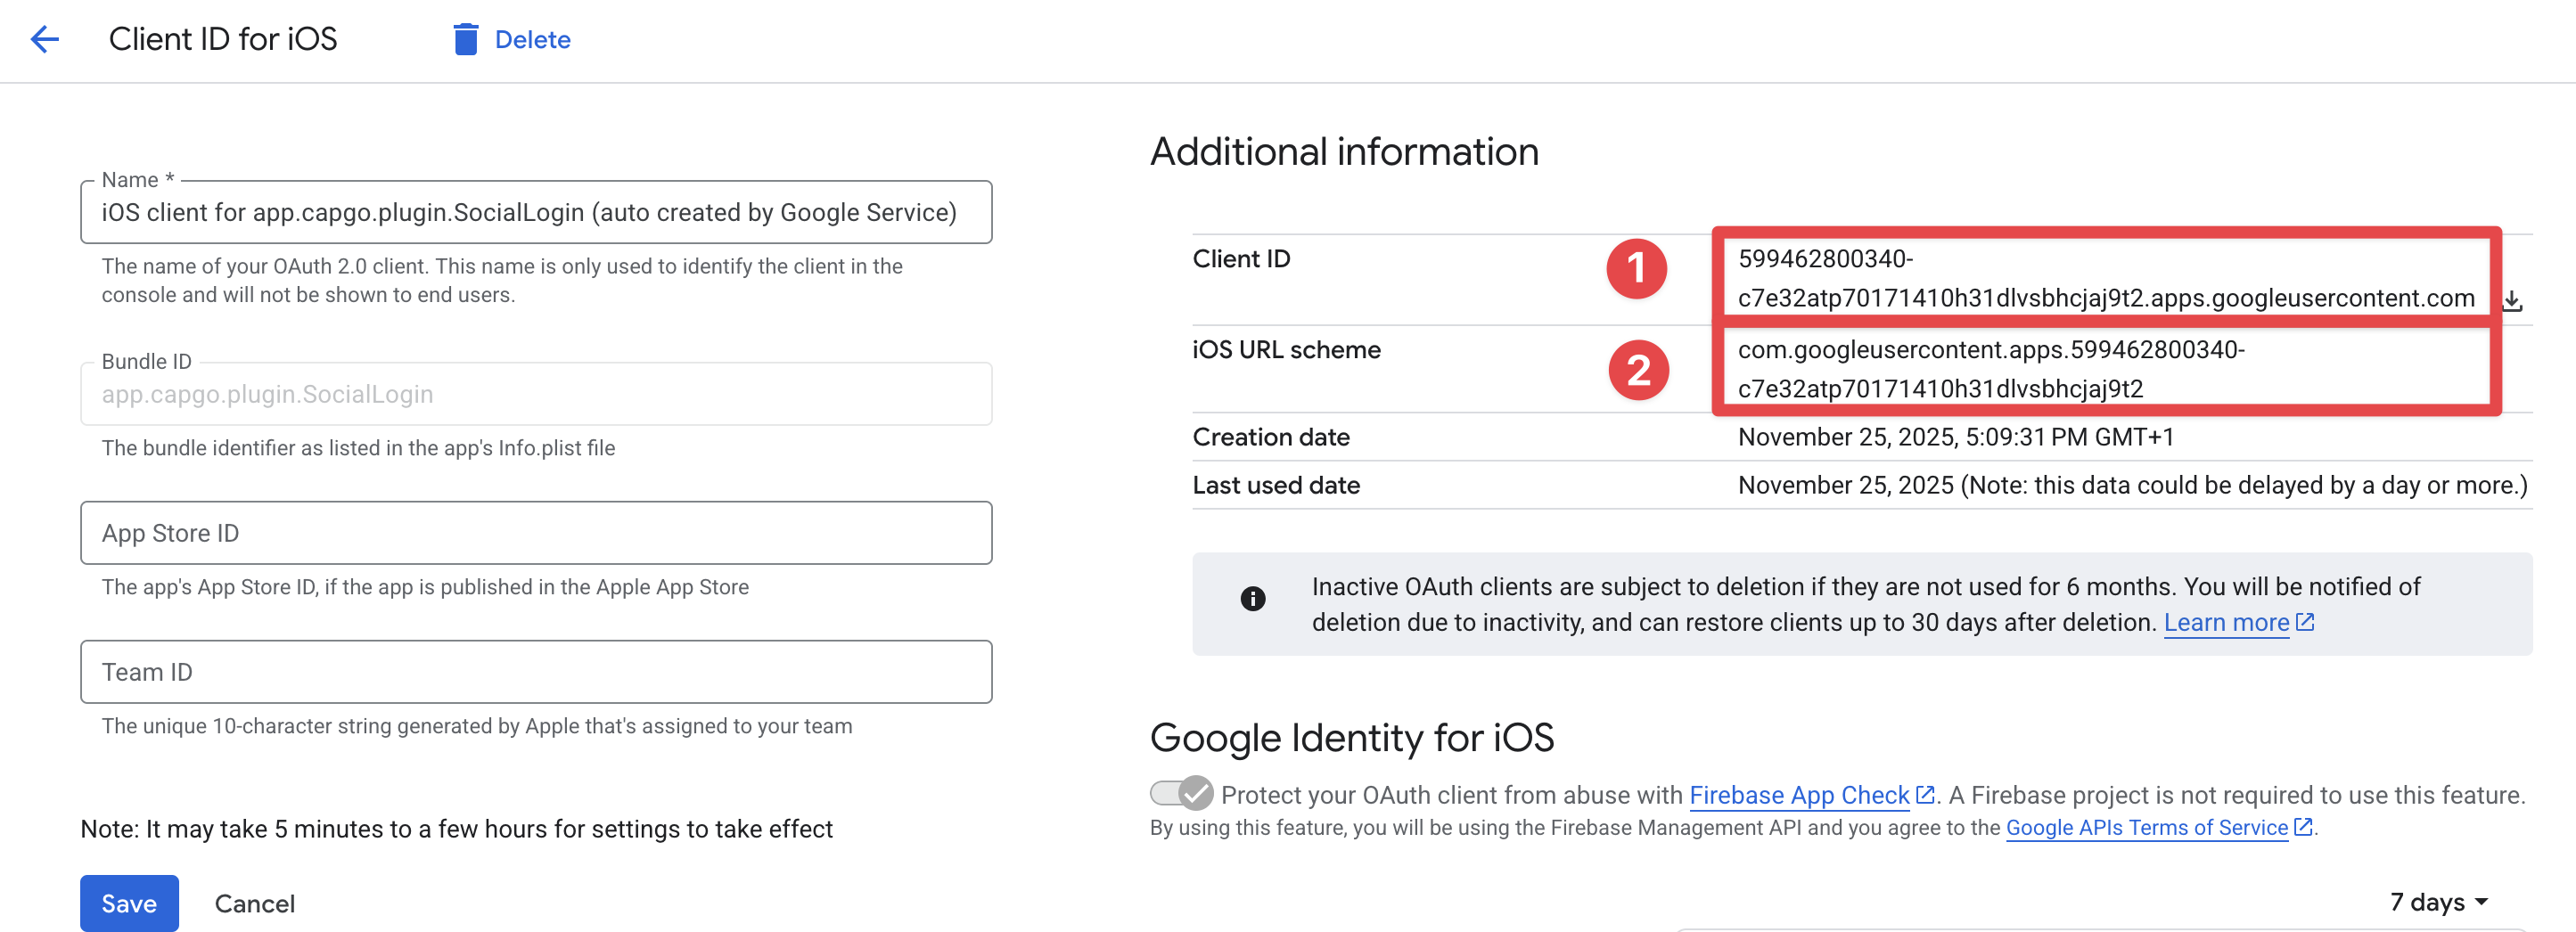
-
-
WebクライアントIDを取得
- Firebaseコンソールに戻り、
Build->Authentication
- ボタン
Sign-in methodFirebase Authenticationサインイン方法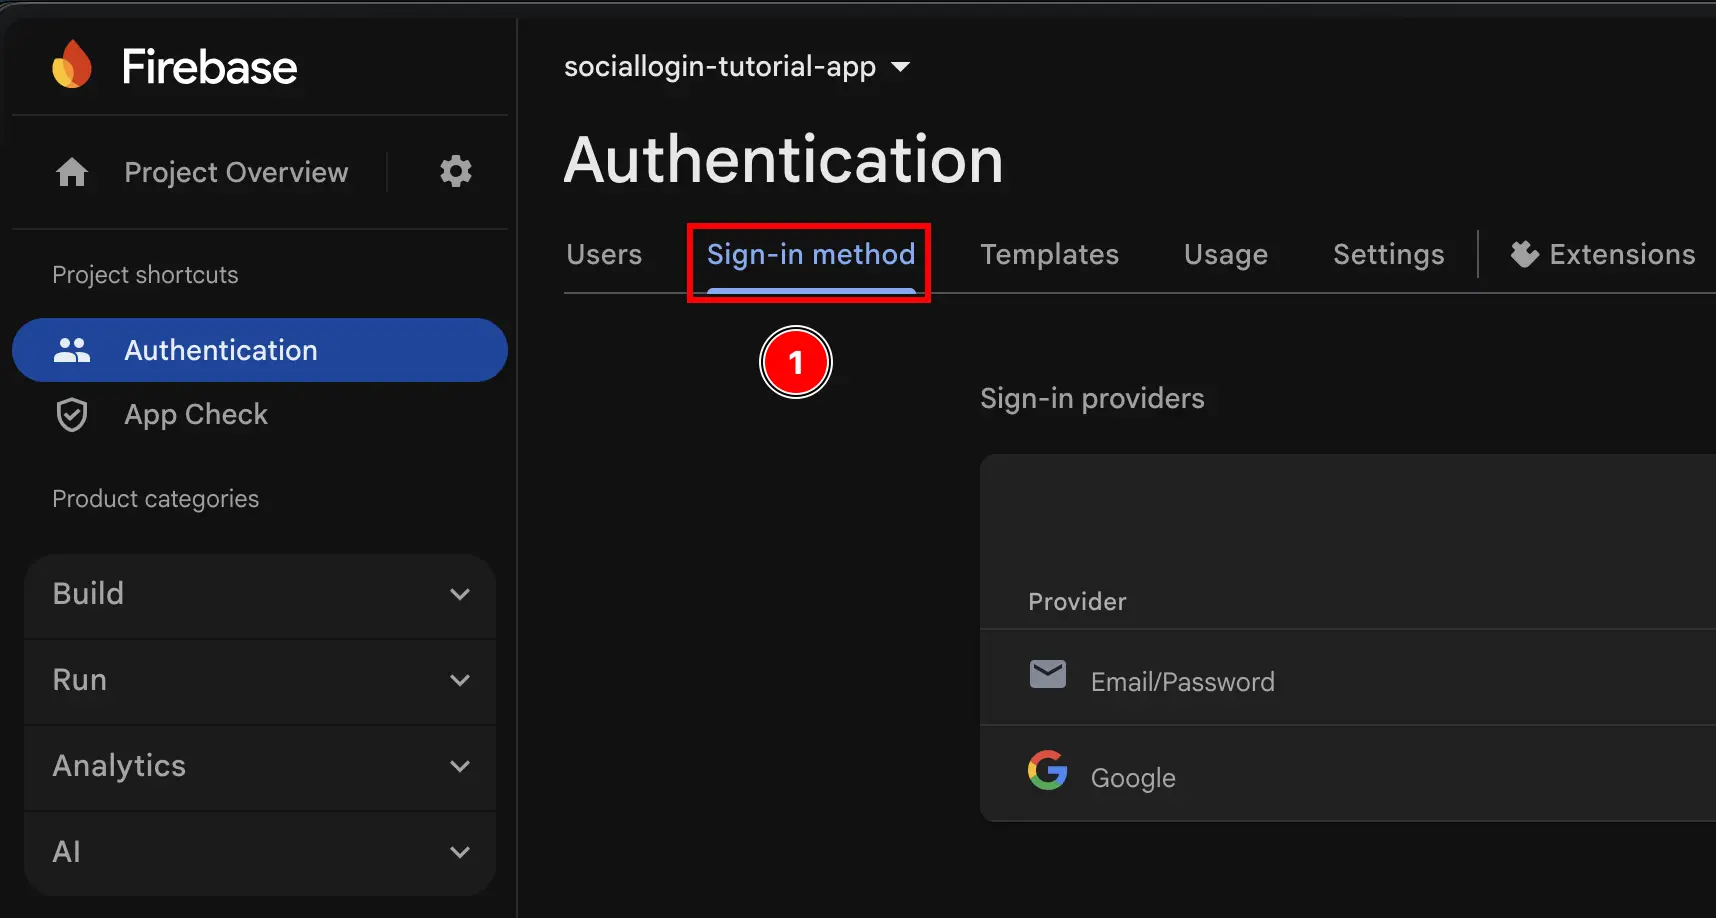
- サインインプロバイダーをクリックします。
Googleサインインプロバイダーをクリック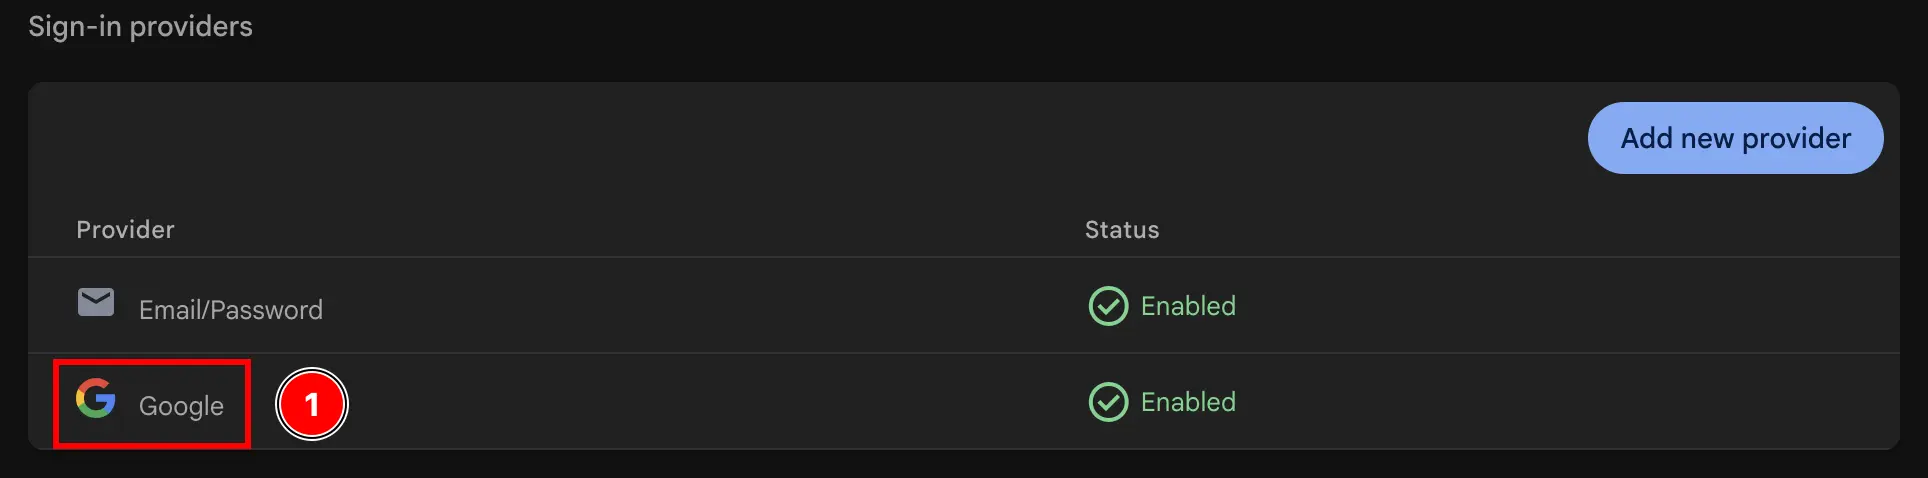
- をクリックしてください。
Web SDK configurationボタン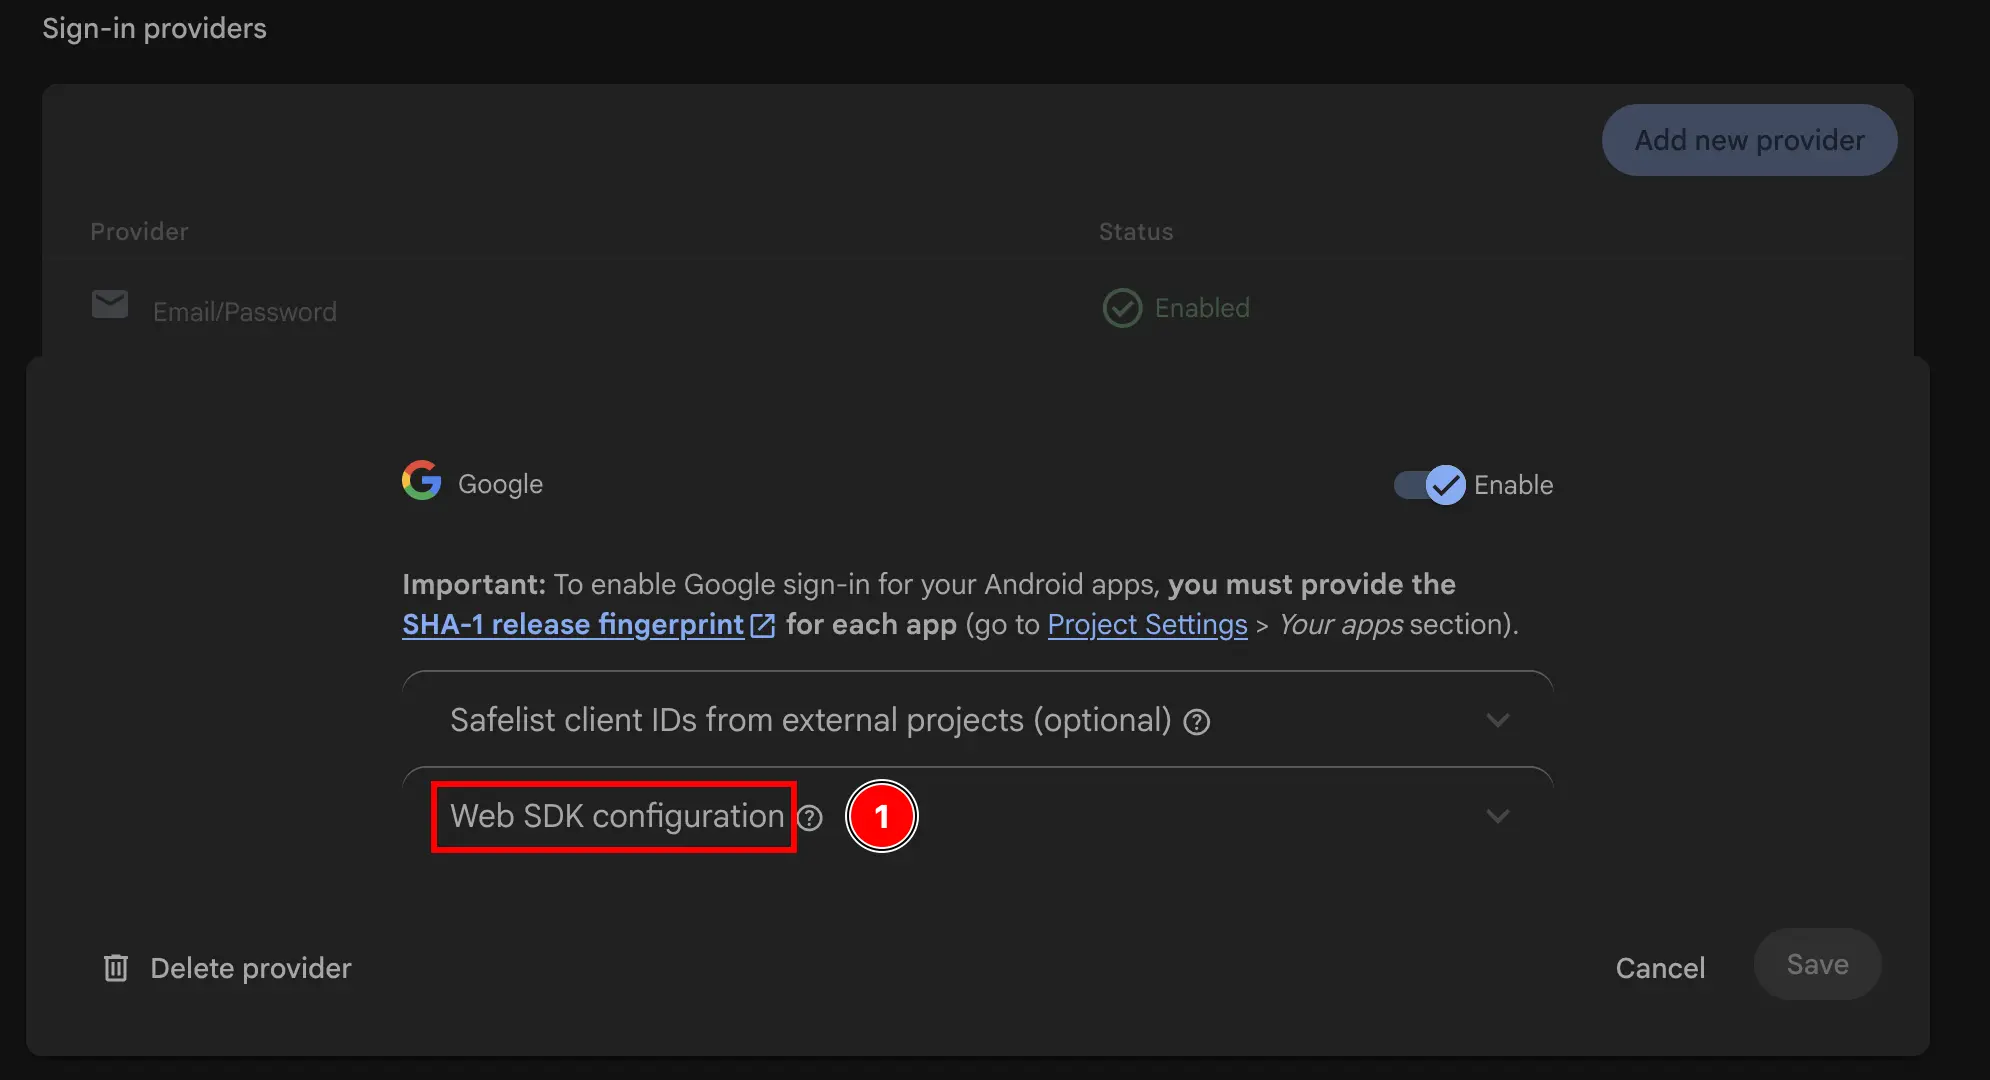
- をコピーしてください。 これがあなたの
Web client IDに表示されます。webClientIdの方法です。initializeFirebase Authentication Sign-in Method Web __CAPGO_KEEP_0__ 設定 Web Client ID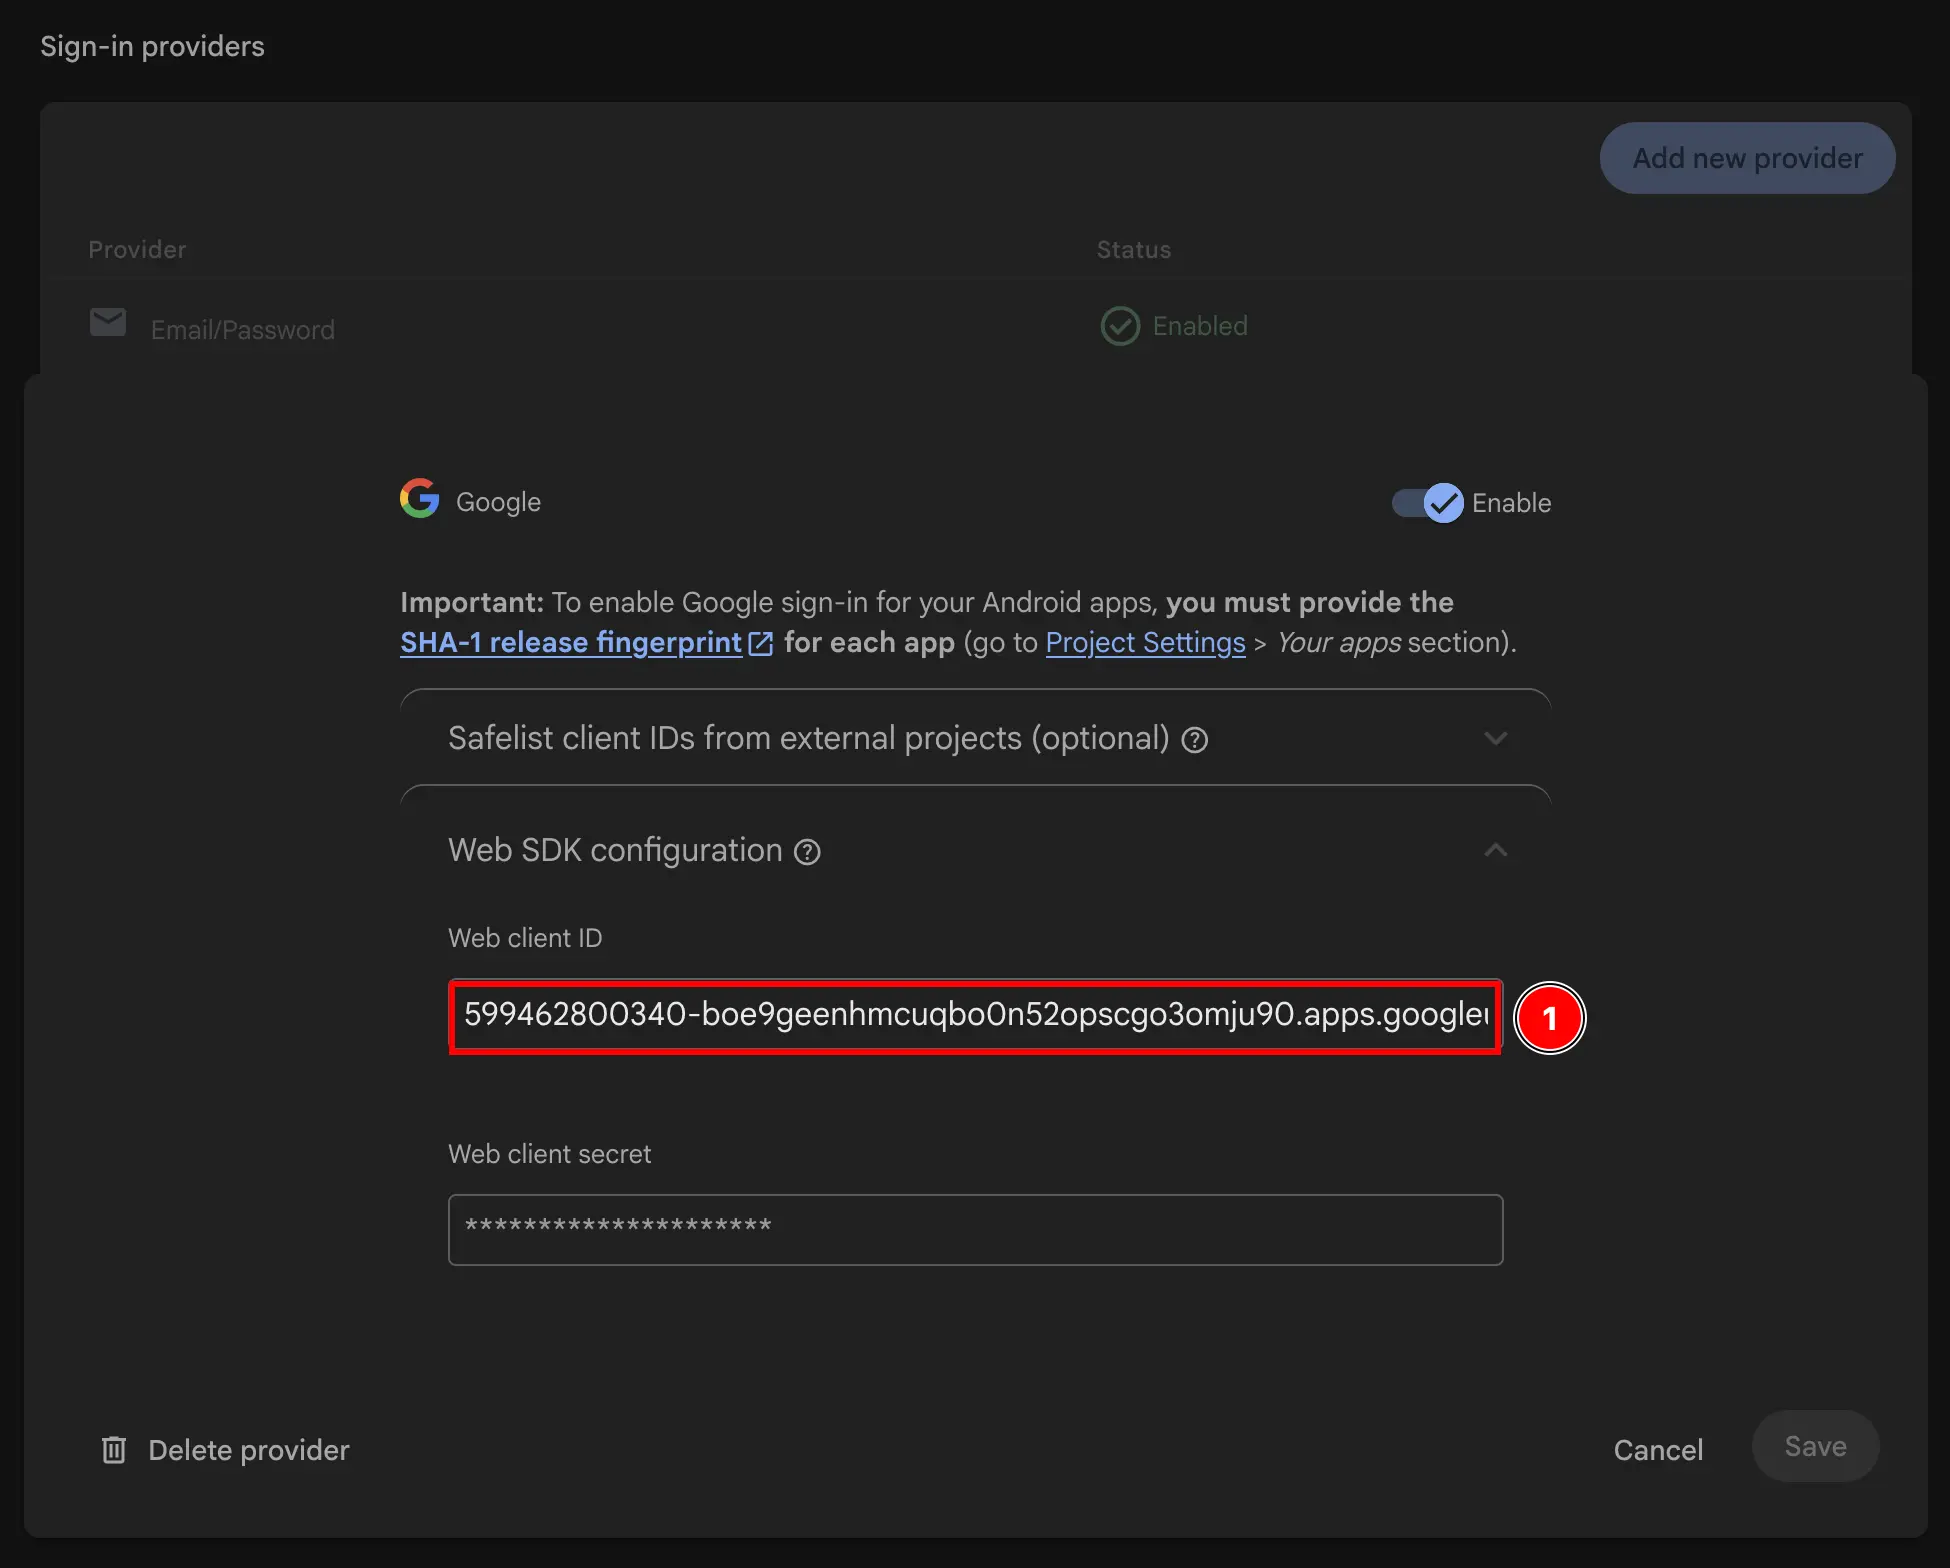
- Firebaseコンソールに戻り、
-
のファイル
-
を探してください。
Info.plistファイル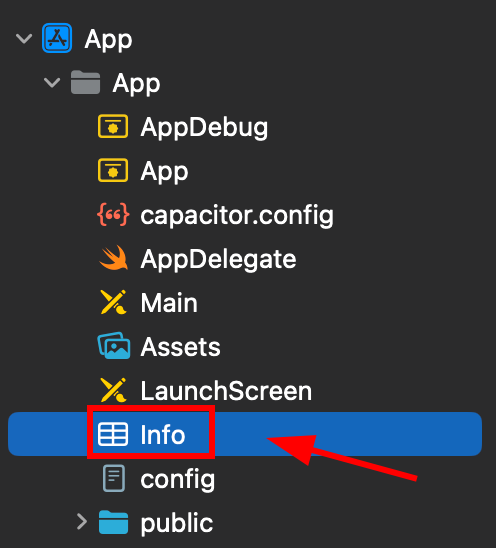
-
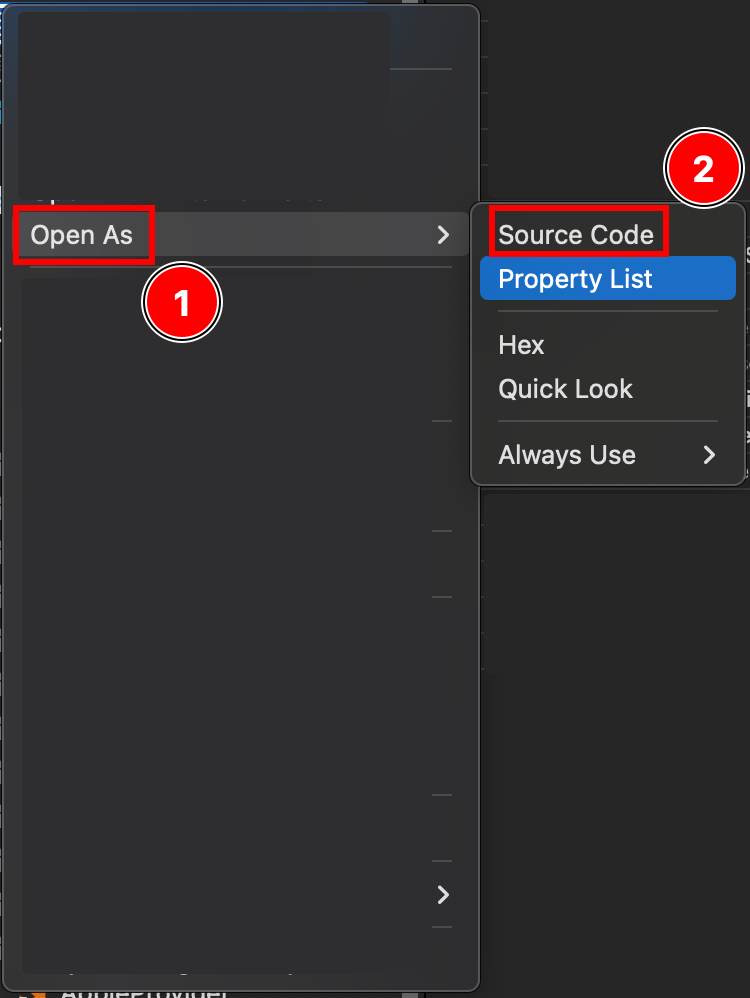
このファイルを右クリックし、ソースとして開きます code
-
下部の
Plistファイル</dict>中には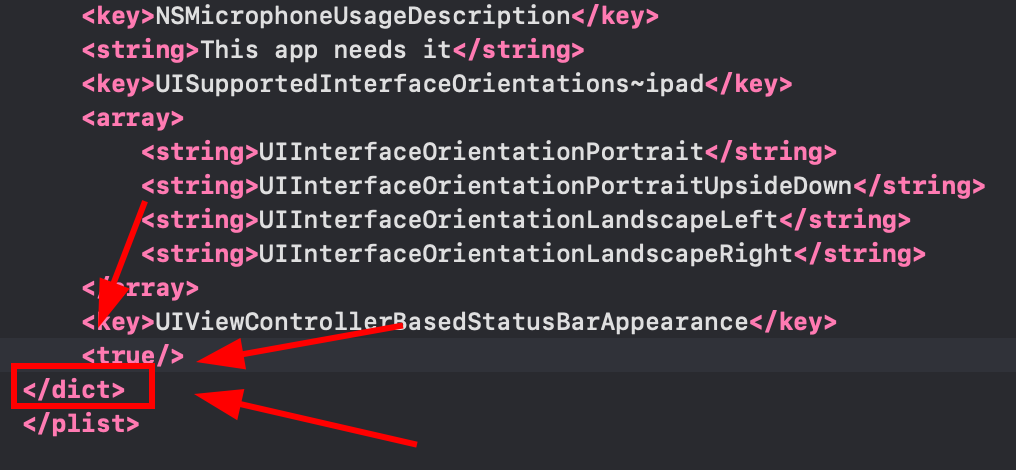
-
Info.plistファイル内のdictタグの閉じ
</dict>Info.plistファイルの閉じ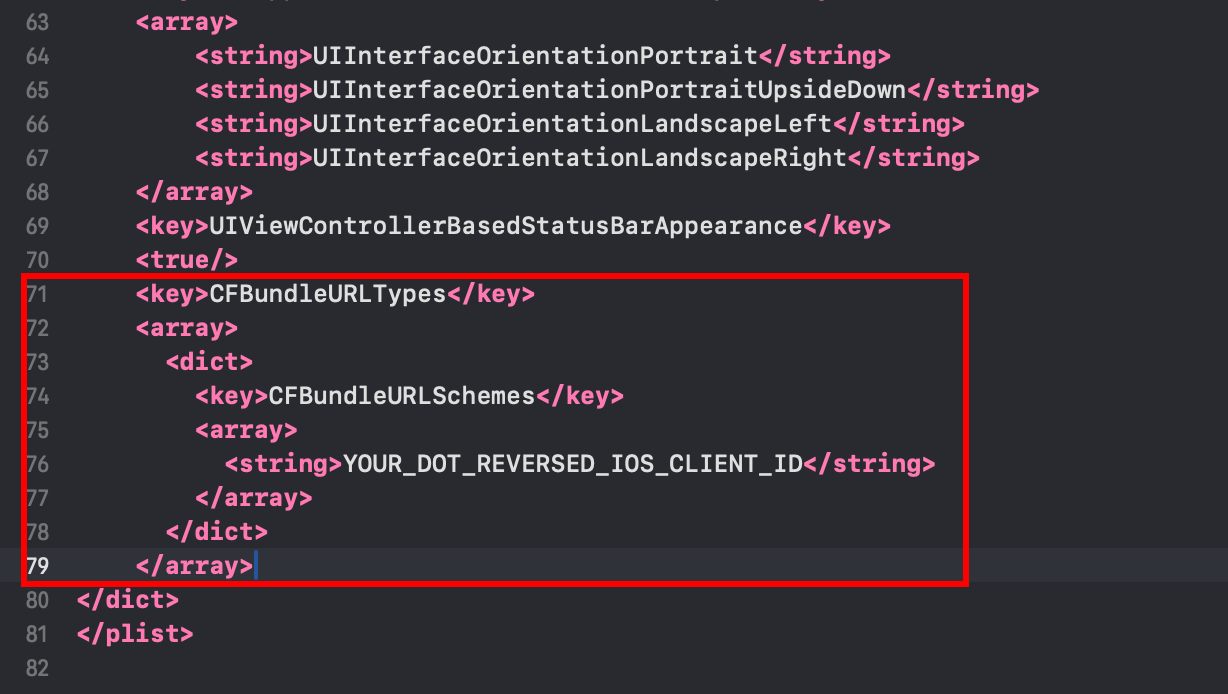 <key>CFBundleURLTypes</key><array><dict><key>CFBundleURLSchemes</key><array><string>YOUR_DOT_REVERSED_IOS_CLIENT_ID</string></array></dict></array><key>GIDClientID</key><string>YOUR_IOS_CLIENT_ID.apps.googleusercontent.com</string>
 -
コピーするにはクリップボードにコピーするボタンをクリックしてください。変更するには変更するボタンをクリックしてください。
YOUR_DOT_REVERSED_IOS_CLIENT_IDステップ9でコピーした値に設定します(iOS URLスキーム)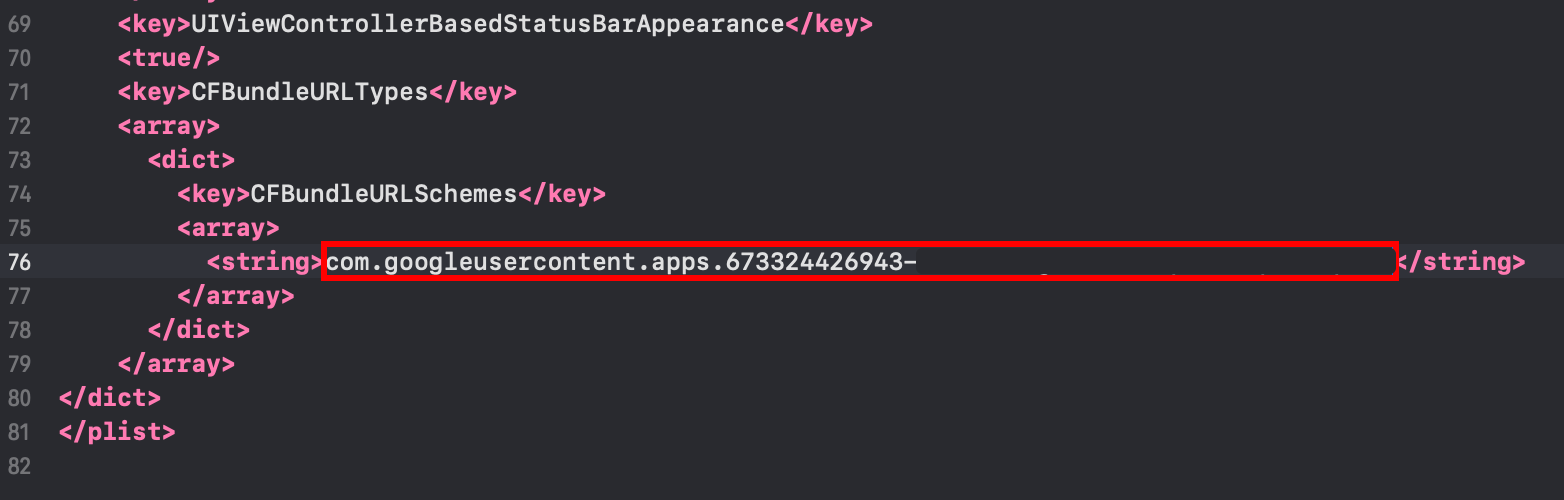
-
-
ステップ9でコピーしたiOS Client IDに設定
YOUR_IOS_CLIENT_IDファイルを -
修正
Command + S -
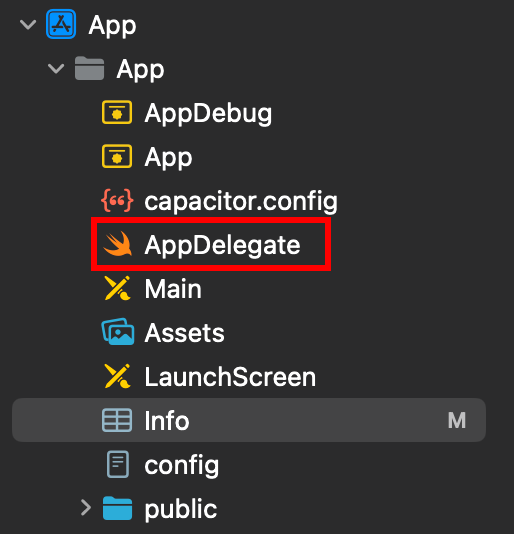
AppDelegateを開く
AppDelegate.swift-
Open the AppDelegate
-
挿入
import GoogleSignInファイルの先頭に追加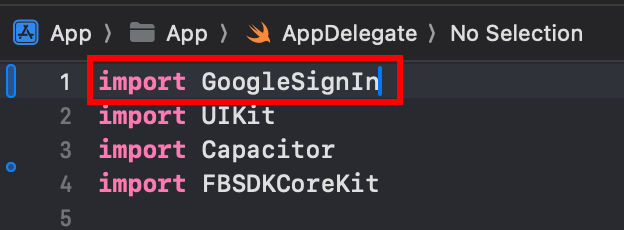
-
以下の
func application(_ app: UIApplication, open url: URL, options: [UIApplication.OpenURLOptionsKey: Any] = [:])関数
-
関数を次のように変更
func application(_ app: UIApplication, open url: URL, options: [UIApplication.OpenURLOptionsKey: Any] = [:]) -> Bool {// Called when the app was launched with a url. Feel free to add additional processing here,// but if you want the App API to support tracking app url opens, make sure to keep this callvar handled: Boolhandled = GIDSignIn.sharedInstance.handle(url)if handled {return true}return ApplicationDelegateProxy.shared.application(app, open: url, options: options)}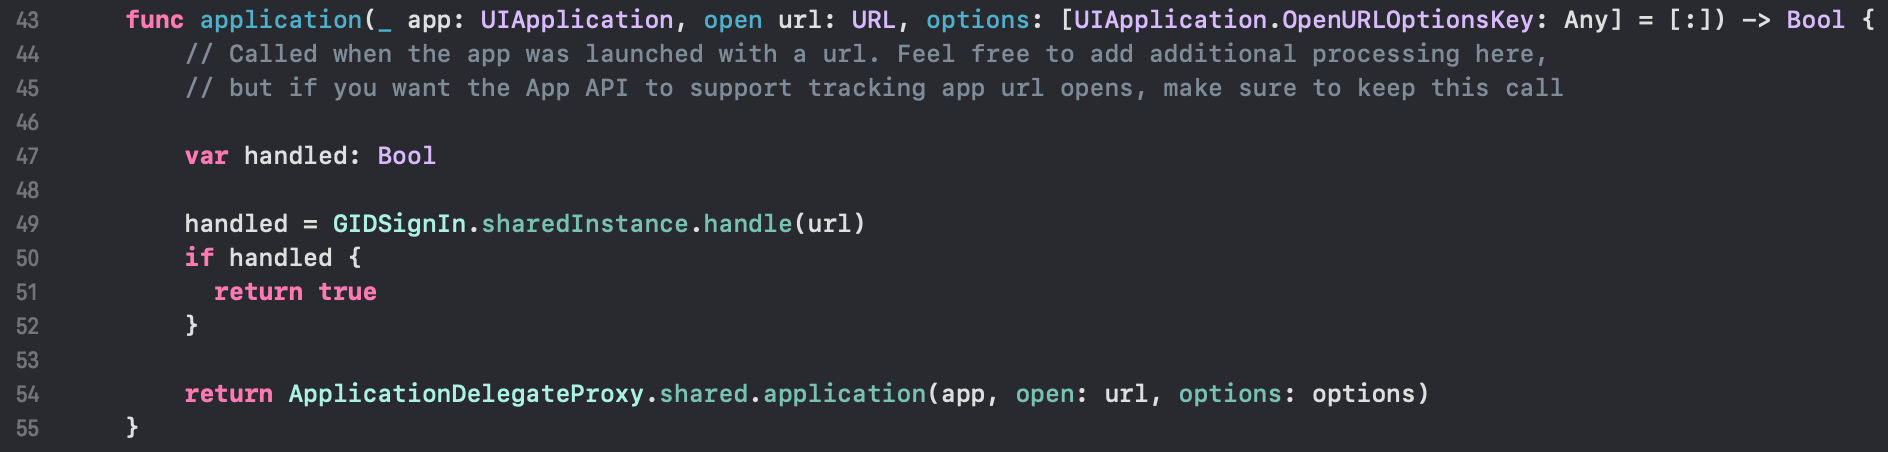
-
ファイルを保存
Command + S
-
-
アプリでGoogleログインを使用する
このステップでは、Googleログインをアプリに使用する準備が整っています。 Googleログインを使用するには、 __CAPGO_KEEP_0__ 例のアプリのauthUtils.tsファイルを使用して、Googleと認証してください。
初回のサインイン時に、Firebase Authにユーザーが自動的に作成されます。
トラブルシューティング
セクションのタイトルは “トラブルシューティング” です。認証がハングアップまたは失敗した場合:
- Firebase Web Client IDと一致するように
idTokenFirebase ConsoleでGoogle Sign-Inが有効になっていることを確認してください。 - Info.plistファイルに正しいURLスキームとGIDClientIDが含まれていることを確認してください。
- Firebase Web Client IDと一致するように
- Verify
iOSServerClientIdmatches your web client ID - Review the example app code for reference
Keep going from Firebase Google Login on iOS
Section titled “Keep going from Firebase Google Login on iOS”If you are using Firebase Google Login on iOS to plan authentication and account flows, connect it with Using @capgo/capacitor-social-login @capgo/capacitor-social-login for iOSのnative capabilityのために使用する @capgo/capacitor-social-login for iOSのnative capabilityのために使用する 実装詳細については @capgo/capacitor-social-login に @capgo/capacitor-passkey 実装詳細については @capgo/capacitor-passkey に @capgo/capacitor-native-biometric 実装詳細については @capgo/capacitor-native-biometric、 2要素認証 実装詳細については 2要素認証 に