
iOSでAppleログイン
このプラグインのインストール手順と完全なマークダウンガイドを含むセットアップの促しをコピーする
AppleログインをIOSに設定するために必要なものを分解してみましょう。
-
アプリの機能を設定してください。
これを行うには、Xcodeを開き、クリックしてください。
App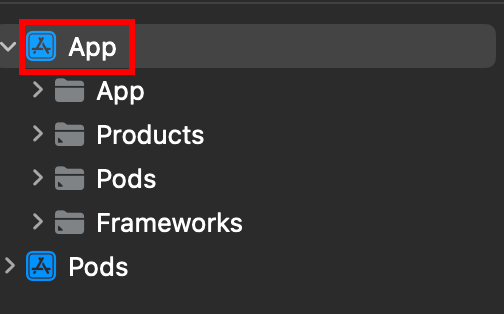
-
正しいターゲットを選択してください。
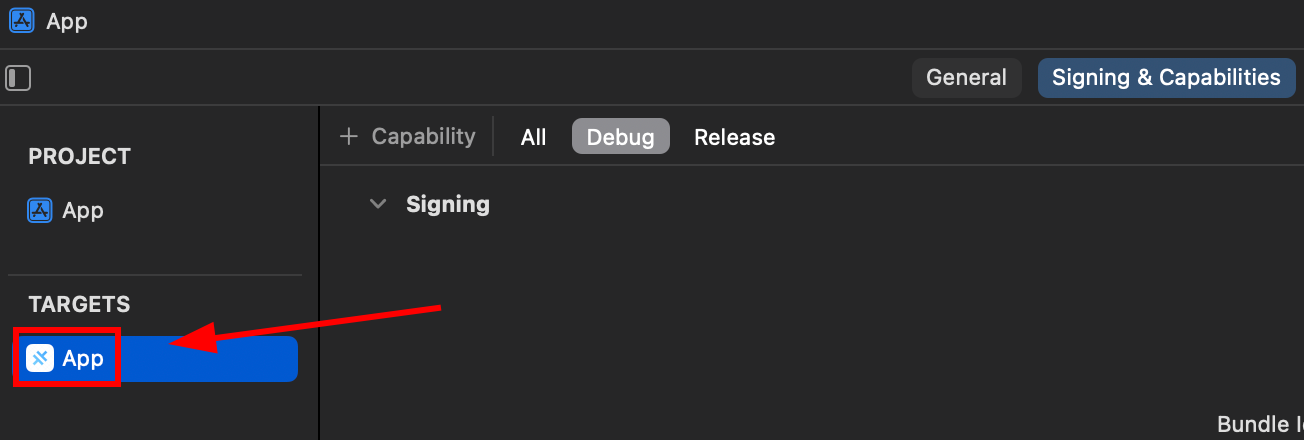
-
機能を追加してください。
Sign in with AppleアプリXCode機能追加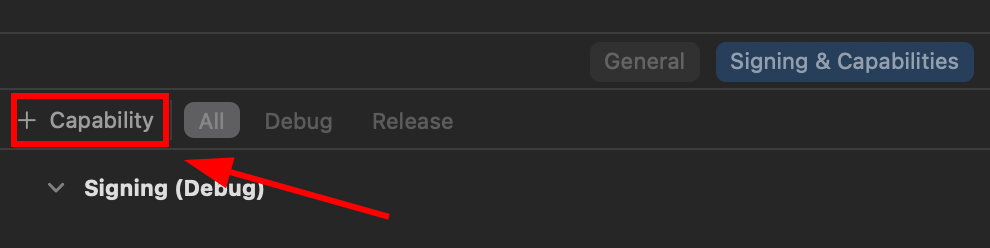
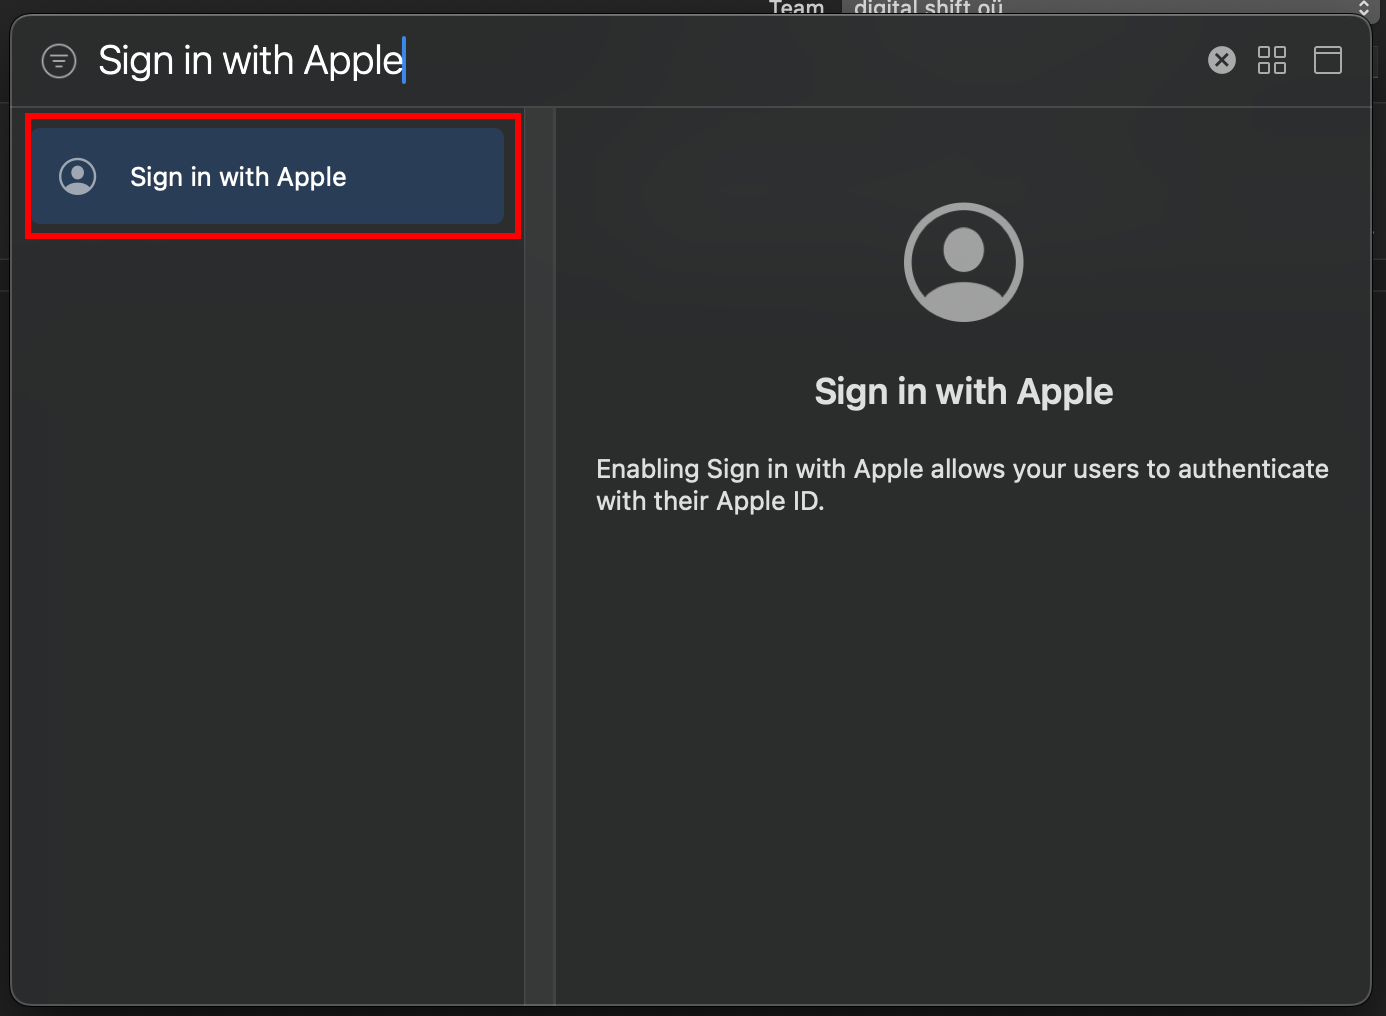
-
注記
// onMounted is vue specificonMounted(() => {SocialLogin.initialize({apple: {}})}); -
機能追加
このボタンは、以下の関数を呼び出す必要があります:
async function loginApple() {const res = await SocialLogin.login({provider: 'apple',options: {}}) -
実機でアプリを実行し、テストしてください。 PHYSICAL 実機でアプリを実行し、テストしてください。
正しく手順を実行した場合、ボタンをクリックすると次の画面が表示されます。
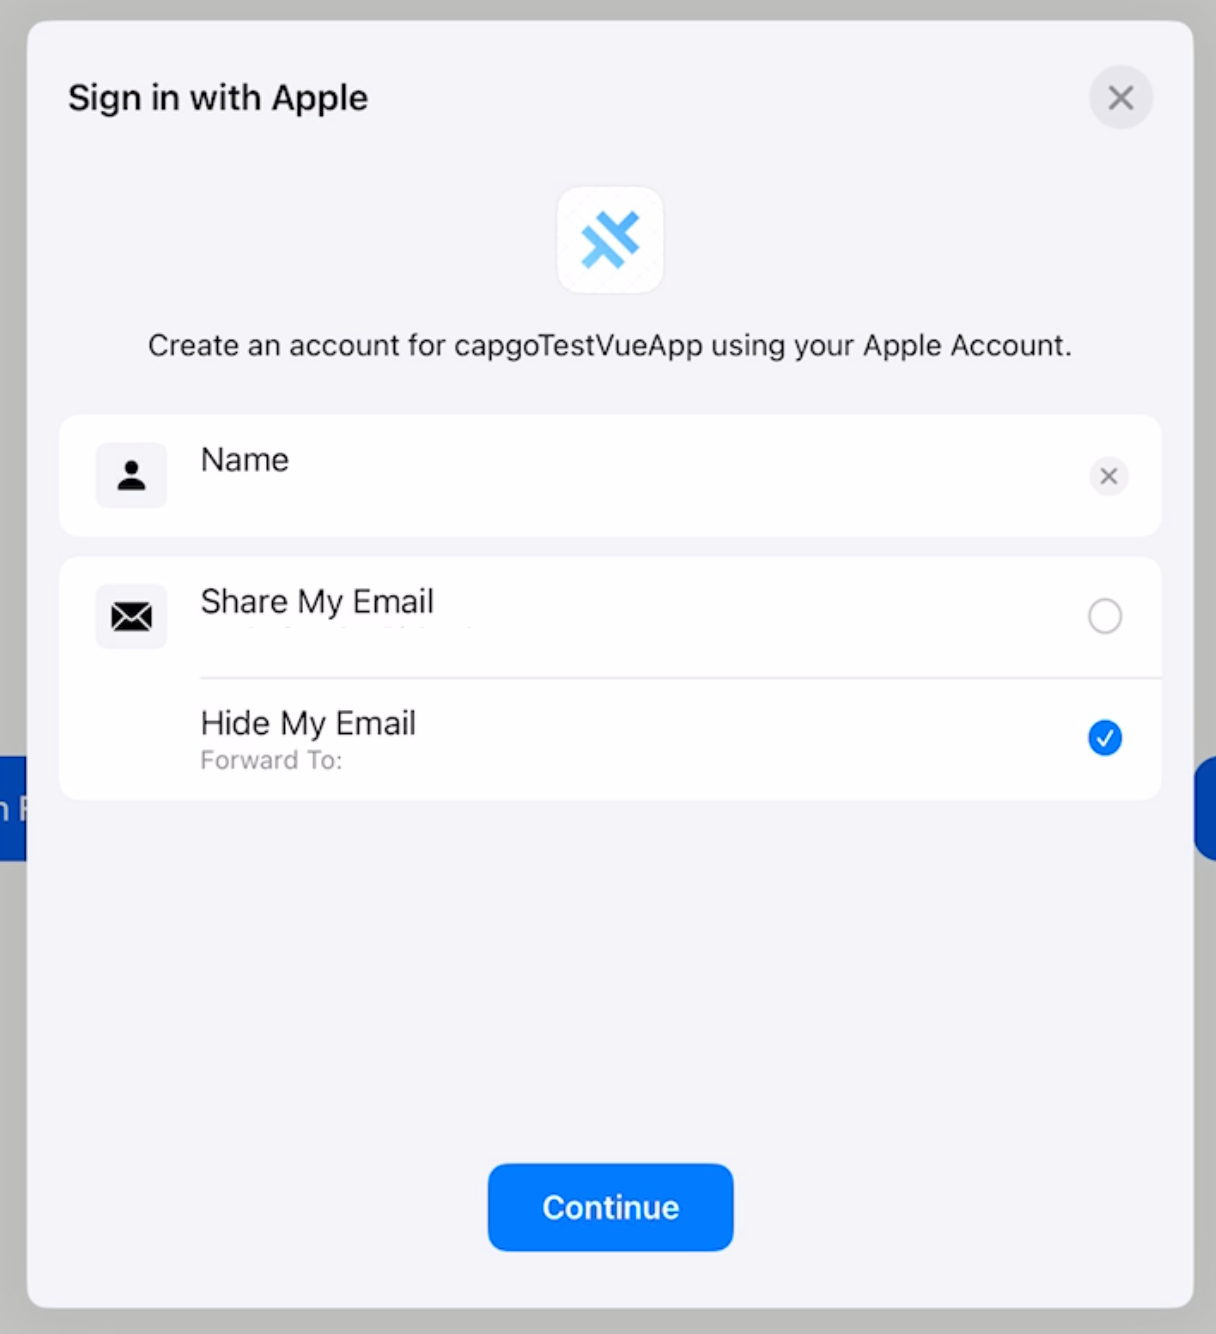
完了です!あなたはすべての準備ができました。
Appleログインの初期化
「Appleログインの初期化」のセクションCall initialize with the apple iOSで利用するサービスプロバイダーの設定 clientId iOSでは、サービスプロバイダーは直接使用されません。プラグインは、どのサービスプロバイダーを初期化するかを知るために使用されます。
await SocialLogin.initialize({  apple: {    clientId: 'your-client-id',  },});
const res = await SocialLogin.login({  provider: 'apple',  options: {    scopes: ['email', 'name'],  },});
iOSのAppleログインから続けて
セクション: iOSのAppleログインから続けてiOSでAppleログインを使用している場合 Appleログインを使用して認証とアカウントフローの計画を行っている場合、Appleログインを Using @__CAPGO_KEEP_0__/__CAPGO_KEEP_1__-social-login iOSのネイティブ機能のためにUsing @capgo/capacitor-social-login Using @capgo/capacitor-social-login @capgo/capacitor-social-loginの実装詳細のために@capgo/capacitor-social-login Capgoの@capgo/capacitor-social-loginの実装詳細のために @capgo/capacitor-パスキー @capgo/capacitor-passkey @capgo/capacitor-native-biometric @capgo/capacitor-native-biometric 2要素認証 2要素認証
Start with Capacitor 待たなくても
without the wait


ビジネス需要? チームとお話ししましょう