Supabase Google Login - Paramètres généraux
Copiez un prompt de configuration avec les étapes d'installation et la guide markdown complète pour ce plugin.
Introduction
Section intitulée « Introduction »Ce guide vous guidera pour intégrer l'authentification Google Sign-In avec l'authentification Supabase en utilisant le plugin Capacitor Social Login. Cette configuration vous permet d'utiliser l'authentification native Google Sign-In sur les plateformes mobiles tout en exploitant l'authentification Supabase pour l'authentification backend.
Prérequis
Section intitulée « Prérequis »Avant de commencer, assurez-vous d'avoir :
-
Lu le Guide de configuration de l'authentification Google le guide de configuration des jetons d'accès Google OAuth
-
Suivi des guides spécifiques à la plateforme pour configurer les jetons d'accès Google OAuth pour votre plateforme cible :
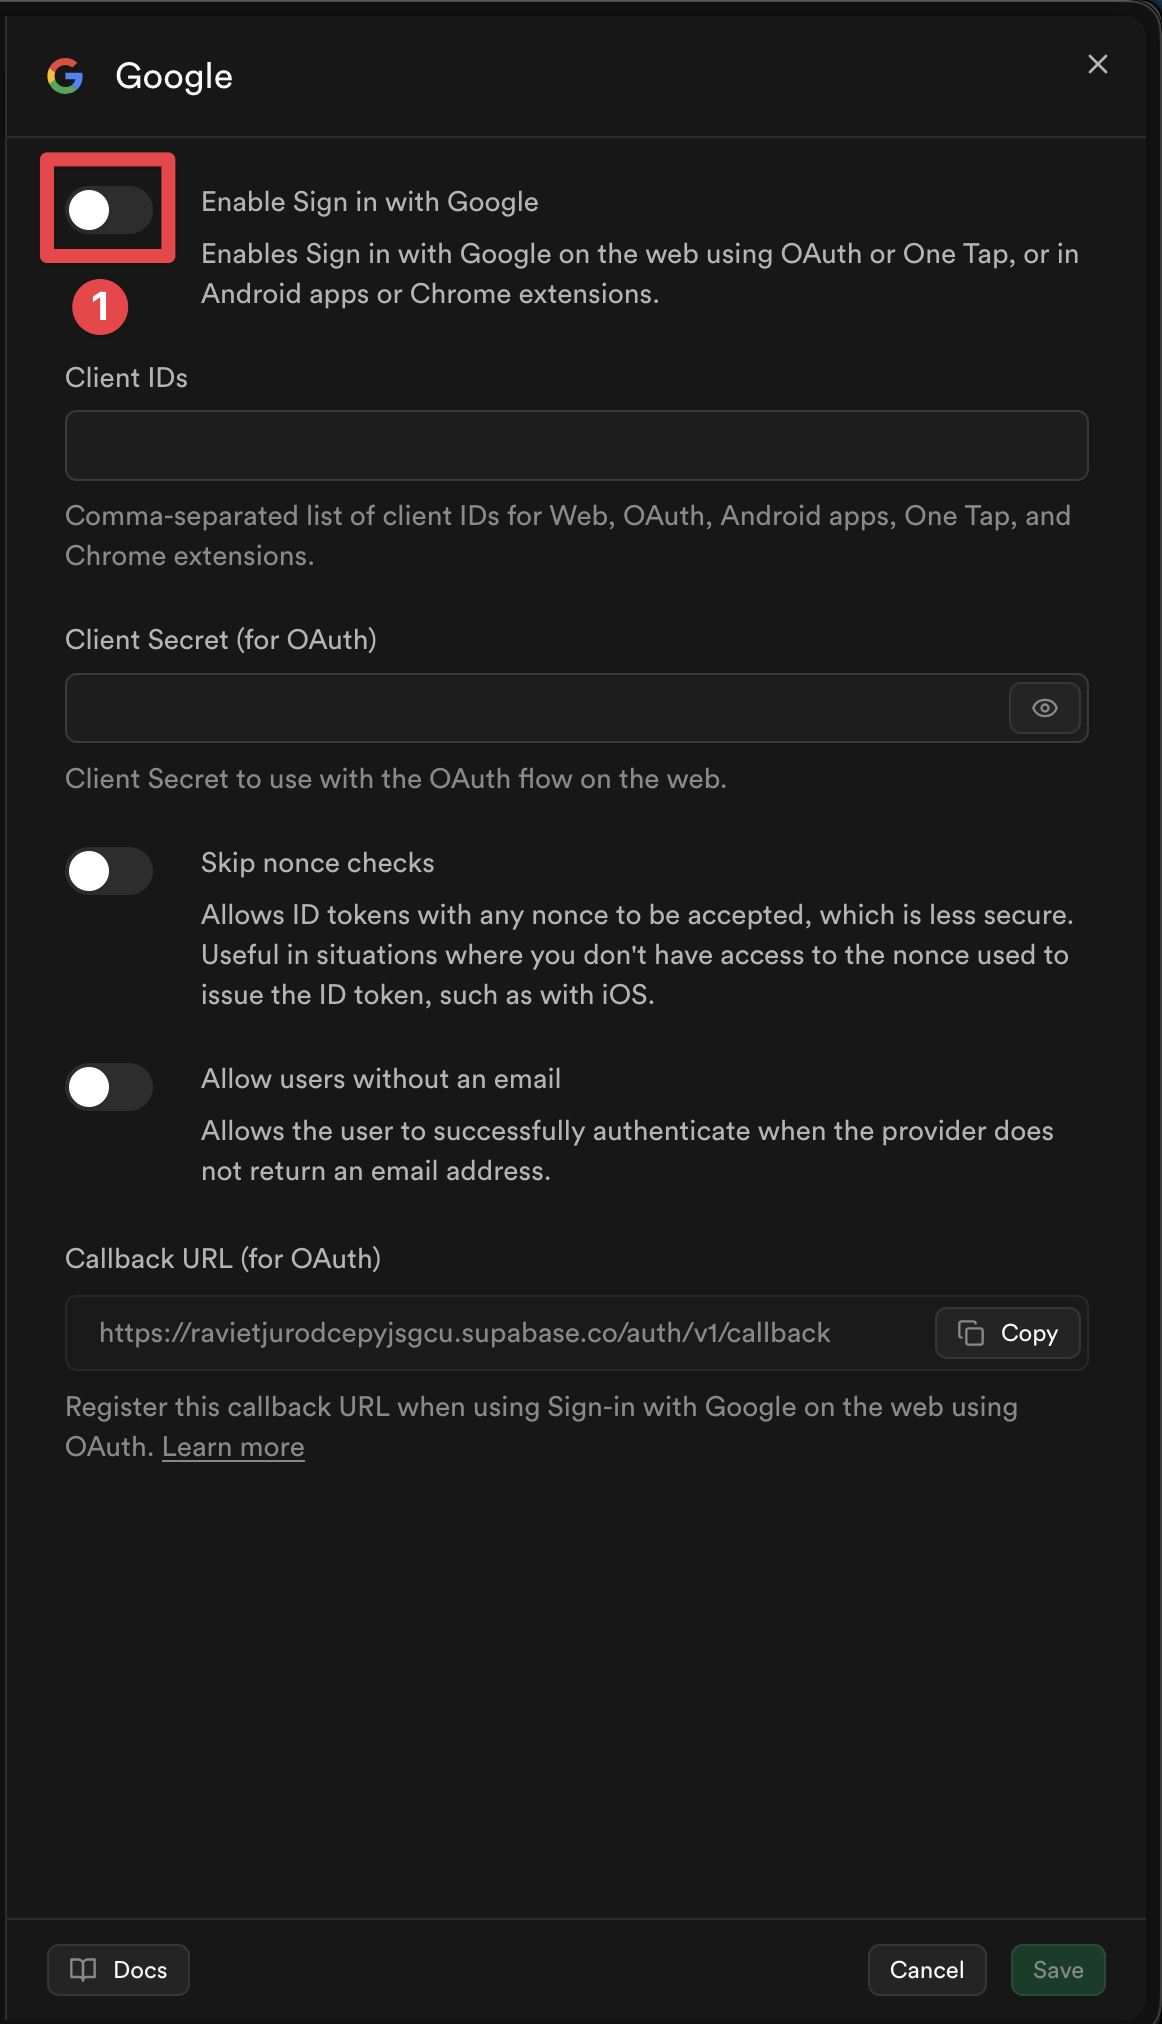
Activer le fournisseur d'authentification Google dans Supabase
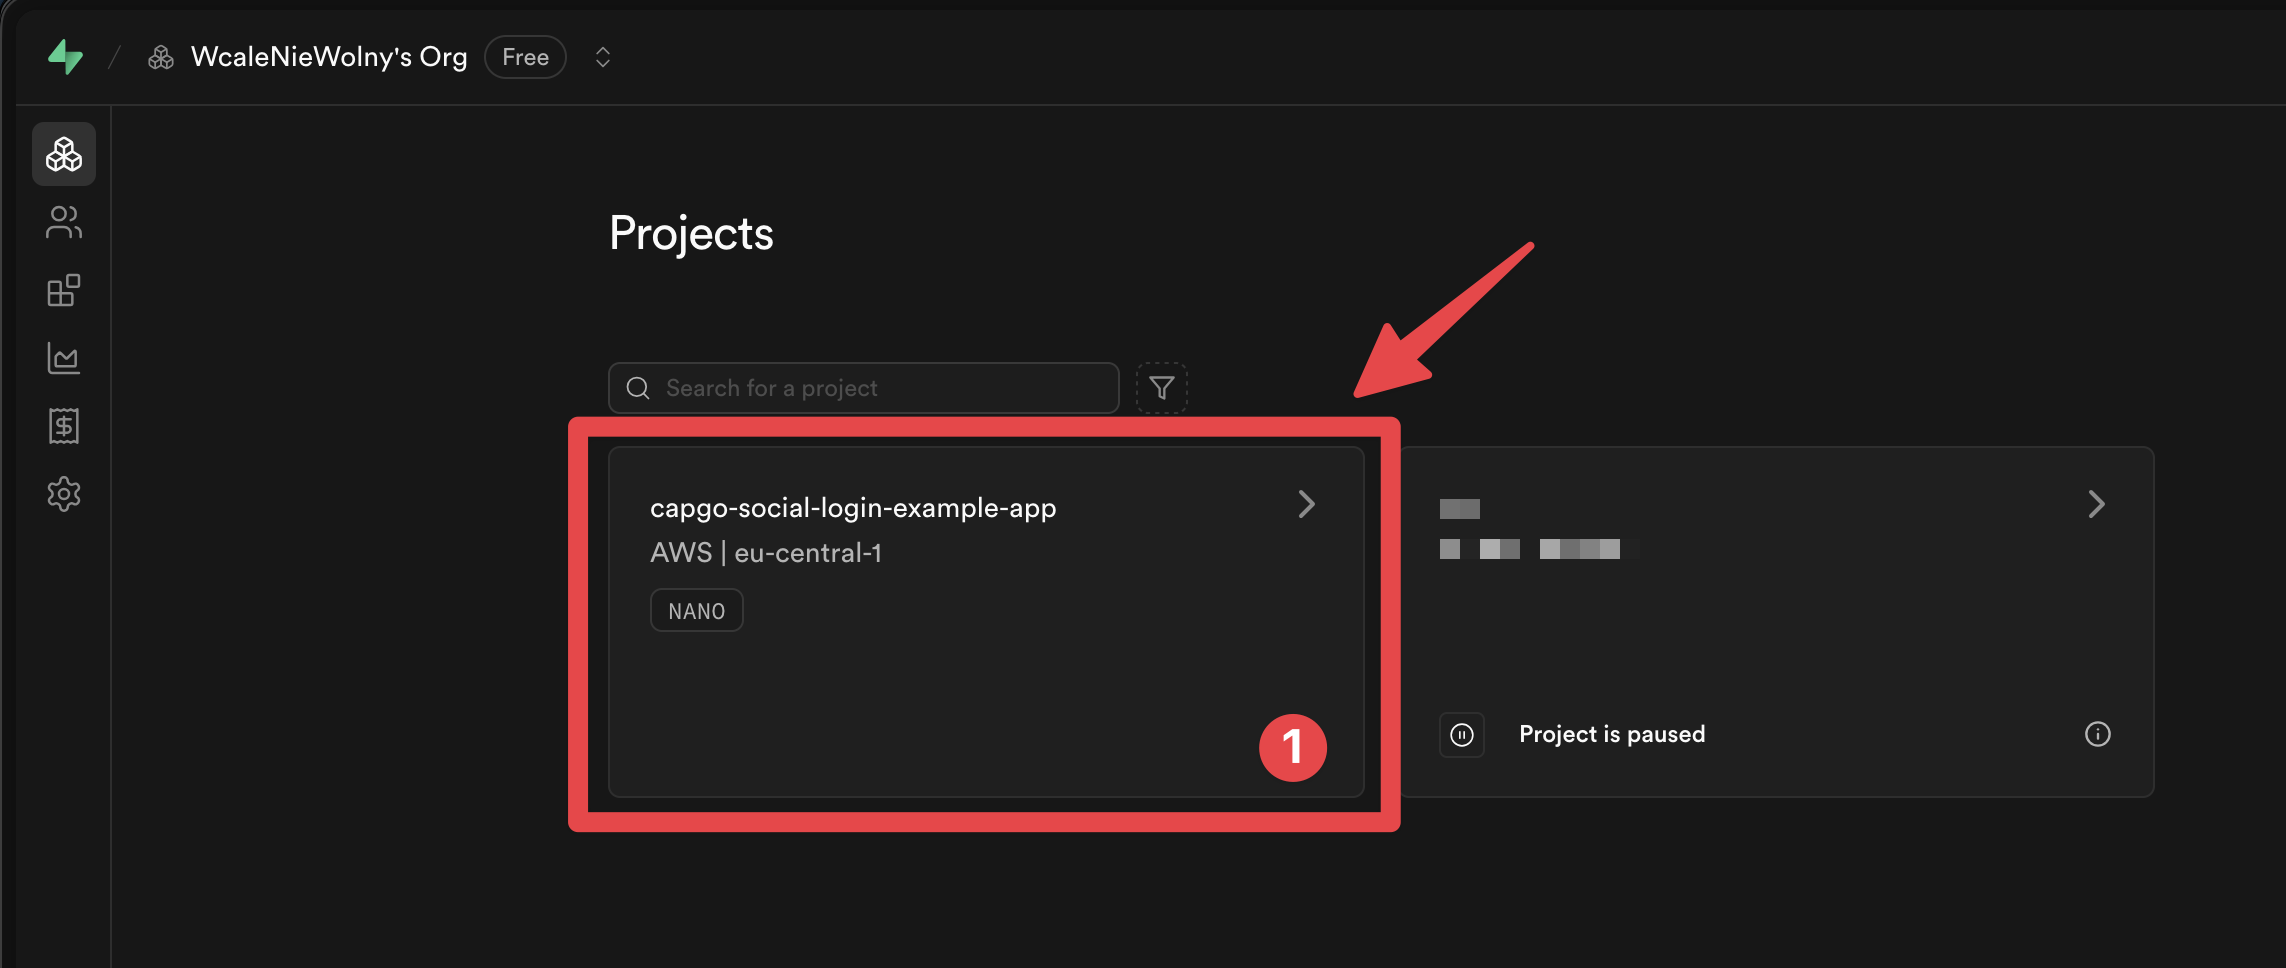
Section intitulée « Activer le fournisseur d'authentification Google dans Supabase »-
Allez à votre Tableau de bord Supabase
-
Cliquez sur votre projet
-
Allez dans le
Authenticationmenu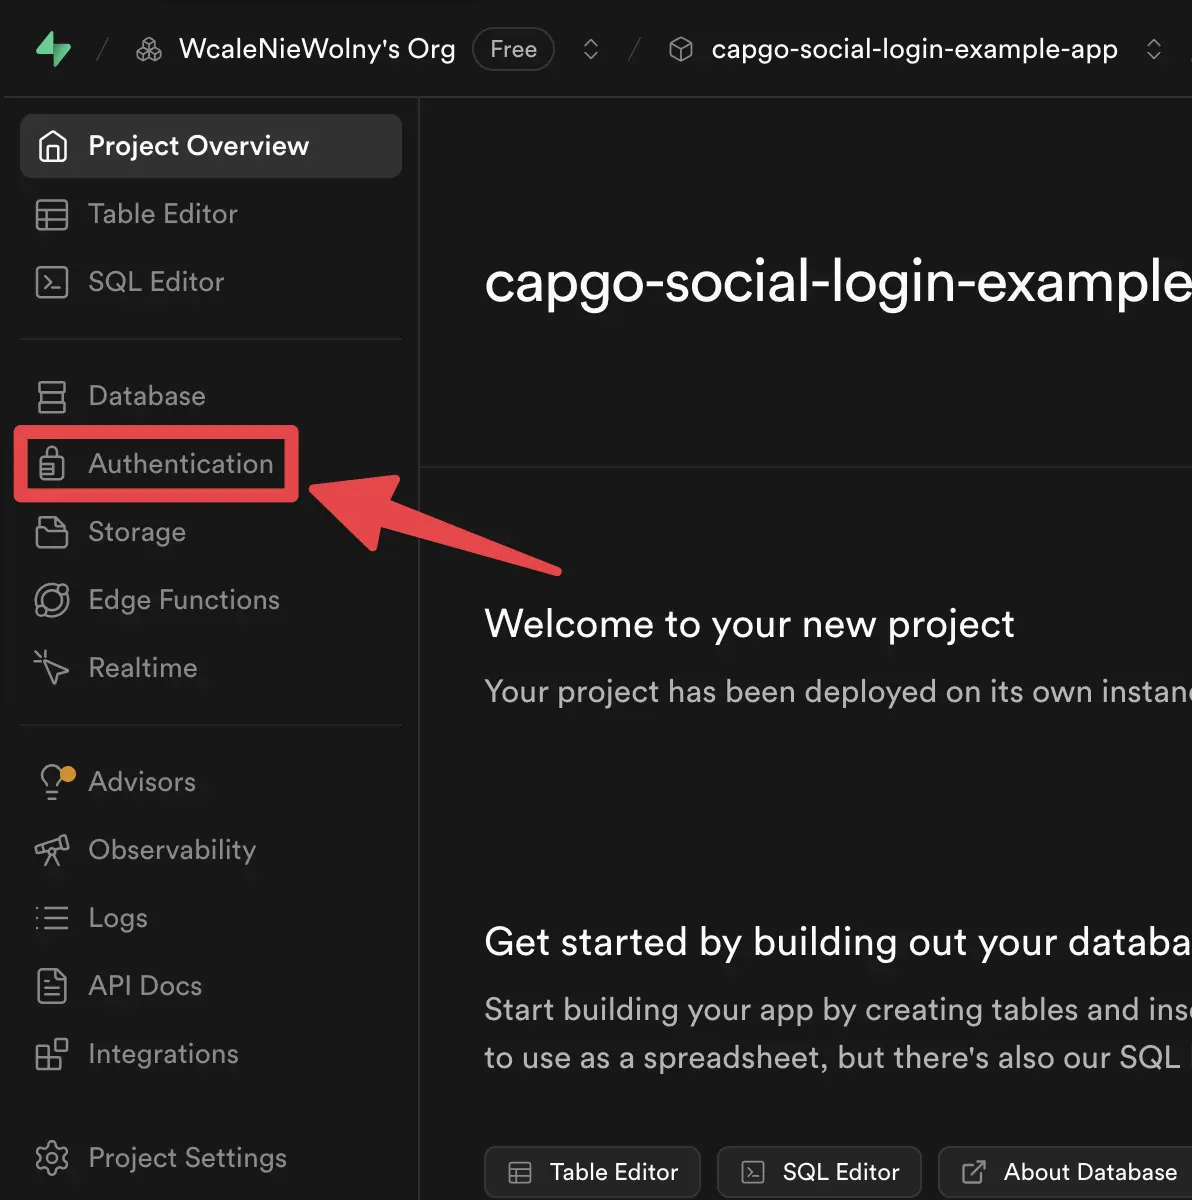
-
Cliquez sur la
Providersonglet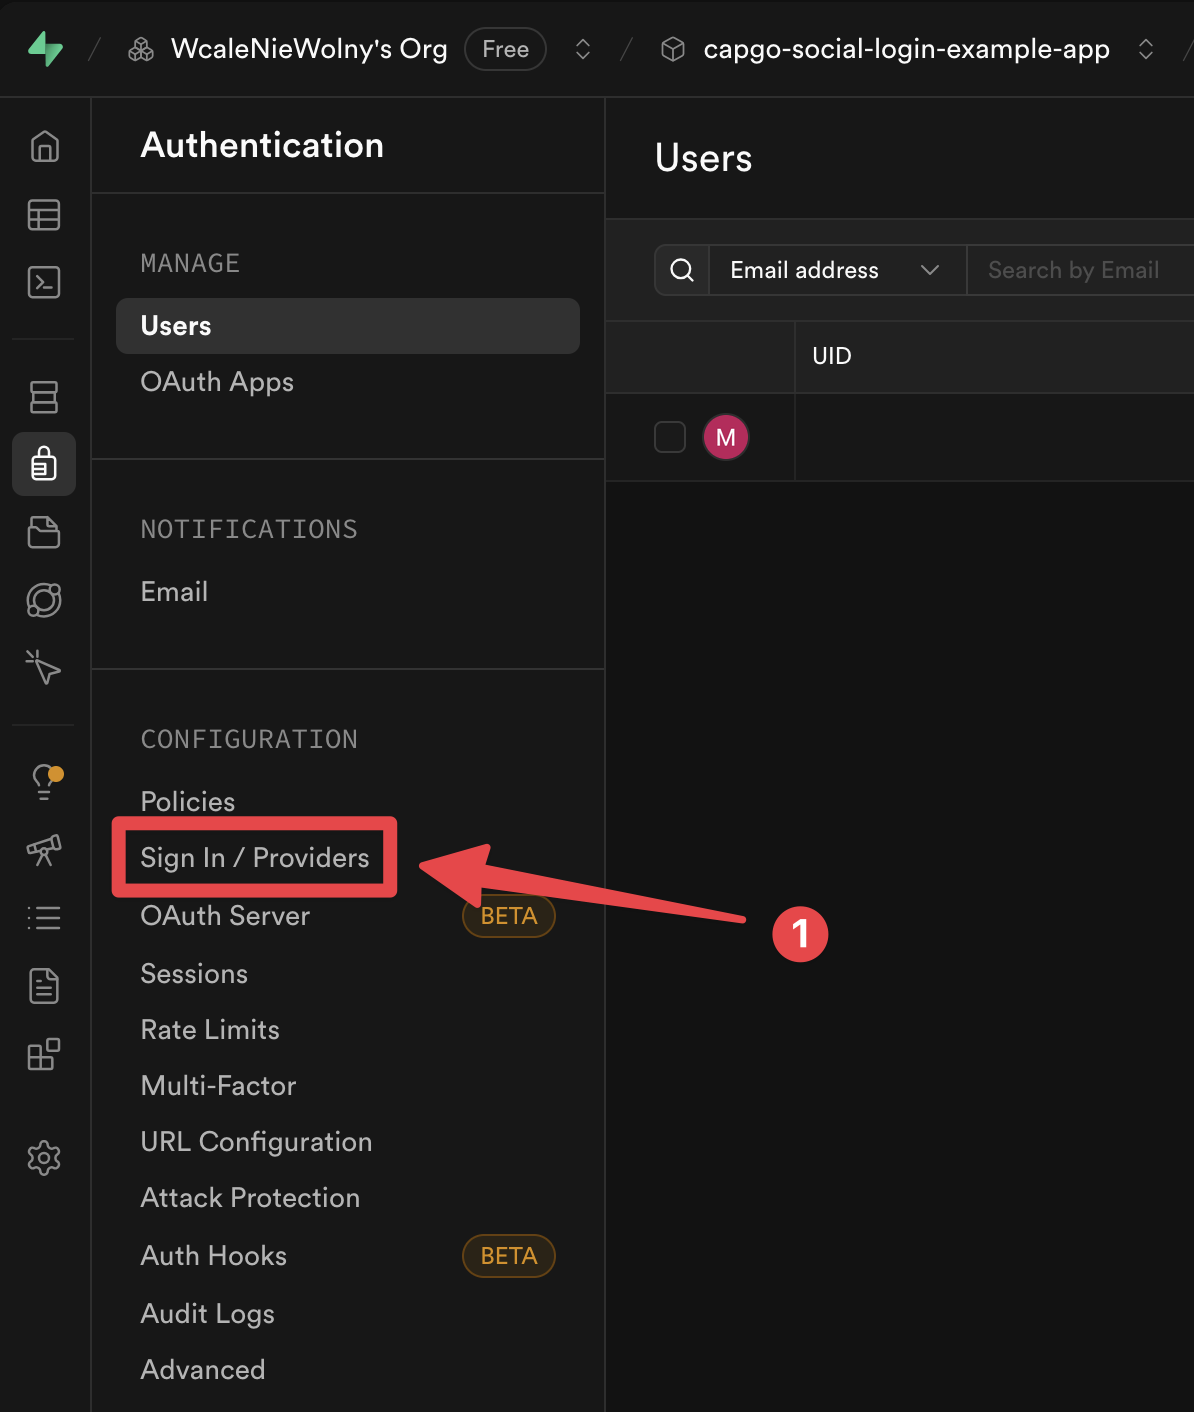
-
Trouvez le
Googlefournisseur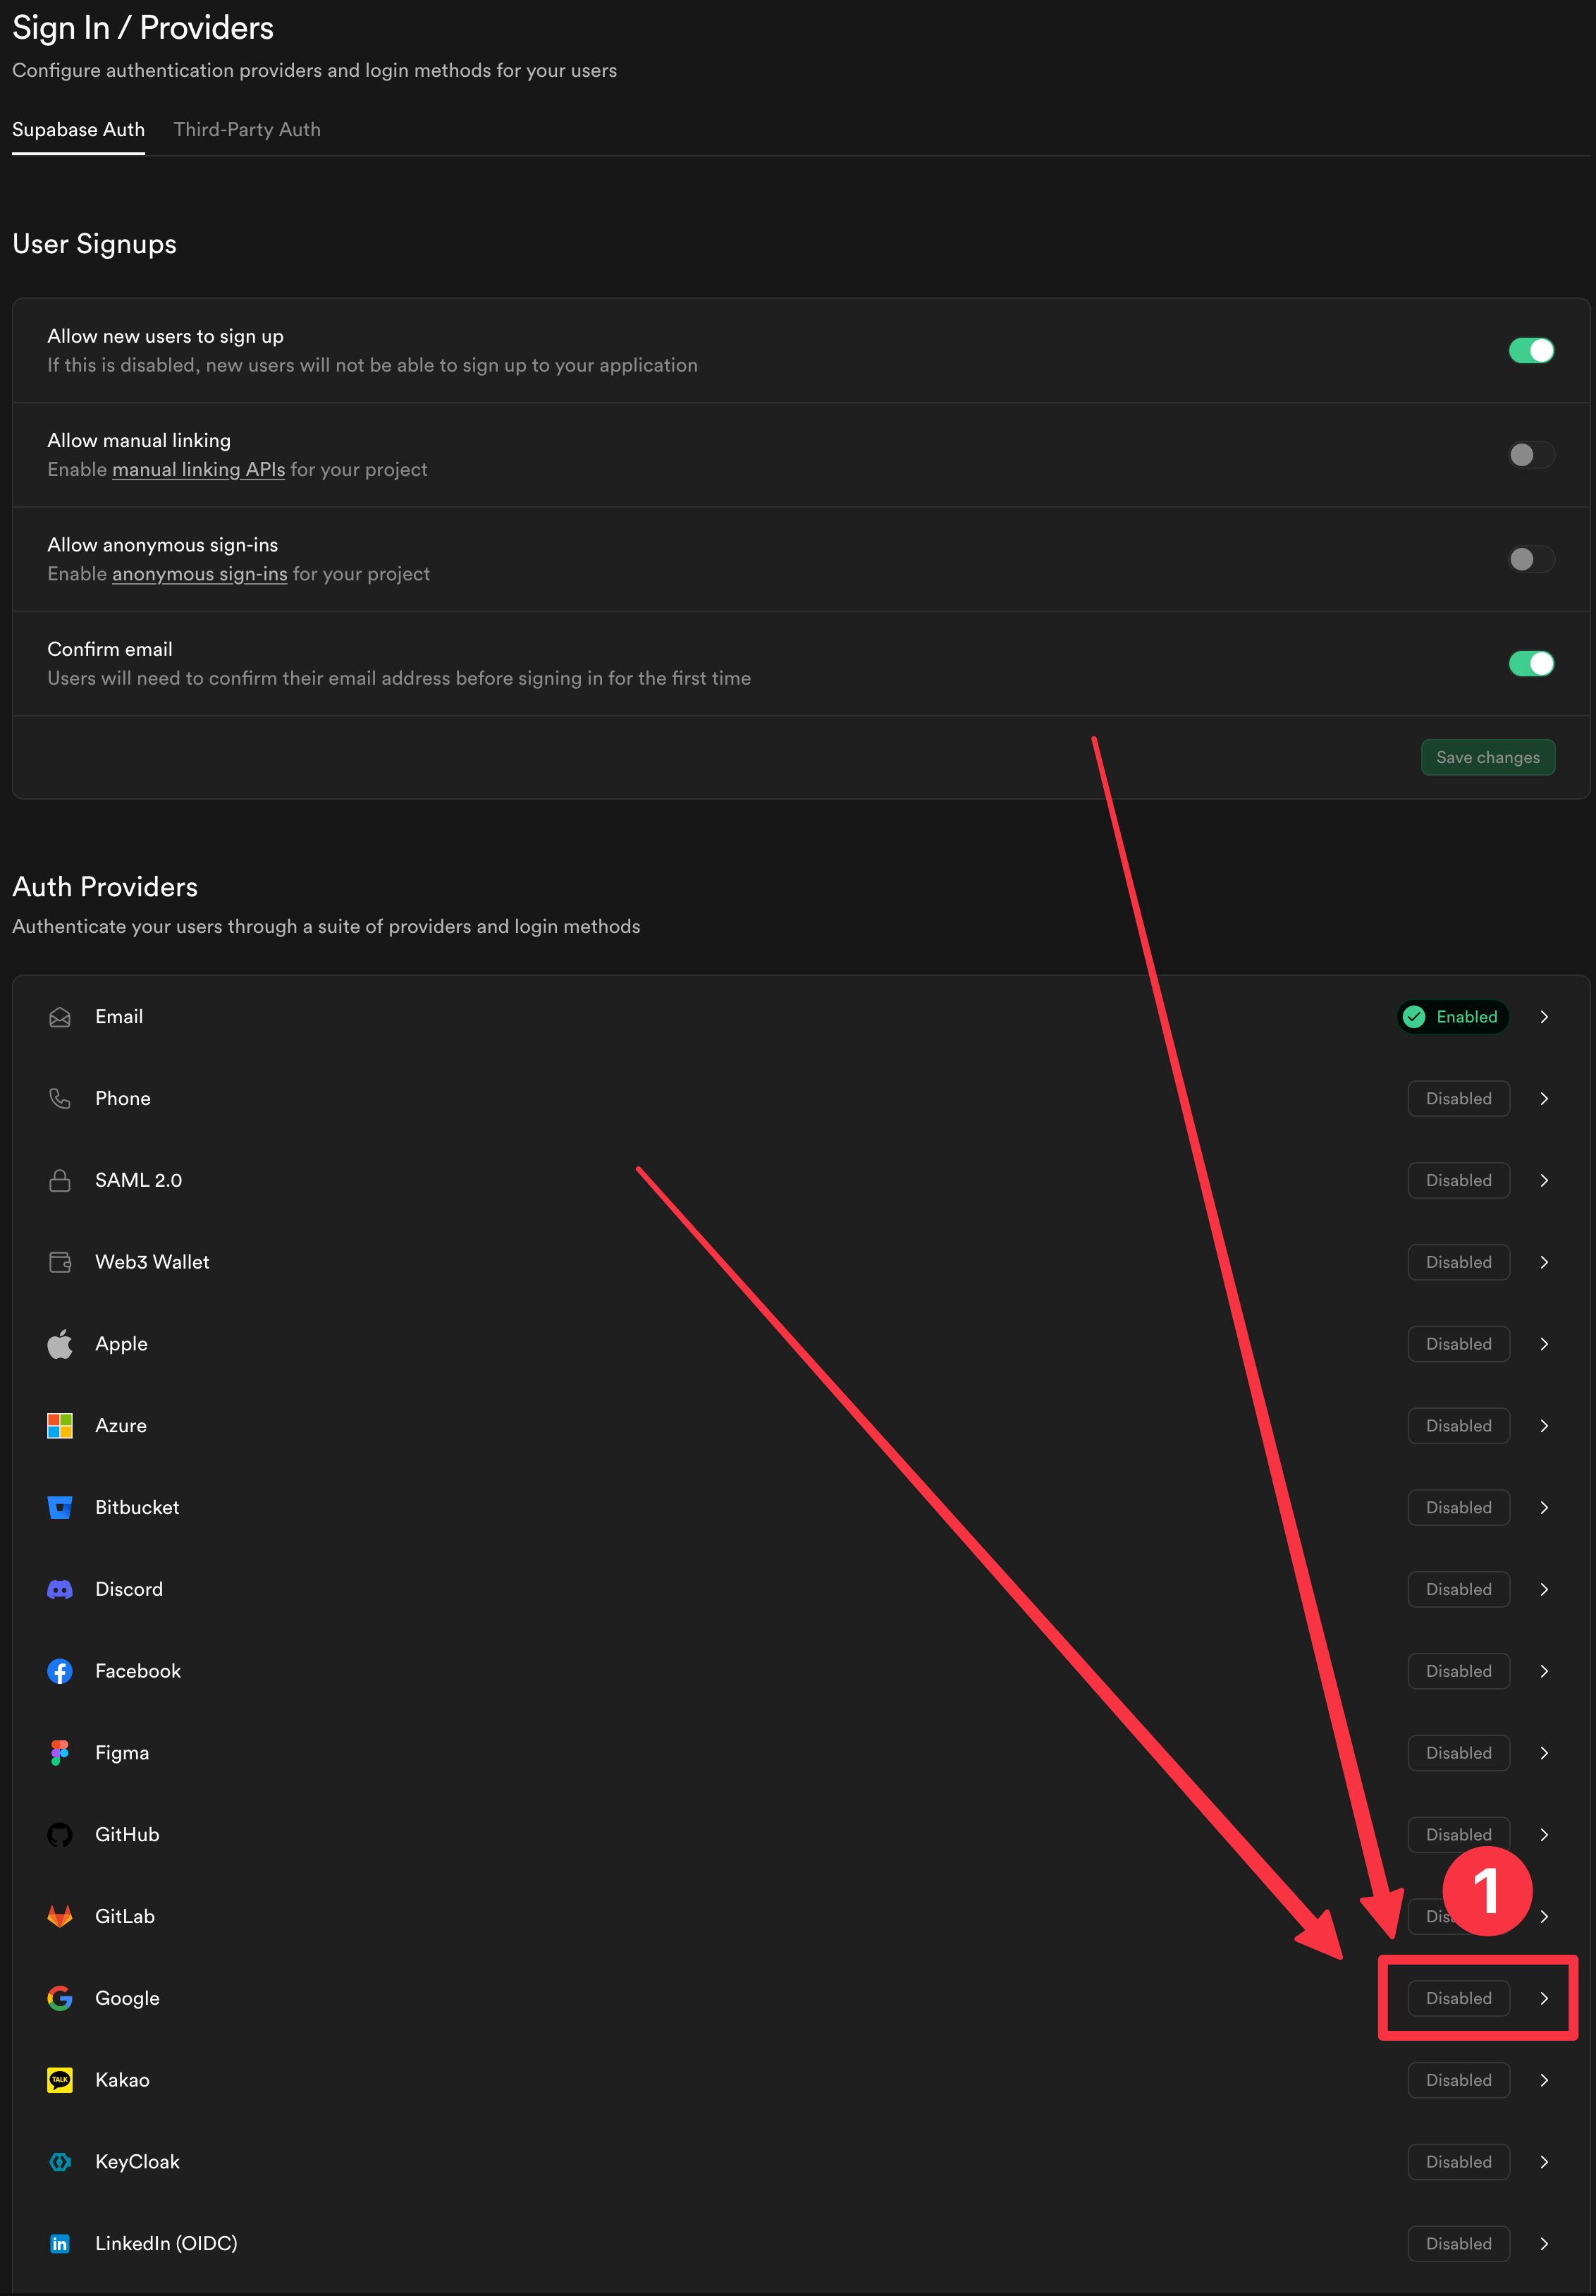
-
Activer le fournisseur
-
Ajoutez les identifiants de client pour les plateformes que vous prévoyez d'utiliser

-
Cliquez sur le
Savebouton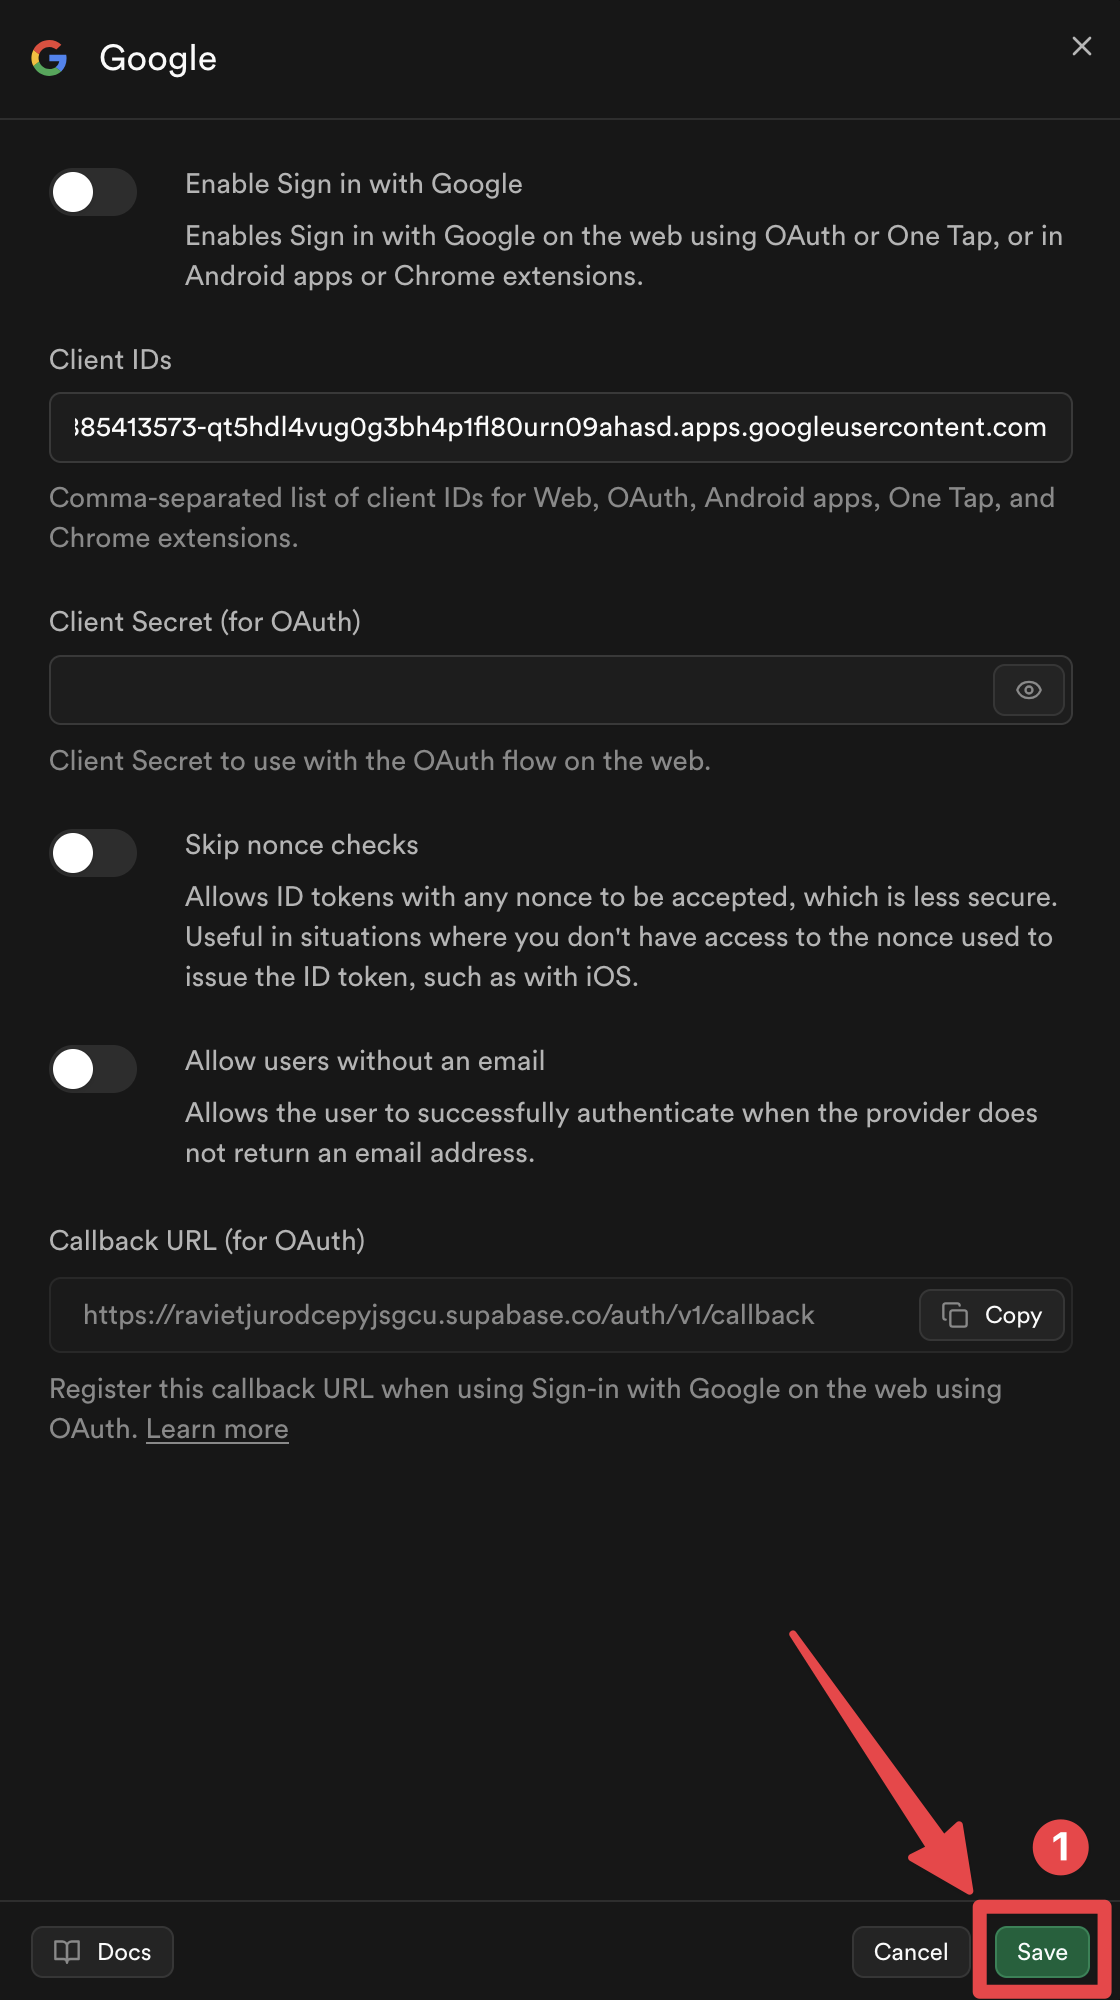
Voilà, vous avez maintenant activé l'authentification Google avec Supabase !
Comment fonctionne l'assistant d'authentification Google avec Supabase
Section intitulée « Comment fonctionne l'assistant d'authentification Google avec Supabase »This section explains how the Google Sign-In integration with Supabase works under the hood. Understanding this flow will help you implement and troubleshoot the authentication process.
Section intitulée « 1. Génération de Nonce »
La mise en œuvre génère un couple de nonce sécurisé en suivant lesexigences de nonce de Supabase Copier dans le presse-papier:
// Generate URL-safe random noncefunction getUrlSafeNonce(): string {  const array = new Uint8Array(32);  crypto.getRandomValues(array);  return Array.from(array, (byte) => byte.toString(16).padStart(2, '0')).join('');}
// Hash the nonce with SHA-256async function sha256Hash(message: string): Promise<string> {  const encoder = new TextEncoder();  const data = encoder.encode(message);  const hashBuffer = await crypto.subtle.digest('SHA-256', data);  const hashArray = Array.from(new Uint8Array(hashBuffer));  return hashArray.map((b) => b.toString(16).padStart(2, '0')).join('');}
// Generate nonce pairasync function getNonce(): Promise<{ rawNonce: string; nonceDigest: string }> {  const rawNonce = getUrlSafeNonce();  const nonceDigest = await sha256Hash(rawNonce);  return { rawNonce, nonceDigest };}
__CAPGO_KEEP_0__
rawNonce: chaîne alphanumérique sécurisée (64 caractères hexadécimaux)nonceDigest: hachage SHA-256 derawNonce(codé en hexadécimal)nonceDigestest transmis à Google Sign-In → Google inclut le digest nonce dans le jeton IDrawNonceest transmis à Supabase → Supabase hache le nonce brut et le compare avec le nonce du jeton
2. Google Sign-In
Sous-section intitulée « 2. Google Sign-In »La fonction initialise le plugin et se connecte avec Google :
await SocialLogin.initialize({  google: {    webClientId: 'YOUR_WEB_CLIENT_ID.apps.googleusercontent.com',    // iOS only:    iOSClientId: 'YOUR_IOS_CLIENT_ID.apps.googleusercontent.com',    mode: 'online', // Required to get idToken  },});
const response = await SocialLogin.login({  provider: 'google',  options: {    scopes: ['email', 'profile'],    nonce: nonceDigest, // Pass the SHA-256 hashed nonce  },});
3. Validation du JWT
Sous-section intitulée « 3. Validation du JWT »Avant d'envoyer le jeton à Supabase, l'implémentation valide le jeton JWT :
function validateJWTToken(idToken: string, expectedNonceDigest: string): { valid: boolean; error?: string } {  const decodedToken = decodeJWT(idToken);
  // Check audience matches your Google Client IDs  const audience = decodedToken.aud;  if (!VALID_GOOGLE_CLIENT_IDS.includes(audience)) {    return { valid: false, error: 'Invalid audience' };  }
  // Check nonce matches  const tokenNonce = decodedToken.nonce;  if (tokenNonce && tokenNonce !== expectedNonceDigest) {    return { valid: false, error: 'Nonce mismatch' };  }
  return { valid: true };}
Pourquoi valider avant Supabase ?
La validation du jeton JWT avant d'envoyer le jeton à Supabase sert plusieurs objectifs importants :
-
Prévenir les requêtes non validesSi le jeton a une audience incorrecte ou une erreur de nonce, Supabase rejettent le jeton de toute façon. La validation avant évite les appels API inutiles et fournit des messages d'erreur plus clairs.
-
Problèmes de cache de jetonsSur certaines plateformes (notamment iOS), Google Sign-In SDK peut stocker les jetons pour améliorer les performances. Lorsqu'un jeton stocké est retourné, le jeton stocké peut avoir été généré avec une nonce différente (ou pas de nonce du tout), ce qui fait que Supabase rejette le jeton avec une erreur de « nonce incohérente ». En validant avant d'envoyer à Supabase, nous pouvons détecter ce problème tôt et réessayer automatiquement avec un jeton frais.
-
Sécurité (iOS) : La validation s'assure que le jeton a été émis pour vos identifiants de client Google spécifiques, prévenant ainsi les problèmes de sécurité potentiels liés à l'utilisation de jetons destinés à d'autres applications.
-
Traitement des erreurs amélioréDétection des problèmes avant Supabase permet une logique de réessai automatique, essentielle pour gérer les problèmes de cache iOS de manière transparente.
Si la validation échoue, la fonction réessaye automatiquement :
- Se déconnecte de Google (efface les jetons cachés - critique sur iOS)
- Réessaye l'authentification une fois (force la génération de jeton frais avec le bon nonce)
- Si la réessai échoue également, renvoie une erreur
4. Connexion à Supabase
Section intitulée “4. Connexion à Supabase”Enfin, le jeton validé est envoyé à Supabase :
const { data, error } = await supabase.auth.signInWithIdToken({ provider: 'google', token: googleResponse.idToken, nonce: rawNonce, // Pass the raw (unhashed) nonce});Référence complète Code
Section intitulée “Référence complète Code”La mise en œuvre complète est disponible dans l' application d'exemple supabaseAuthUtils.ts fichier, qui comprend :
getUrlSafeNonce()- Génère un jeton aléatoire sécurisé pour URLsha256Hash()- Hache la chaîne avec SHA-256getNonce()- Génère un pair de jetonsdecodeJWT()- Décode le jeton JWTvalidateJWTToken()- Valide l'audience et le jeton JWTauthenticateWithGoogleSupabase()- Fonction d'authentification principale avec redémarrage automatique
Fichiers d'exemple supplémentaires
Section intitulée “Fichiers d'exemple supplémentaires”- SupabasePage.tsx - Composant d'exemple avec gestion de redirection (Web)
- SupabaseCreateAccountPage.tsx - Page de création de compte d'exemple
Étapes suivantes
Section intitulée « Étapes suivantes »Veuillez poursuivre la configuration spécifique au plateforme pour votre plateforme cible :
Continuez de Supabase Google Login - Configuration générale
Section intitulée « Continuez de Supabase Google Login - Configuration générale »Si vous utilisez Supabase Google Login - Configuration générale pour planifier l'authentification et les flux de compte, connectez-le avec En utilisant @capgo/capacitor-social-login pour la capacité native en utilisant @capgo/capacitor-social-login, @capgo/capacitor-social-login pour le détail d'implémentation en @capgo/capacitor-social-login, @capgo/capacitor-passkey pour le détail d'implémentation en @capgo/capacitor-passkey, @capgo/capacitor-native-biometric pour le détail d'implémentation en @capgo/capacitor-native-biometric, et Authentification à deux facteurs pour le détail d'implémentation en Authentification à deux facteurs.