


本文将指导您如何使用GitLab设置CI/CD管道。
前言
Be sure you have added your Capacitor app first to Capgo, this tutorial just focuses on the upload phase. If you need to add your app to Capgo, you can follow this 教程.
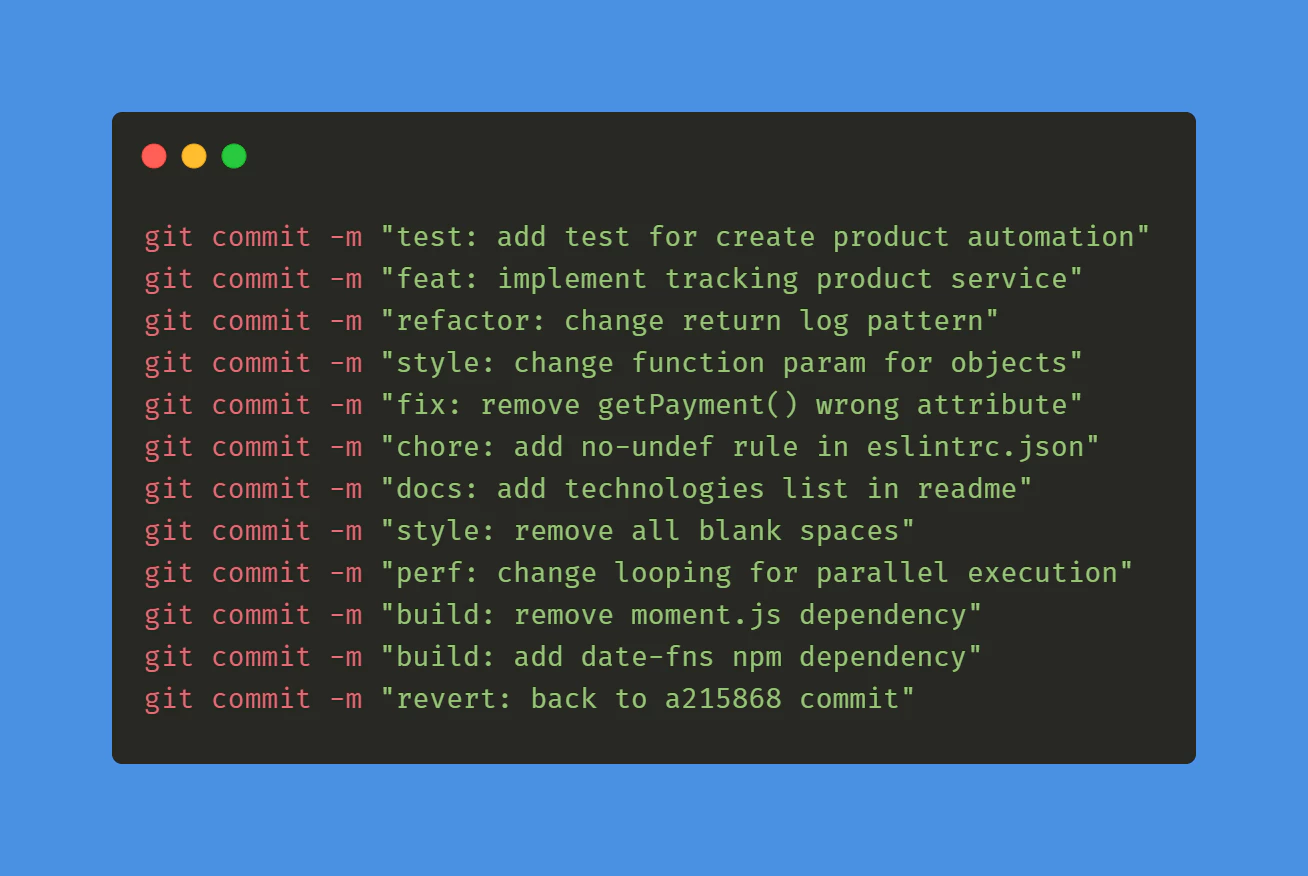
提交约定
首先需要遵循提交规范 规范提交 ` 这将有助于工具了解如何升级版本号,学习它只需5分钟。
GitLab CI/CD for Tag
在您的 GitLab 仓库根目录下创建一个 .gitlab-ci.yml 文件,内容如下
 stages:
      - tag

 bump_version:
   stage: tag
   only:
     - main
  except:
    variables:
  - $CI_COMMIT_MESSAGE =~ /^chore\(release\):/
  script:
   - git config --global user.email "gitlab@yourdomain.com"
   - git config --global user.name "GitLab CI/CD"
   - git checkout $CI_COMMIT_REF_NAME
   - git pull origin $CI_COMMIT_REF_NAME
   - npx capacitor-standard-version
   - git push origin $CI_COMMIT_REF_NAME --tags
Replace “GitLab CI/CD for Build在 .gitlab-ci.yml 文件中添加另一个阶段:
确保您已在 GitLab 项目中添加了 __CAPGO_KEEP_0__ __CAPGO_KEEP_1__ 键(__CAPGO_KEEP_2___TOKEN)作为 CI/CD 变量。前往您的项目,在 GitLab 中,导航到设置 > CI/CD > 变量,添加一个名为 __CAPGO_KEEP_3___TOKEN 的变量,并将其值设置为 __CAPGO_KEEP_4__ 键值。
在您的 .gitlab-ci.yml 文件中添加另一个阶段:构建
    stages:
      - deploy

   deploy:
     stage: deploy
     only:
       - tags  # This job will only run for tag pushes
     script:
       - apt-get update -qy && apt-get install -y nodejs npm
       - npm install -g @capgo/cli
       - npm ci
       - npm run build
       - npx @capgo/cli bundle upload -a $CAPGO_TOKEN -c production
     variables:
       FIREBASE_CONFIG: $FIREBASE_CONFIG  # Define this in your GitLab project settings
     environment:
       name: production
确保您已在 GitLab 项目中添加了 Capgo API 键(CAPGO_TOKEN)作为 CI/CD 变量。前往您的项目,在 GitLab 中,导航到设置 > CI/CD > 变量,添加一个名为 CAPGO_TOKEN 的变量,并将其值设置为 API 键值。
根据您的项目的具体构建过程,自定义构建脚本,例如修改npm构建命令。
结论
我们做到了!我们在技术之旅中又迈出了一个步伐。在现代软件开发中,CICD是一个不可或缺的因素。因此,我希望这份指南对每个人都有所帮助。
继续阅读:GitLab自动化构建和发布应用
如果您正在使用 GitLab自动化构建和发布应用 与__CAPGO_KEEP_0__ CI/CD 连接Capgo CI/CD 为产品工作流程在Capgo CI/CD中 Capgo 原生构建 为产品工作流程在Capgo原生构建中 Capgo 原生构建 为Capgo产品工作流程中的集成 CI/CD集成 为CI/CD集成的实现细节, GitHub动作集成 为GitHub动作集成的实现细节,





