A web-layer bug in a Capacitor app can often be fixed without asking users to install a new store build. OTA update software sends eligible changes to the app’s web bundle while its native shell stays in place. I’ll walk you through a release path that starts with QA, moves through a controlled rollout, and includes checks for failures.
We analyzed 69 comments and questions from YouTube, Quora and Reddit about OTA Update software and found that 36% asked about implementation details.
Table of Contents
- Step 1: Confirm Which App Changes Can Ship Over the Air
- Step 2: Set Up Channels for QA, Beta, and Production
- Step 3: Connect OTA Update Software to CI/CD and Deploy
- Step 4: Protect Releases With Rollback and Security Checks
- Step 5: Track Adoption and Improve the Next Rollout
- FAQ
- Conclusion
Step 1: Confirm Which App Changes Can Ship Over the Air
First, sort each planned change into the web layer or the native layer. That choice tells you whether an over-the-air release fits or whether you need a new app build.
In a Capacitor app, the web layer holds the HTML, CSS, JavaScript, and assets shown inside the WebView. OTA updates can replace that bundle. A JavaScript bug fix, a screen layout change, or a text correction may fit this path, as long as the change stays within your app’s existing purpose.
The native layer is different. It includes compiled iOS or Android code, native settings, permissions, and plugins that connect to device features. Adding a plugin or changing a permission needs a new native build and the usual store release path. Don’t try to work around that boundary with a web bundle.
Before you deploy, make a small release checklist. Note the files changed, the installed app versions that can run the bundle, and whether the update depends on a native plugin already in those builds. If the bundle calls a plugin that isn’t in the installed app, users may hit a broken feature or an error.
Store rules also set limits on what a live update can change. For a closer look at those limits, use this guide to app-store-compliant OTA updates as part of your release review.
OTA has a wider meaning in other fields. A connected car may receive firmware for an electronic control unit through a cloud connection, Wi-Fi, or cellular service. A small device may receive firmware over Wi-Fi or Bluetooth Low Energy. Those releases can involve bootloaders, storage limits, power checks, and a recovery image. A Capacitor web bundle is not the same as embedded firmware, and its rollout plan should match the app layer you’re changing.
Key Takeaway: Use a live update for eligible web-layer changes. Build and submit a new native app when the change touches compiled code, plugins, or permissions.
Step 2: Set Up Channels for QA, Beta, and Production
A channel is a named path that tells an installed app which bundle it can receive. Set up separate channels before your first live release, so a QA build can’t accidentally receive a production bundle.
Start with a simple map. Use a QA channel for internal checks, a beta channel for a limited test group, and a production channel for the wider user base. Keep the purpose of each channel clear in your team’s release notes and deployment settings.
Next, assign the right app builds to the right channels. The installed app must be configured to listen to the intended channel. Verify this on test devices before you upload a bundle. If your QA build listens to production, a production release could reach testers before your checks are complete.
Keep each channel tied to a known review step. For example, QA can confirm that key screens load and that a sign-in flow still works. Beta testers can check the change in a broader range of app use. Only then should you send the release to production.
Capgo supports channel-based releases for QA, beta, and production. Its rollout controls can send a new bundle to a share of devices while other users remain on a stable fallback. If you’re defining audience groups and release gates, this channel-based rollout guide can help shape the workflow.
Pick a small initial cohort that your team can observe. Agree on what would stop the rollout before you publish, such as a rise in failed updates or a broken sign-in path. A clear stop rule prevents a rushed decision when the first warning appears.
Step 3: Connect OTA Update Software to CI/CD and Deploy
CI/CD connects code changes to repeatable build and release tasks. Set it up so the same tested bundle is built, checked, and sent to the channel you intended.
Start by choosing the event that should begin an OTA deployment. A team might use a merge to a release branch, a version tag, or a manual approval in the pipeline. Pick a trigger that matches your review process. Don’t let every change on a development branch publish to production.
Then add the required credentials to your CI/CD secret store. Keep deployment keys out of source files and build logs. Limit access to the people and jobs that need it, and rotate credentials if they’re exposed.
Make the pipeline build the web assets before it uploads a bundle. Add checks that catch failed builds and incompatible native dependencies. If your release requires a native plugin that isn’t in the installed app, stop the OTA job and prepare a native build instead.
With Capgo, the CLI supports a one-command deployment flow. Build your app’s web assets, then run the configured deployment command from a local terminal or CI/CD job. Set the target channel deliberately, and keep the command and its options in version control so a teammate can review the release path.
Run the first deployment against QA. Open the app on a test device and confirm that it checks for the bundle, downloads it, and shows the intended change after the update is applied. Save the bundle version and channel in your release record. That detail helps the team trace a report back to the exact rollout.
If you’re comparing setup patterns before wiring the pipeline, this OTA updates SaaS setup guide covers channels, rollback planning, analytics, and CI/CD as parts of one release workflow.
Pro Tip: Make production deployment require an approval step. The same automation can build and upload a release, while a person still confirms the target channel and rollout plan.
Once QA passes, promote the release through your planned stages. Keep the tested bundle unchanged between stages, so production users receive the same artifact your team approved.
Step 4: Protect Releases With Rollback and Security Checks
A release plan needs a recovery path before the first user gets the bundle. Decide who can pause a rollout, how the team will restore a stable version, and which signals count as a failure.
First, verify bundle integrity. Code signing lets an app check that an update came from a trusted source and wasn’t changed in transit. Keep the signing key in a restricted secret store. The app should verify the update before it activates it.
Also check the bundle against the native app that will run it. A web update can still fail if it calls native code that the installed shell doesn’t include. Review plugin and native dependency changes before upload, then test the bundle on the oldest app version you plan to support.
Set a rollback rule before deployment. A simple plan names the stable bundle, the person allowed to pause the rollout, and the steps to restore the prior version. Capgo keeps devices outside a staged rollout on a stable fallback and auto-pauses the rollout when the failure rate crosses a set threshold, with a minimum sample size. That pause can limit further exposure while the team checks what failed.
Auto-pause and rollback are different actions. A pause stops more devices from receiving the new release; rollback returns affected devices to a working bundle. Know which control your workflow uses, and test the recovery path before a production incident.
For sensitive update systems, signatures and encryption address different risks. A signature helps verify who published the bundle and whether it changed. Encryption protects bundle contents while they travel or sit in storage. Use HTTPS for delivery, protect signing keys, and don’t treat encryption as a replacement for app-level checks.
When an update can affect a safety-sensitive system, such as vehicle firmware, teams need a separate validation and fail-safe plan. Consider power loss, weak connectivity, and limited storage before activation. A Capacitor web release does not replace firmware safety testing or any compliance process that applies to an embedded system.
Step 5: Track Adoption and Improve the Next Rollout
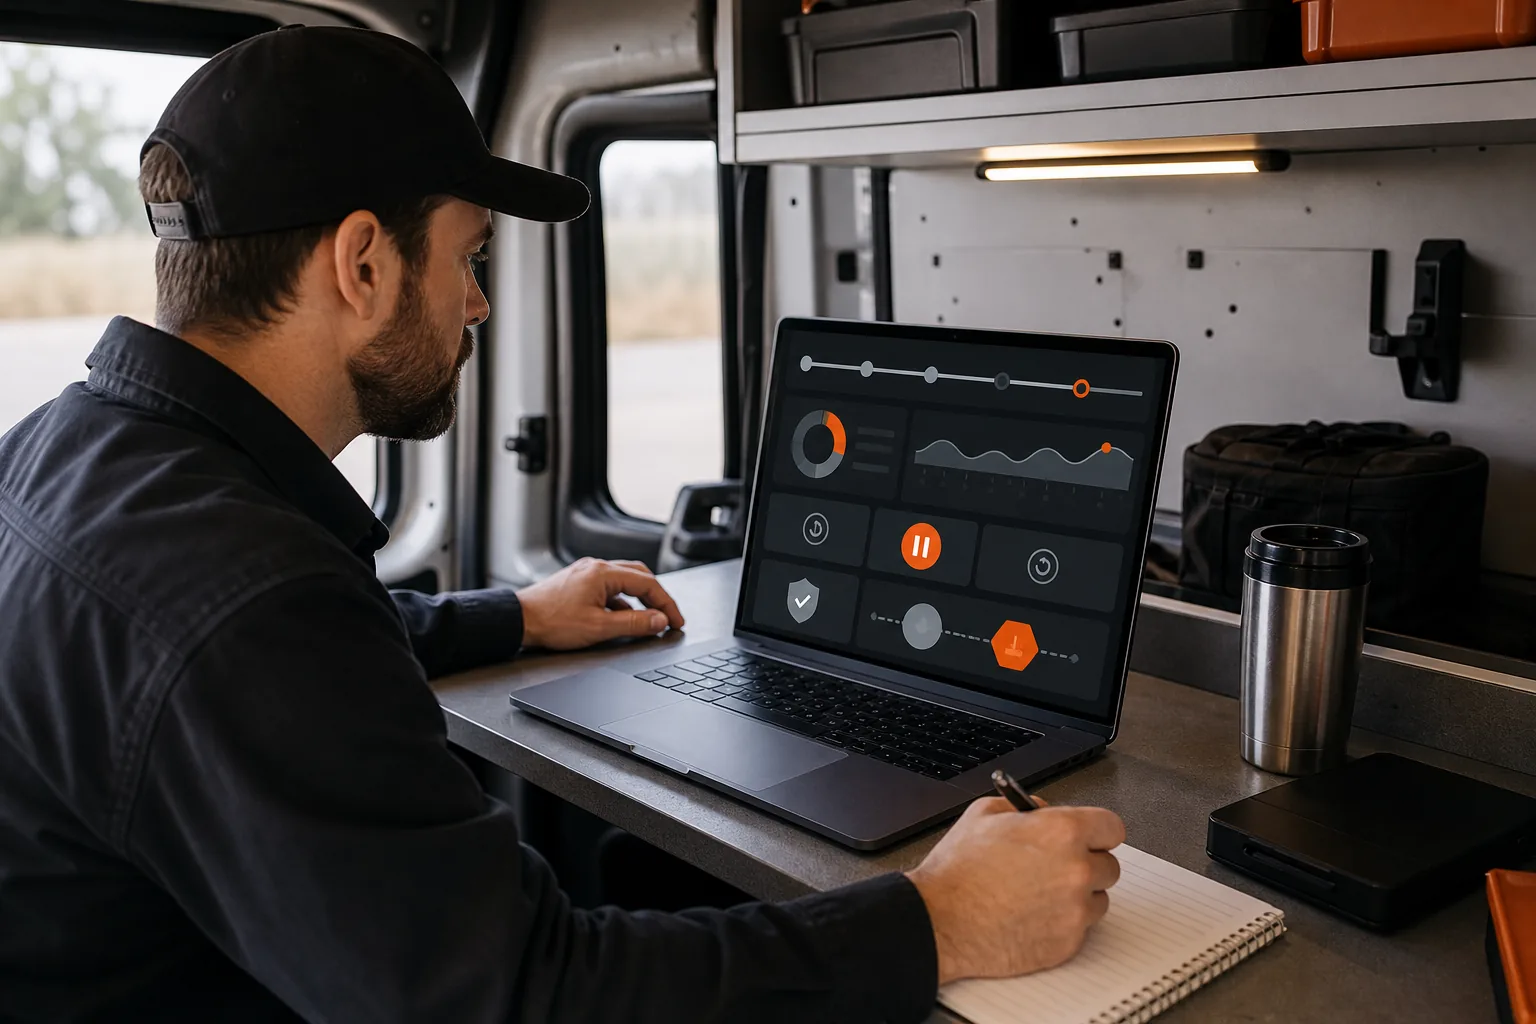
A deployment isn’t finished when the upload succeeds. Check what happens on devices, then use those results to decide whether to continue, pause, or restore the earlier bundle.
Track the release by version and channel. Watch downloads, installs, failed attempts, adoption, and success rate. Look at the device and app version where a failure happened. A high install count alone doesn’t prove the new bundle started cleanly.
Capgo’s Observe view tracks installs, failed attempts, adoption, and success rate for a specific version and channel in five-minute buckets. It can also flag a channel serving a bundle whose native packages differ from the installed app’s build, then identify the blocking packages and show a dependency diff.
Use those signals with a defined decision rule. If the failure rate stays within your agreed range, move the rollout to the next group. If it crosses your threshold, pause and inspect the affected version and channel. Don’t expand the rollout while the cause is still unclear.
Keep a short release note with the change, target audience, starting cohort, and outcome. Add the key issue and the action taken if the rollout paused. This makes the next on-call handoff easier, especially when support reports a problem after the original release owner has signed off.
Analytics also help you see the cost of a blind rollout. Without adoption and failure signals, you may know that a bundle was uploaded but not whether users received it or whether it started correctly. For more detail on release signals, see the real-time app update analytics guide.
After the rollout, review the result with engineering and support. Note whether the cohort size was useful, whether the stop rule caught problems, and whether the recovery steps were clear. Change one part of the process at a time. That keeps the next release easier to assess.
Key Takeaway: Track each release by bundle version and channel, then use the agreed failure threshold to pause or continue.
FAQ
What can a Capacitor app update over the air?
A Capacitor app can update eligible web-layer files over the air, including HTML, CSS, JavaScript, and assets. The native shell stays in place. If a change adds a plugin, changes a permission, or alters compiled iOS or Android code, prepare a new native app build and submit it through the usual store process.
Do OTA updates need app store review?
Eligible web-layer updates can reach users without a new store submission, as long as they follow the app stores’ rules and stay within the app’s approved scope. Native code and permission changes need a new app binary. An OTA update must stay within the app’s purpose.
How should I test an OTA release before production?
Send the bundle to a QA channel first. Test it on the app versions you plan to support, then confirm key screens and native plugin calls still work. Move the same tested bundle to beta if you use a wider test group. Start production with a limited cohort and a clear pause threshold.
Does Capgo support staged rollouts and monitoring?
Yes. Capgo supports serving a bundle to a percentage of devices while other devices stay on a stable fallback. Its Observe view tracks installs, failed attempts, adoption, and success rate by version and channel in five-minute buckets. Capgo also auto-pauses a rollout when its failure rate crosses a set threshold.
Conclusion
Keep OTA releases limited to compatible web-layer changes, route them through QA and production channels, and set a recovery rule before rollout. Capgo can put the bundle deployment and release signals in one workflow. Start its 14-day free trial, then send a test bundle to QA before you connect production.