Configurazione del login Google
Introduzione
Section titled “Introduzione”In questa guida vedrai come configurare il login Google con Capgo Social Login. Per completare la configurazione ti servirà:
- Un account Google
Configurazione generale
Section titled “Configurazione generale”In questa sezione configurerai la schermata di login mostrata da Google.
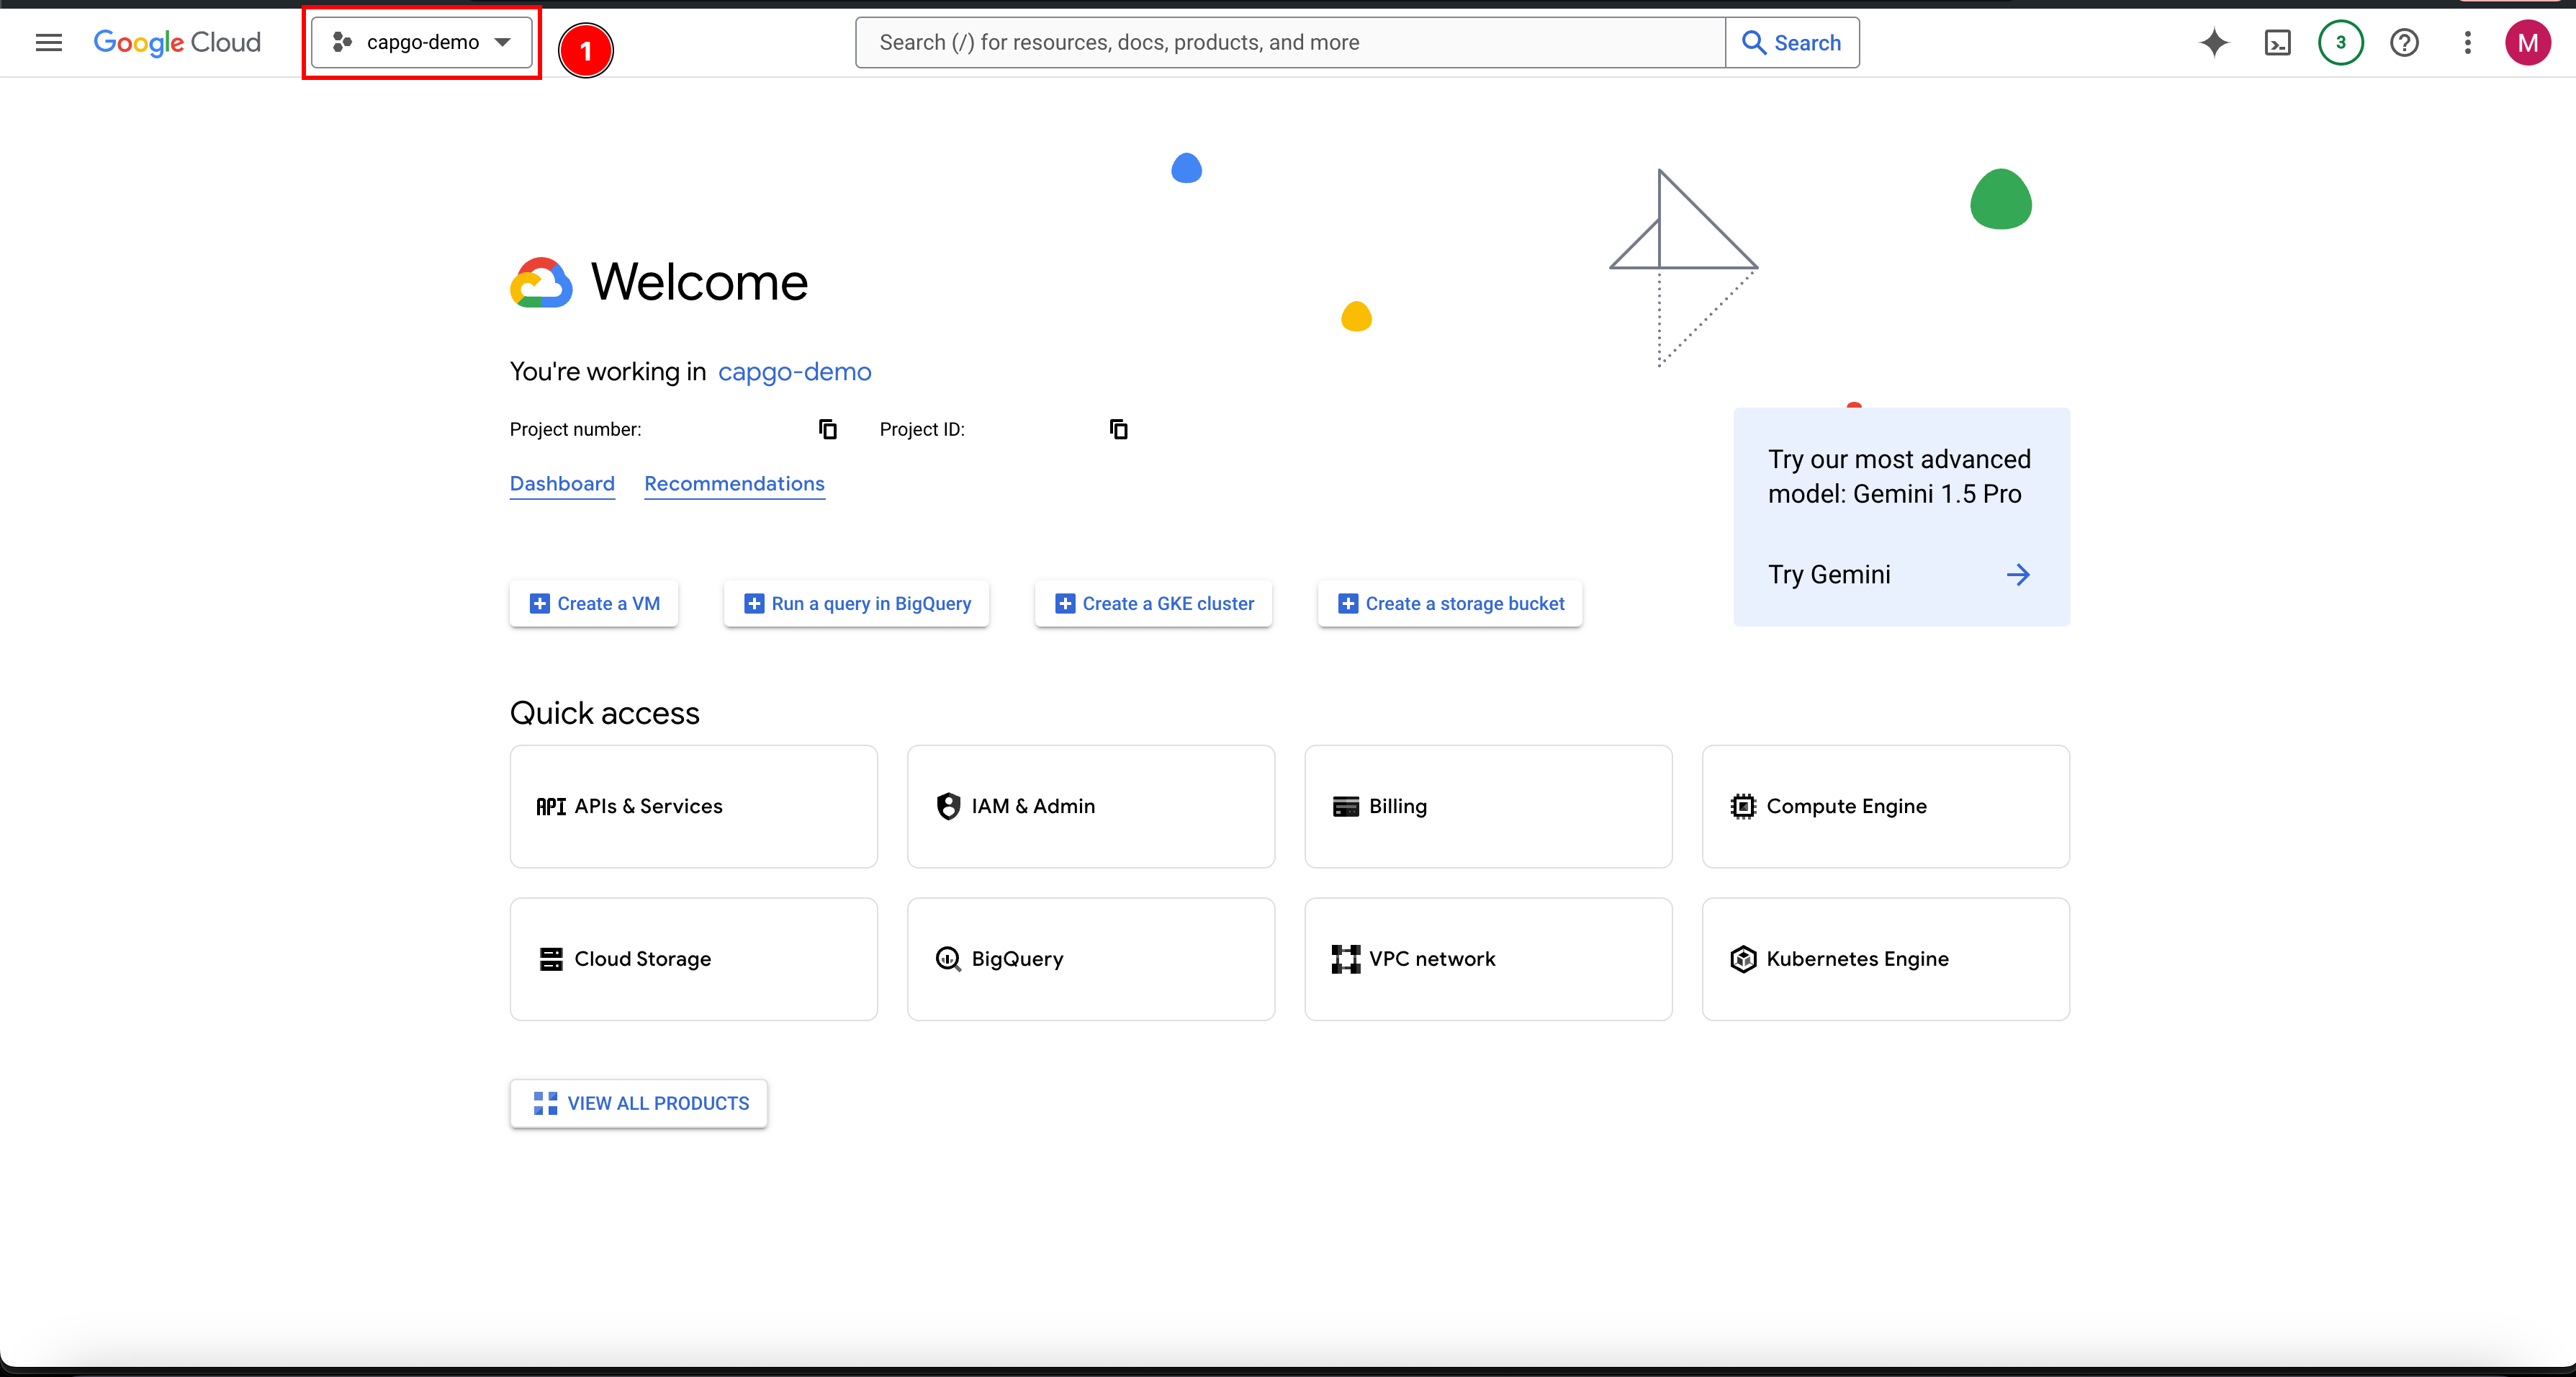
- Vai su console.cloud.google.com
- Fai clic sul selettore del progetto
- Se non hai ancora un progetto, creane uno nuovo.
- Fai clic su
New project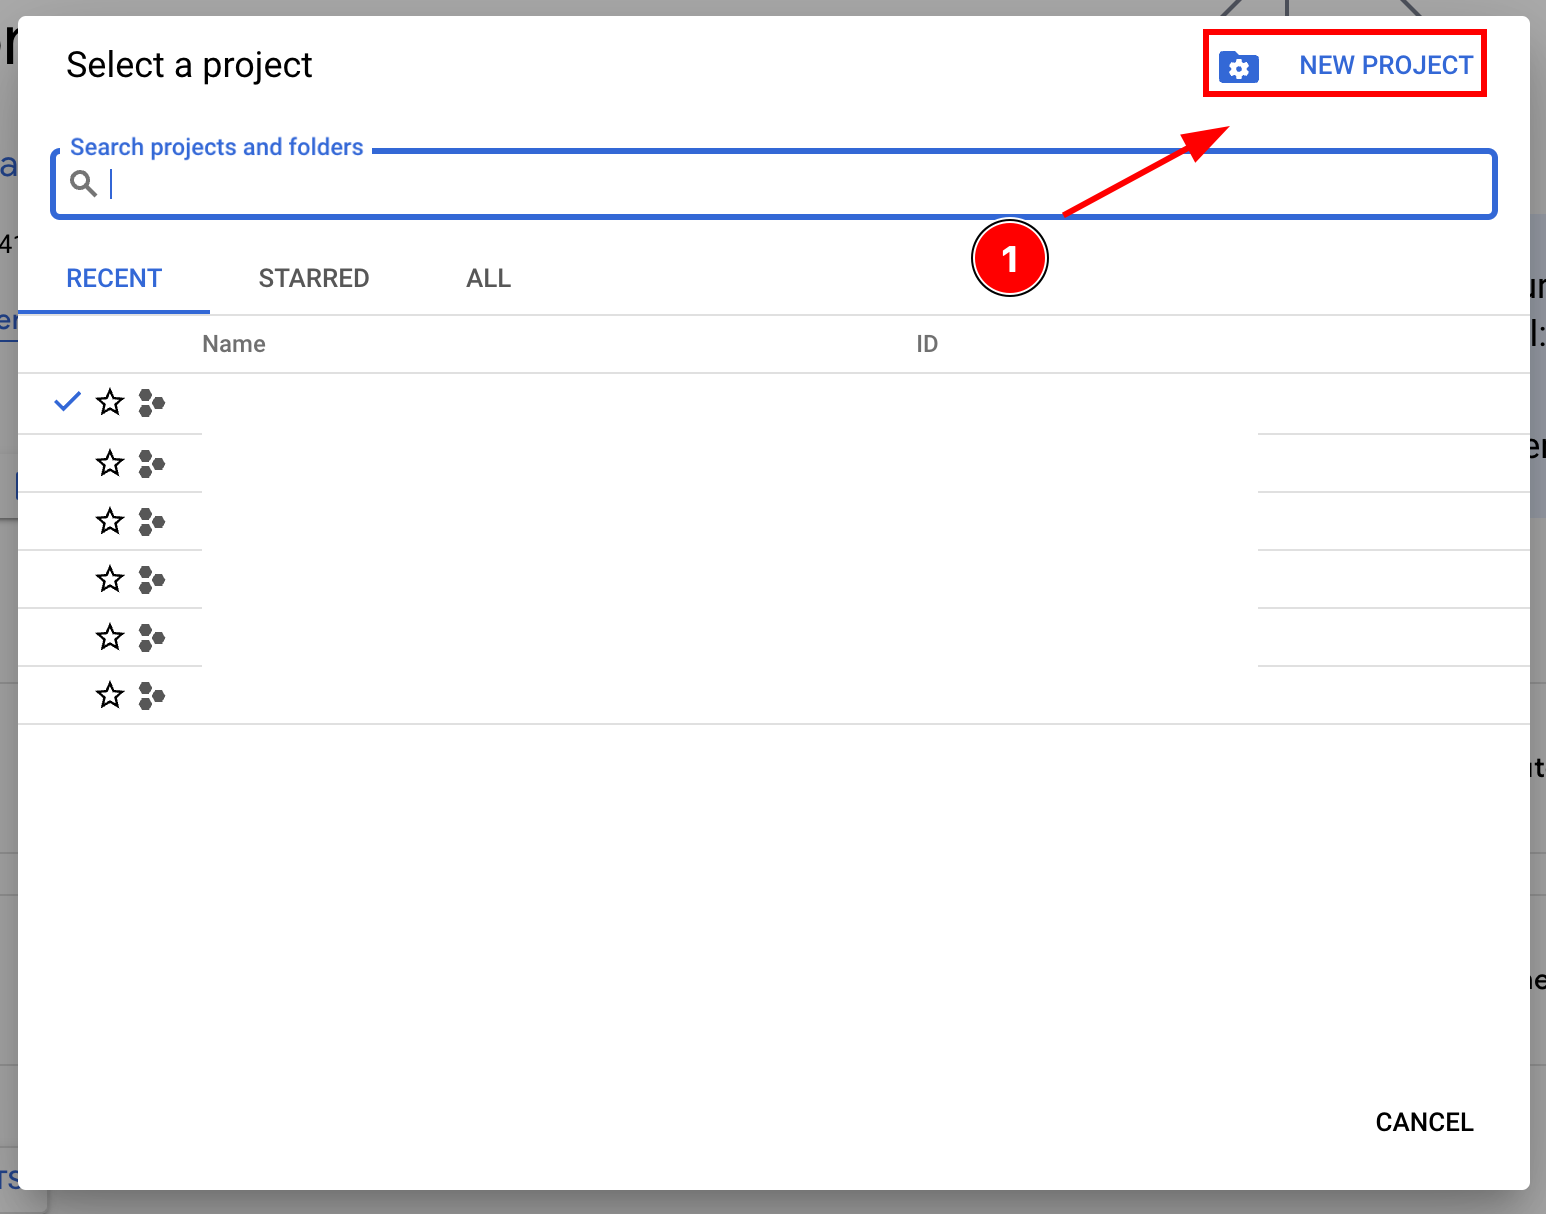
- Assegna un nome al progetto e fai clic su
Create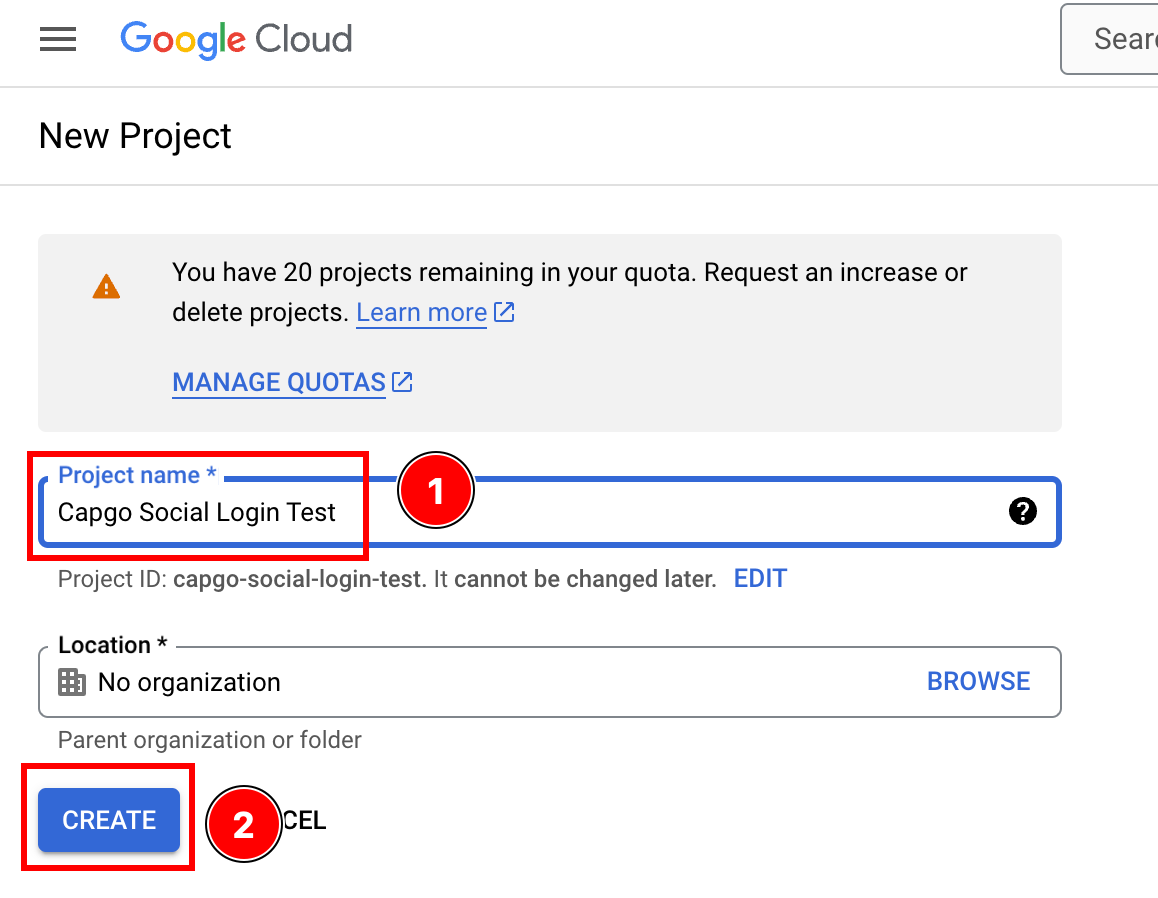
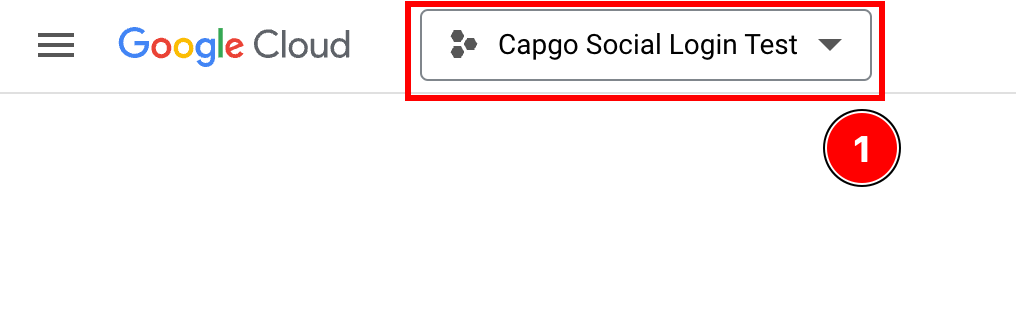
- Assicurati di essere nel progetto corretto
- Fai clic su
- Inizia la configurazione di
OAuth consent screen-
Fai clic sulla barra di ricerca

-
Cerca
OAuth consent screene fai clic sul risultato
-
Configura la schermata di consenso
Fai clic su
Create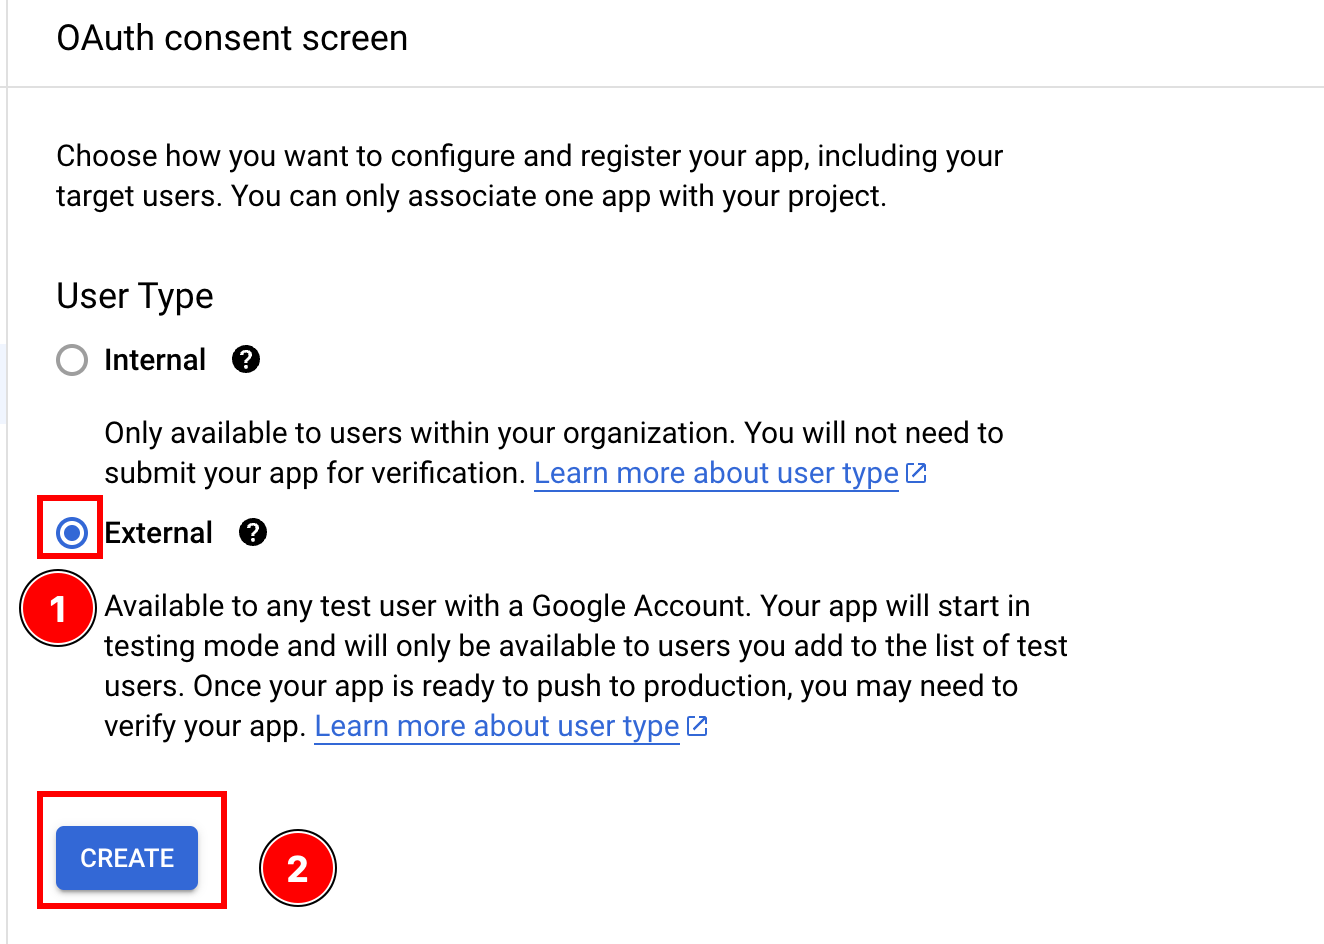
-
- Compila le informazioni sulla tua app
-
Inizia da
App Information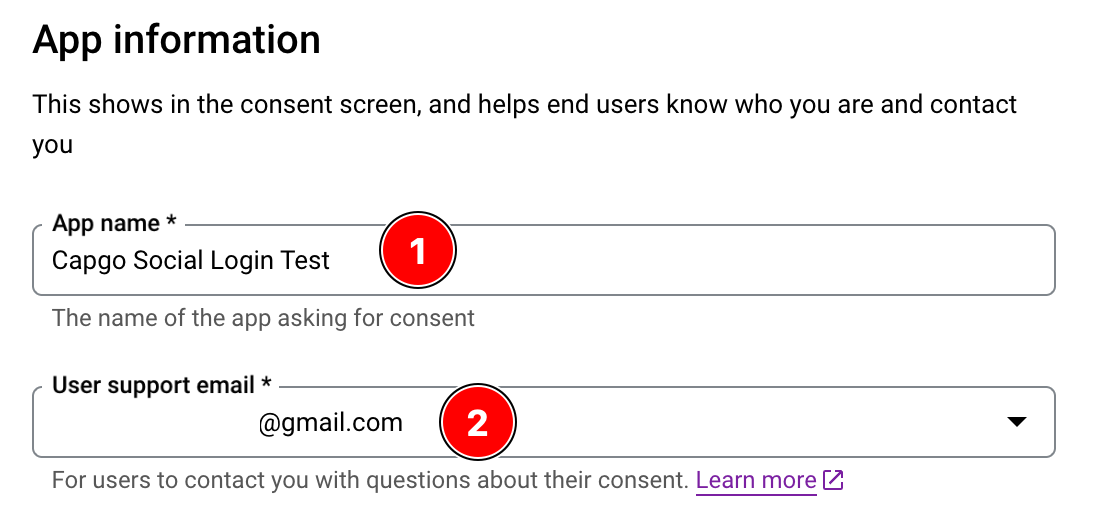
- Inserisci il tuo
App Name - Inserisci la
User support email
- Inserisci il tuo
-
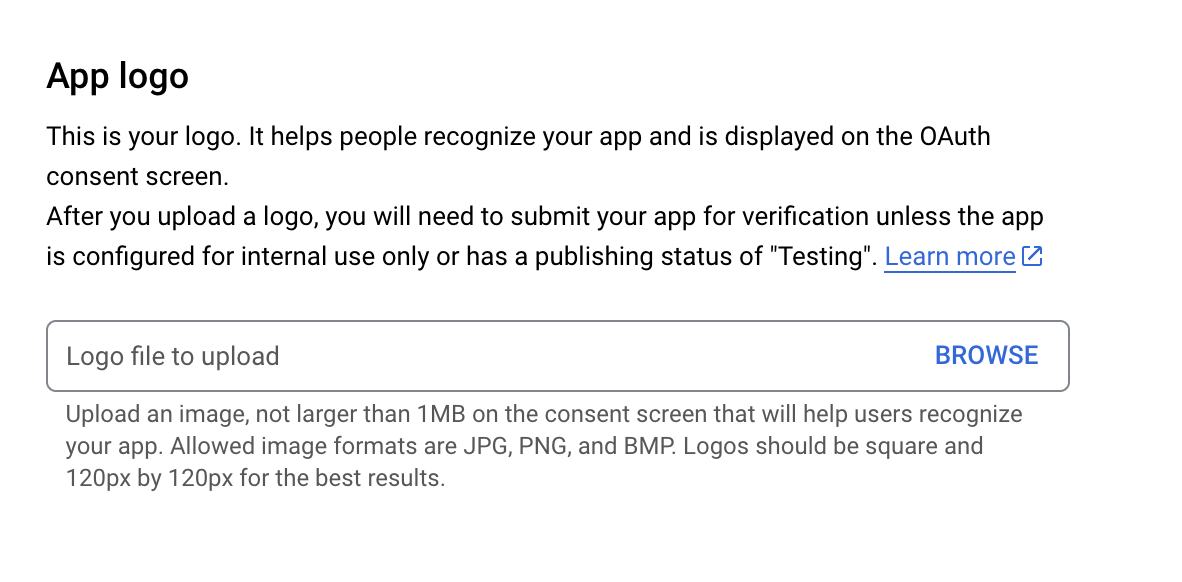
Puoi aggiungere il logo dell’app
-
Dovresti configurare
App domain
-
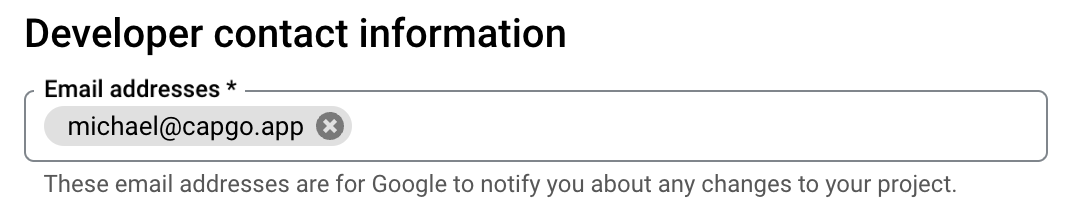
Devi fornire l’email dello sviluppatore
-
Fai clic su
Save and continue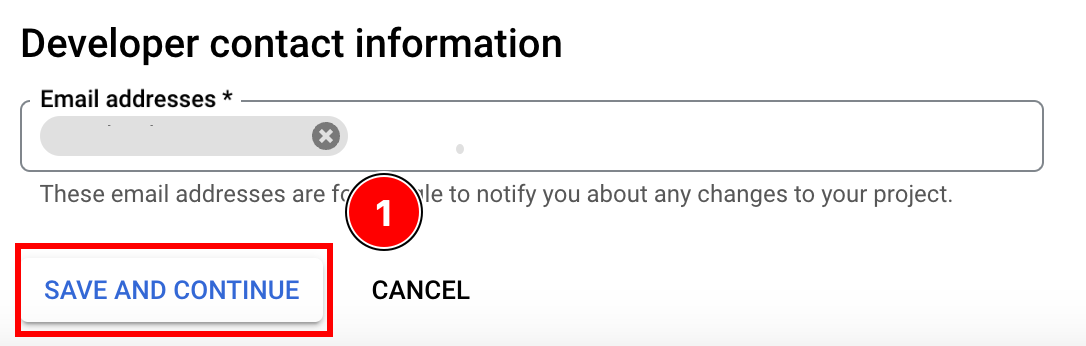
-
- Configura gli scope
- Fai clic su
Add or remove scopes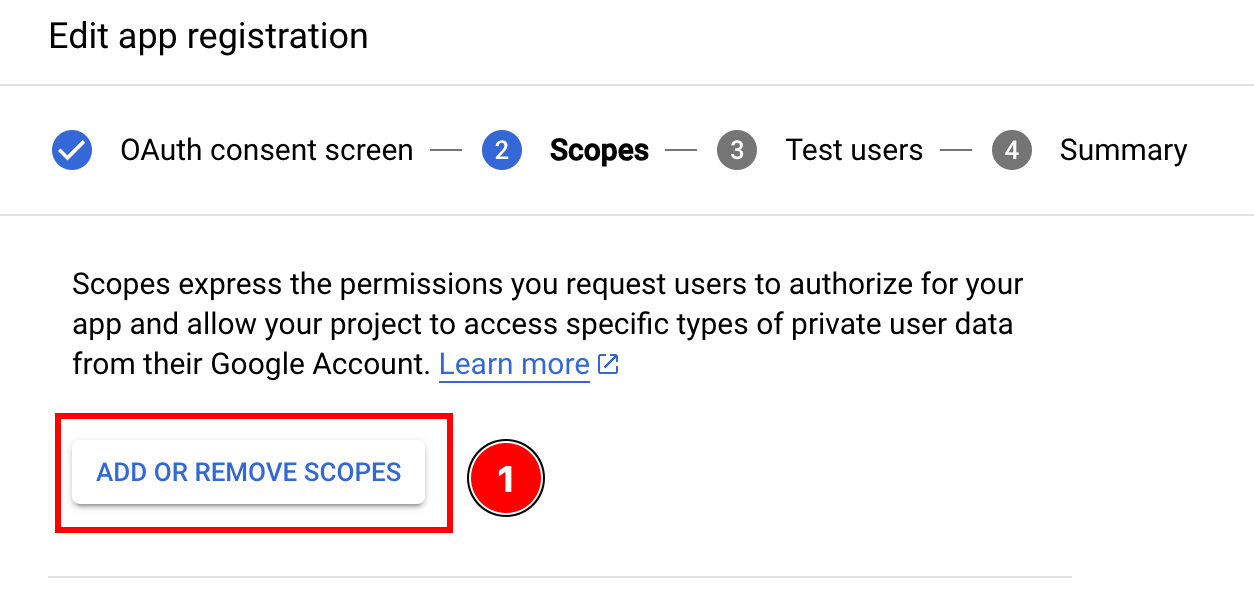
- Seleziona i seguenti scope e fai clic su
Update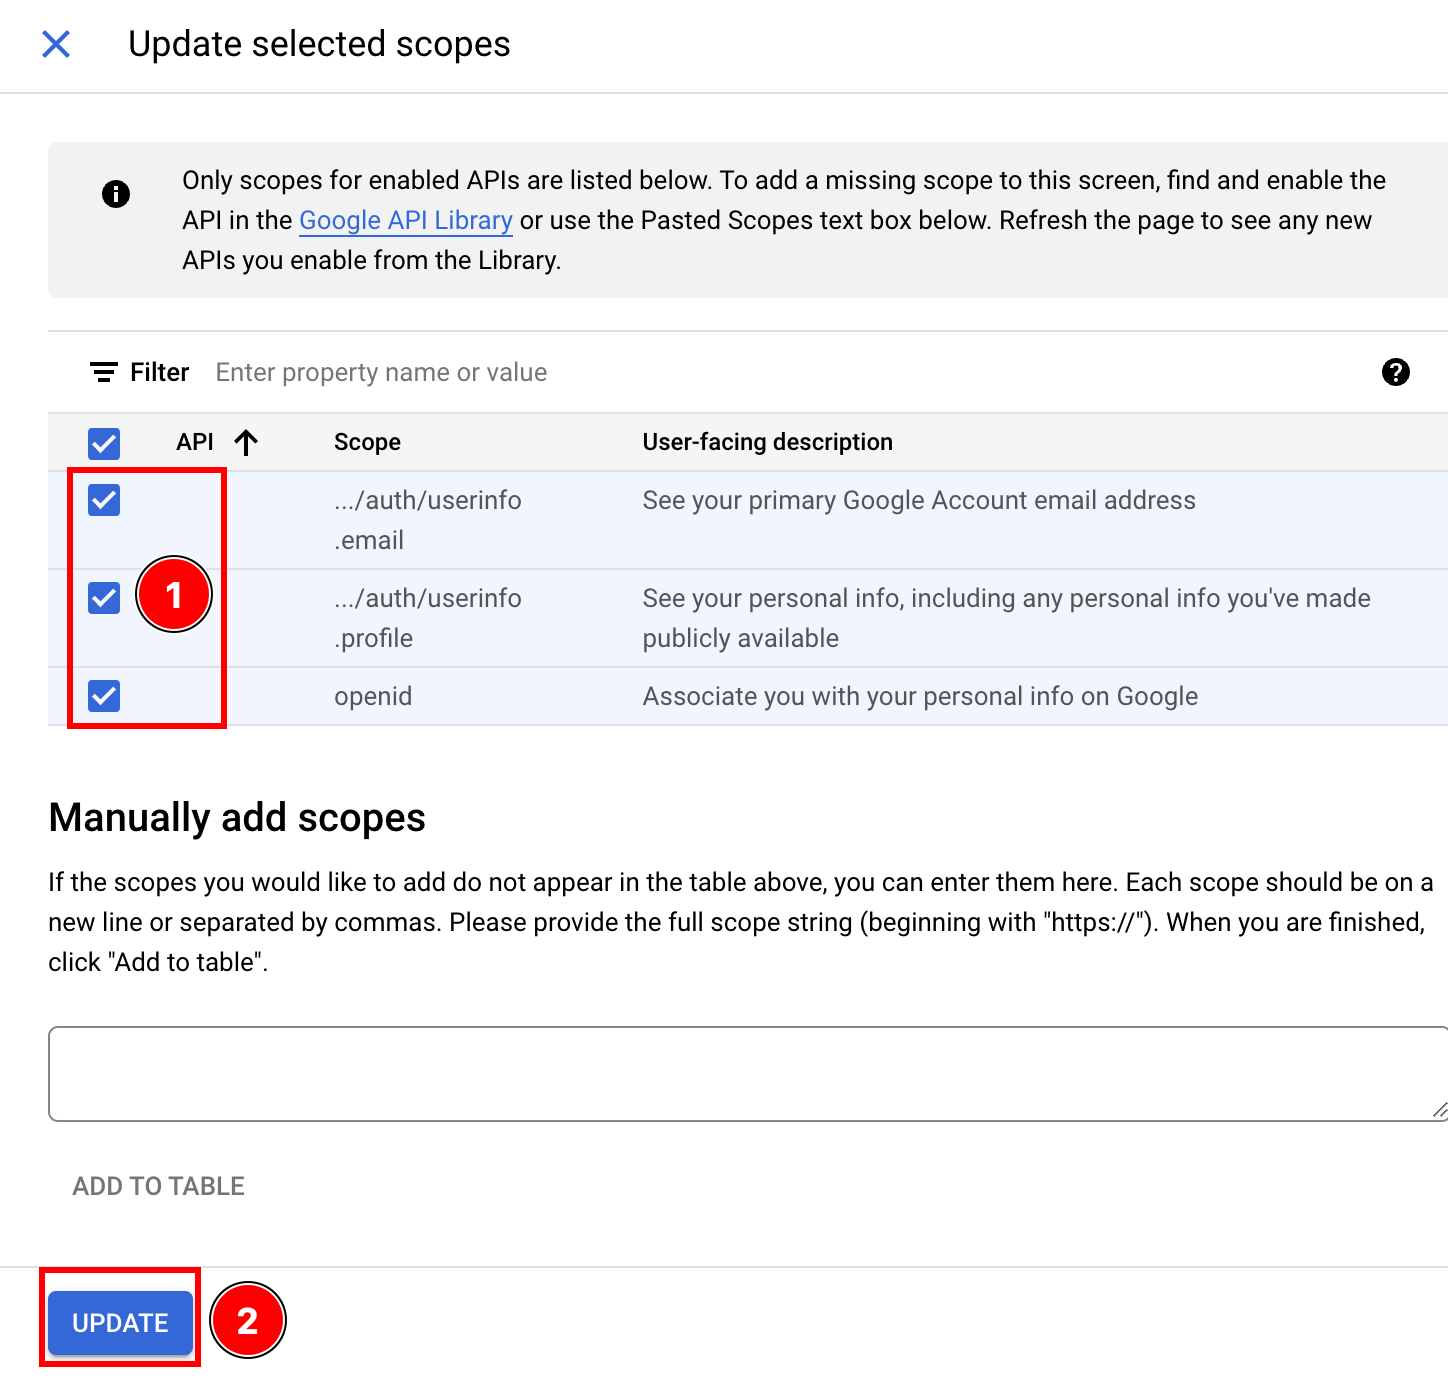
- Fai clic su
Save and continue
- Fai clic su
- Aggiungi un utente di test
- Fai clic su
Add users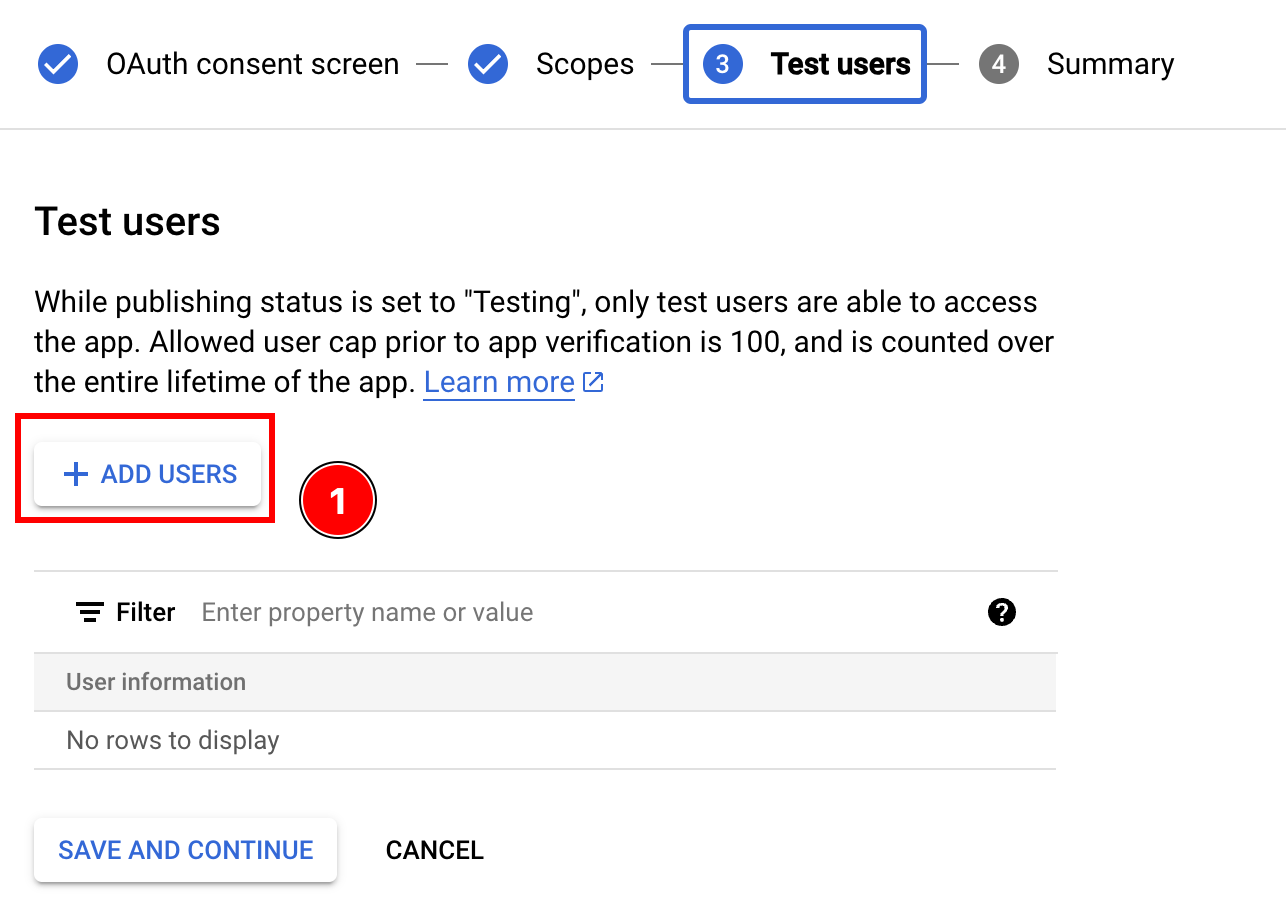
- Inserisci il tuo indirizzo Gmail, premi Invio e fai clic su
Add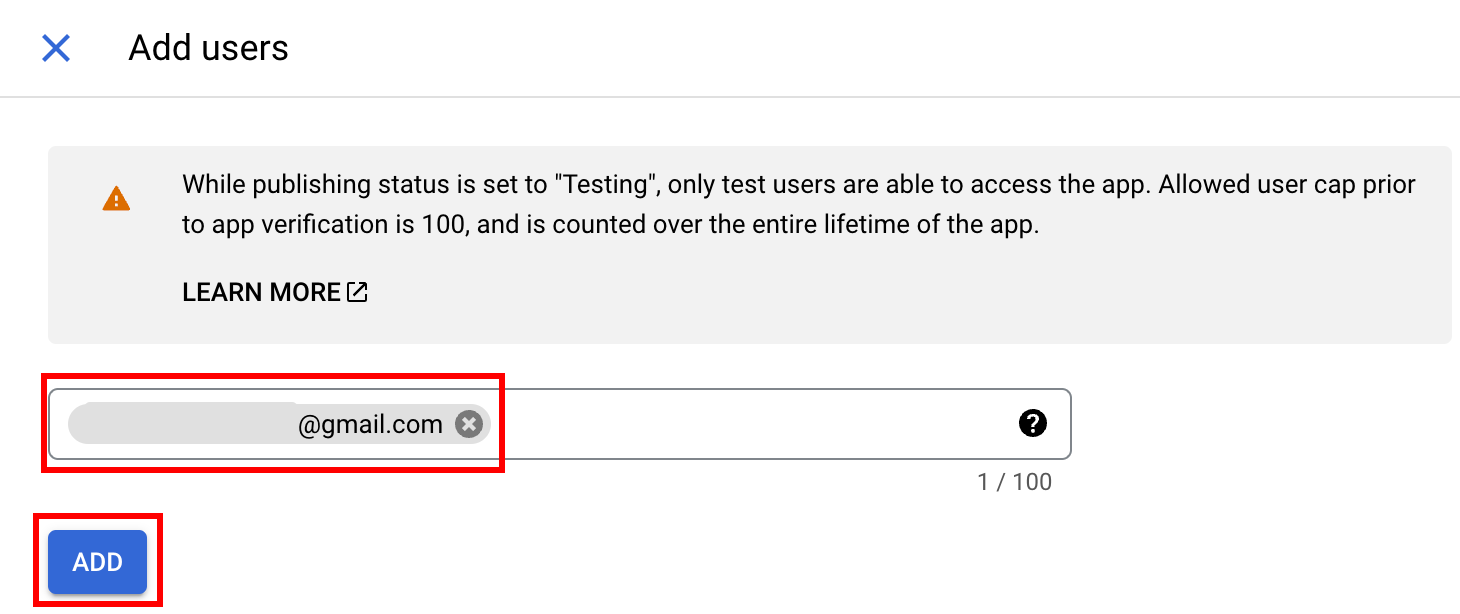
- Fai clic su
Save and continue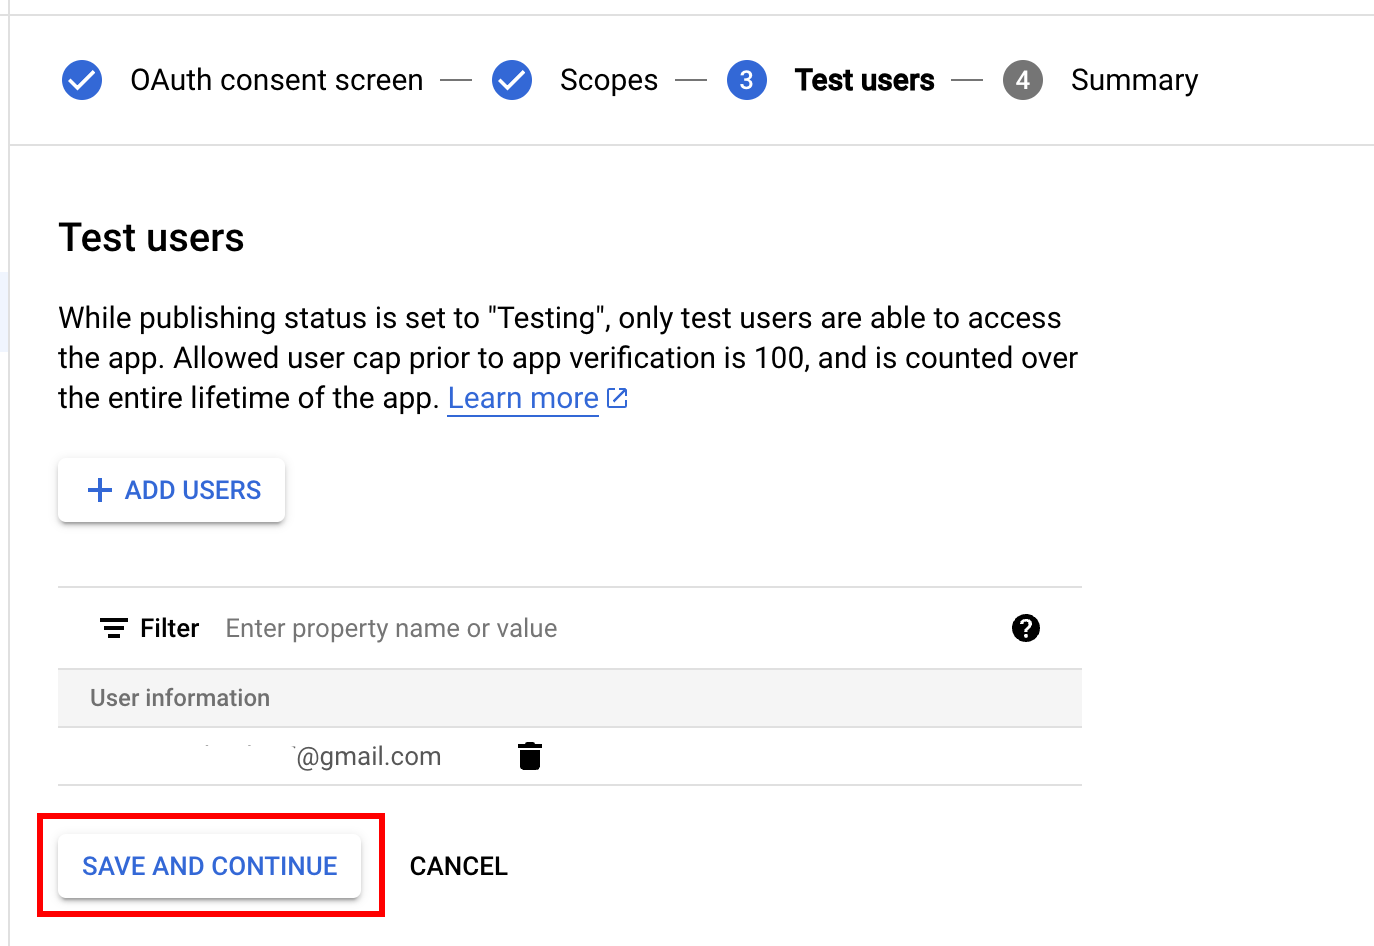
- Fai clic su
- Fai clic su
Back to dashboard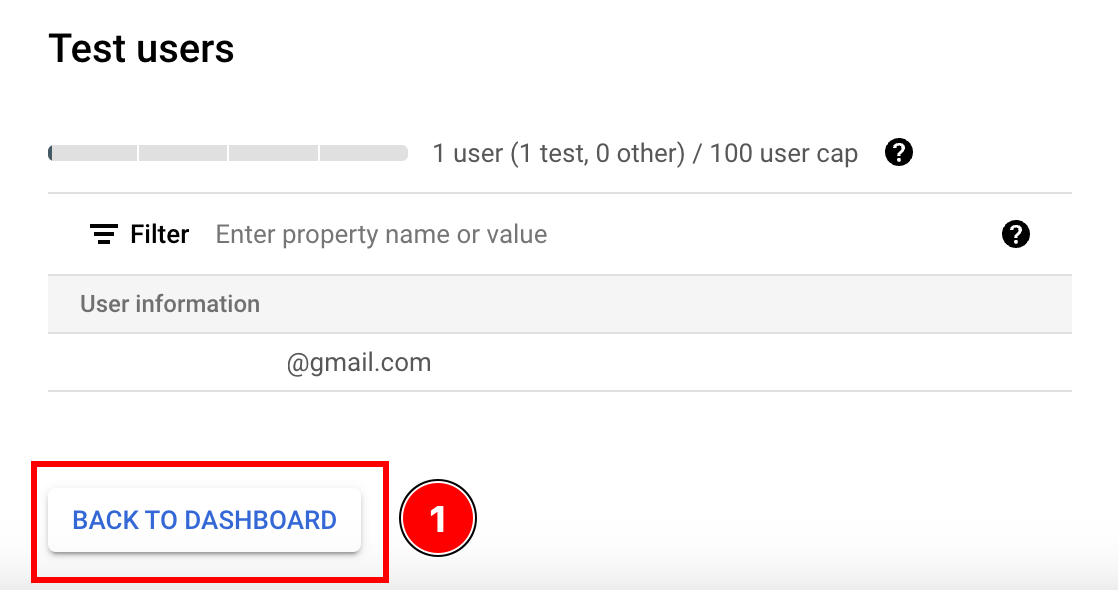
- Invia l’app per la verifica
Differenze tra accesso online e accesso offline
Section titled “Differenze tra accesso online e accesso offline”Esistono diversi modi per usare il login Google con Capacitor. La tabella seguente riassume le differenze principali:
| Accesso online | Accesso offline | |
|---|---|---|
| Richiede un backend | ❌ | ✅ |
| Token di lunga durata | ❌ | ✅ |
| Configurazione semplice | ✅ | ❌ |
Se non sai ancora quale modalità scegliere, considera questi scenari:
-
Vuoi far effettuare il login all’utente e subito dopo emettere un JWT personalizzato. La tua app non chiamerà le API Google.
In questo caso, scegli l’accesso online.
-
La tua app chiamerà alcune API Google dal client, ma mai dal backend.
In questo caso, scegli l’accesso online.
-
La tua app chiamerà alcune API Google dal backend, ma solo mentre l’utente sta usando attivamente l’app.
In questo caso, scegli l’accesso online.
-
La tua app controllerà periodicamente il calendario dell’utente anche quando non sta usando attivamente l’app.
In questo caso, scegli l’accesso offline.
Un backend di esempio per l’accesso online
Section titled “Un backend di esempio per l’accesso online”In questa parte del tutorial vedrai come validare l’utente sul tuo backend.
L’esempio è volutamente semplice ed è basato sulle seguenti tecnologie:
Puoi trovare il codice di questo esempio qui.
Come puoi vedere:
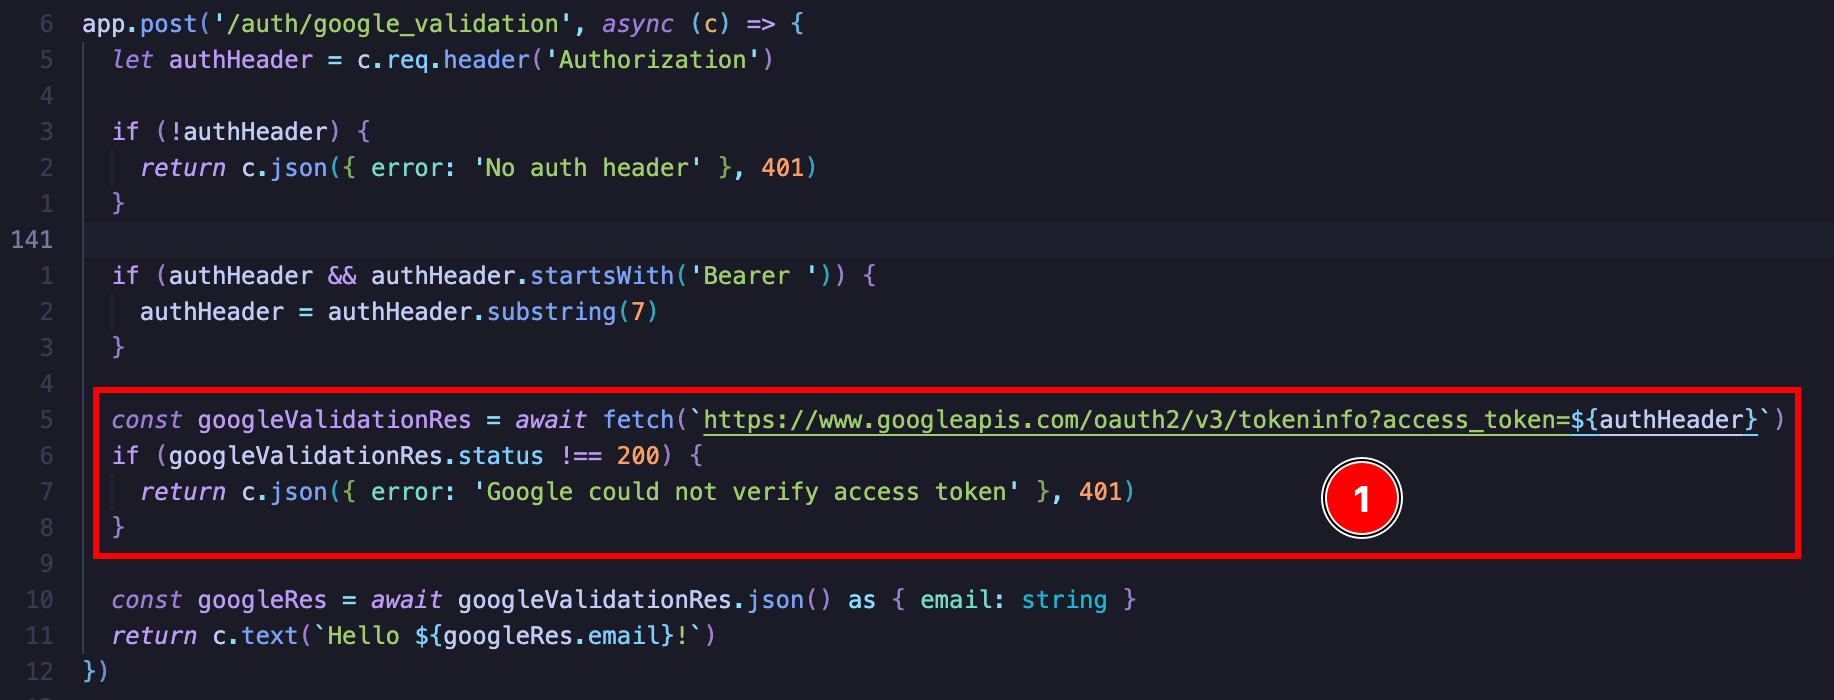
L’idea è molto semplice. Invi una richiesta GET a
https://www.googleapis.com/oauth2/v3/tokeninfo e Google ti restituisce se il
token è valido oppure no. Se è valido, la risposta include anche l’email
dell’utente e altre informazioni sul token.

Da lì puoi emettere il tuo JWT oppure creare una sessione tramite cookie. Per l’implementazione finale dell’autenticazione, le possibilità sono molte.
Se vuoi chiamare le API Google, ti consiglio di usare Google’s OAuth 2.0 Playground. Ti permette di vedere facilmente quali API puoi chiamare.
Utilizzare l’accesso offline con il tuo backend
Section titled “Utilizzare l’accesso offline con il tuo backend”Per utilizzare l’accesso offline ti servirà:
- Un server HTTP
In questo esempio userò le seguenti tecnologie per fornire l’accesso offline nella mia app:
- Hono
- Hono Zod validator
- Zod
- Hono JWT
- LowDb (un database semplice)
Il codice completo di questo esempio è disponibile qui.
Per quanto riguarda il codice client, si presenta così:
import { Capacitor } from '@capacitor/core';import { GoogleLoginOfflineResponse, SocialLogin } from '@capgo/capacitor-social-login';import { usePopoutStore } from '@/popoutStore'; // <-- specific to my app
const baseURL = "[redacted]";
async function fullLogin() {  await SocialLogin.initialize({    google: {      webClientId: '[redacted]',      iOSClientId: '[redacted]',      iOSServerClientId: 'The same value as webClientId',      mode: 'offline' // <-- important    }  })  const response = await SocialLogin.login({    provider: 'google',    options: {      forceRefreshToken: true // <-- important    }  })
  if (response.provider === 'google') {    const result = response.result as GoogleLoginOfflineResponse    const res = await fetch(`${baseURL}/auth/google_offline`, {      headers: {        "Content-Type": "application/json"      },      body: JSON.stringify({        serverAuthCode: result.serverAuthCode,        platform: Capacitor.getPlatform()      }),      method: "POST"    })
    if (res.status !== 200) {      popoutStore.popout("Full google login failed", "check console");      return    }
    const { jwt } = await res.json();    const userinfo = await fetch(`${baseURL}/auth/get_google_user`, {      headers: {        Authorization: `Bearer ${jwt}`      }    })    if (userinfo.status !== 200) {      popoutStore.popout("Full google (userinfo) login failed", "check console");      return    }    popoutStore.popout("userinfo res", await userinfo.text());  }}