Google Login on iOS
Copy a setup prompt with the install steps and the full markdown guide for this plugin.
Introduction
Section titled “Introduction”In this guide, you will learn how to setup Google Login with Capgo Social Login for iOS. I assume that you have already read the general setup guide.
Using Google login on iOS
Section titled “Using Google login on iOS”In this part, you will learn how to setup Google login in iOS.
-
Create an iOS client ID in the Google console
-
Click on the search bar

-
Search for
credentialsand click on theAPIs and Servicesone (number 2 on the screenshot)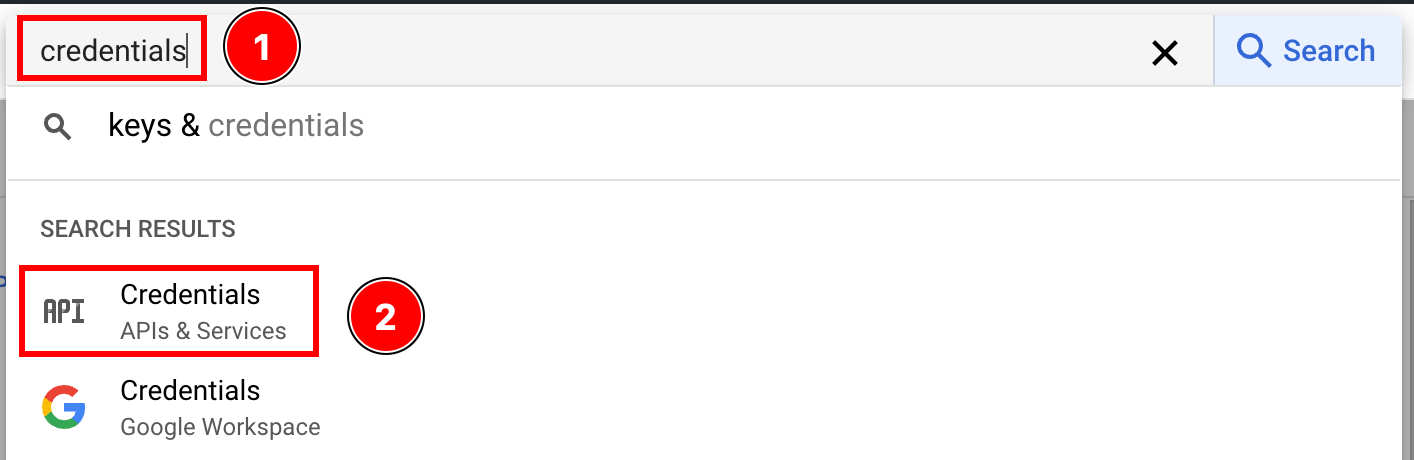
-
Click on the
create credentials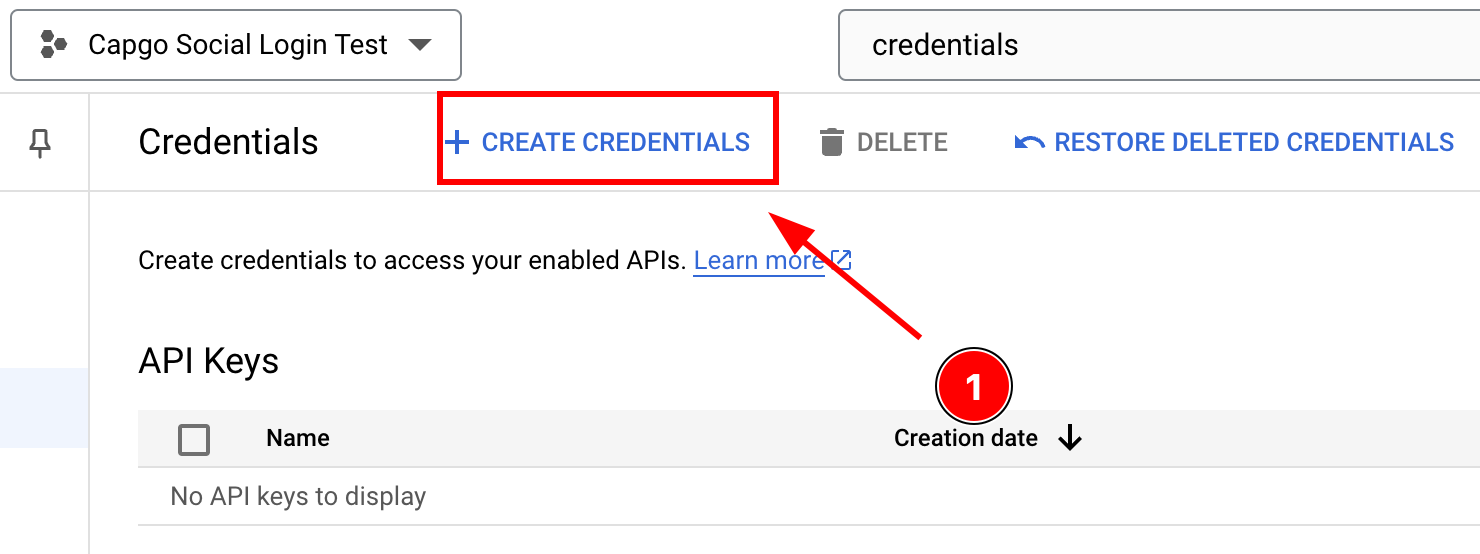
-
Select
OAuth client ID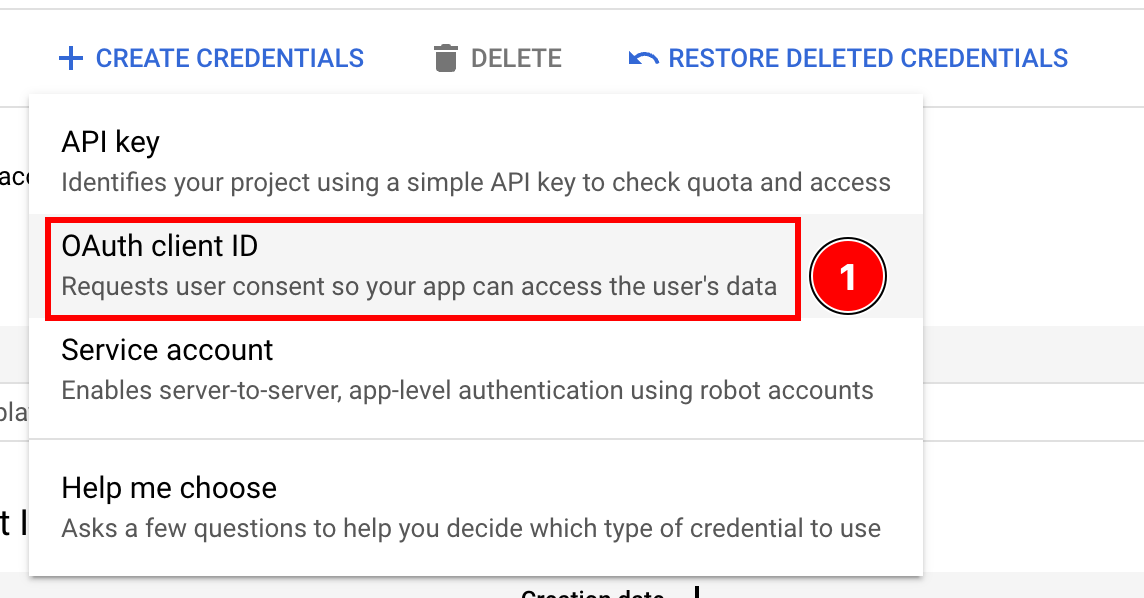
-
Select the
Application typetoiOS
-
Find the bundle ID
-
Open Xcode
-
Double click on
App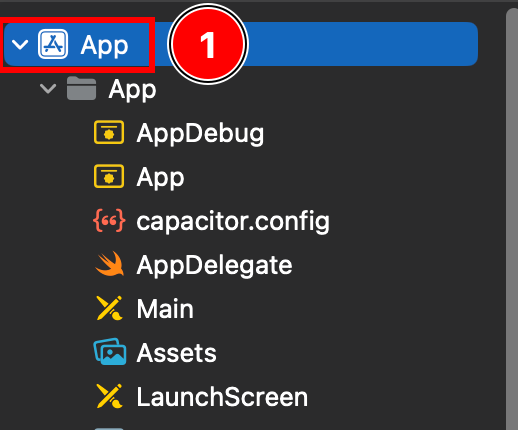
-
Ensure that you are on
Targets -> App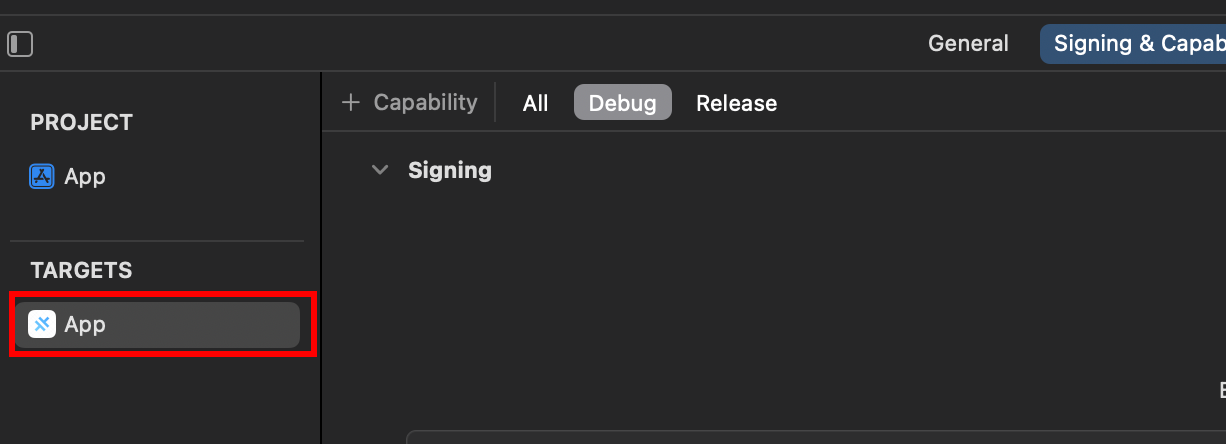
-
Find your
Bundle Identifier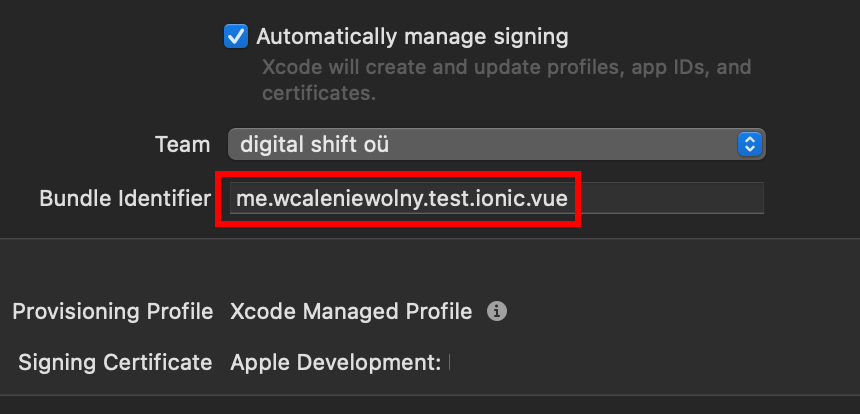
-
Go back to the Google Console and paste your
Bundle IdentifierintoBundle ID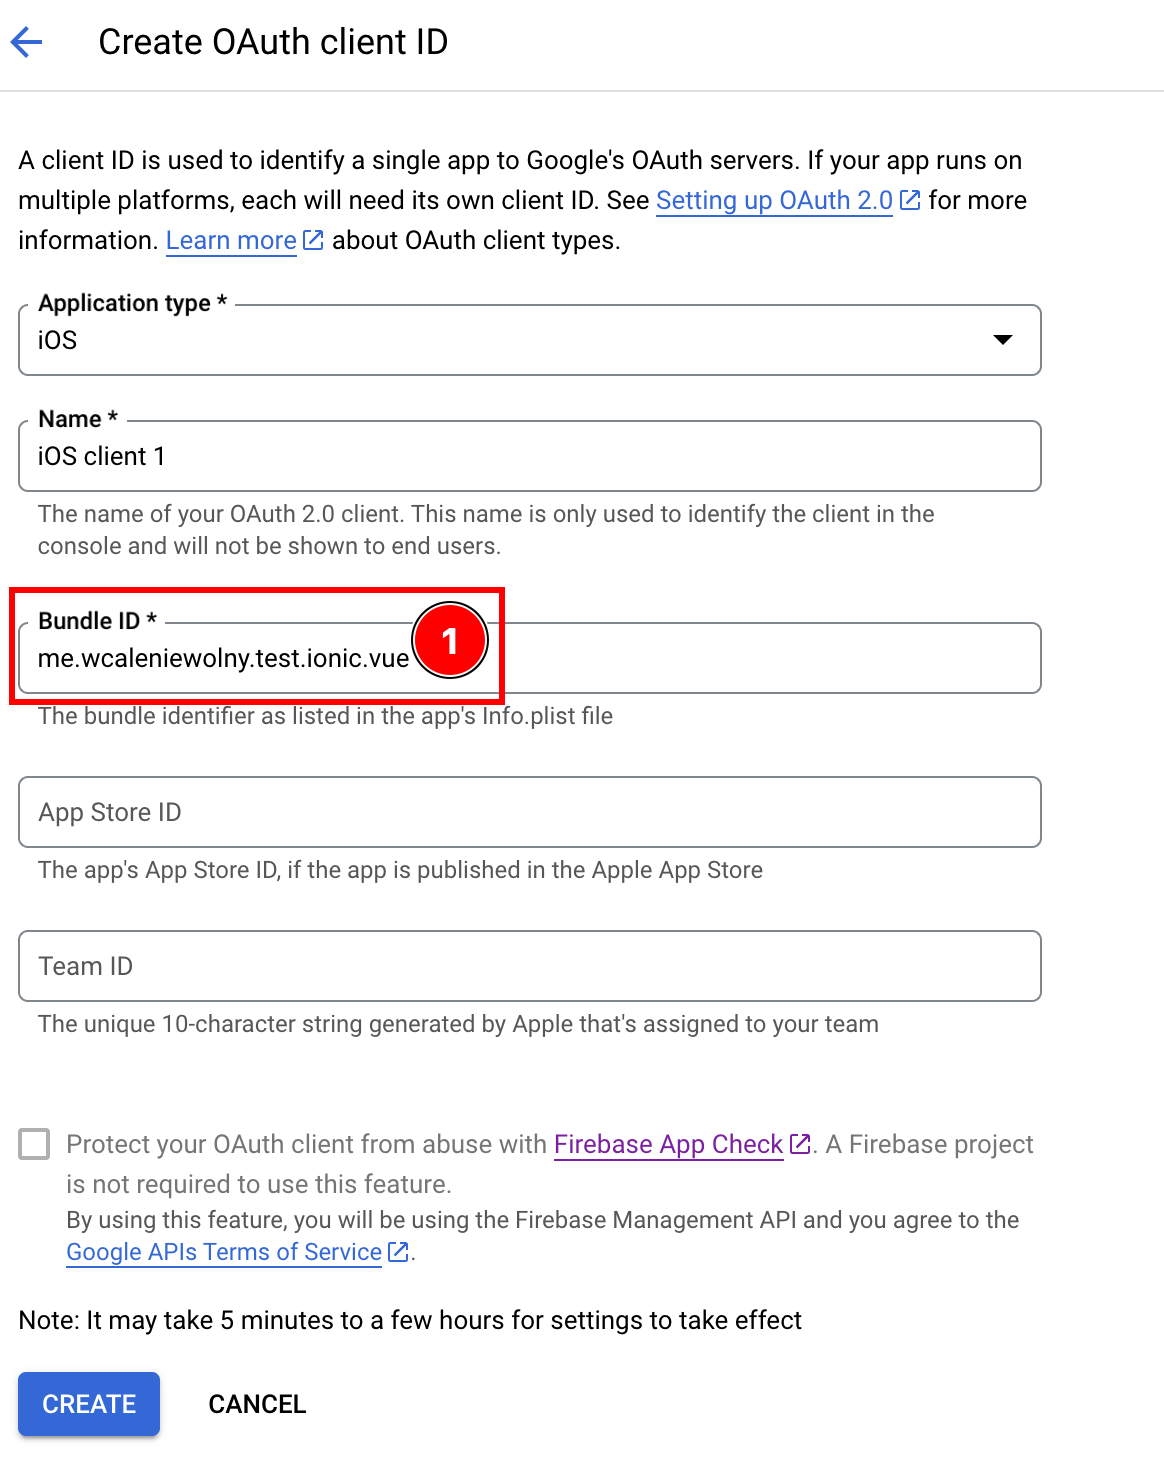
-
-
Optionally, add your
App Store IDorTeam IDinto the client ID if you have published your app to App Store -
After filling all the details, click
create
-
Click
OK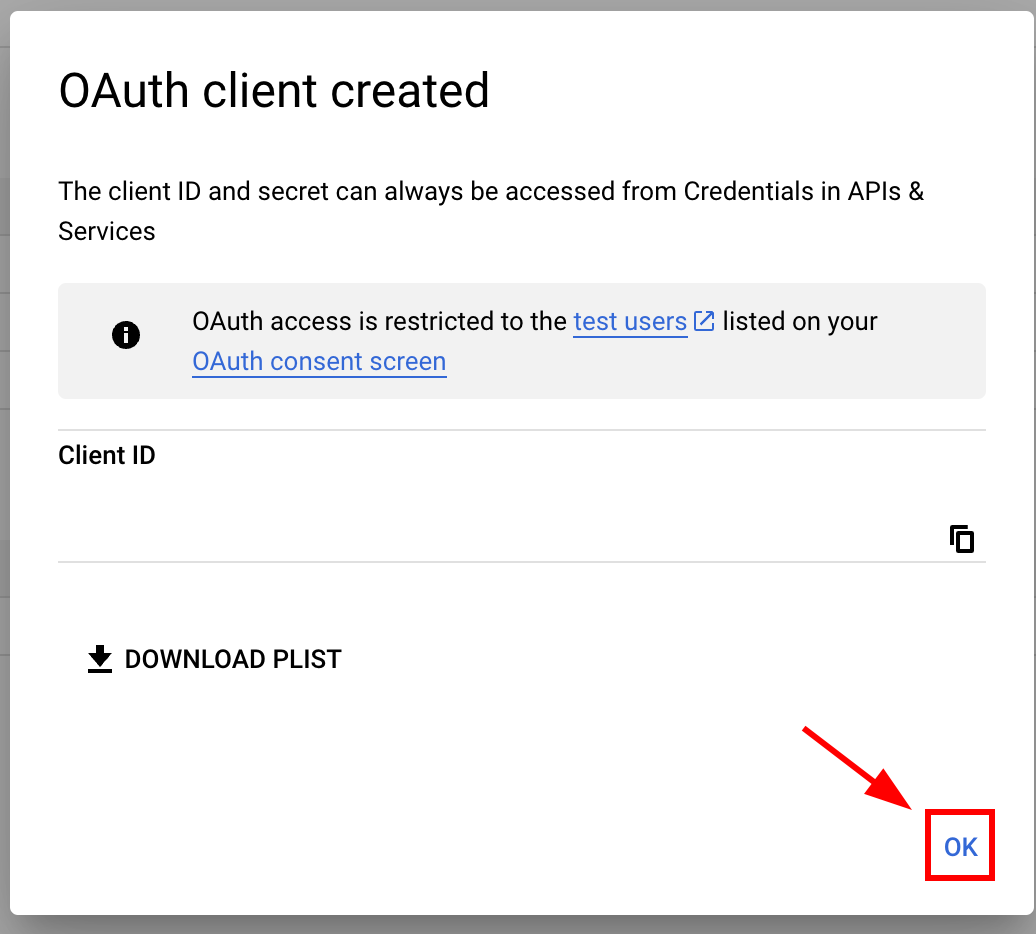
-
Open the newly created iOS client

-
Copy the following data

-
-
Modify your app’s Info.plist
-
Open Xcode and find the
Info.plistfile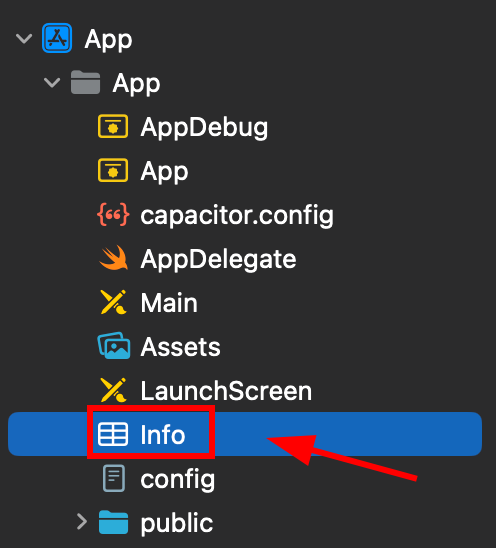
-
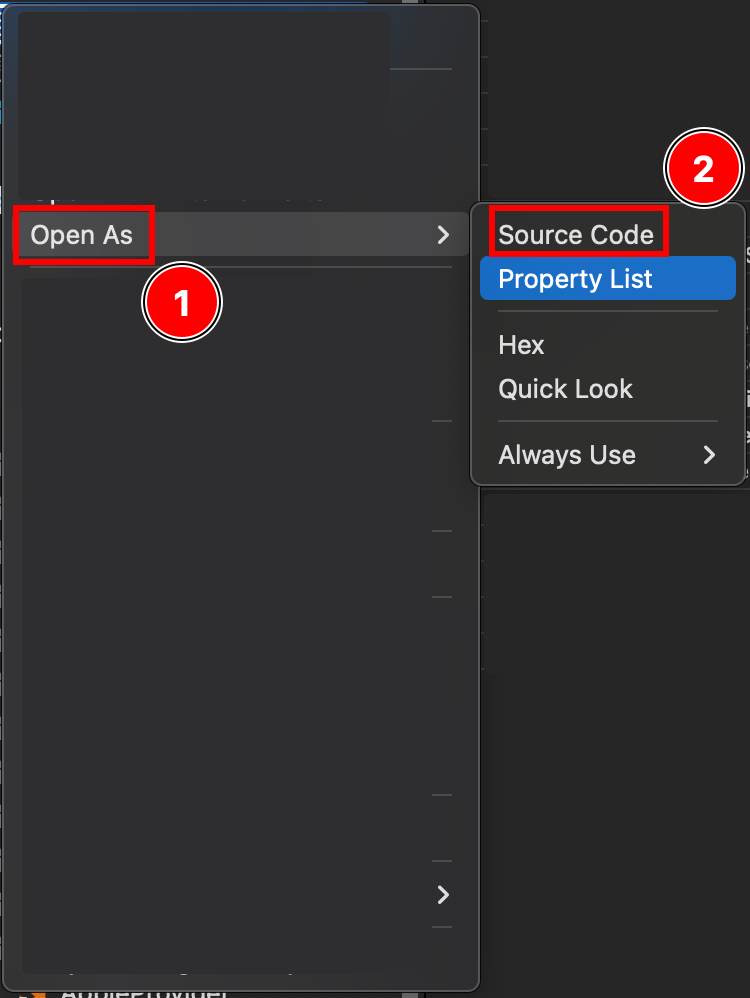
Right click this file and open it as source code
-
At the bottom of your
Plistfile, you will see a</dict>tag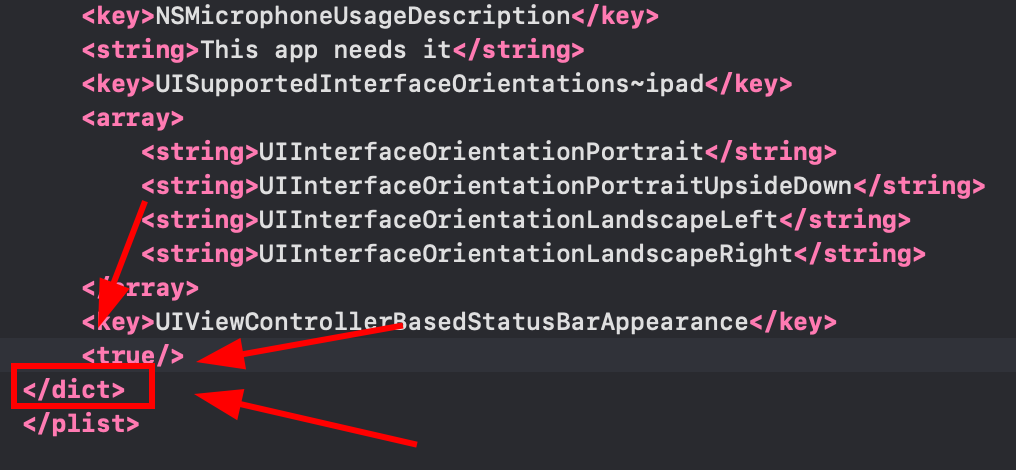
-
Insert the following fragment just before the closing
</dict>tag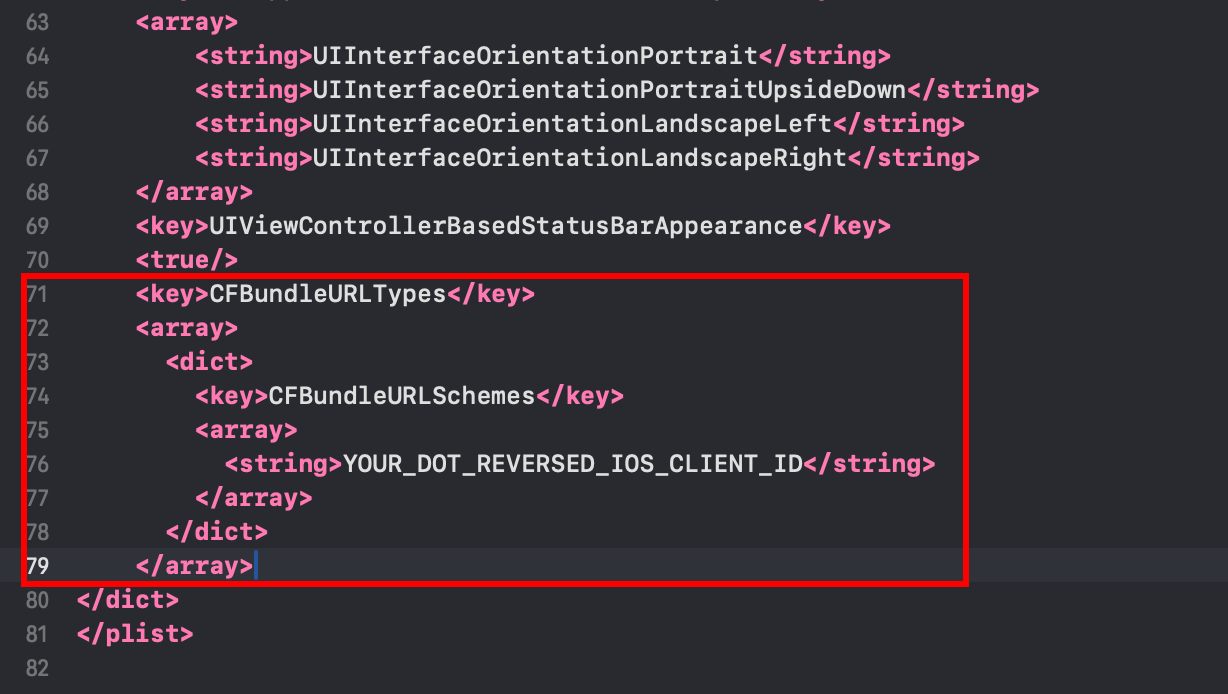 <key>CFBundleURLTypes</key><array><dict><key>CFBundleURLSchemes</key><array><string>YOUR_DOT_REVERSED_IOS_CLIENT_ID</string></array></dict></array>
 -
Change the
YOUR_DOT_REVERSED_IOS_CLIENT_IDto the value copied in the previous step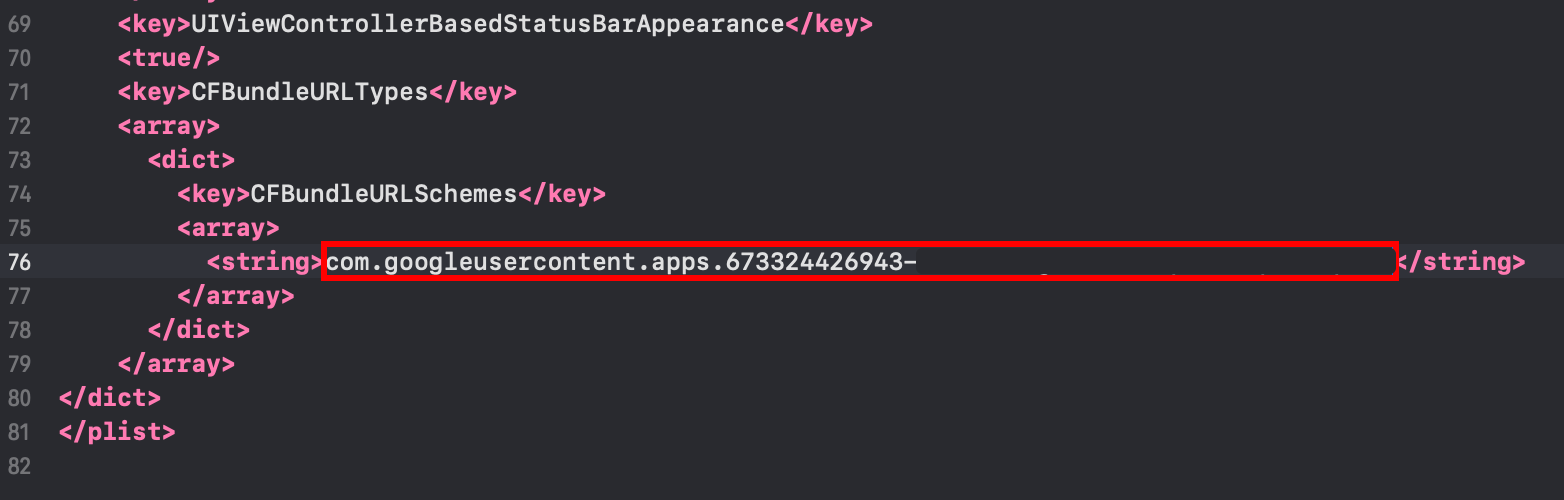
-
Save the file with
Command + S
-
-
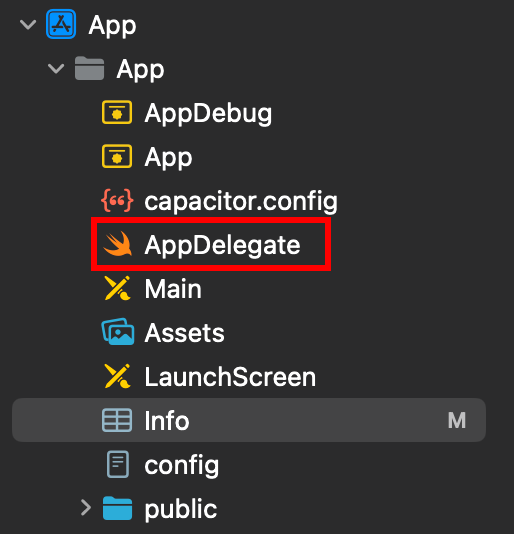
Modify the
AppDelegate.swift-
Open the AppDelegate
-
Insert
import GoogleSignInat the top of the file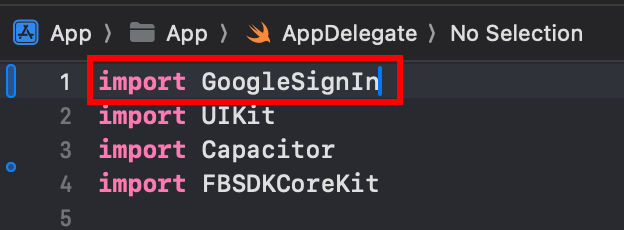
-
Find the
func application(_ app: UIApplication, open url: URL, options: [UIApplication.OpenURLOptionsKey: Any] = [:])function
-
Modify the function to look like this
func application(_ app: UIApplication, open url: URL, options: [UIApplication.OpenURLOptionsKey: Any] = [:]) -> Bool {// Called when the app was launched with a url. Feel free to add additional processing here,// but if you want the App API to support tracking app url opens, make sure to keep this callvar handled: Boolhandled = GIDSignIn.sharedInstance.handle(url)if handled {return true}return ApplicationDelegateProxy.shared.application(app, open: url, options: options)}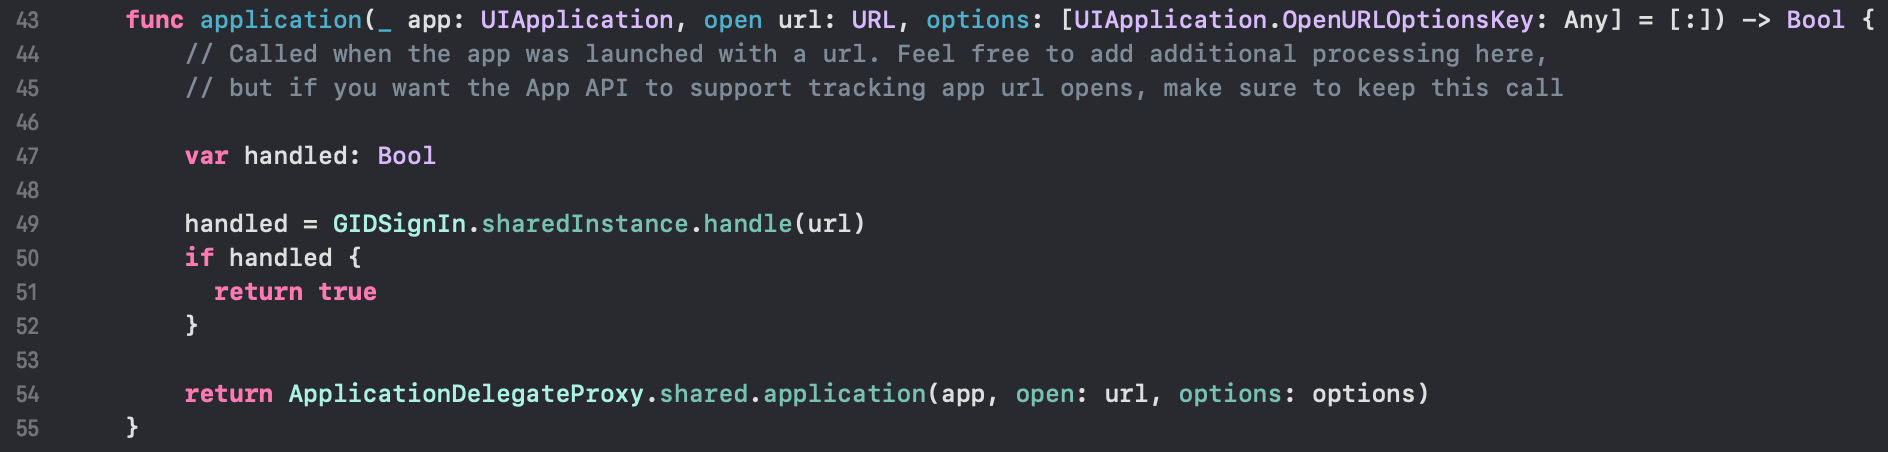
-
Save the file with
Command + S
-
-
Setup Google login in your JavaScript/TypeScript code
-
Import
SocialLoginandCapacitorimport { SocialLogin } from '@capgo/capacitor-social-login';import { Capacitor } from '@capacitor/core'; -
Call the initialize method (this should be called only once)
Basic setup (online mode - recommended for most apps):
// onMounted is Vue specificonMounted(() => {SocialLogin.initialize({google: {iOSClientId: '673324426943-redacted.apps.googleusercontent.com',mode: 'online' // Default mode}})})Advanced setup with additional client IDs:
onMounted(() => {SocialLogin.initialize({google: {webClientId: 'YOUR_WEB_CLIENT_ID', // Optional: for web platform supportiOSClientId: 'YOUR_IOS_CLIENT_ID', // Required: from step 1iOSServerClientId: 'YOUR_WEB_CLIENT_ID', // Optional: same as webClientId, needed for some advanced featuresmode: 'online' // 'online' or 'offline'}})}) -
Implement the login function. Create a button and run the following code on click
For online mode:
const res = await SocialLogin.login({provider: 'google',options: {}})// handle the response - contains user dataconsole.log(JSON.stringify(res))For offline mode:
const res = await SocialLogin.login({provider: 'google',options: {forceRefreshToken: true // Recommended for offline mode}})// res contains serverAuthCode, not user data// Send serverAuthCode to your backend to get user information// Do not call SocialLogin.refresh() in offline modeconsole.log('Server auth code:', res.result.serverAuthCode)
-
-
Test your application
-
Build your app and run
cap sync -
If you’ve done everything correctly, you should see the Google login flow working properly
-
Known Problems
Section titled “Known Problems”Privacy Screen Plugin Incompatibility
Section titled “Privacy Screen Plugin Incompatibility”The Google Login plugin is incompatible with @capacitor/privacy-screen. When using both plugins together, the Google login webview will be interrupted by the privacy screen.
Workaround: Call await PrivacyScreen.disable(); before calling the login function:
import { PrivacyScreen } from '@capacitor/privacy-screen';import { SocialLogin } from '@capgo/capacitor-social-login';
await PrivacyScreen.disable();await SocialLogin.login({  provider: 'google',  options: {}});