Firebase Google Connexion on Android
Introduction
Section titled “Introduction”This Guide will Aide you integrate Google Sign-In with Firebase Authentication on Android. I assume you have already completed the general Firebase Google Configuration
I will assume that you have not yet created your Android Application in the Firebase Console. If you have, your steps will be slightly different.
Configuration Steps
Section titled “Configuration Steps”-
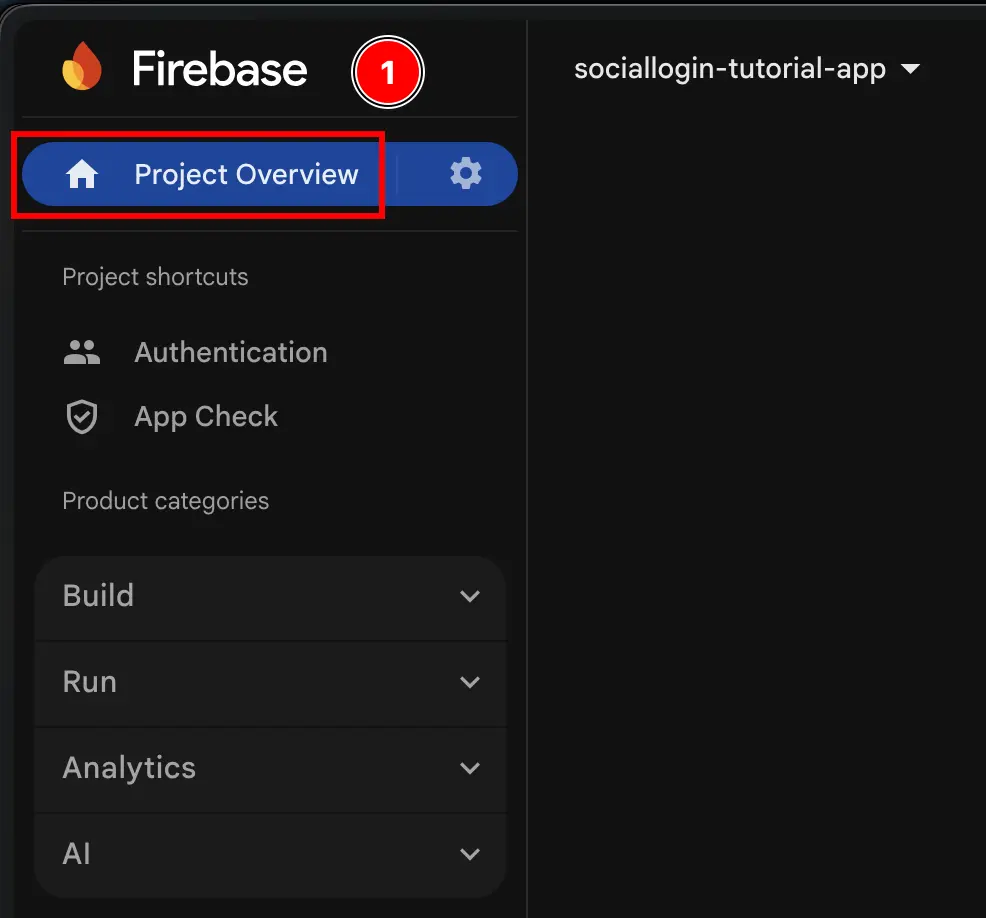
Go to your project Aperçu over at console.cloud.google.com
-
Click on the
Add appbutton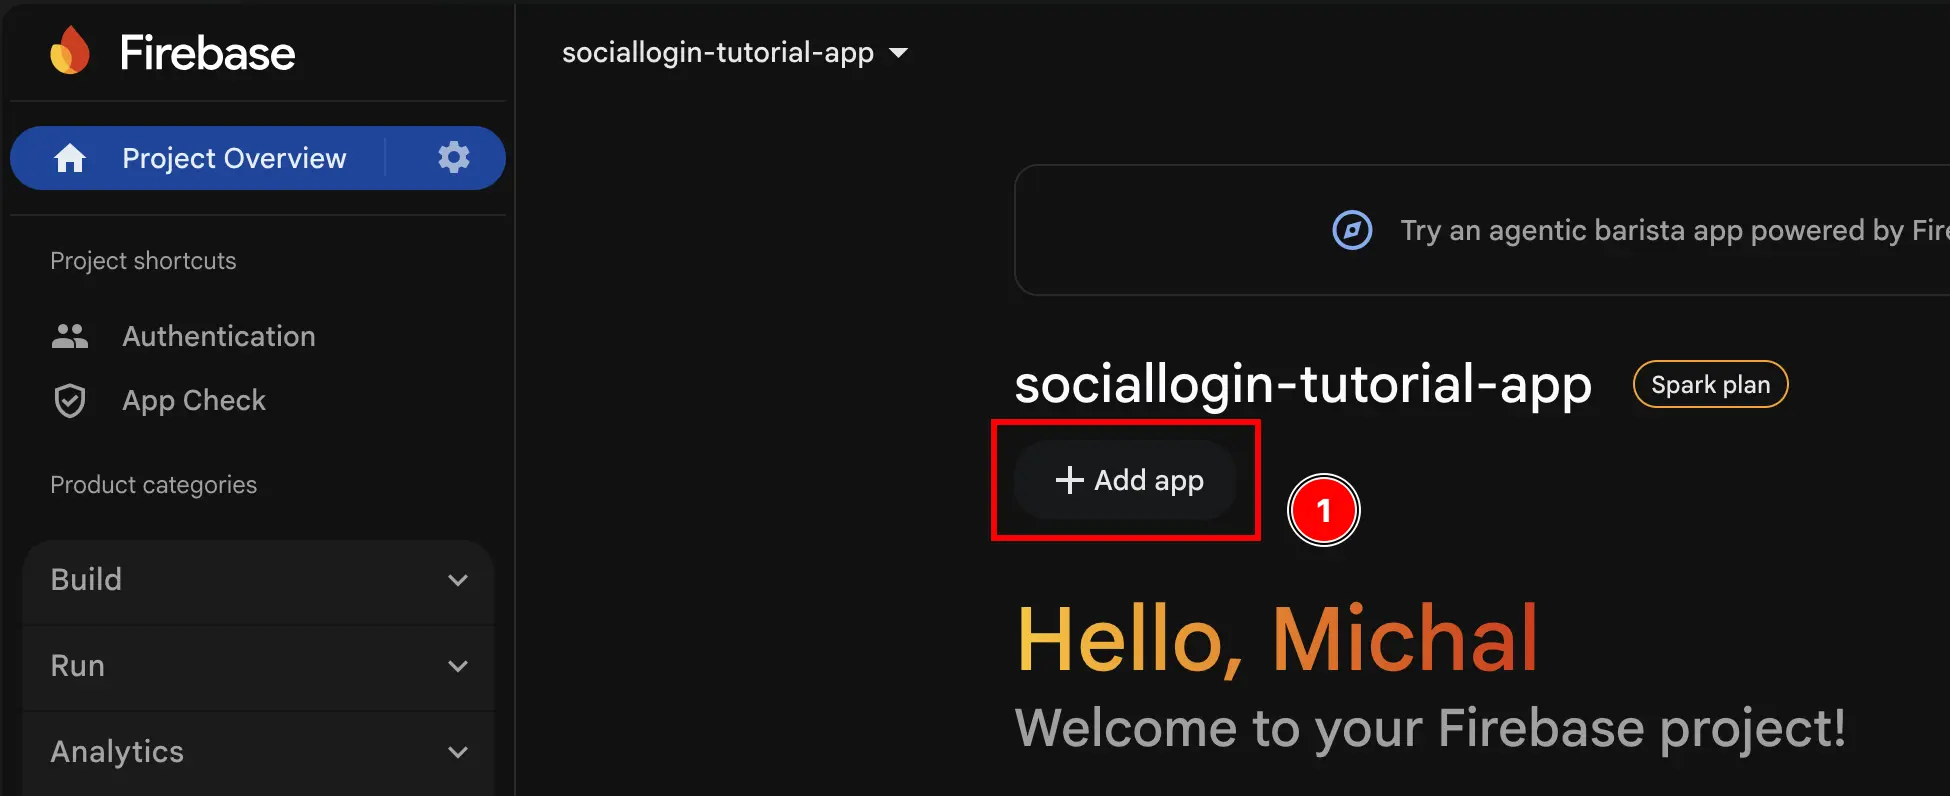
It is possible that you will have to look here for this button. This applies only if you have already created a different Application in the Firebase Console.
-
Select
Android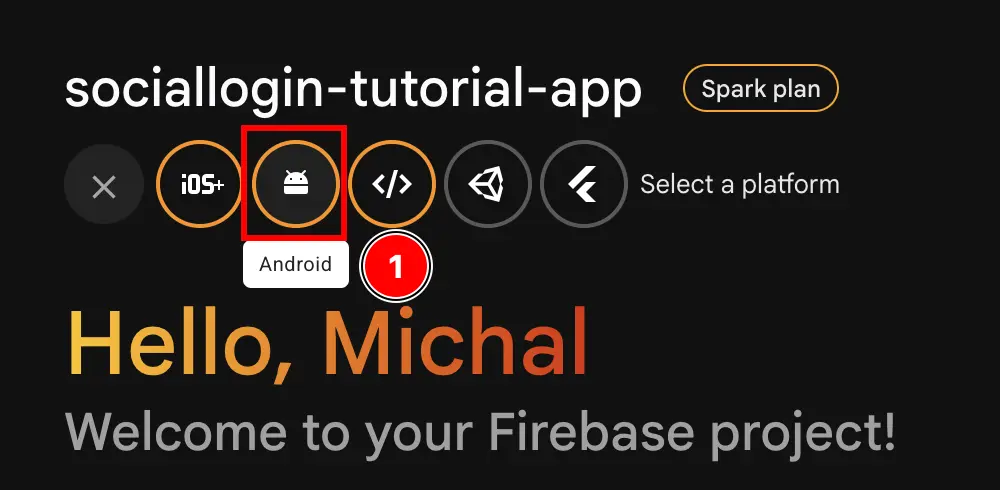
-
Fill the first part of the form
- Fill the
Android package name- Open Android Studio at your app using
npx cap open android - At the very bottom of the navigator, find the
Gradle Scripts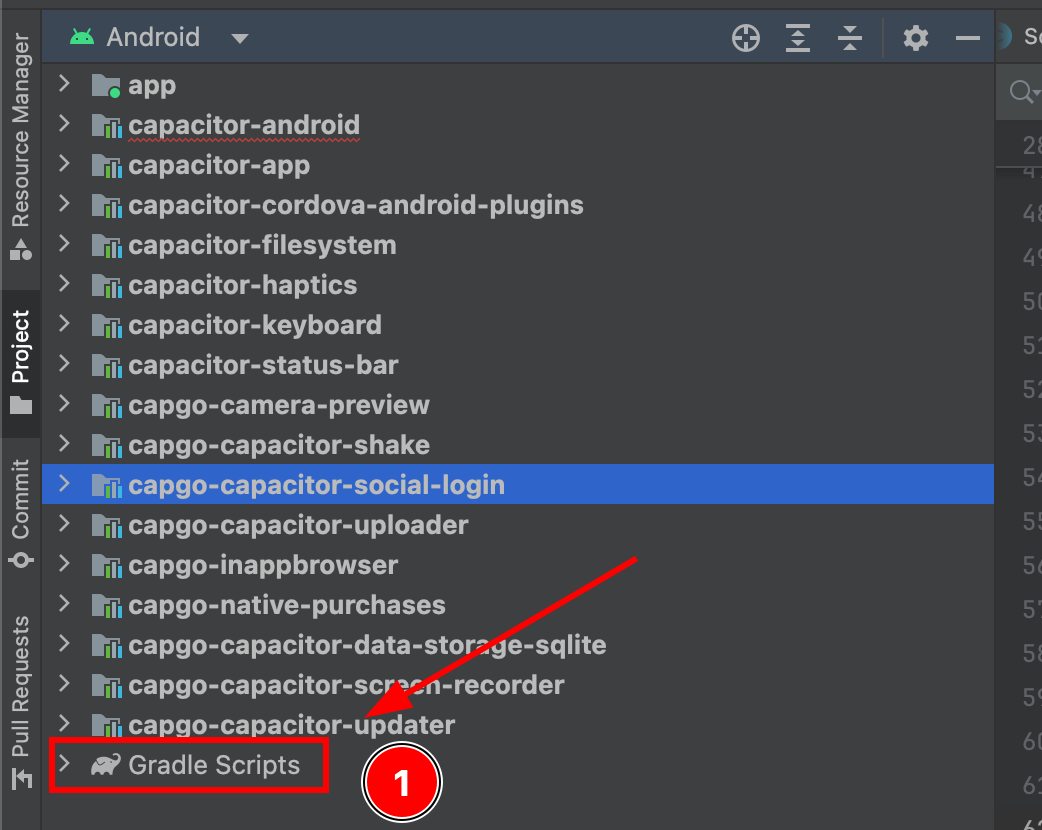
- Find
build.gradlefor the moduleapp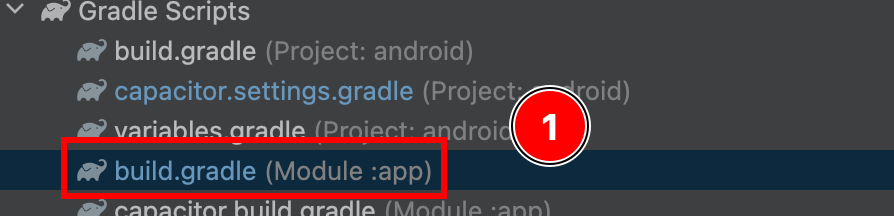
- Copy the
android.defaultConfig.applicationId. This will be yourpackage namein the Firebase console
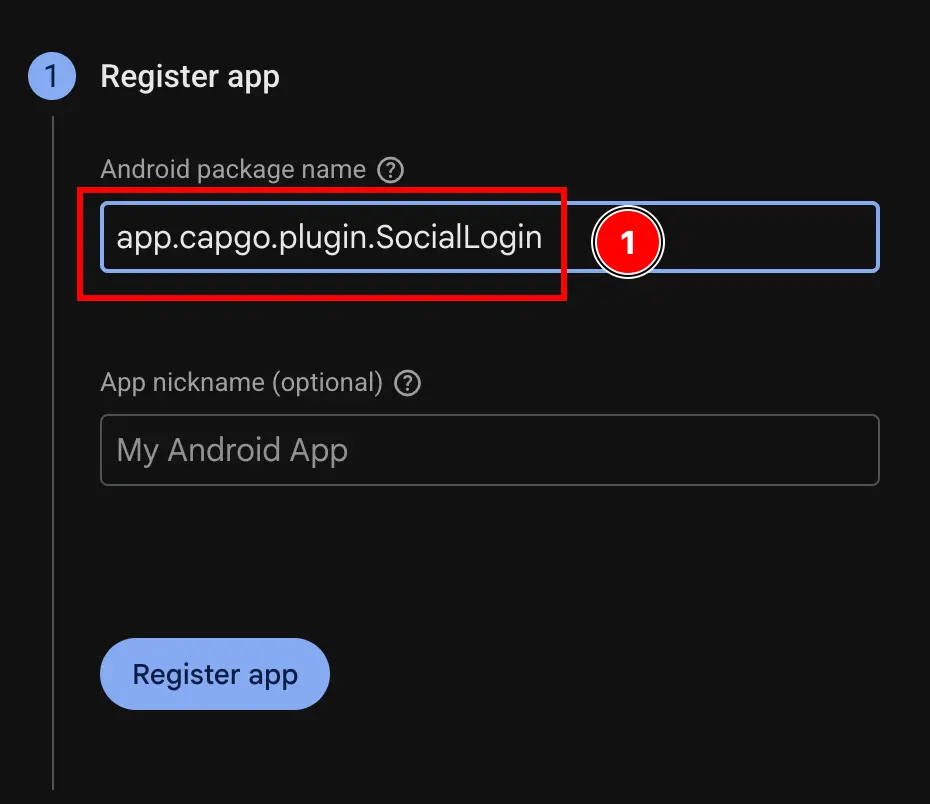
The ID shown here will differ from the one I will use for the rest of the guide. I will use
app.capgo.plugin.SocialLoginfor the rest of the guide.- Paste it in the Firebase console
- Open Android Studio at your app using
- Click on the
Register appbutton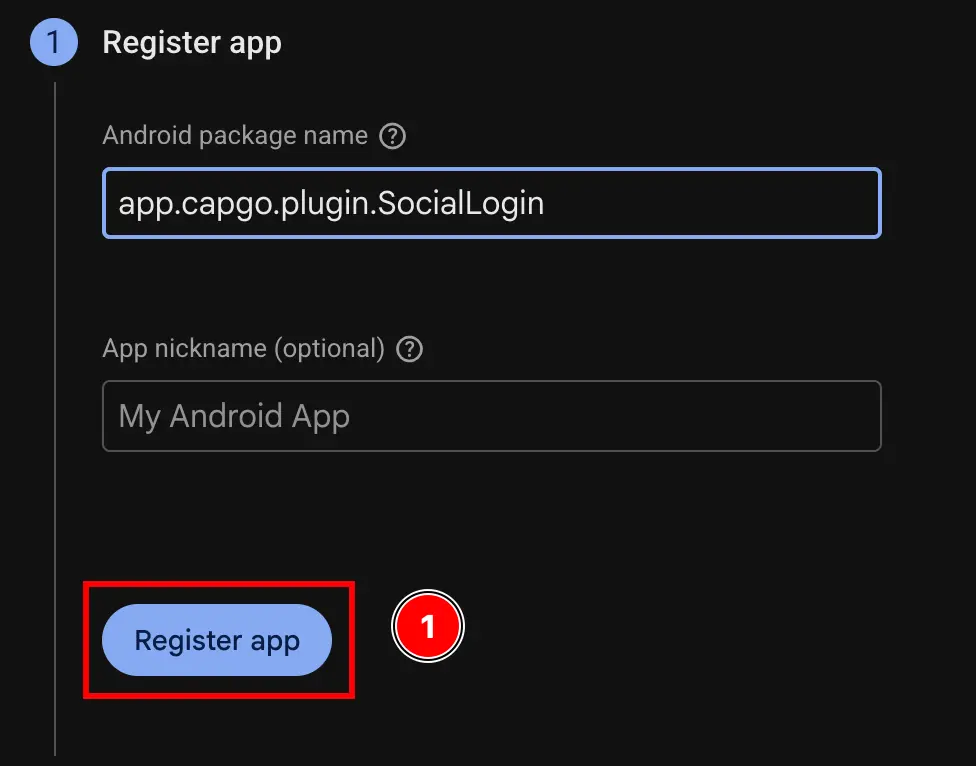
- Fill the
-
Skip the
Download and then add config filestep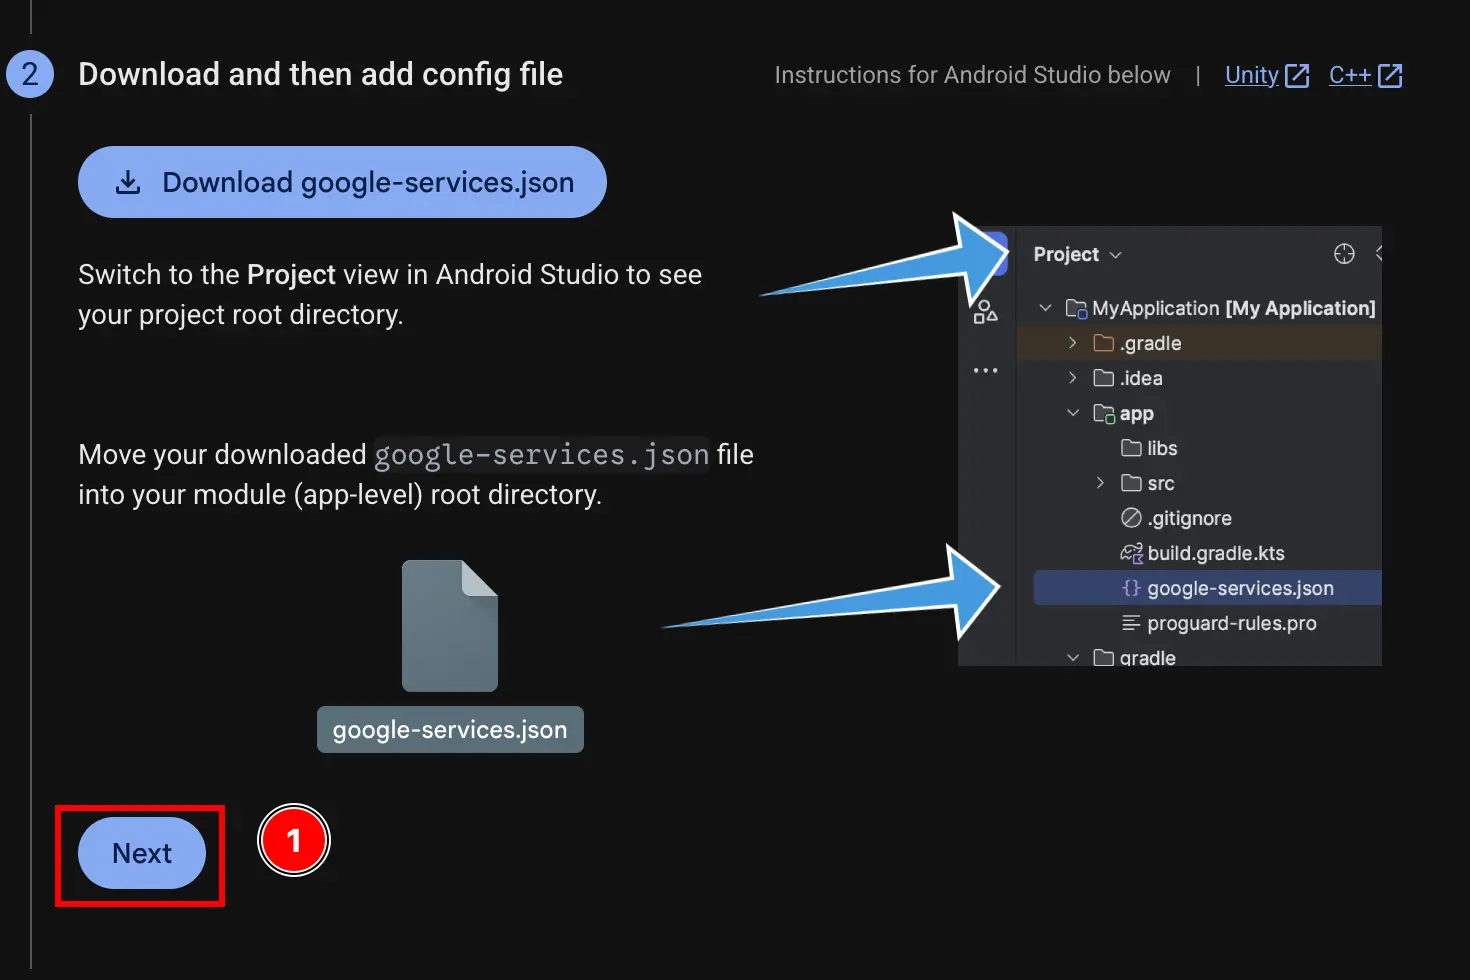
-
Skip the
Add firebase SDKstep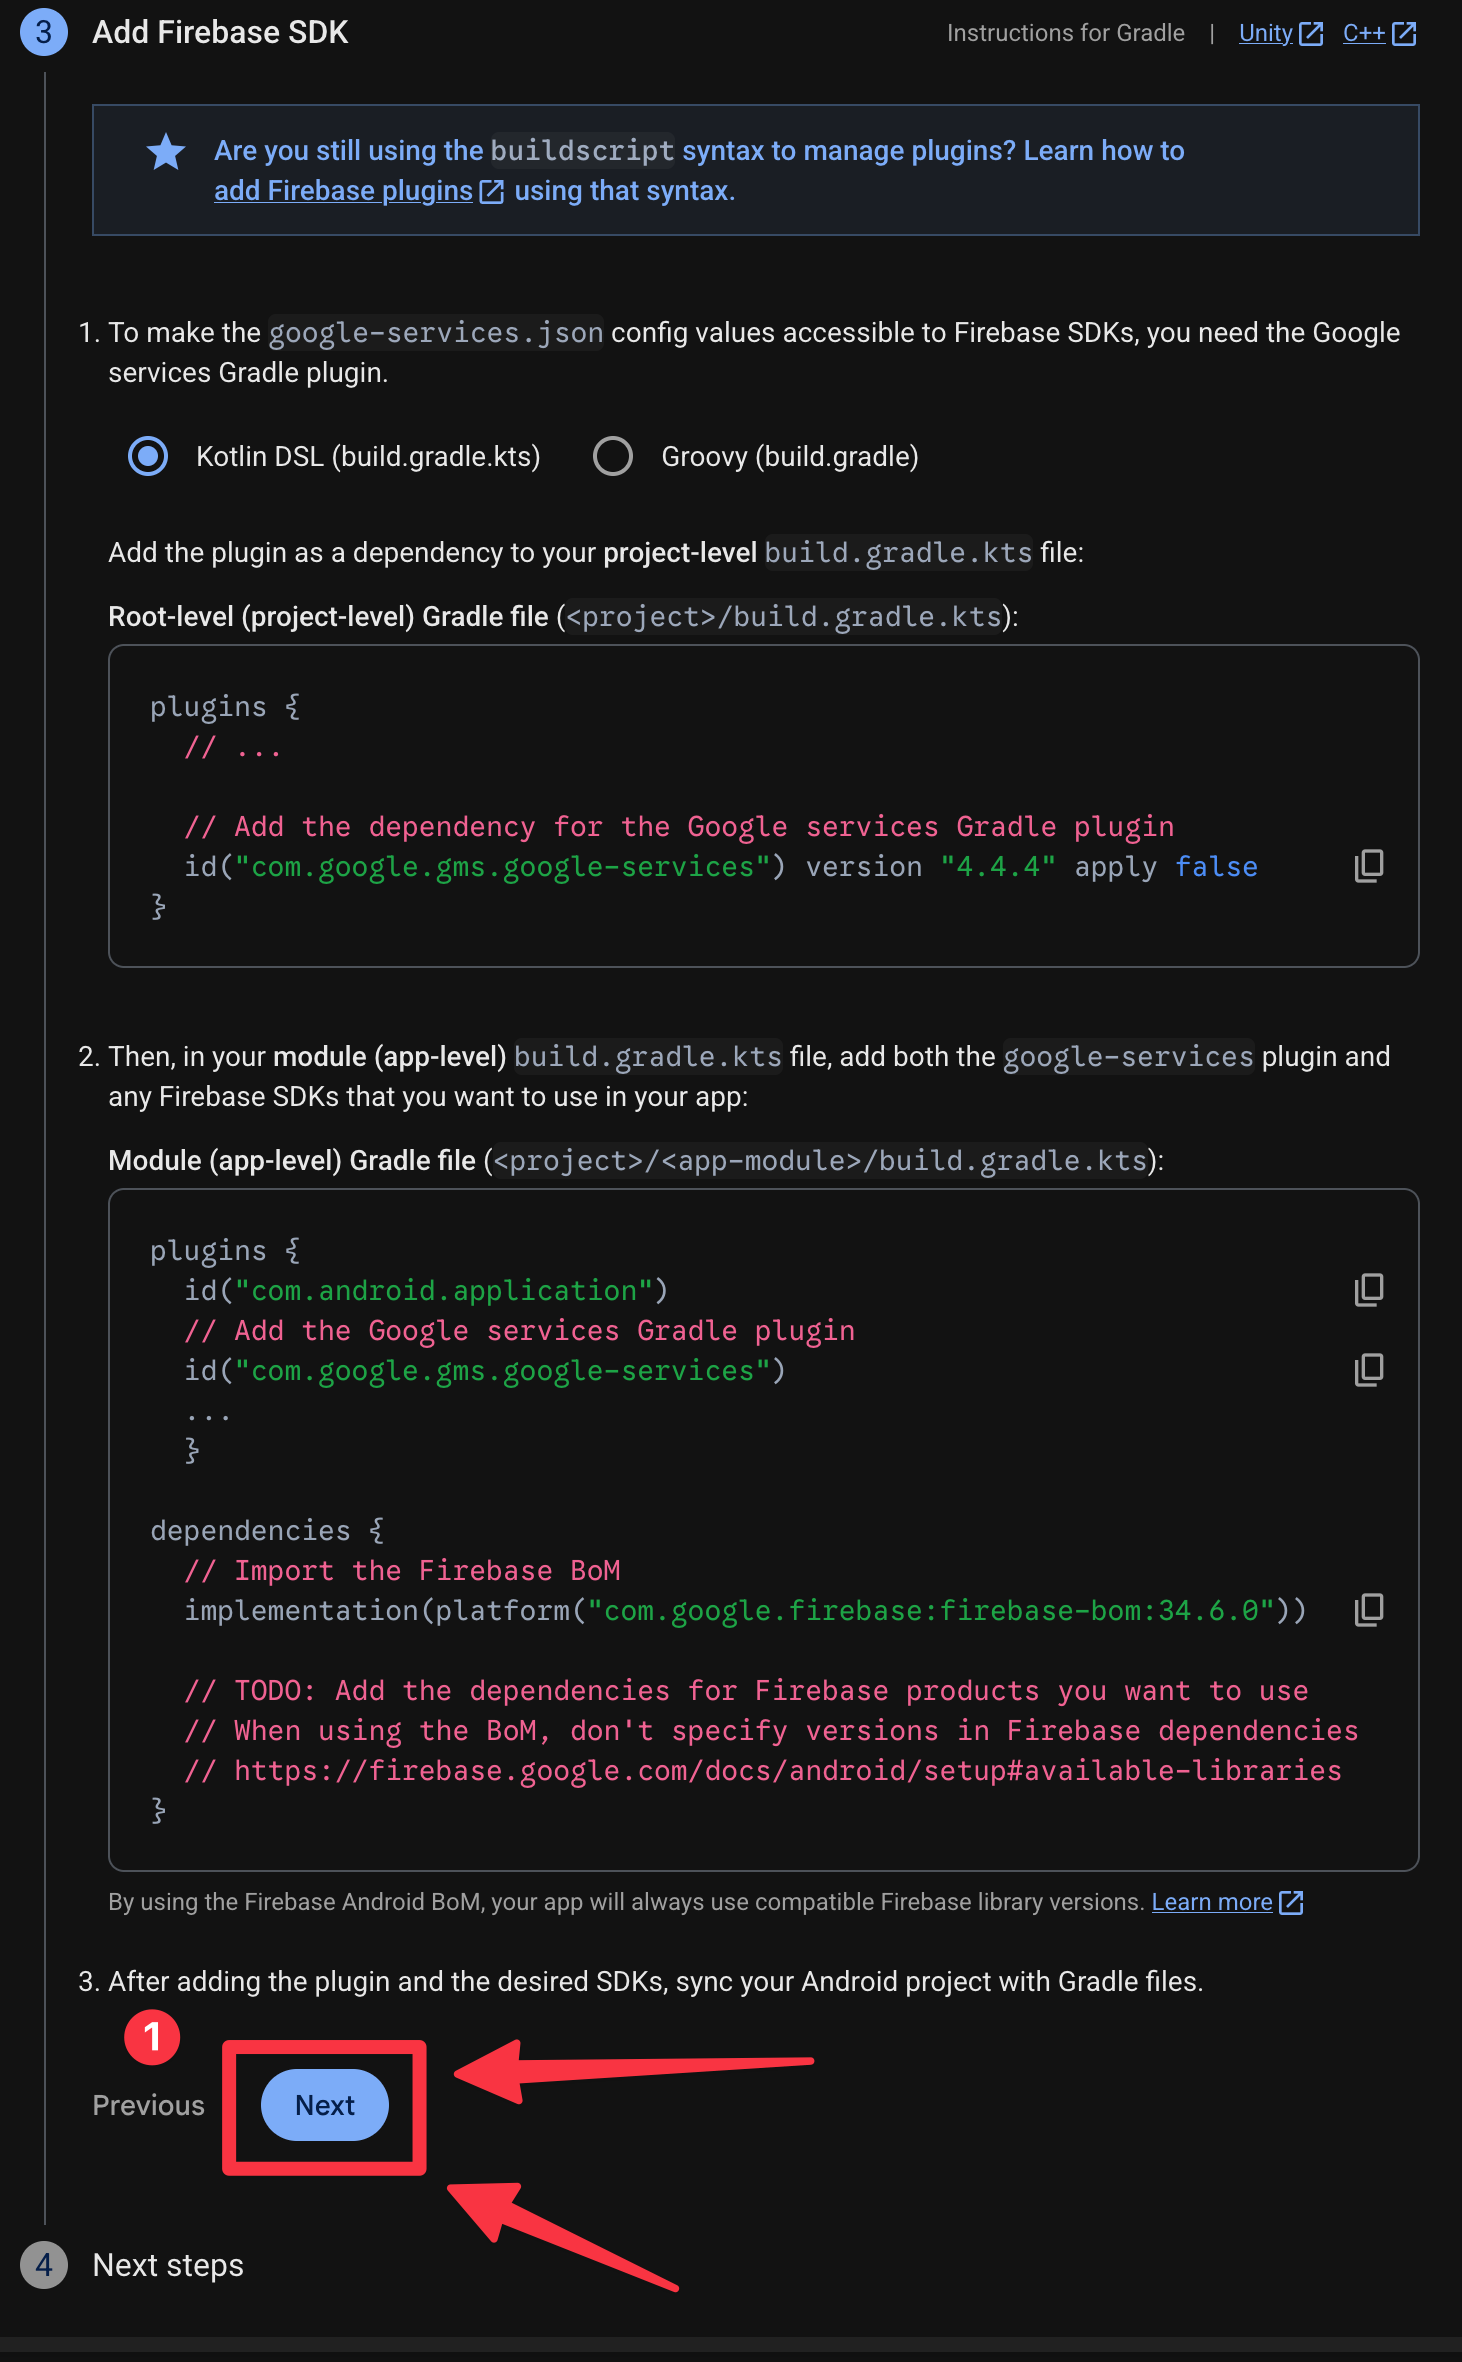
-
Click on the
Continue to consolebutton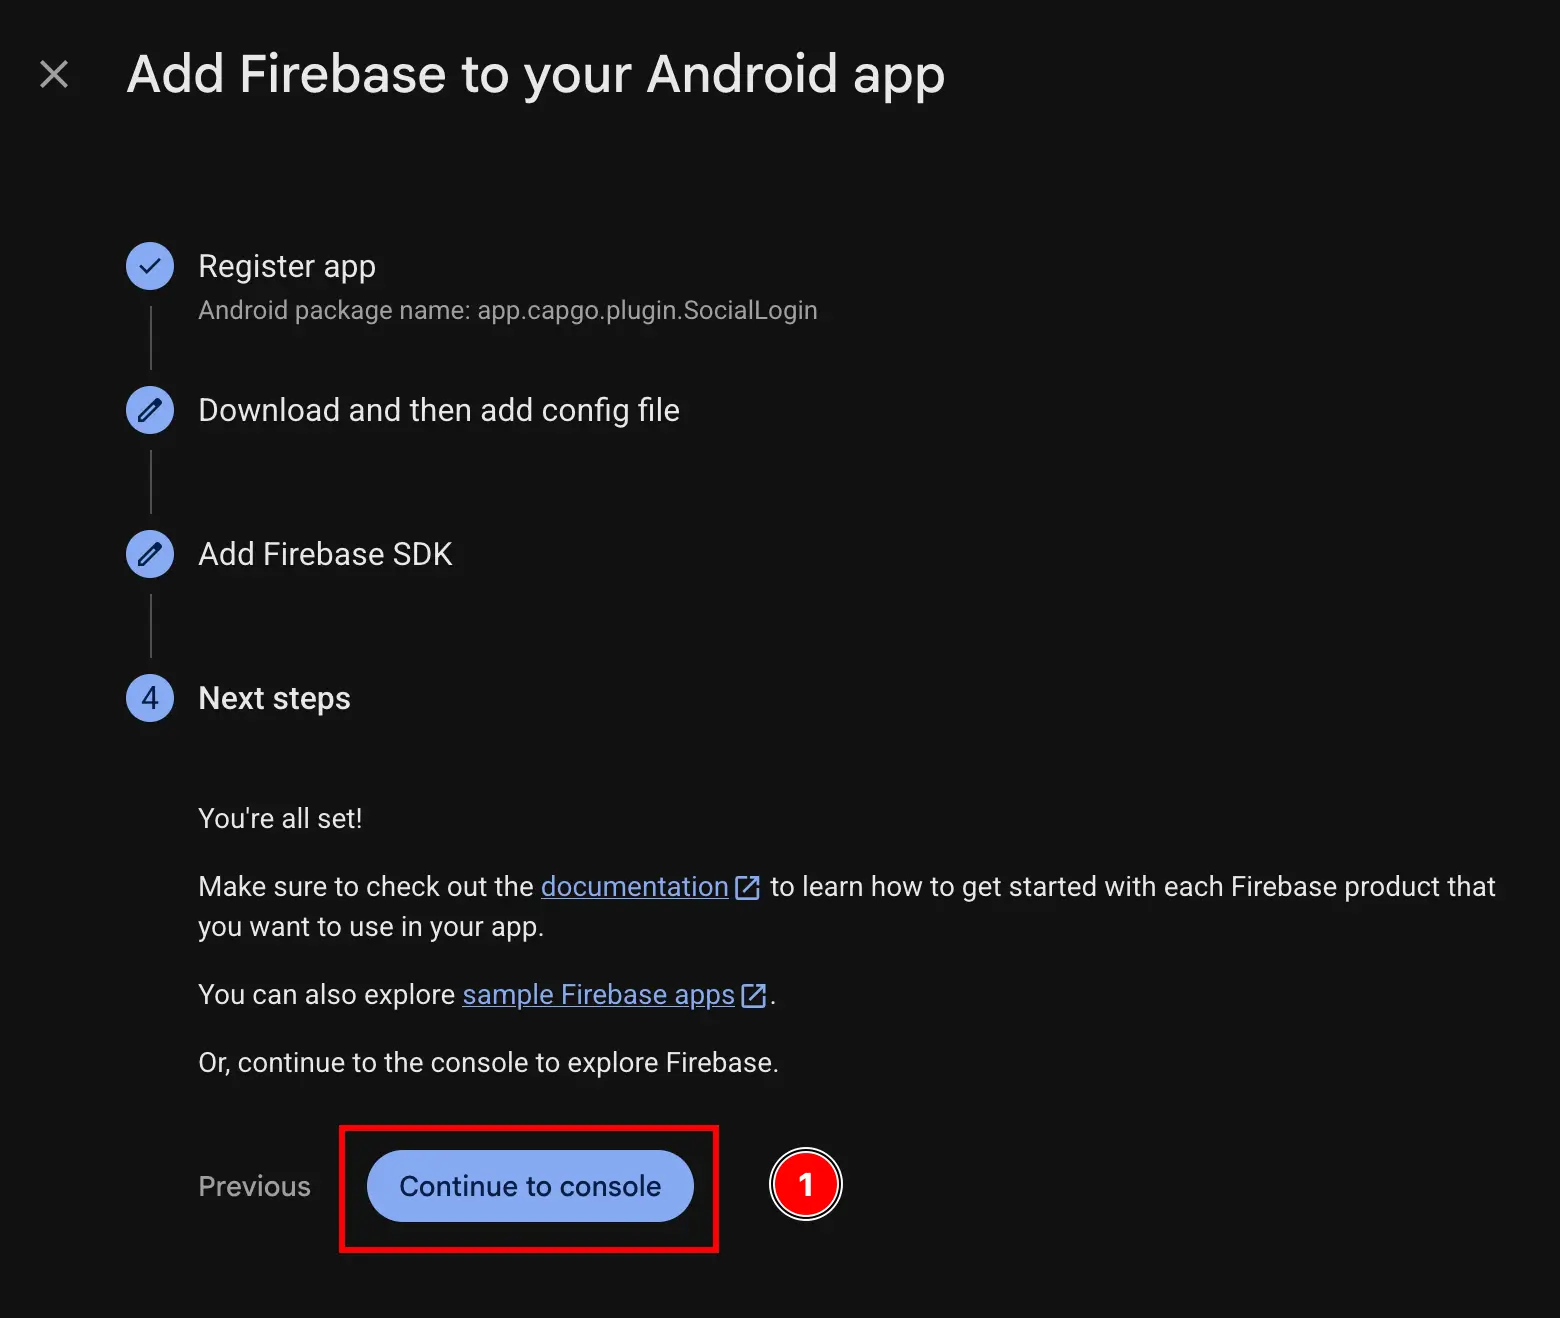
-
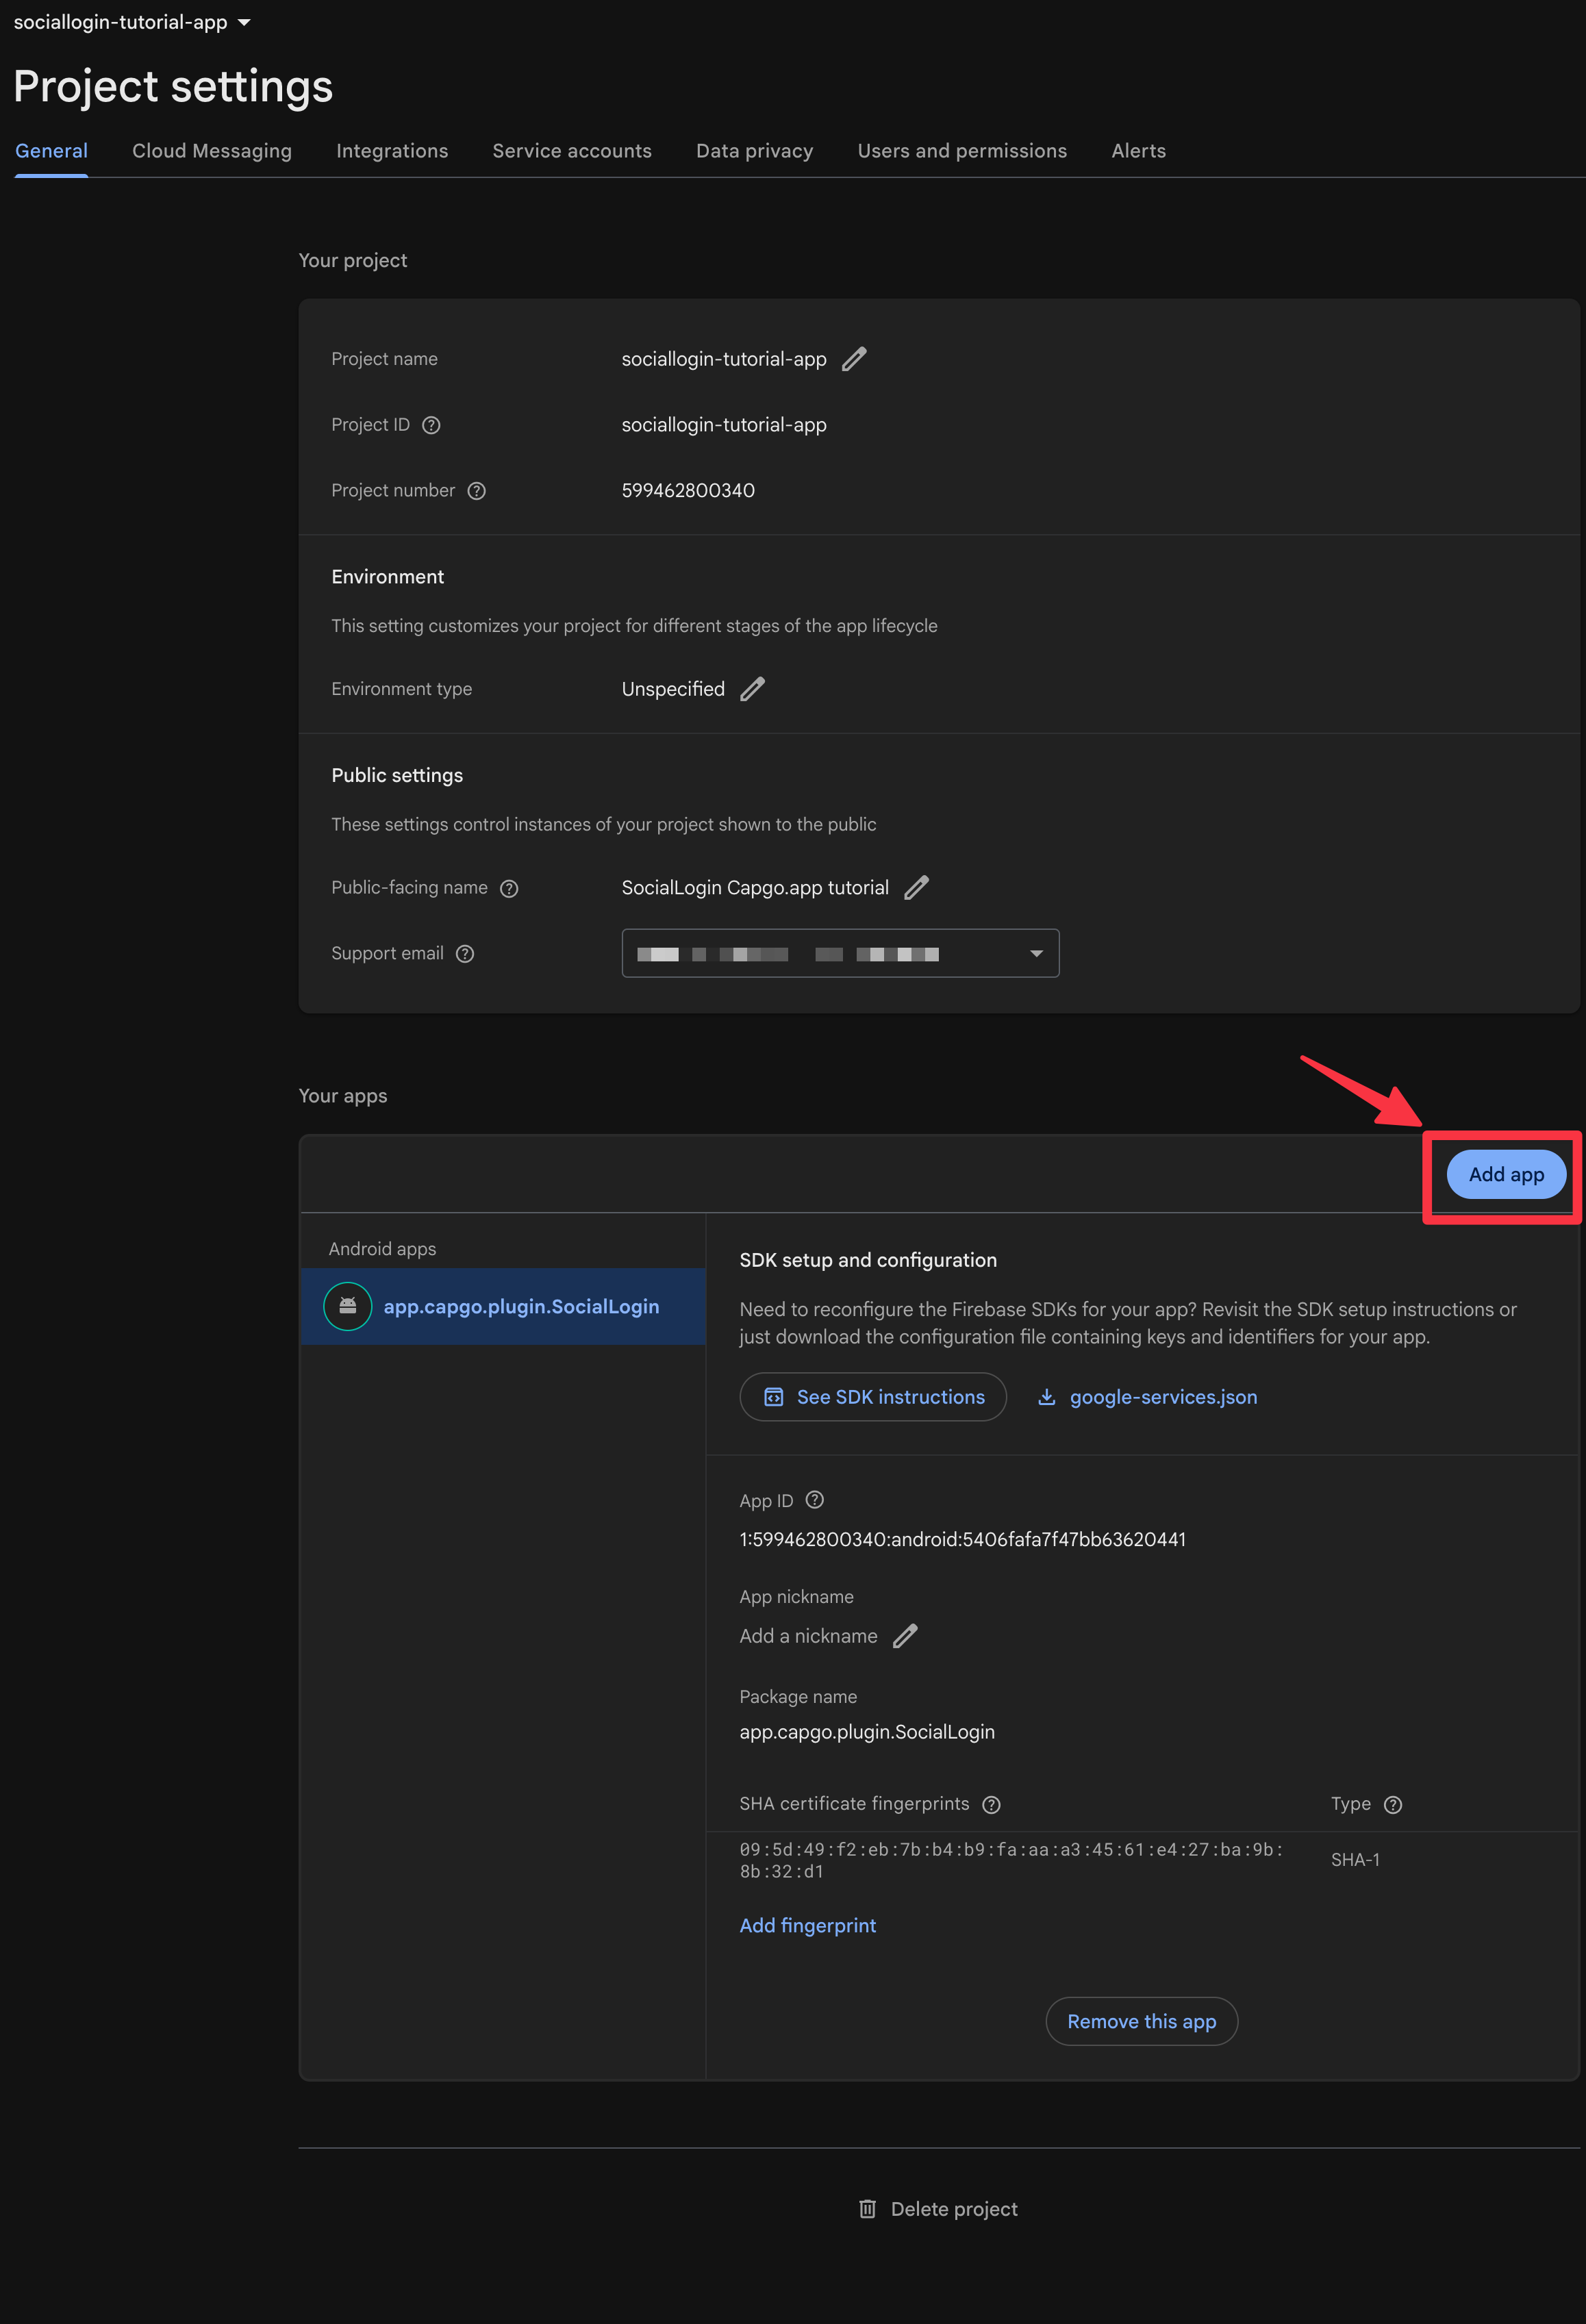
If you do not get automatically authenticated, go to
settings->general->your apps-> find your android app and click on it
-
Get your SHA1 fingerprint
Follow steps 10-11 from the Google Connexion Android Configuration Guide:
-
Now, open the terminal. Make sure that you are in the
androidfolder of your app and run./gradlew signInReport
-
Scroll to the top of this command. You should see the following. Copy the
SHA1.
I will use a slightly different SHA1 for the rest of the Guide, because I have changed computes since writing the original Google Connexion Android Configuration Guide.
The SHA1 is very Important to get right. If you mess up, the authentication will fail in strange ways. Please READ THE GOOGLE Connexion Android Configuration Guide to get it right.
-
-
Ajouter the SHA1 to the Firebase project
- Click on the
Add fingerprintbutton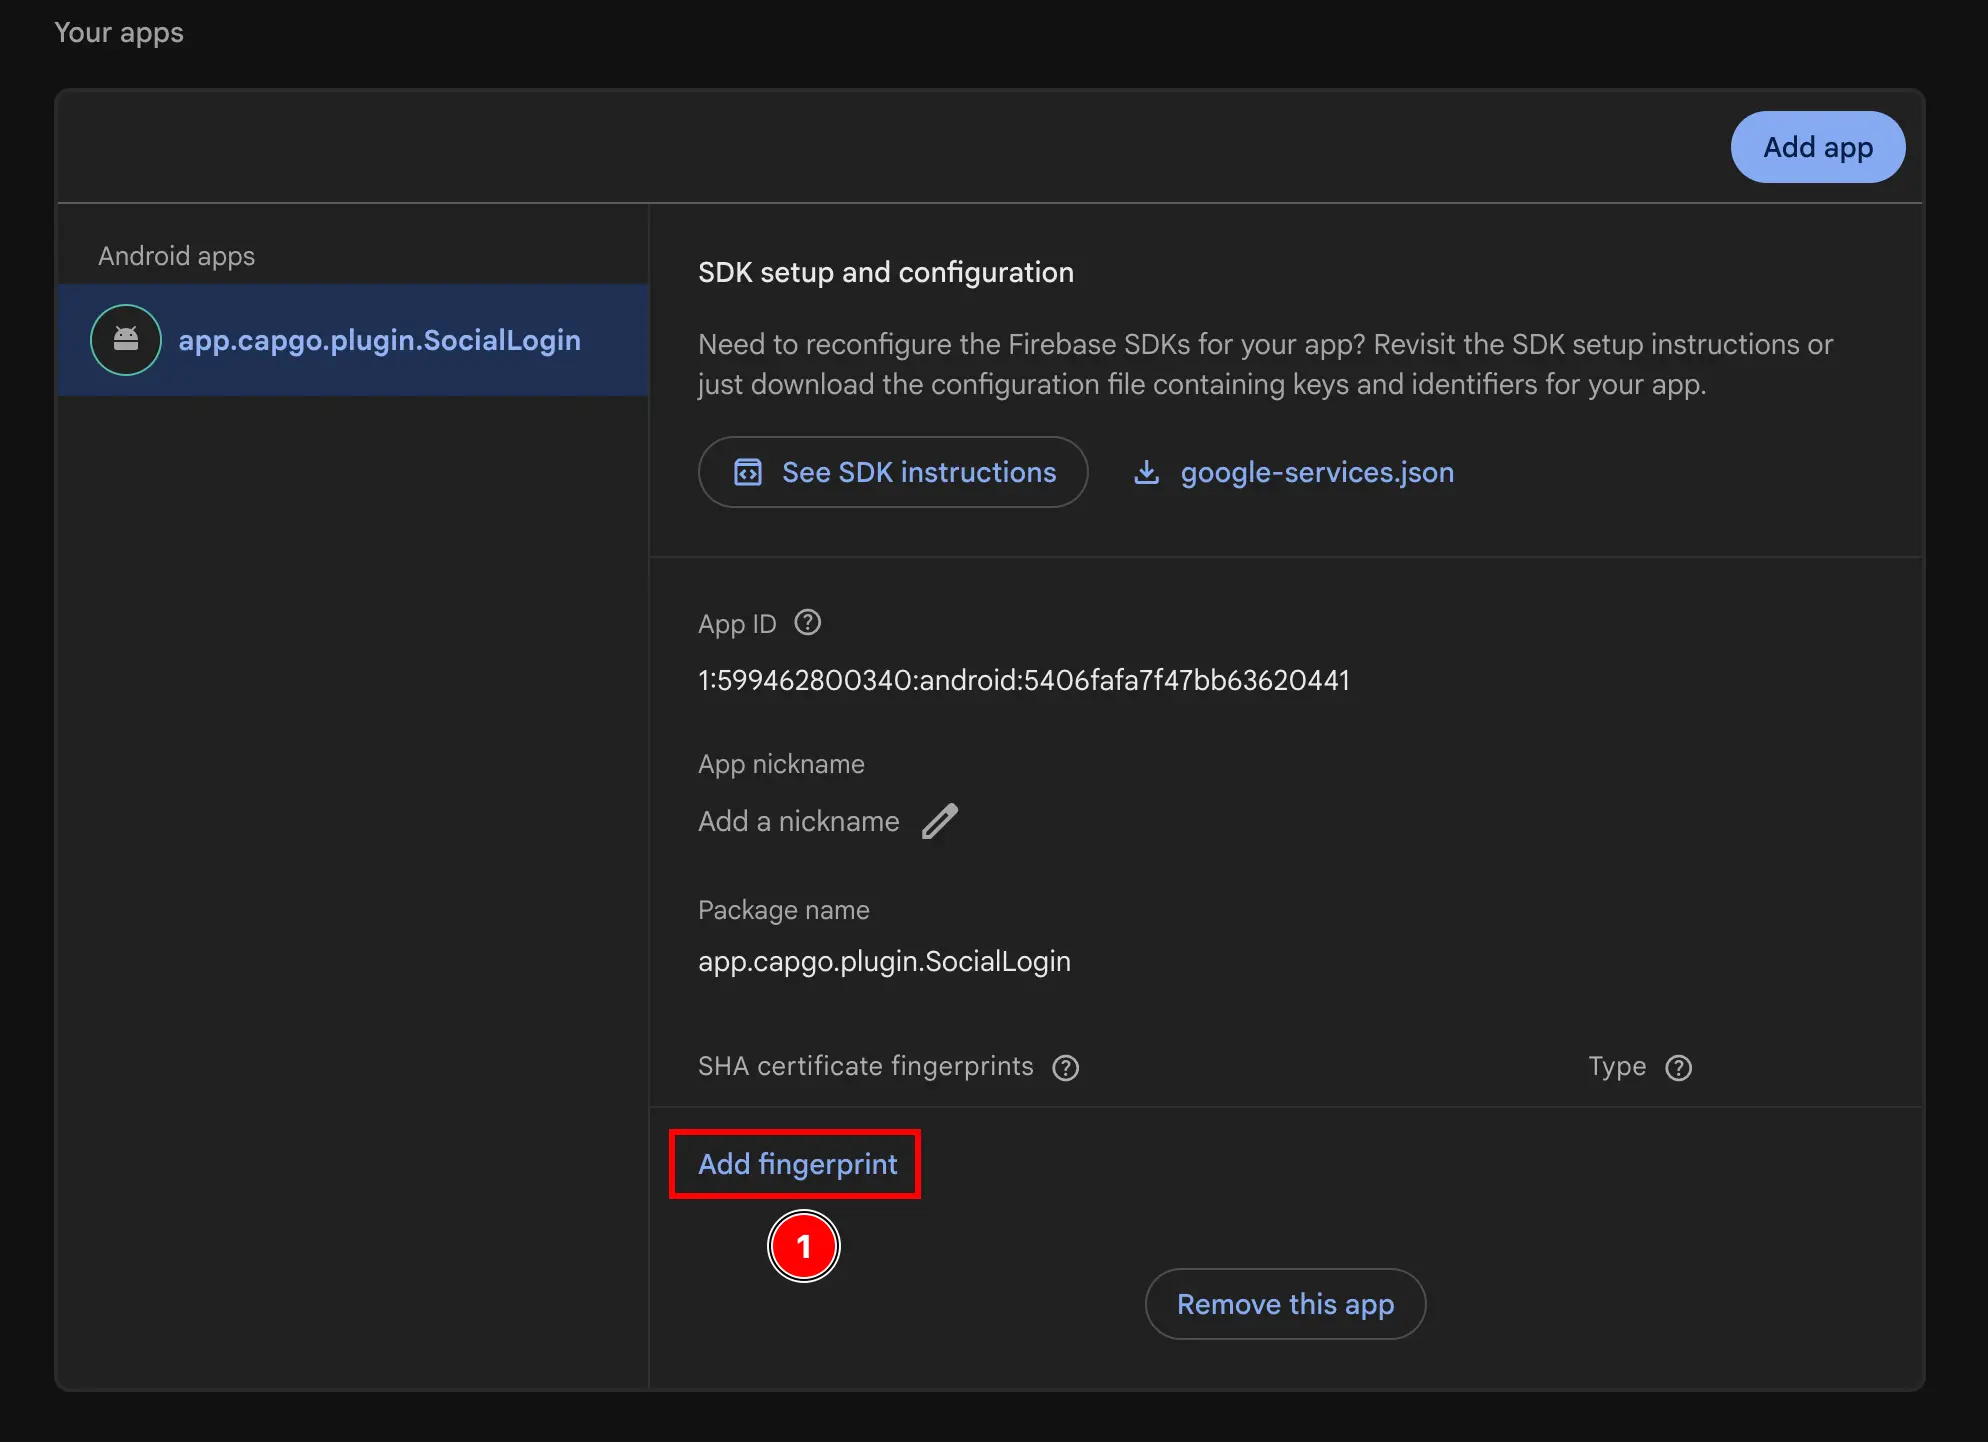
- Paste the SHA1 you copied in the Précédent step
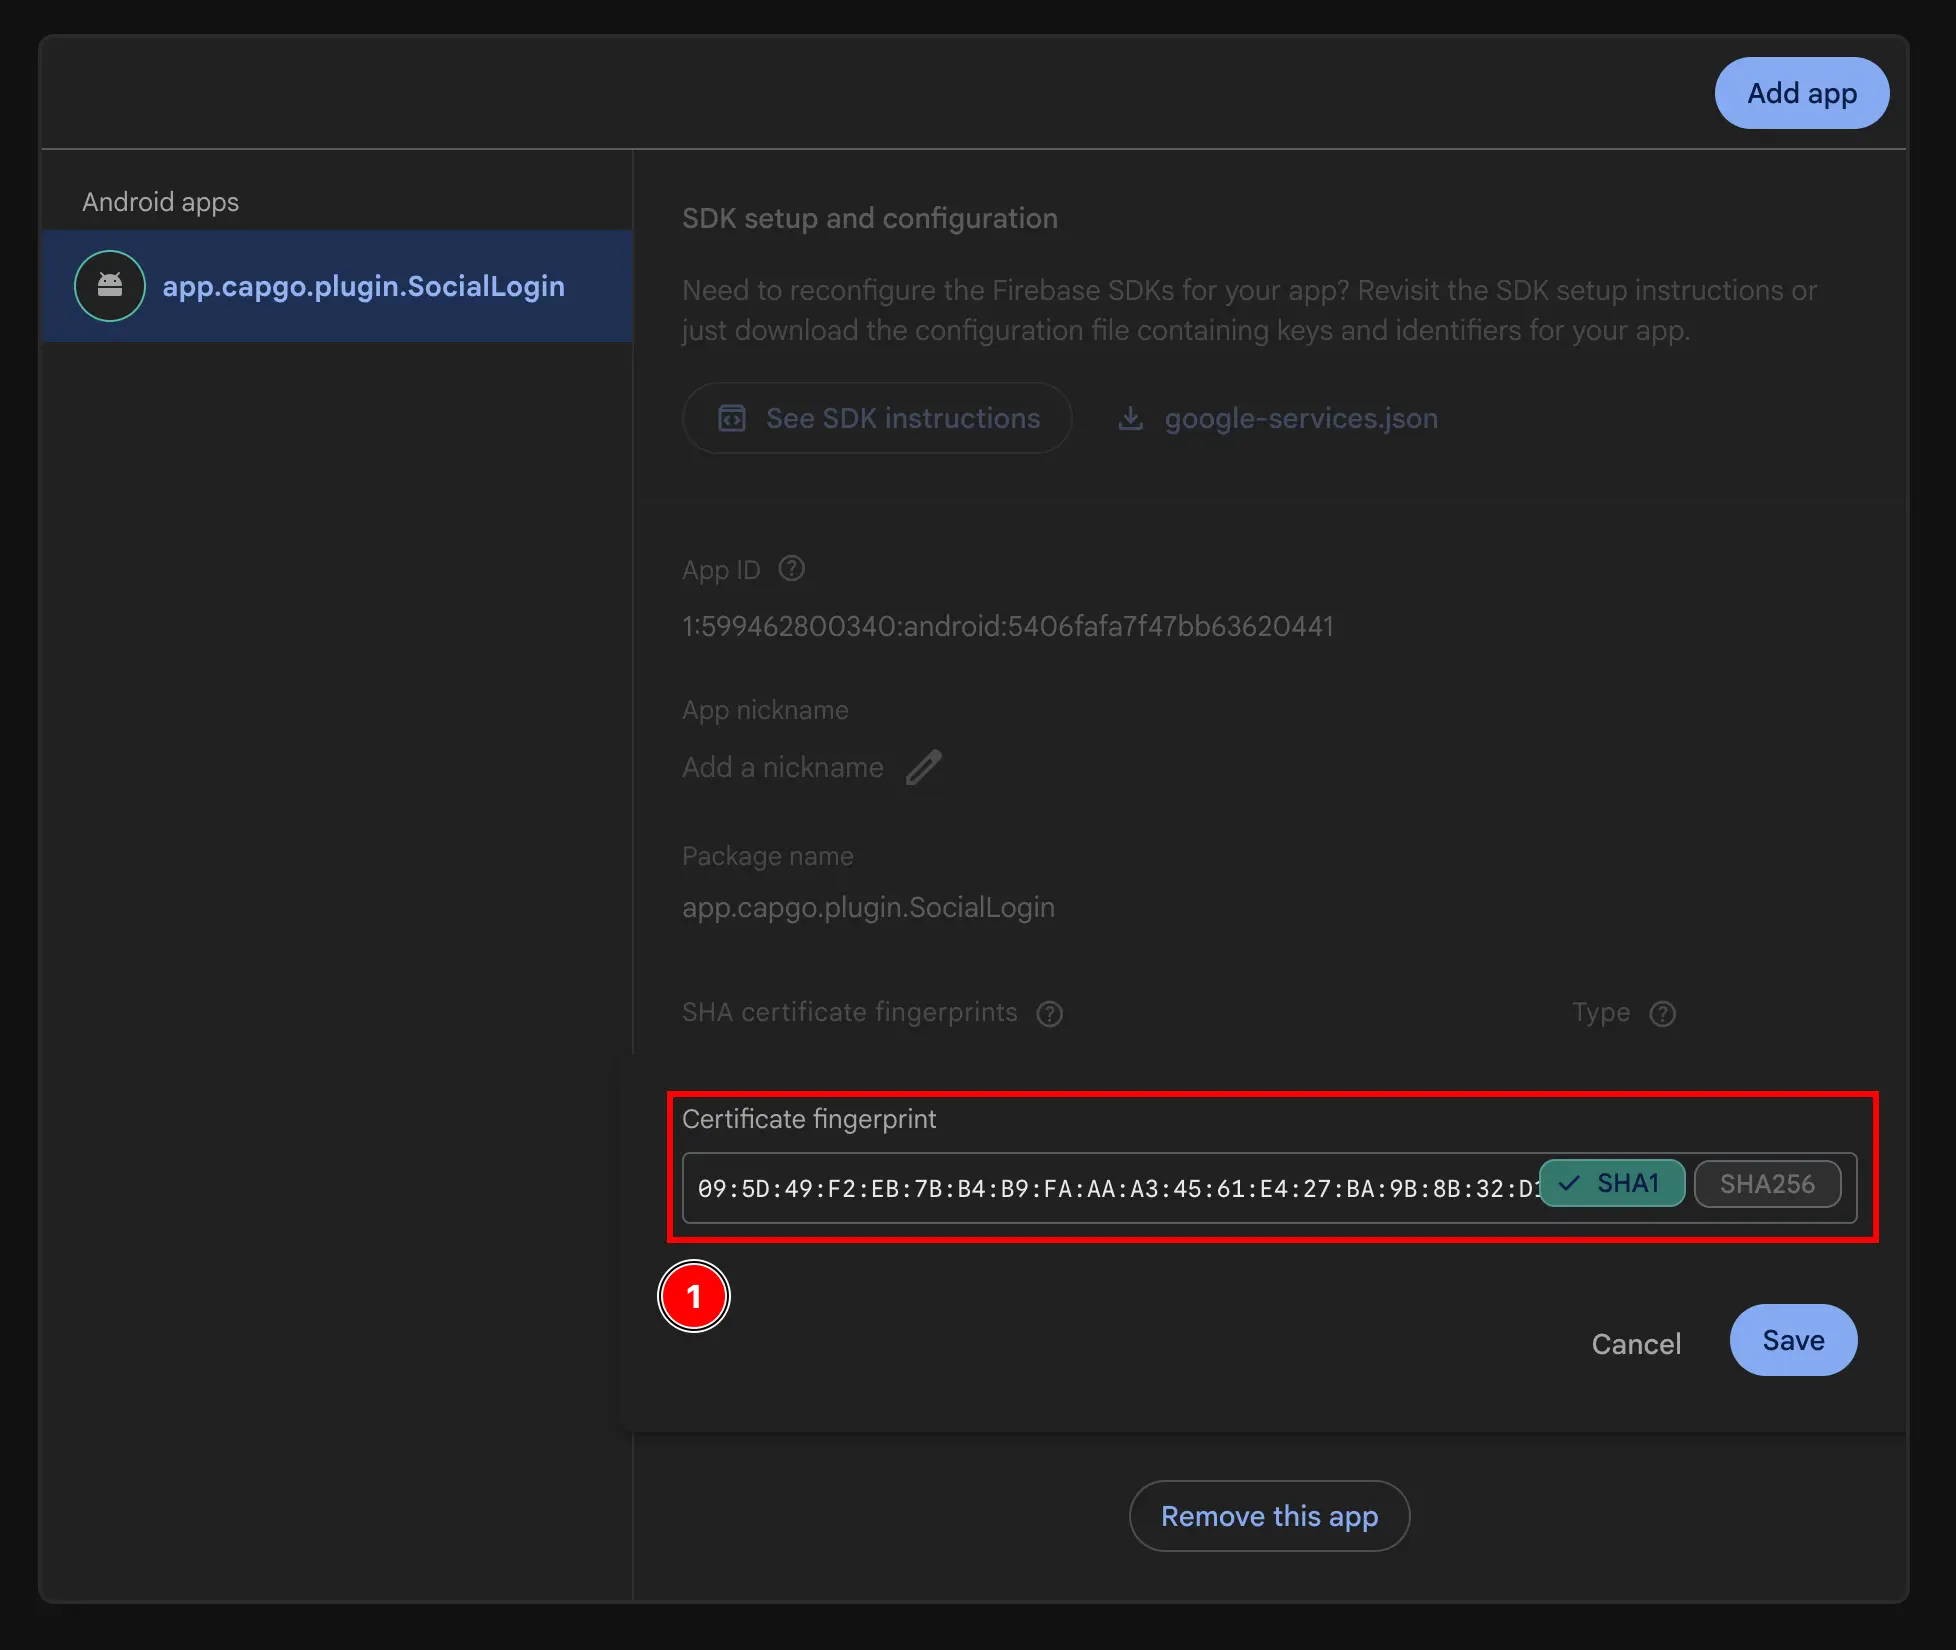
- Click on the
Savebutton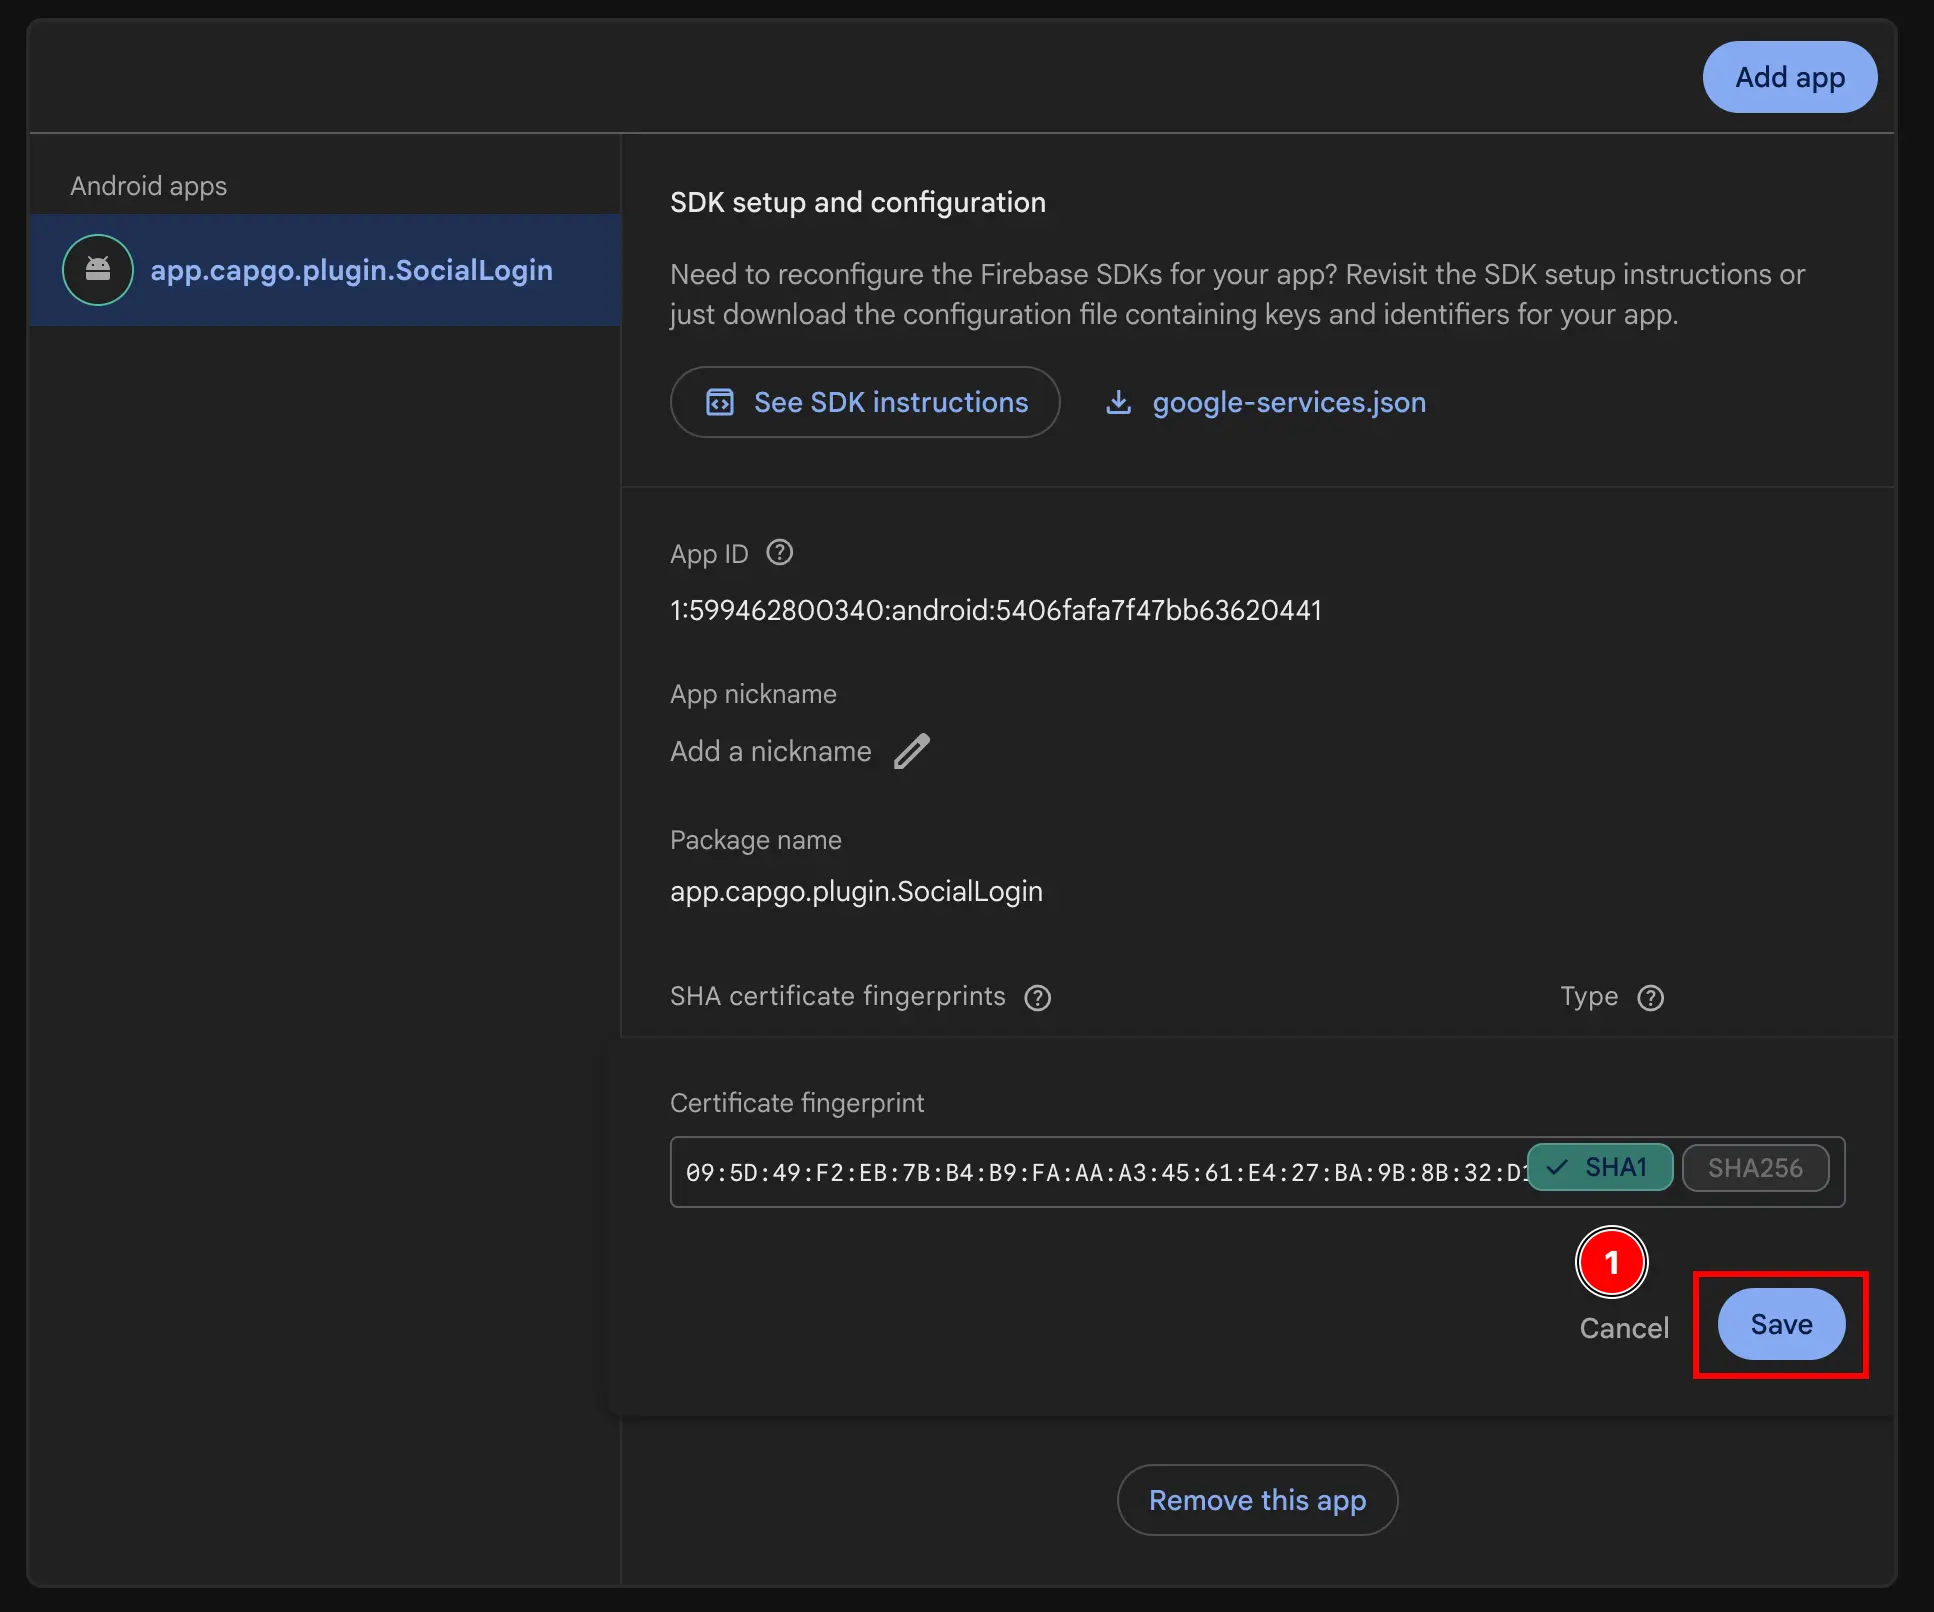
- Click on the
-
Get your web client ID
- Go to
Build->Authentication
- Click on the
Sign-in methodbutton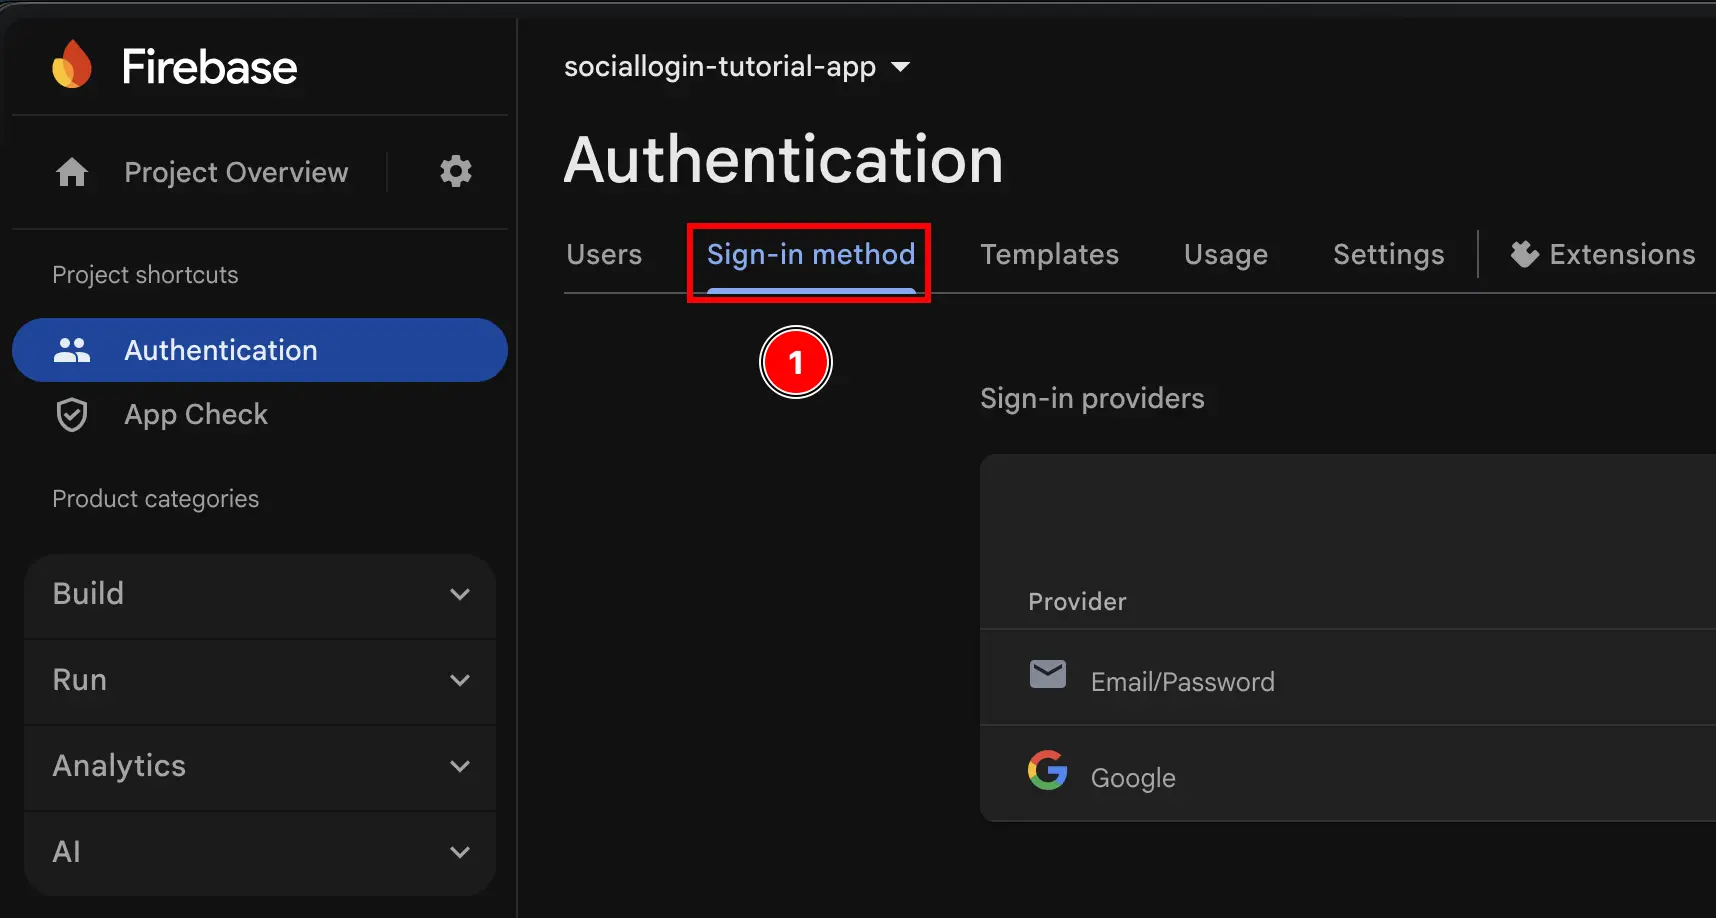
- Click on the
Googleprovider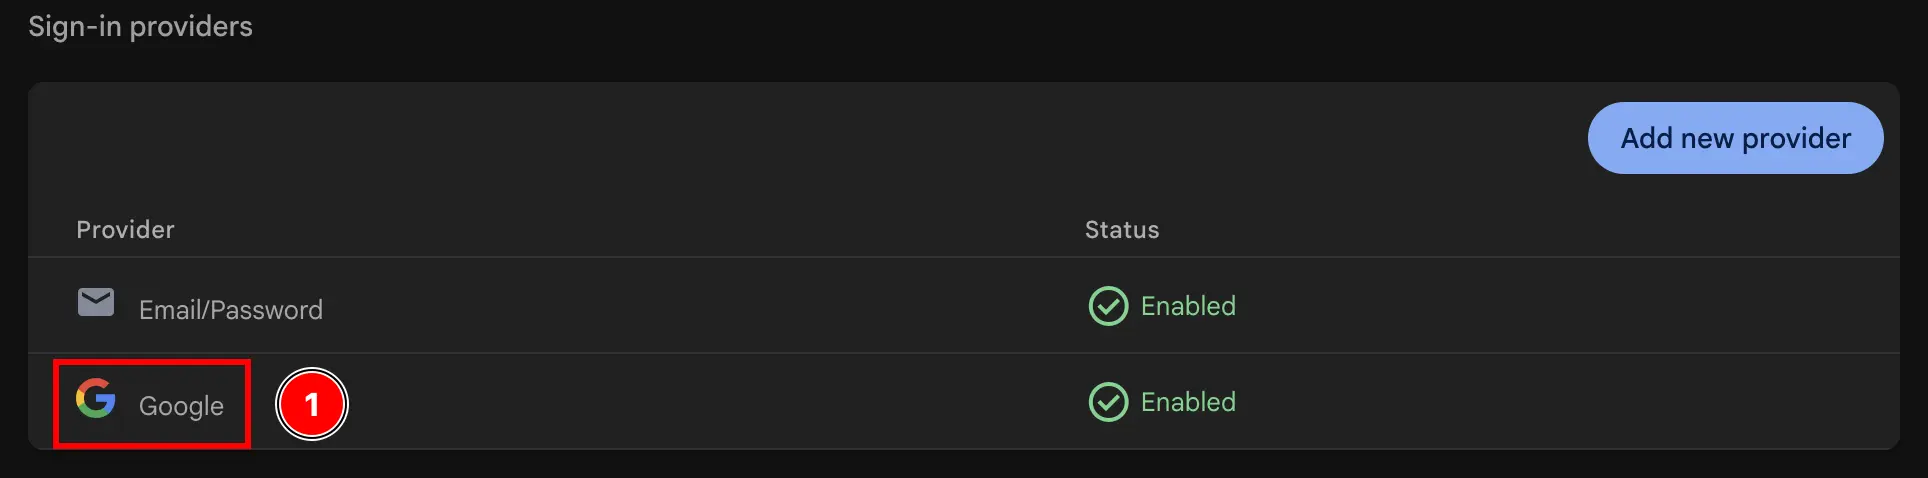
- Click on the
Web SDK configurationbutton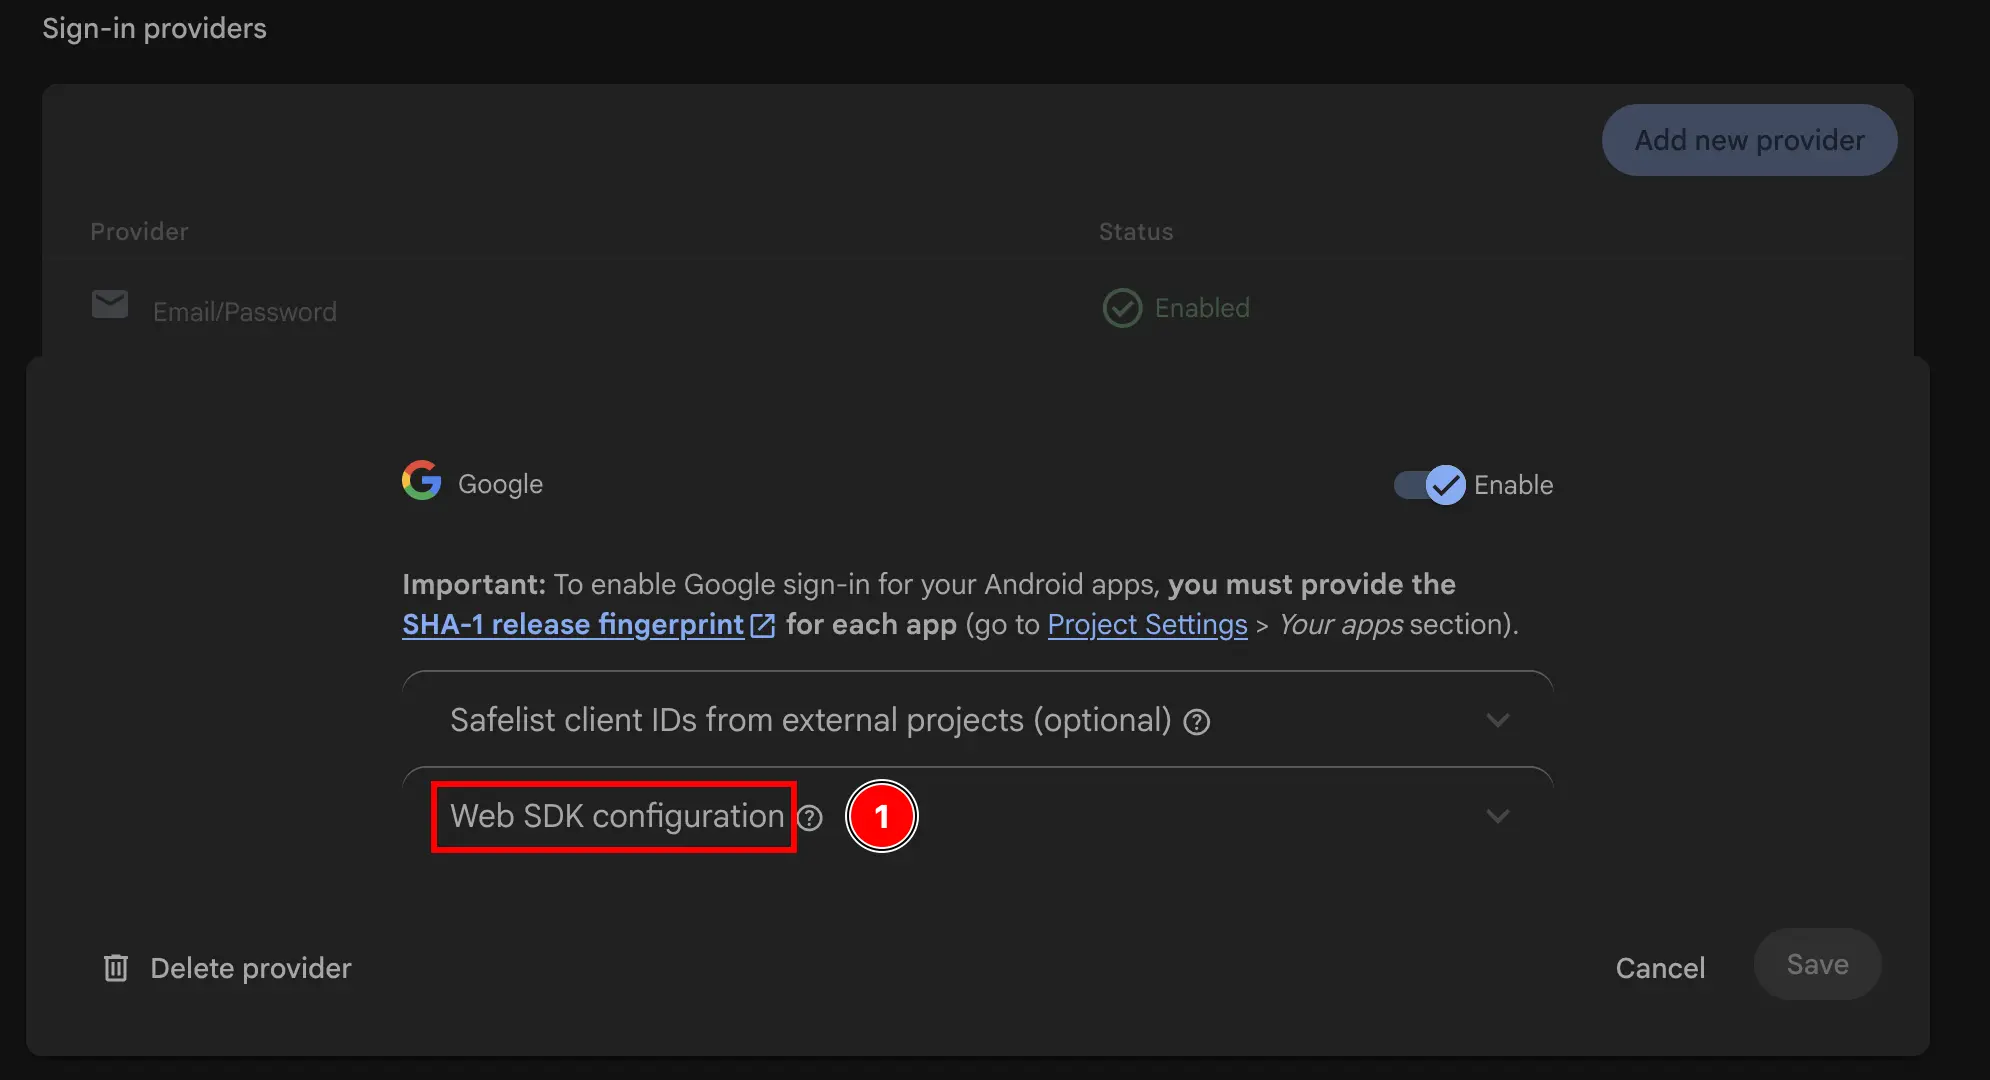
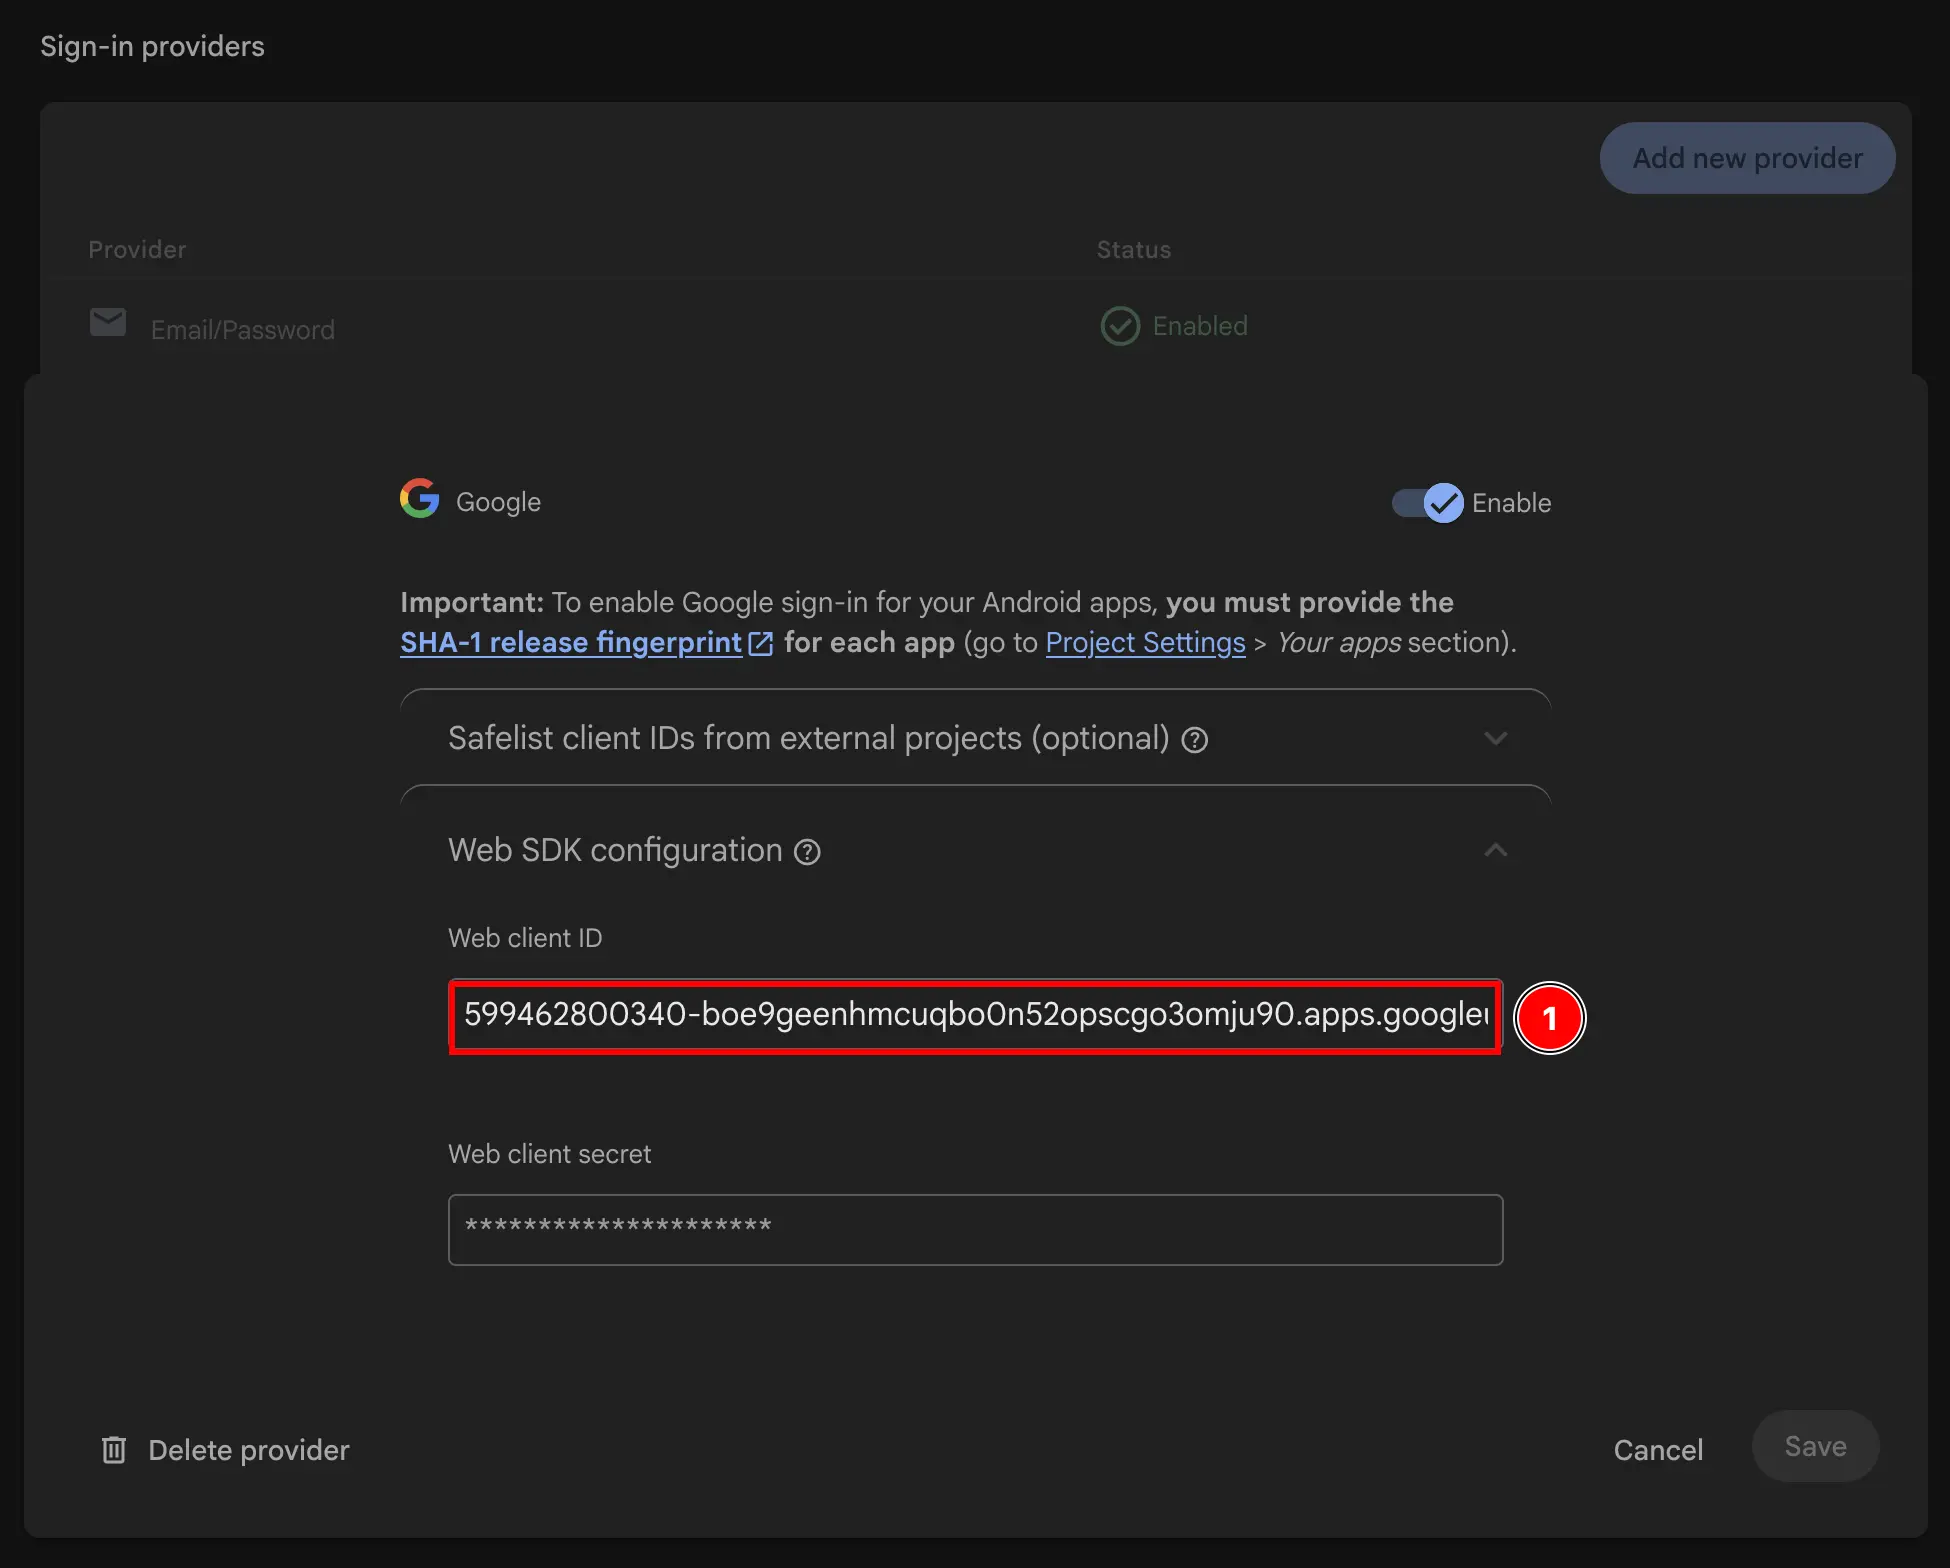
- Copy the
Web client ID. This will be yourwebClientIdin theinitializemethod of the plugin.
- Go to
-
Use the web client ID in JS.
I recommend using the
authenticateWithGooglehelper function available in the authUtils.ts file of the example app.
At this point, you are TECHNICALLY ready to use Google Sign-In with Firebase Authentication on Android. However, I would recommend double-checking the Configuration in the Google Cloud console as explained in the Suivant step.
Double-Vérifier the Configuration in Google Cloud console
Section titled “Double-Vérifier the Configuration in Google Cloud console”In order to make sure that the Configuration is correct, you should double-Vérifier the Configuration in the Google Cloud console.
-
Go to console.cloud.google.com
-
Find your project
- Click on the project selector
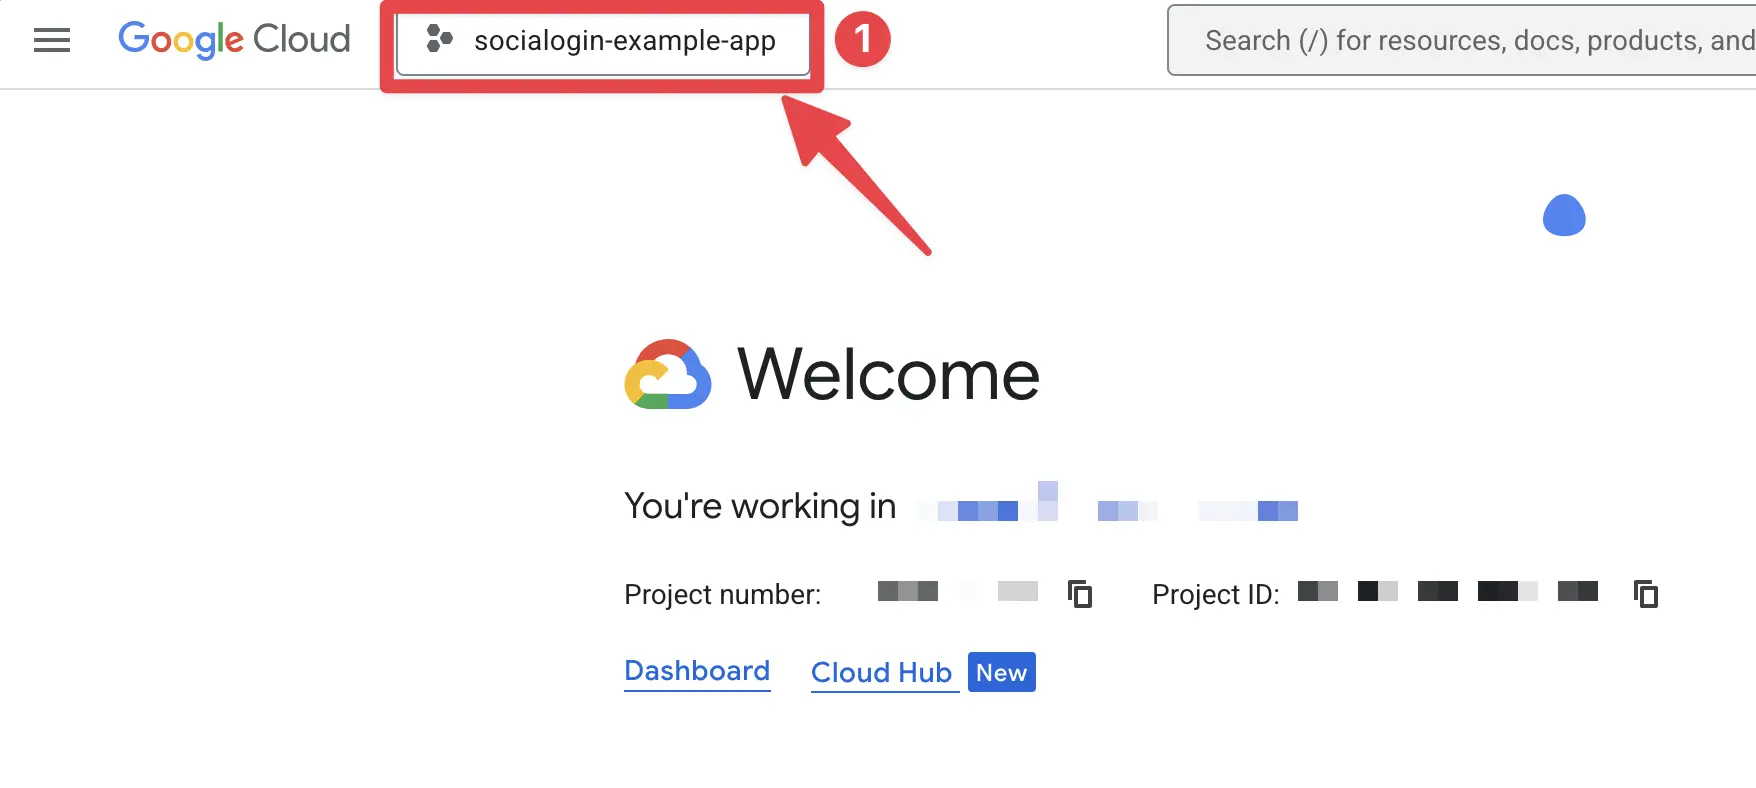
- Search up your project by the exact name of your Firebase project and click on it. In my case, it is
sociallogin-tutorial-app.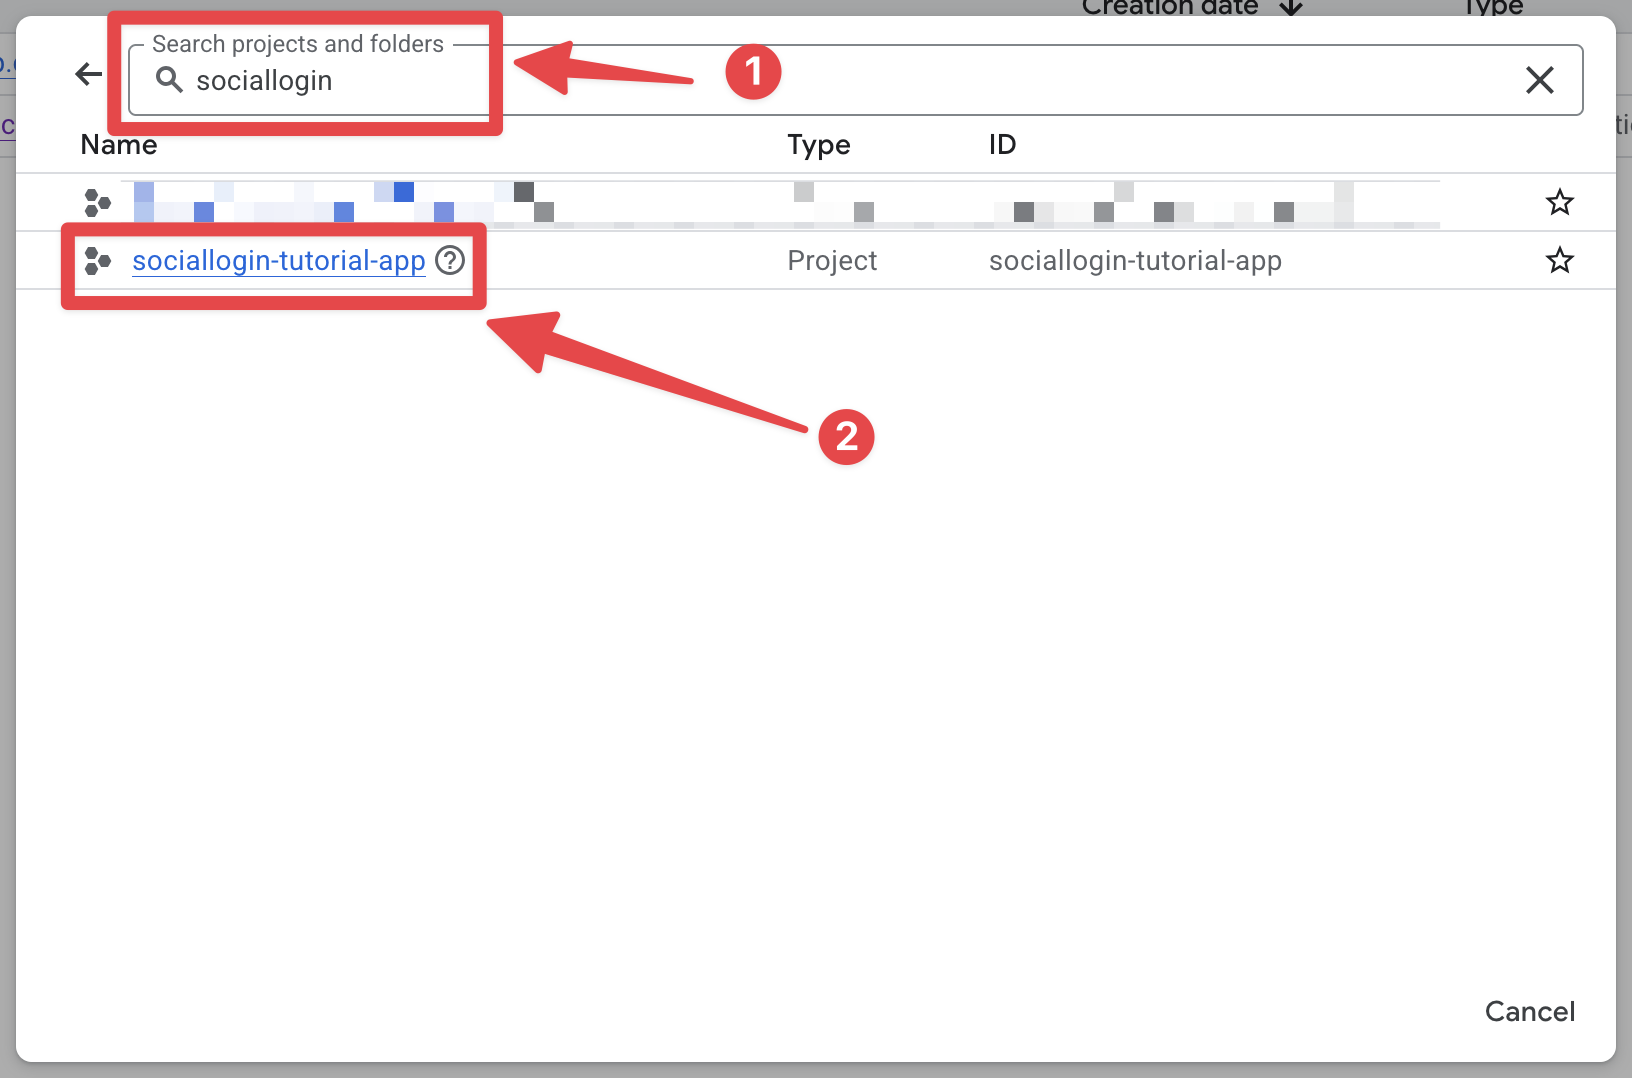
- Click on the project selector
-
Open the search bar and open
credentials- Open the Recherche bar
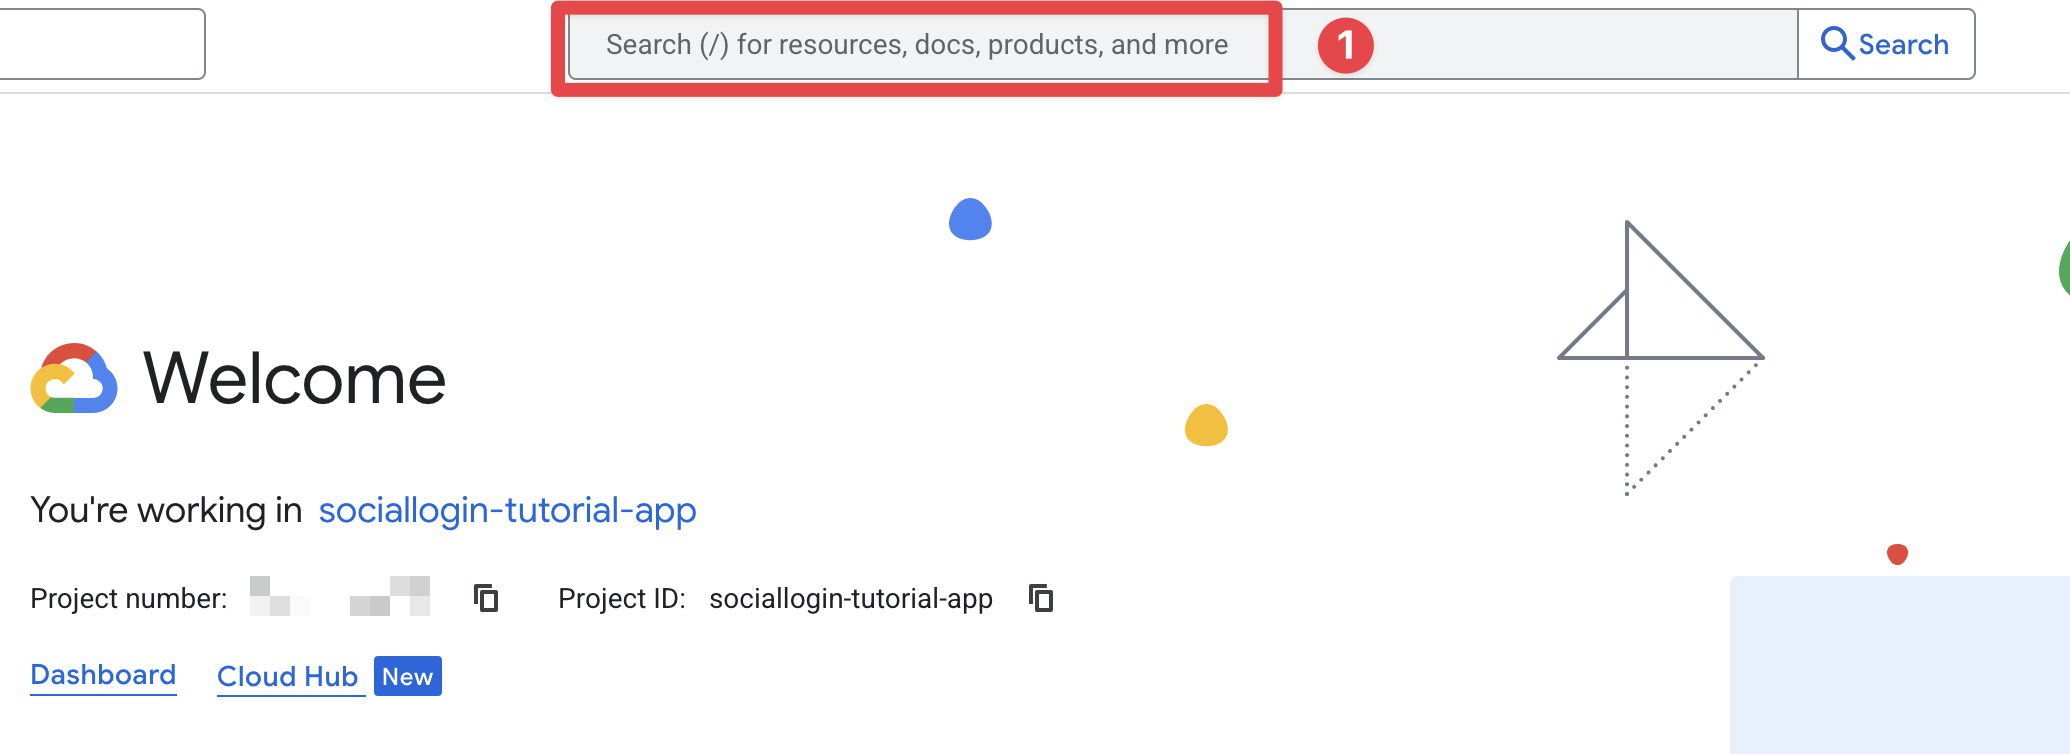
- Search for
credentialsand click on theAPIs and Servicesone (number 2 on the screenshot)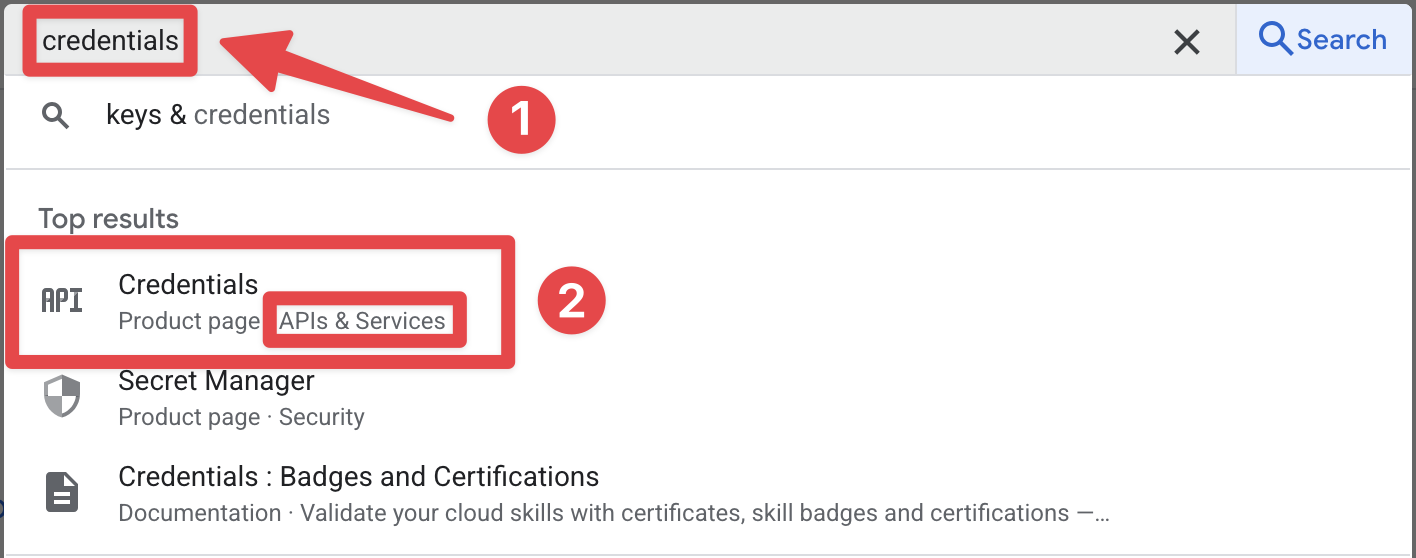
- Open the Recherche bar
-
Verify that you see both the Android and Web client IDs in the list.
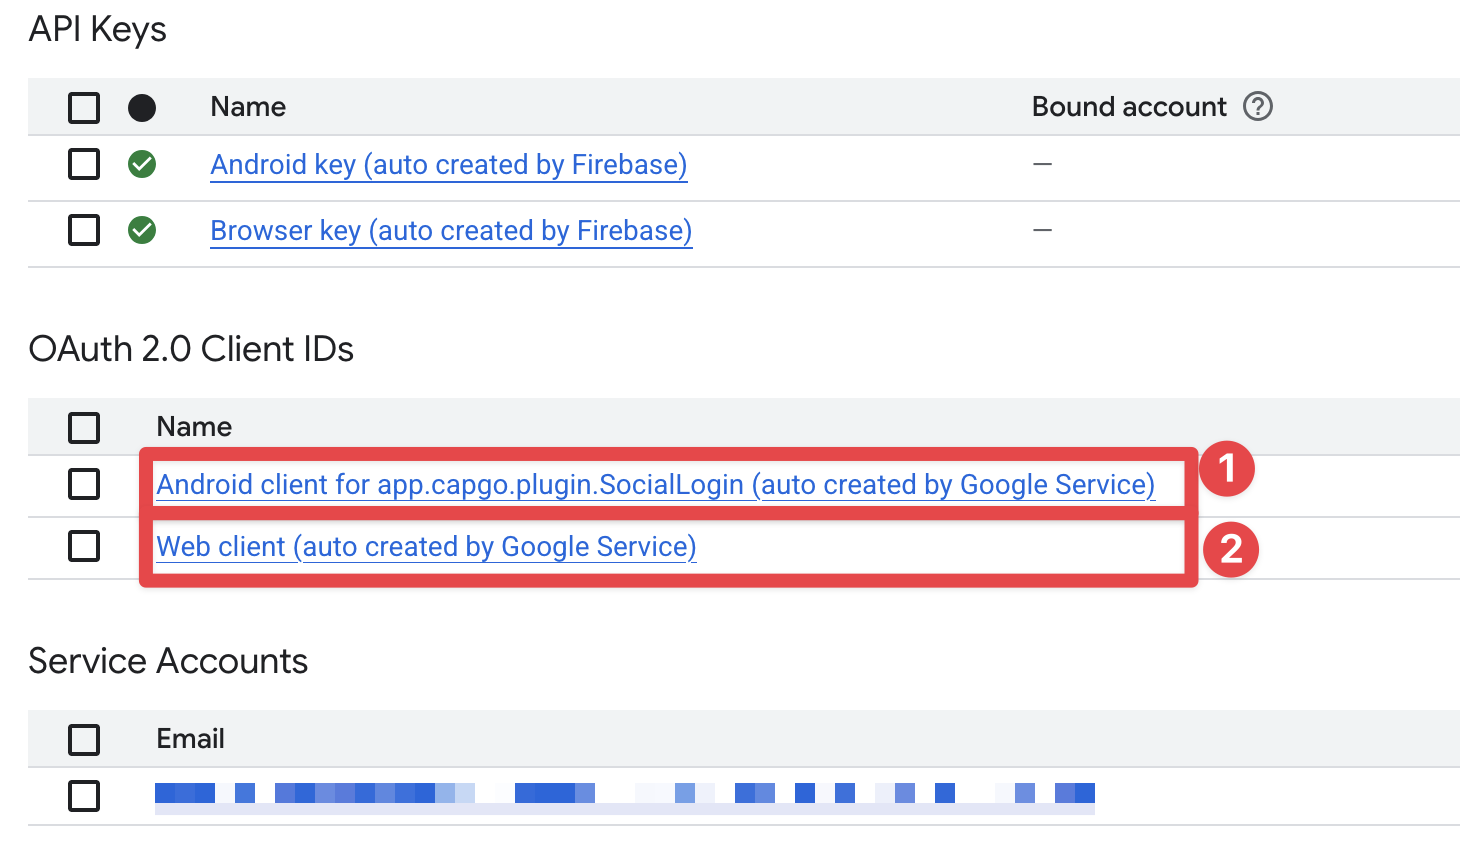
If you do not see both the Android and Web client IDs in the list, you have made a mistake in the Configuration. Please go Retour and Vérifier your steps.
It is also possible, and it has happened to me, that you already have added the Android SHA1 hash with the same Application ID in a different project. This will result in Firbase being unable to Créer an Android client ID. In this case, you will need to Retirer the SHA1 from the other project as well as on Firebase (using the Firebase console to Retirer the Android Application) and recreate it on Firbase
-
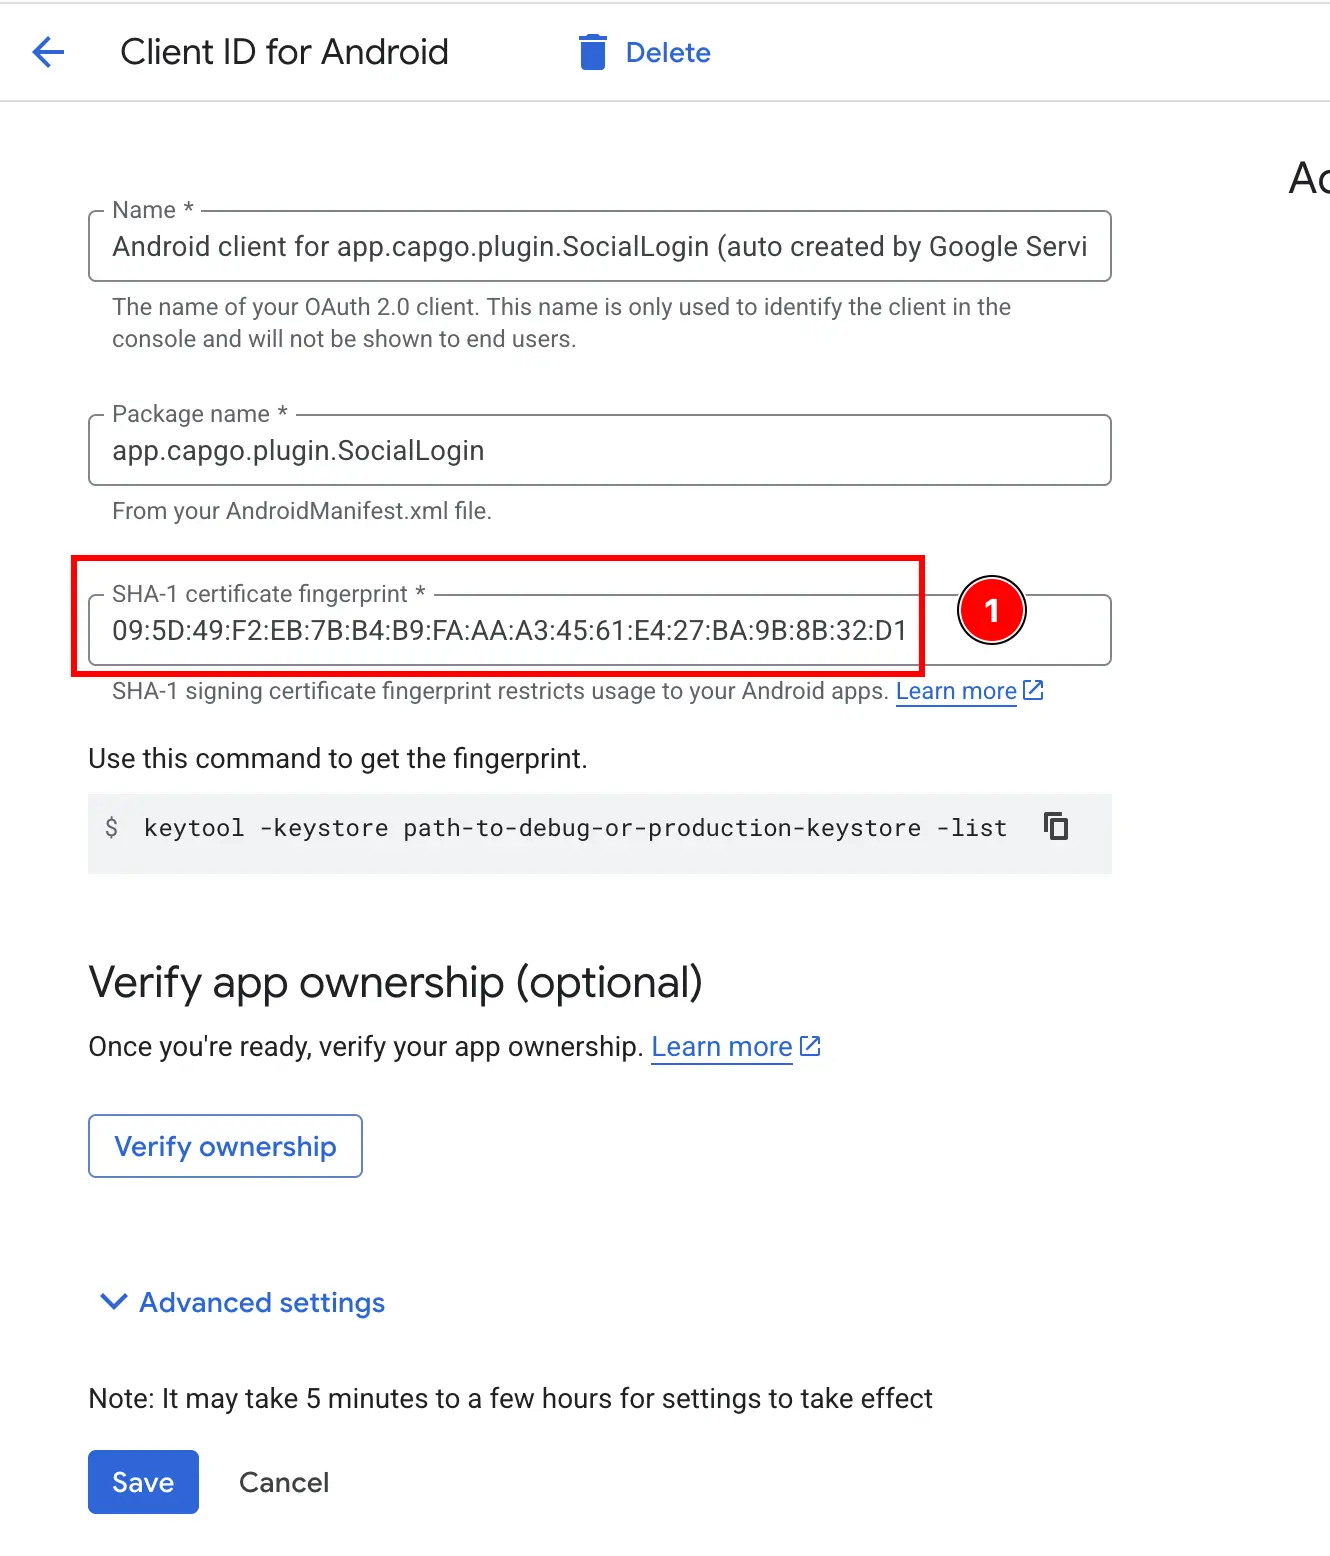
Verify that the Android client ID is correctly configured in the Firebase console.
- Click on the
Androidapp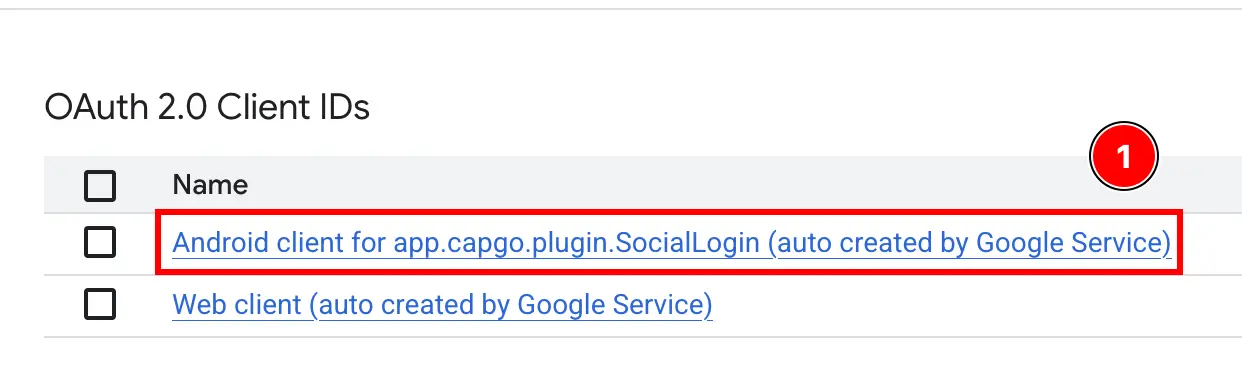
- Confirm that the SHA1 hash is correctly configured and that it matches the one you copied in the Précédent steps.
- Click on the
-
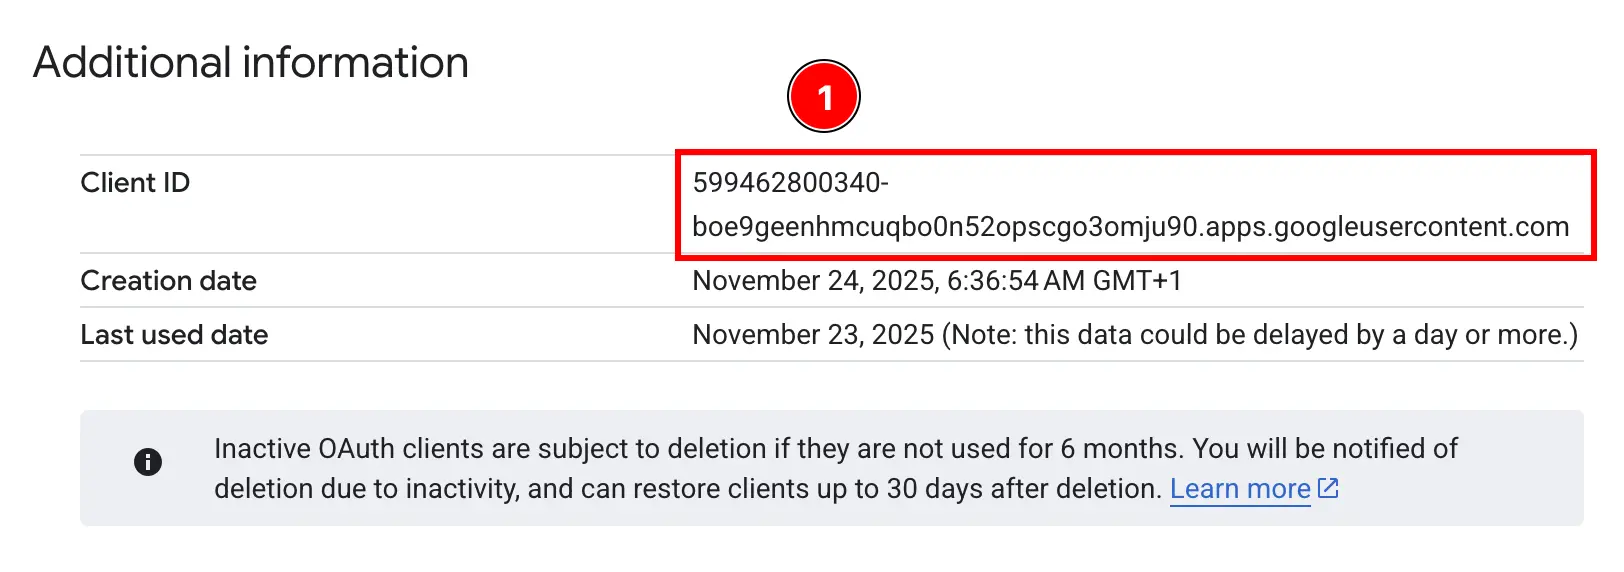
Verify that the Web client ID is correctly configured in the Firebase console.
- Click on the
Webapp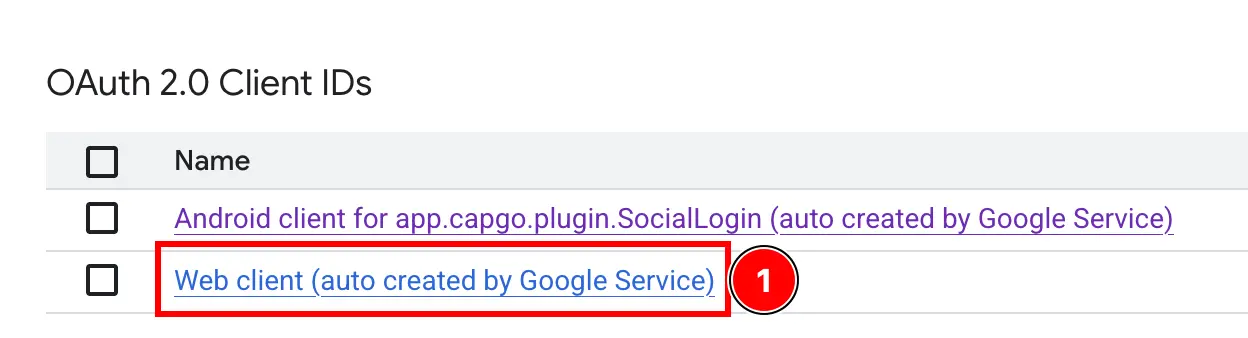
- Confirm that the client ID matches the one you copied in the Précédent steps.
Please ignore the rest of the Paramètres of the web client. We will discuss this on the web Configuration Guide.
- Click on the
Voila! You are now ready to use Google Sign-In with Firebase Authentication on Android.
Dépannage
Section titled “Dépannage”If authentication hangs or fails:
- Verify the
idTokenaudience matches your Firebase web client ID - Vérifier that Google Sign-In is enabled in Firebase Console
- Ensure the SHA-1 fingerprint is correctly configured
- Review the Exemple Application code for Référence